Blog Note: I was looking at old drafts I hadn’t published and found this one needing a bunch of old photos lost in archive. I found them…
Since you all haven’t noticed the link on the side that takes you to the 2008 Challenger prototype article, I decide to blog about my experience and stick the link to VALID CONCEPT in the article (se below at the end of the text).
It was April of 2006 I got connected via Trans Am Challenger Owners Registry with an auto writer named Richard Truesdell who had a spot with the 2008 Dodge Challenger prototype. He wanted to gather a group of the original Challenger owners in the San Francisco area to meet him and the prototype at Laguna Seca Raceway for the two-day photo shoot in May 2006. He was particularly interested to hookup with vintage T/A owners to key on the Trans Am connection with Laguna Seca. Two of us T/A owners would respond, Reno Debon and myself.
At the time, I was attending Chinese Medicine School getting ready for finals and the once-in-a-lifetime opportunity to indulge in my hobby was put to some test. I was offered to stay with the rolling publicity shoot for two days but opted only to stay aboard only for the 1st day shoot at the Laguna Seca in effort to go back home to Menlo Park, CA and then to Santa Cruz, CA to catch my late afternoon acupuncture classes.
The afternoon before, I drove my garage queen T/A the 90 miles drive down to Monterey, with my friend Rock Woo driving my Ford Explorer with repair tools just in case. It was the longest drive I would take with the T/A in restored condition and it ran very well.
We needed to be ready to begin in the early morning the next day so I sprang for a nice room at Carmel Valley Ranch to catch some zz’s beforehand. Actually, the night we arrived, Rich Truesdell hosted all the Challenger owners to a dinner at one of the seafood restaurants on Cannery Row where we had some spirited talks about the motor world.
The next day started early with photo shoots beginning in the parking areas of Carmel Valley Ranch trying a variety of ideas.
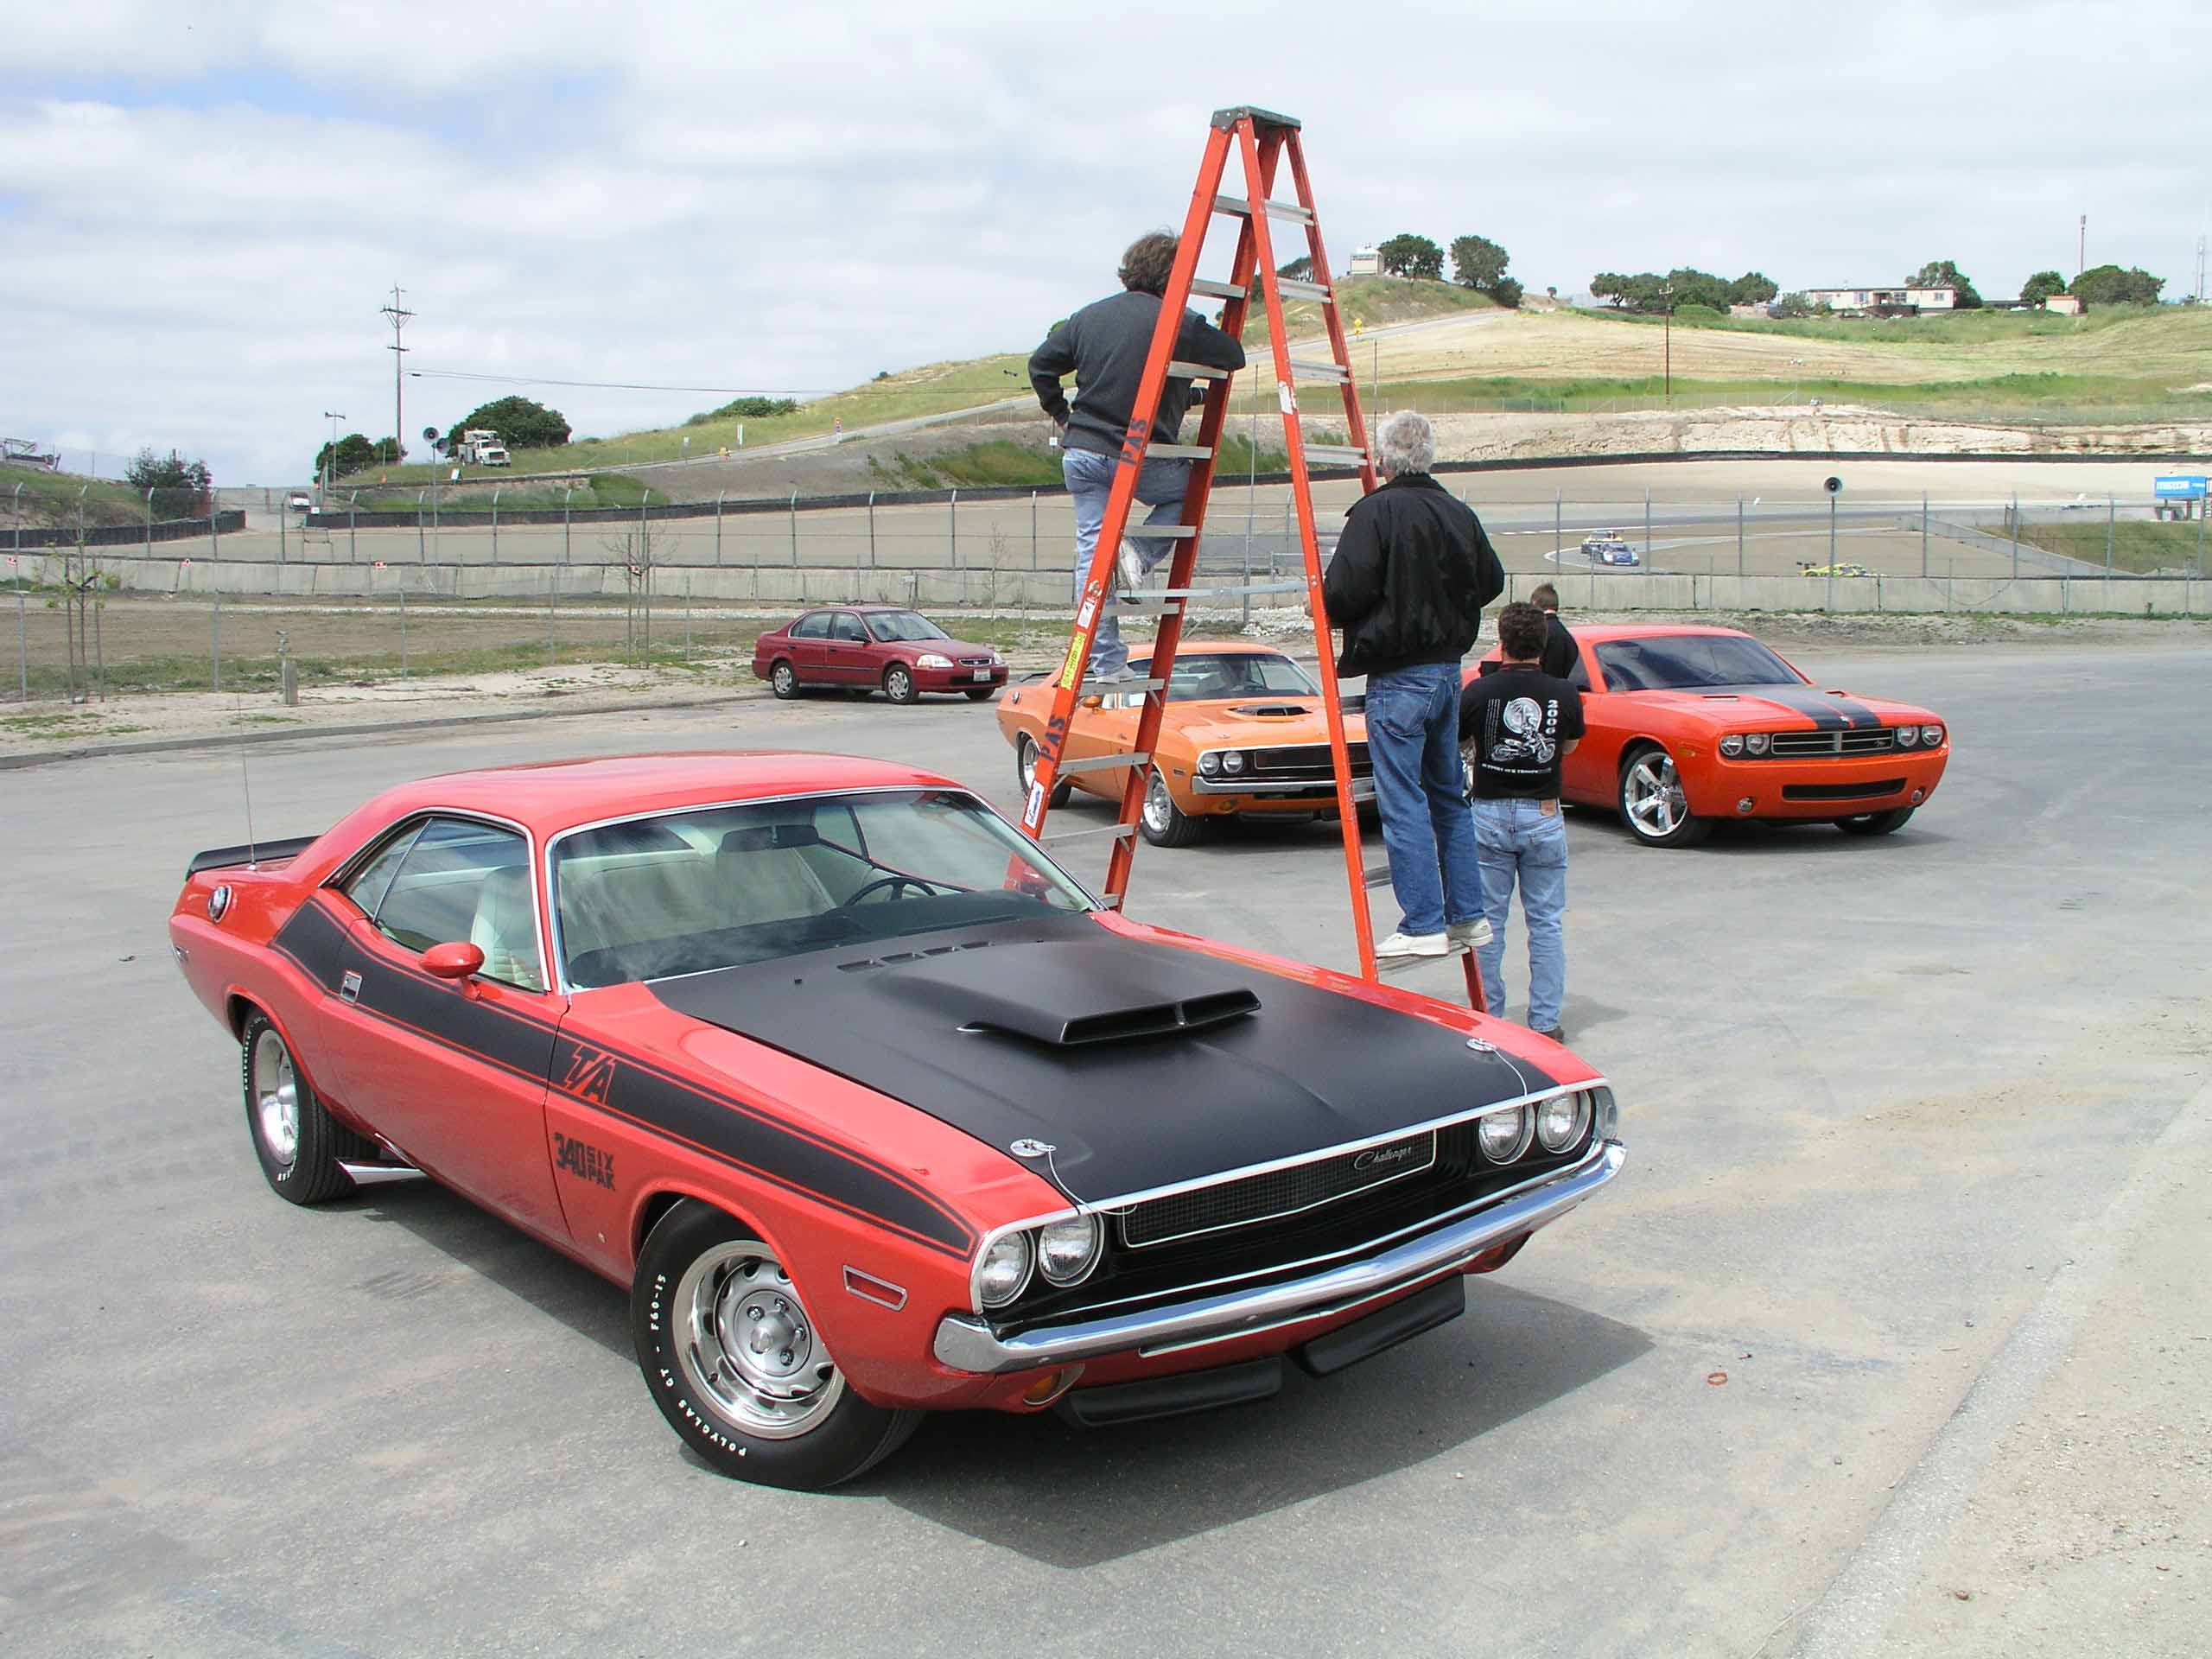
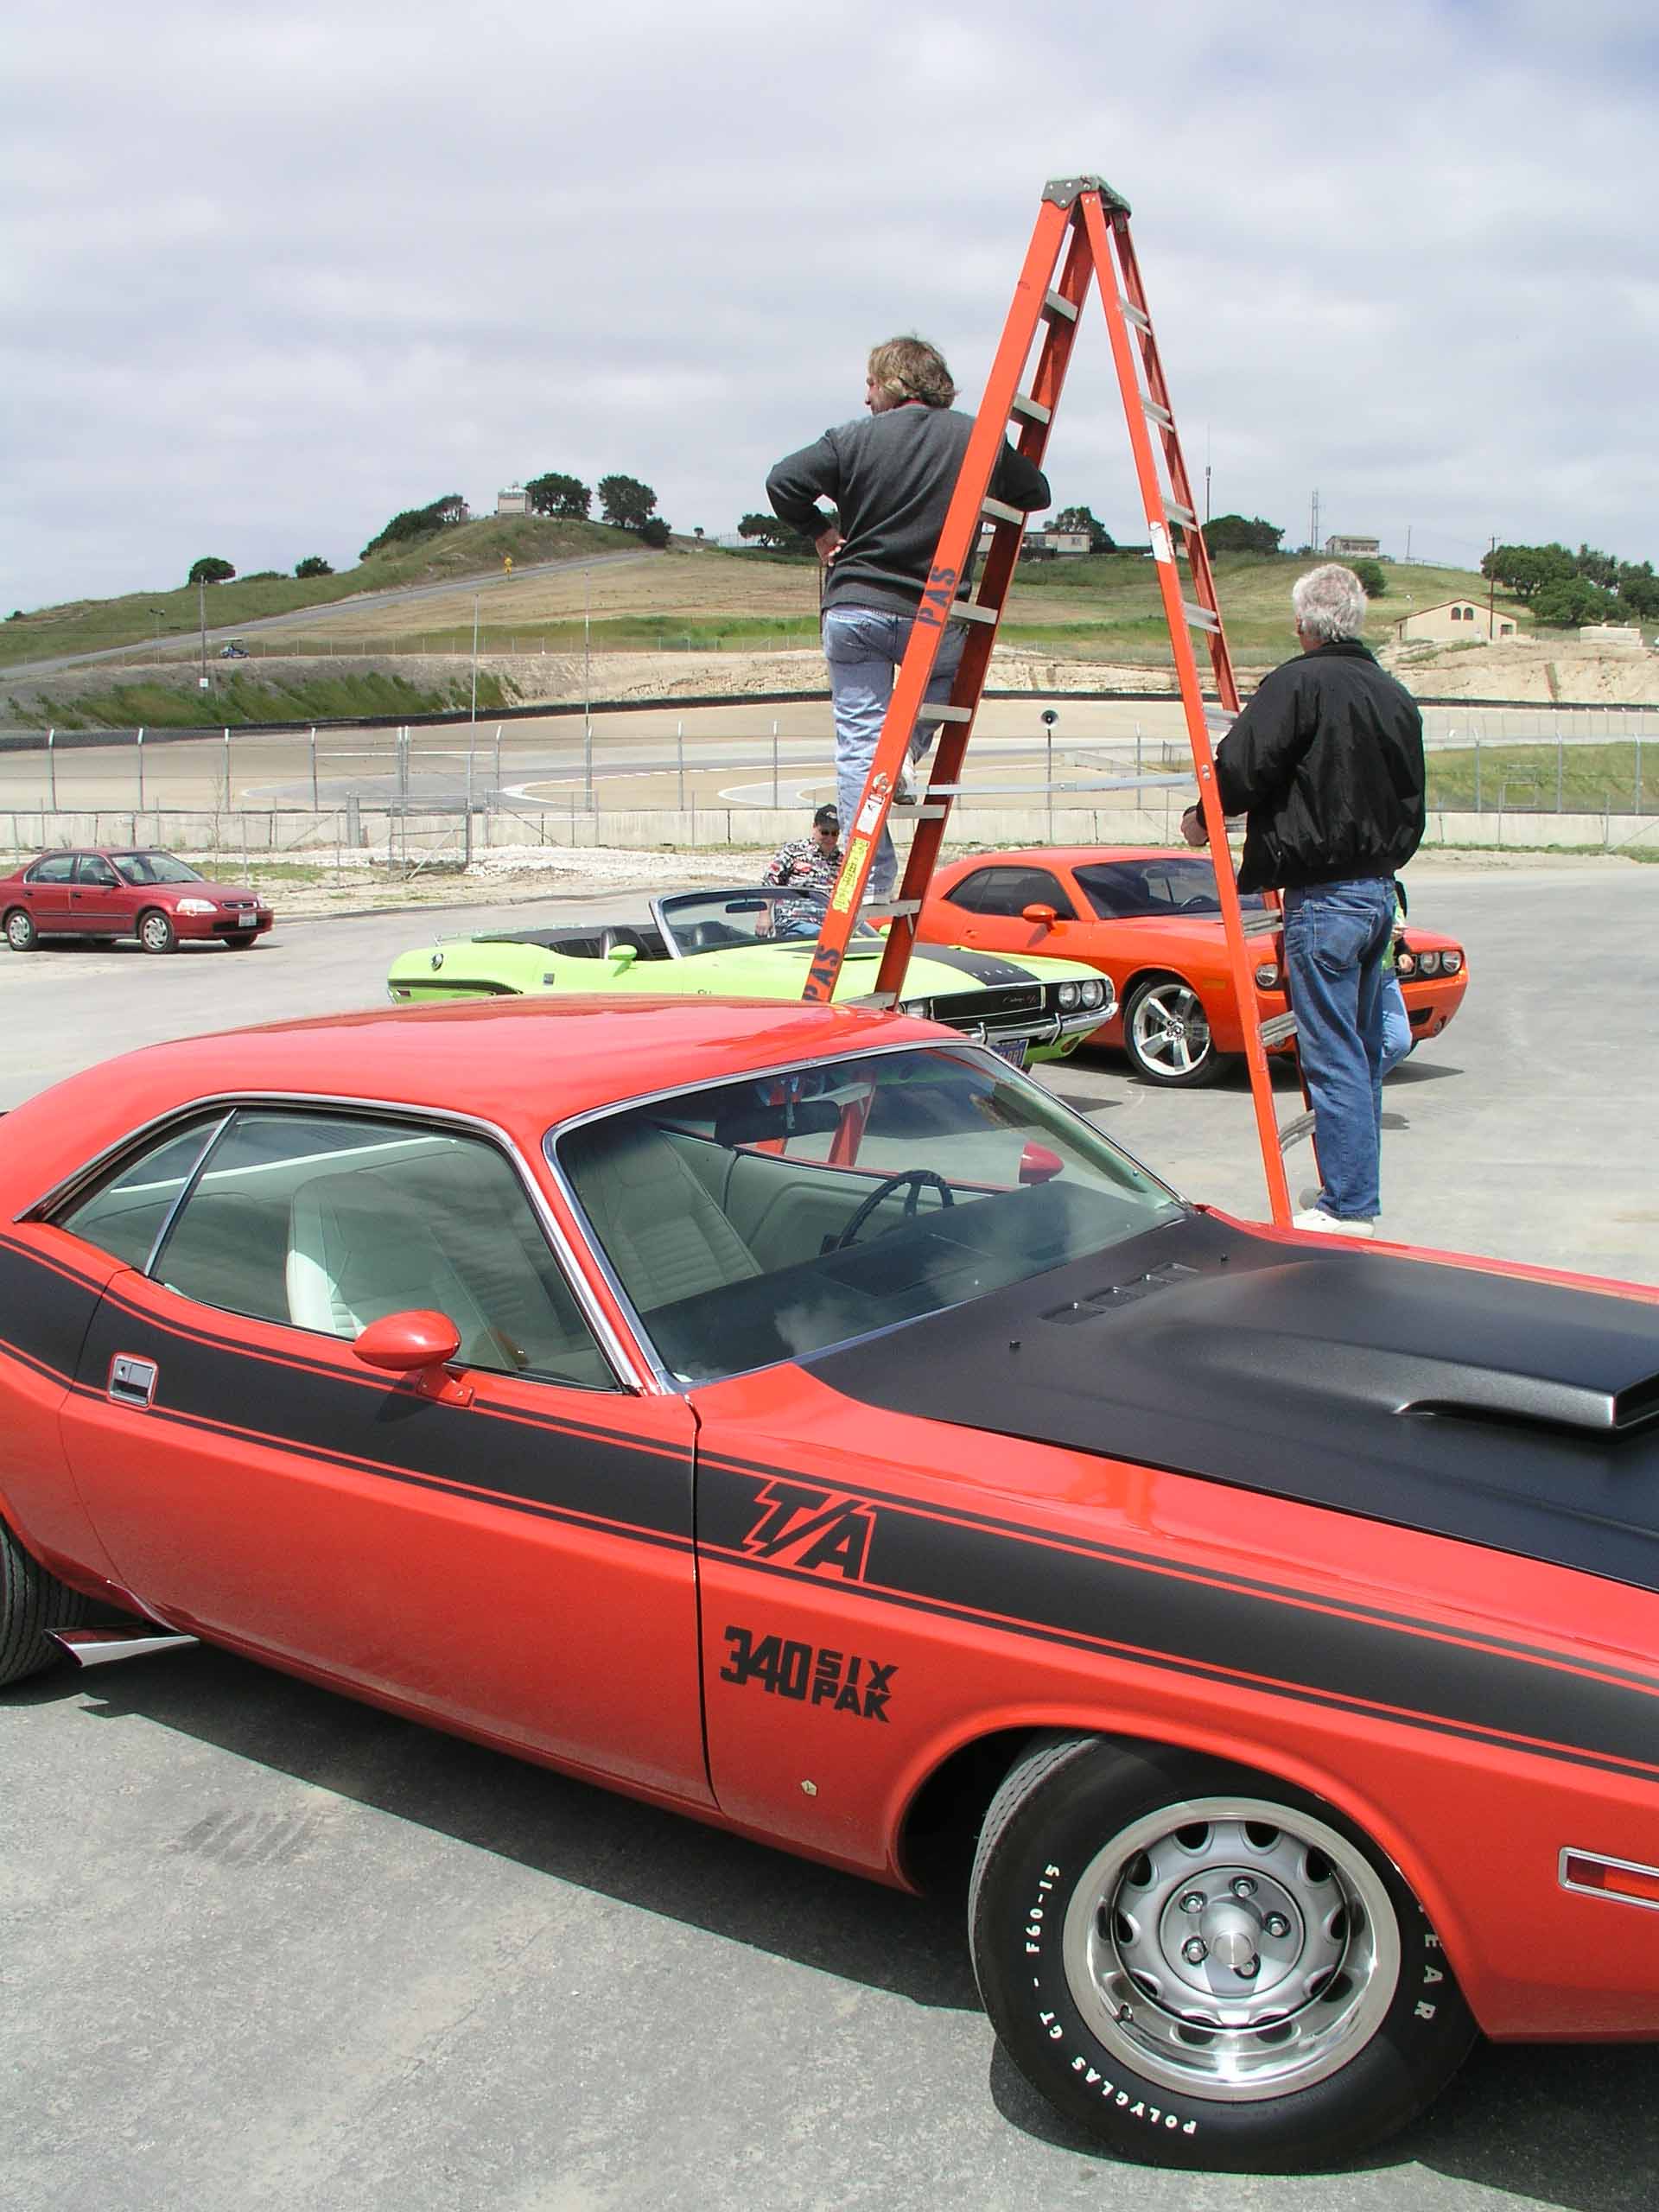
Eventually we made the winding drive to Laguna Seca to find areas to shoot. Rich was hoping we could get on the track, but for some unfortunate reason, we were not allowed not take our Mopars, even the prototype under the finish line straight away under the large banner there. I’m sure they were afraid of a bunch of donut patches showing up as if by magic on their pretty racetrack (one that I had driven on with my Mustang for my first open track with the NorCal Shelby Club).
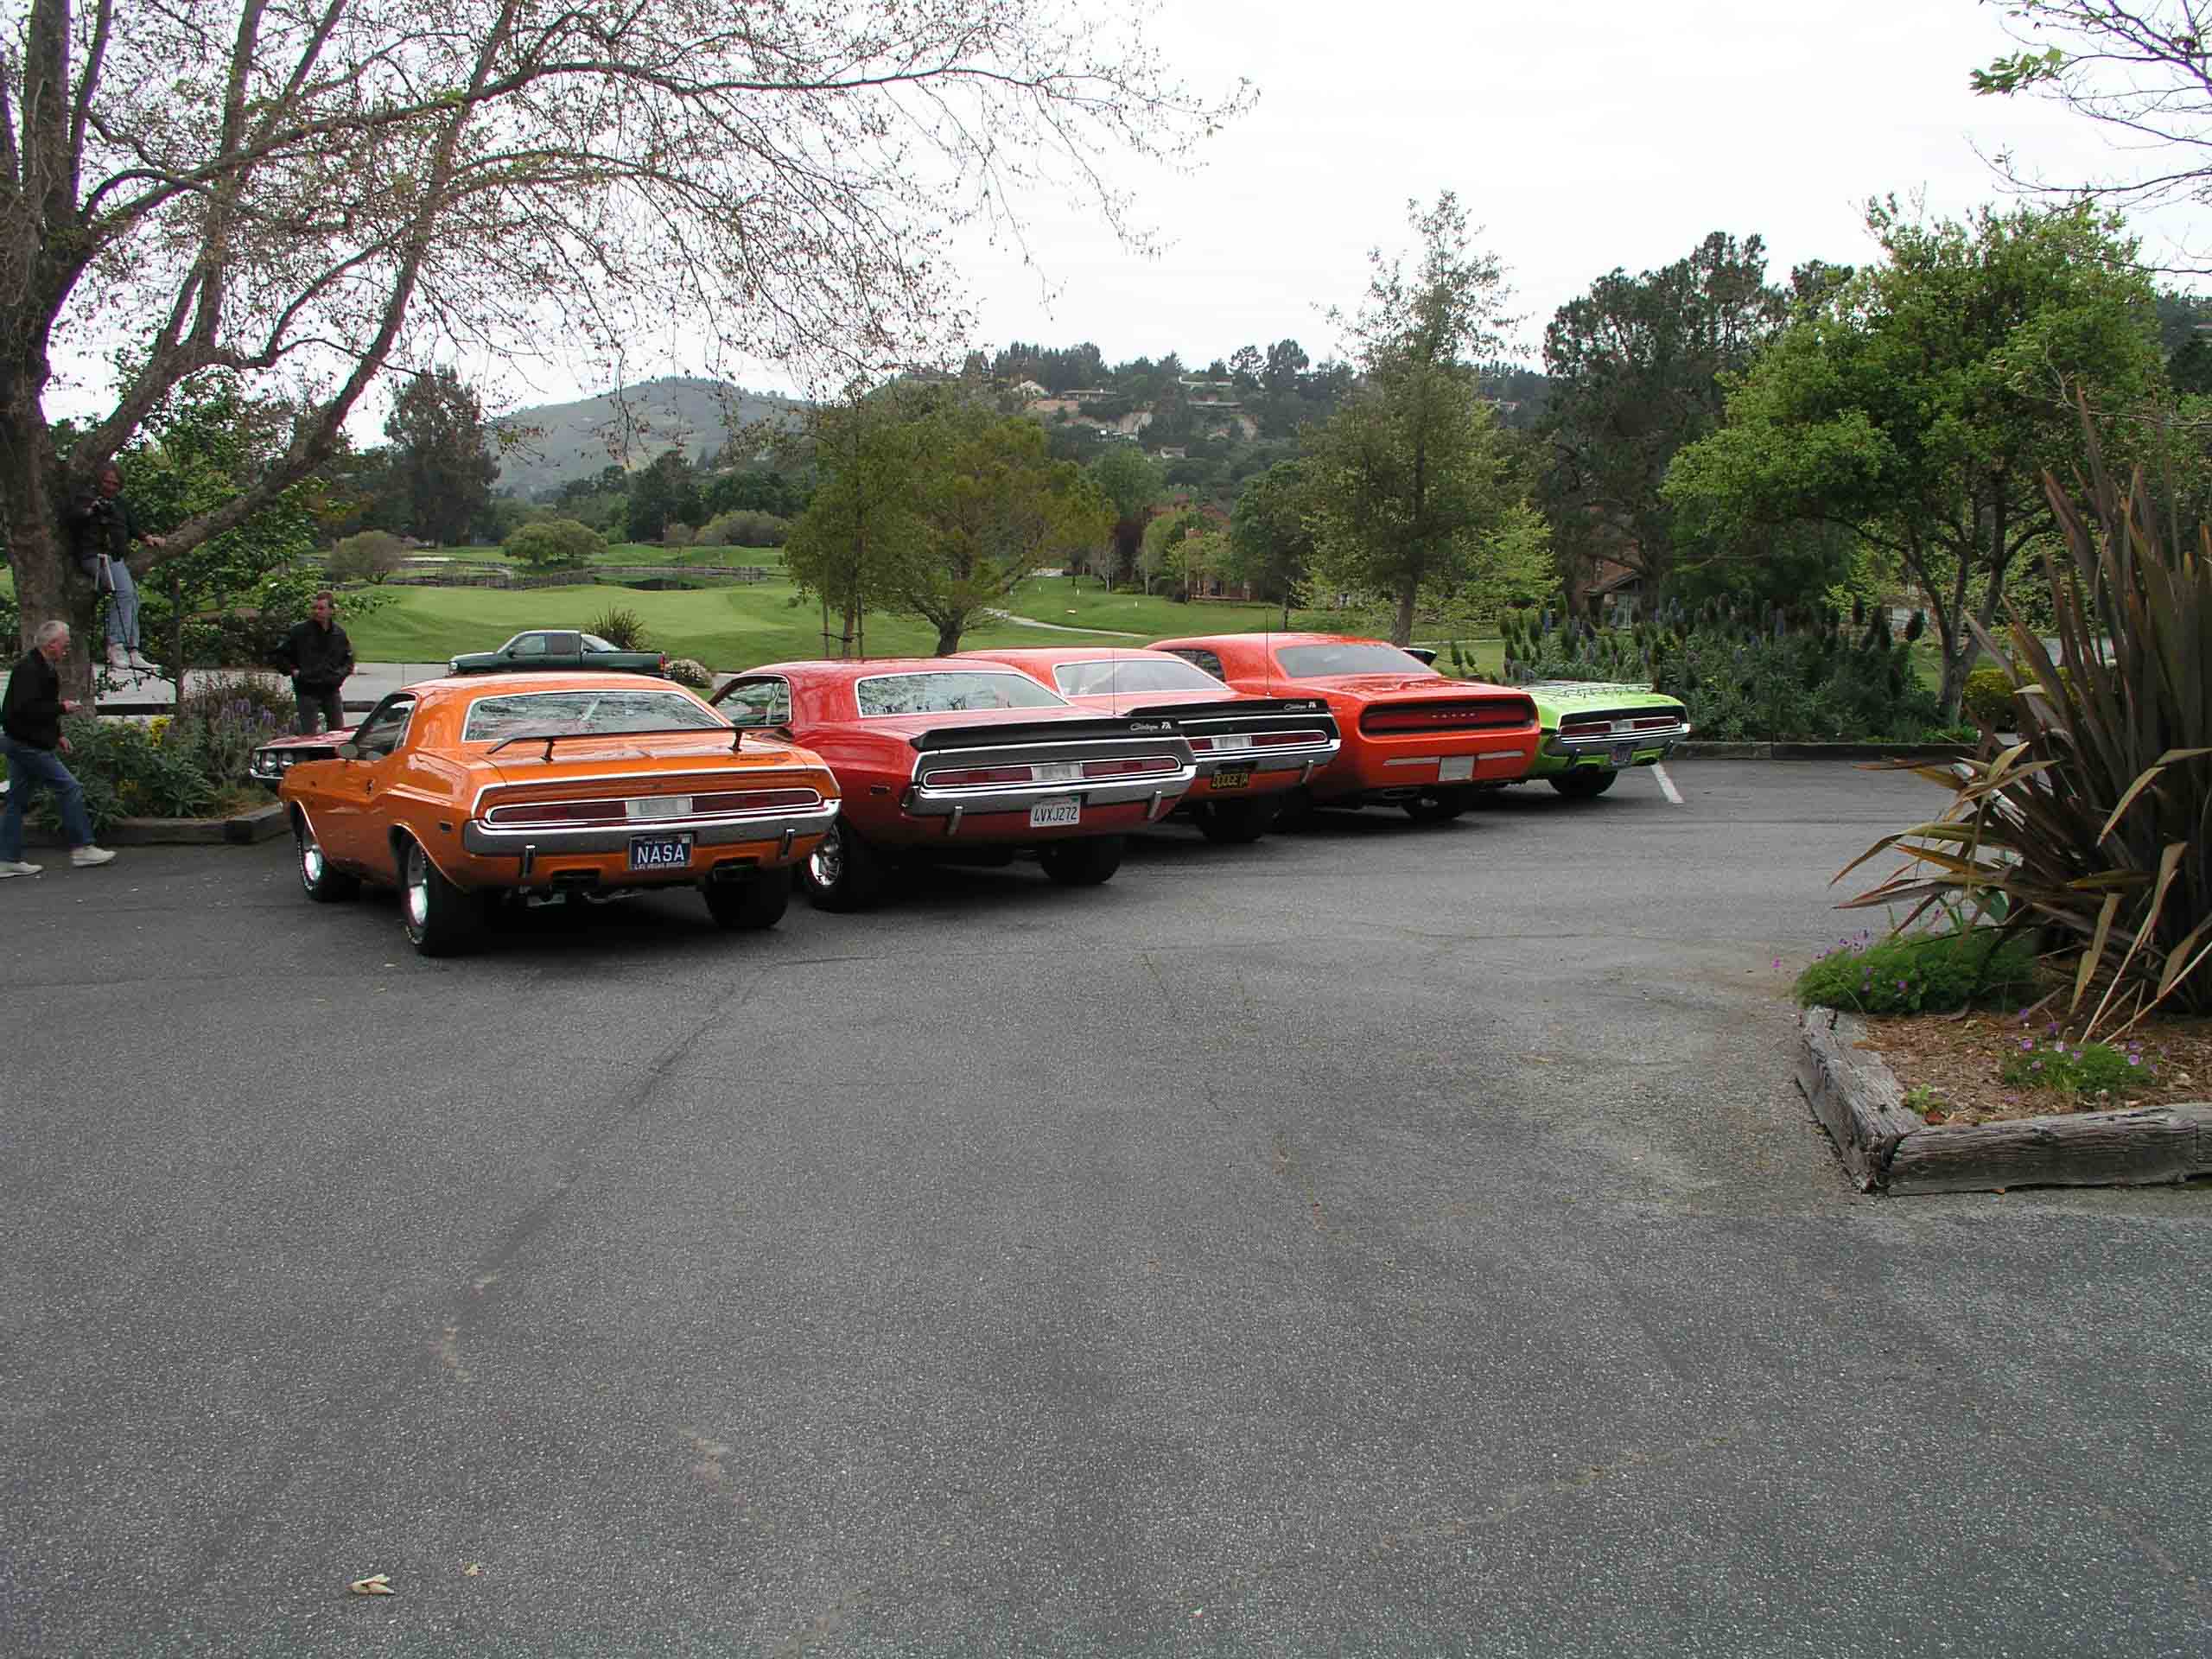
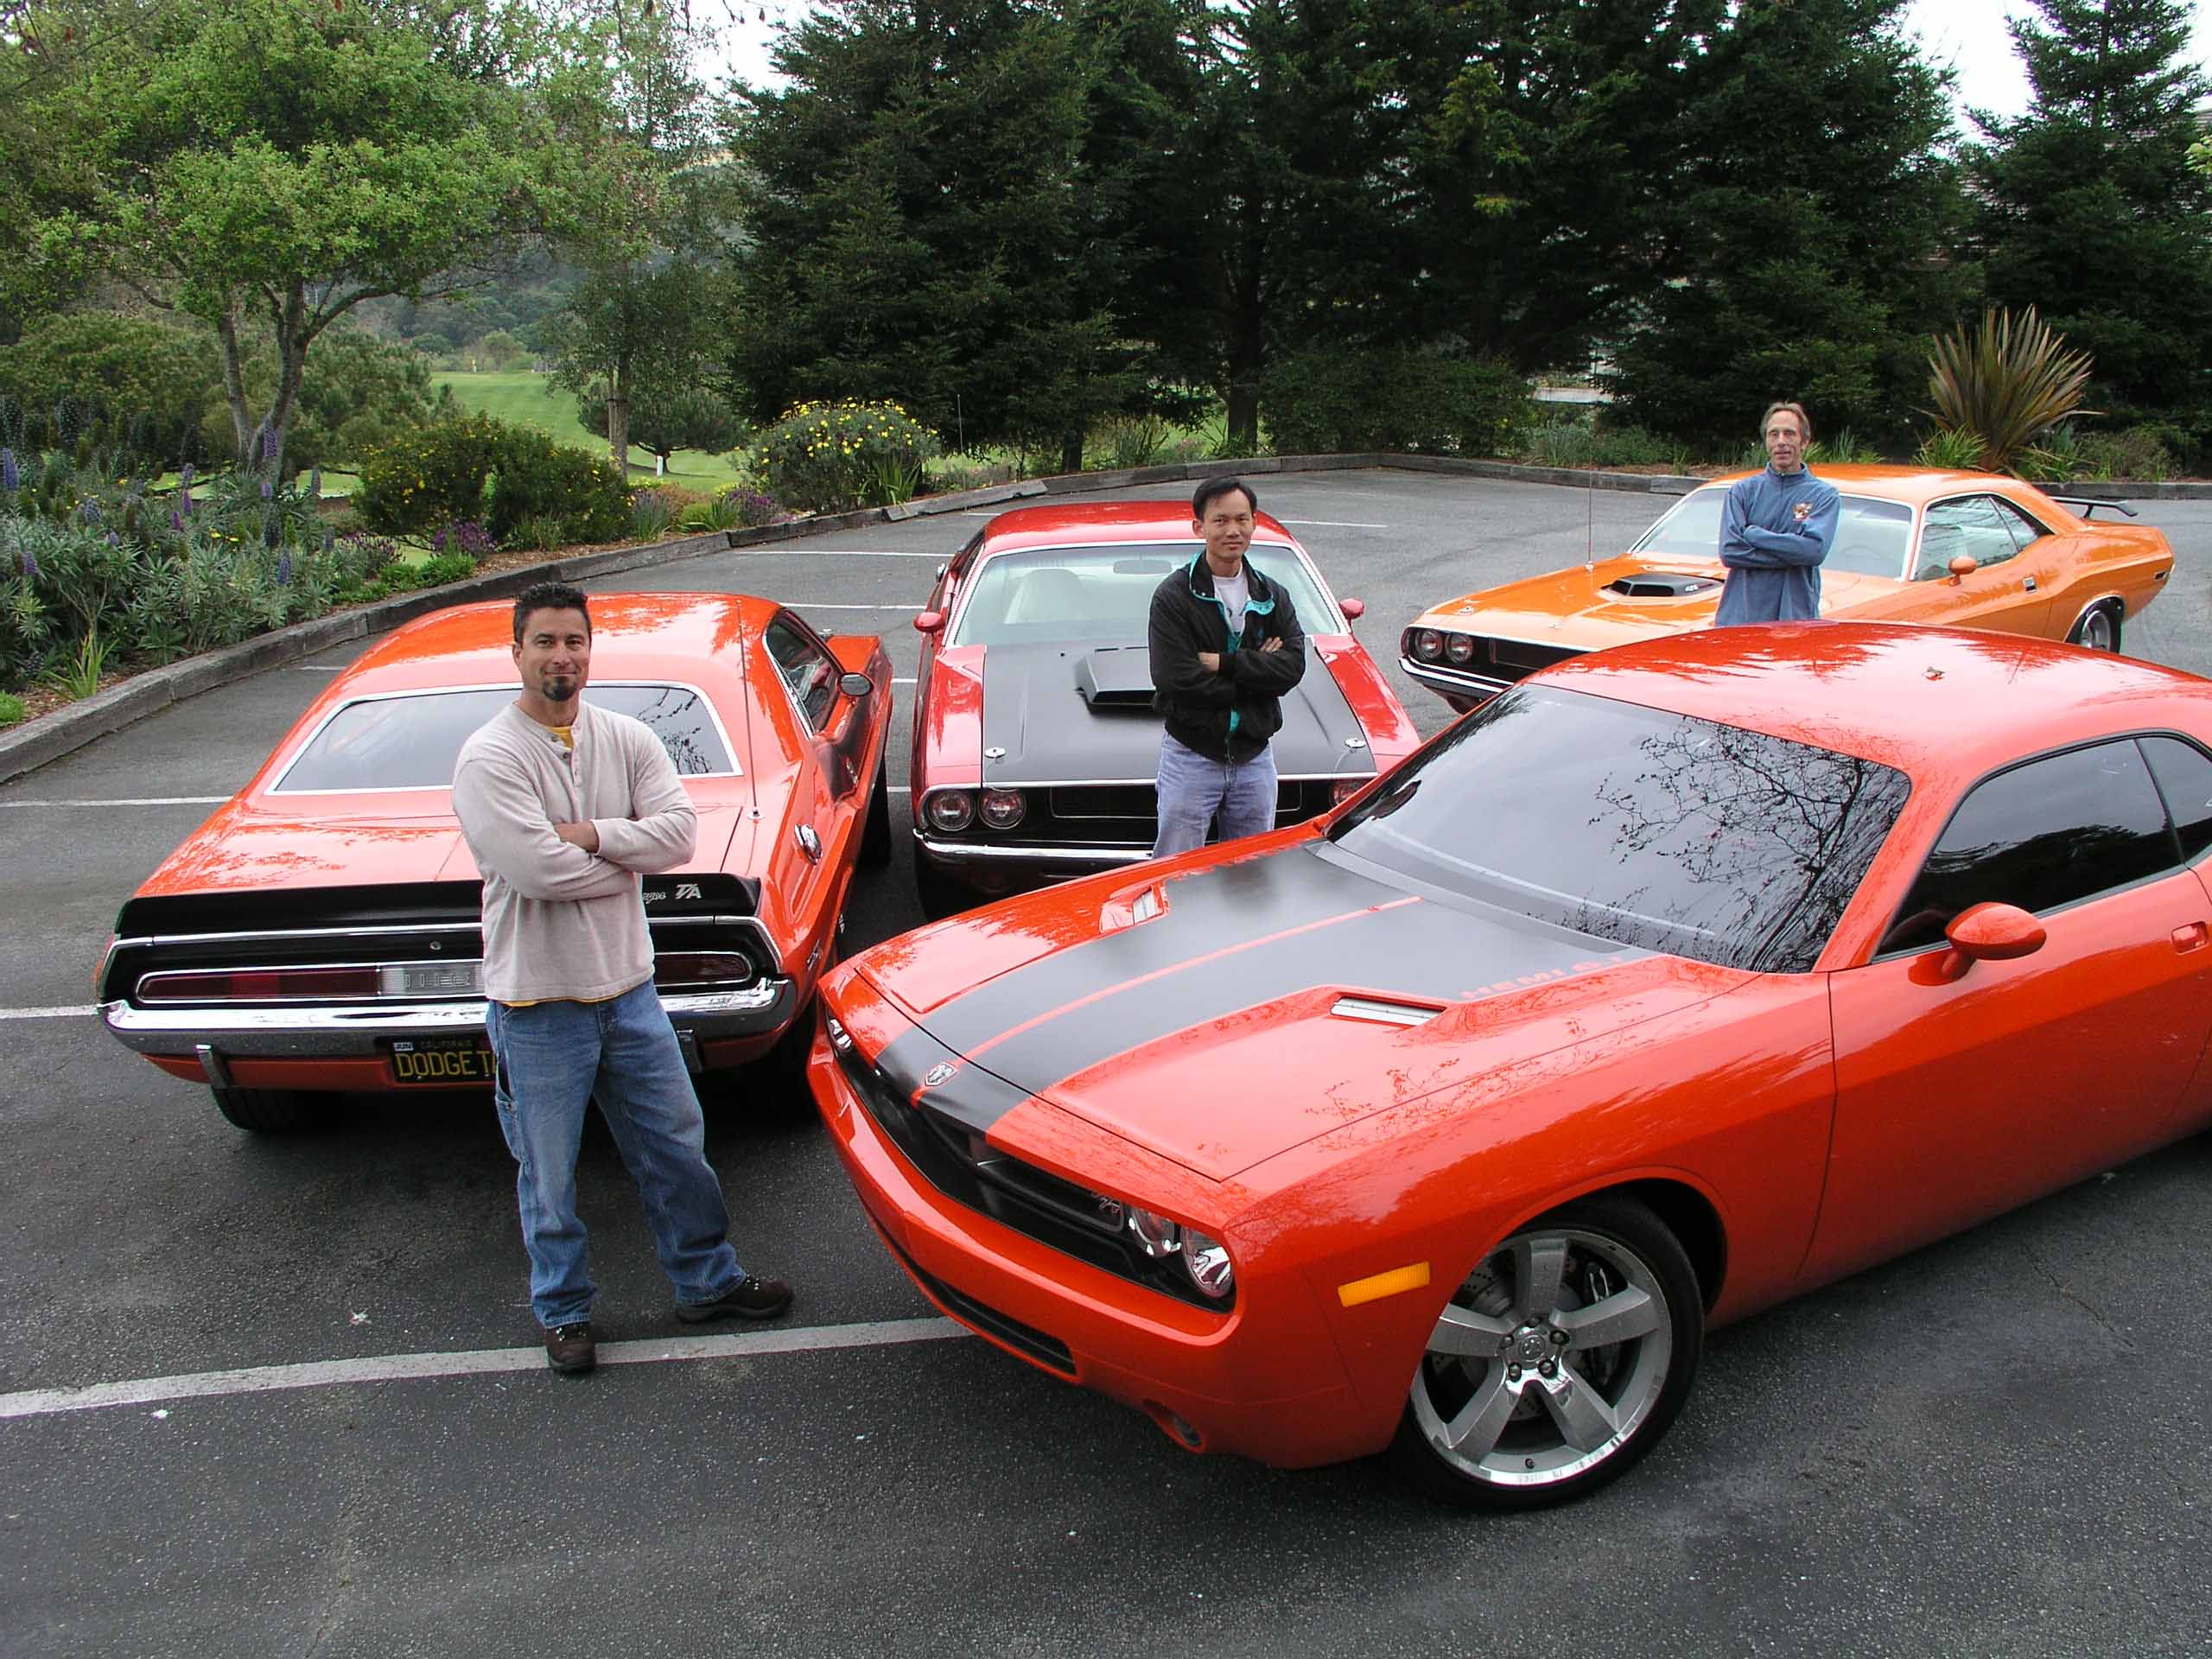
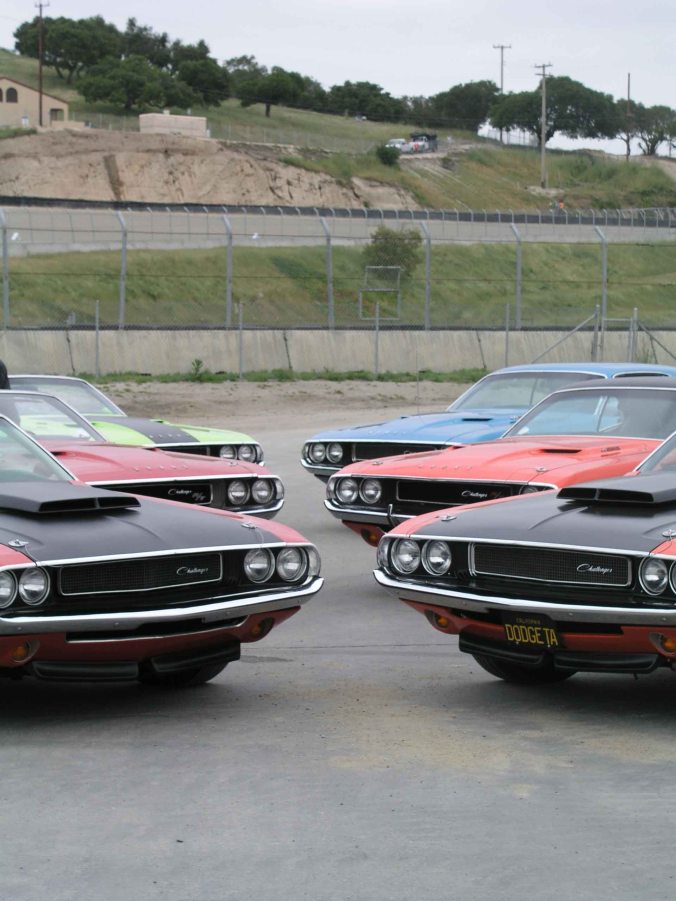
Instead we found a couple of parking areas, one in the infield. We tried multiple configurations of staging our Challengers, included is the group shot with all participants including the secret agent Chrysler guys who were traveling with the new experimental production vehicle. I can’t remember exactly, I think the prototype cost $4 Million?

After a very busy morning of shooting, I had to leave, rededicating myself to the study of Chinese Medicine of where I had a perfect attendance record (believe me, it was torture that I made myself to leave). I sacrificed going on a group cruise to Cannery Row and later to take my T/A with the two other vintage Challengers (a Hemi and and the other T/A) asked to continue on later to beautiful Big Sur for “on the road” shots the you can see in the linked article “Valid Concept.”
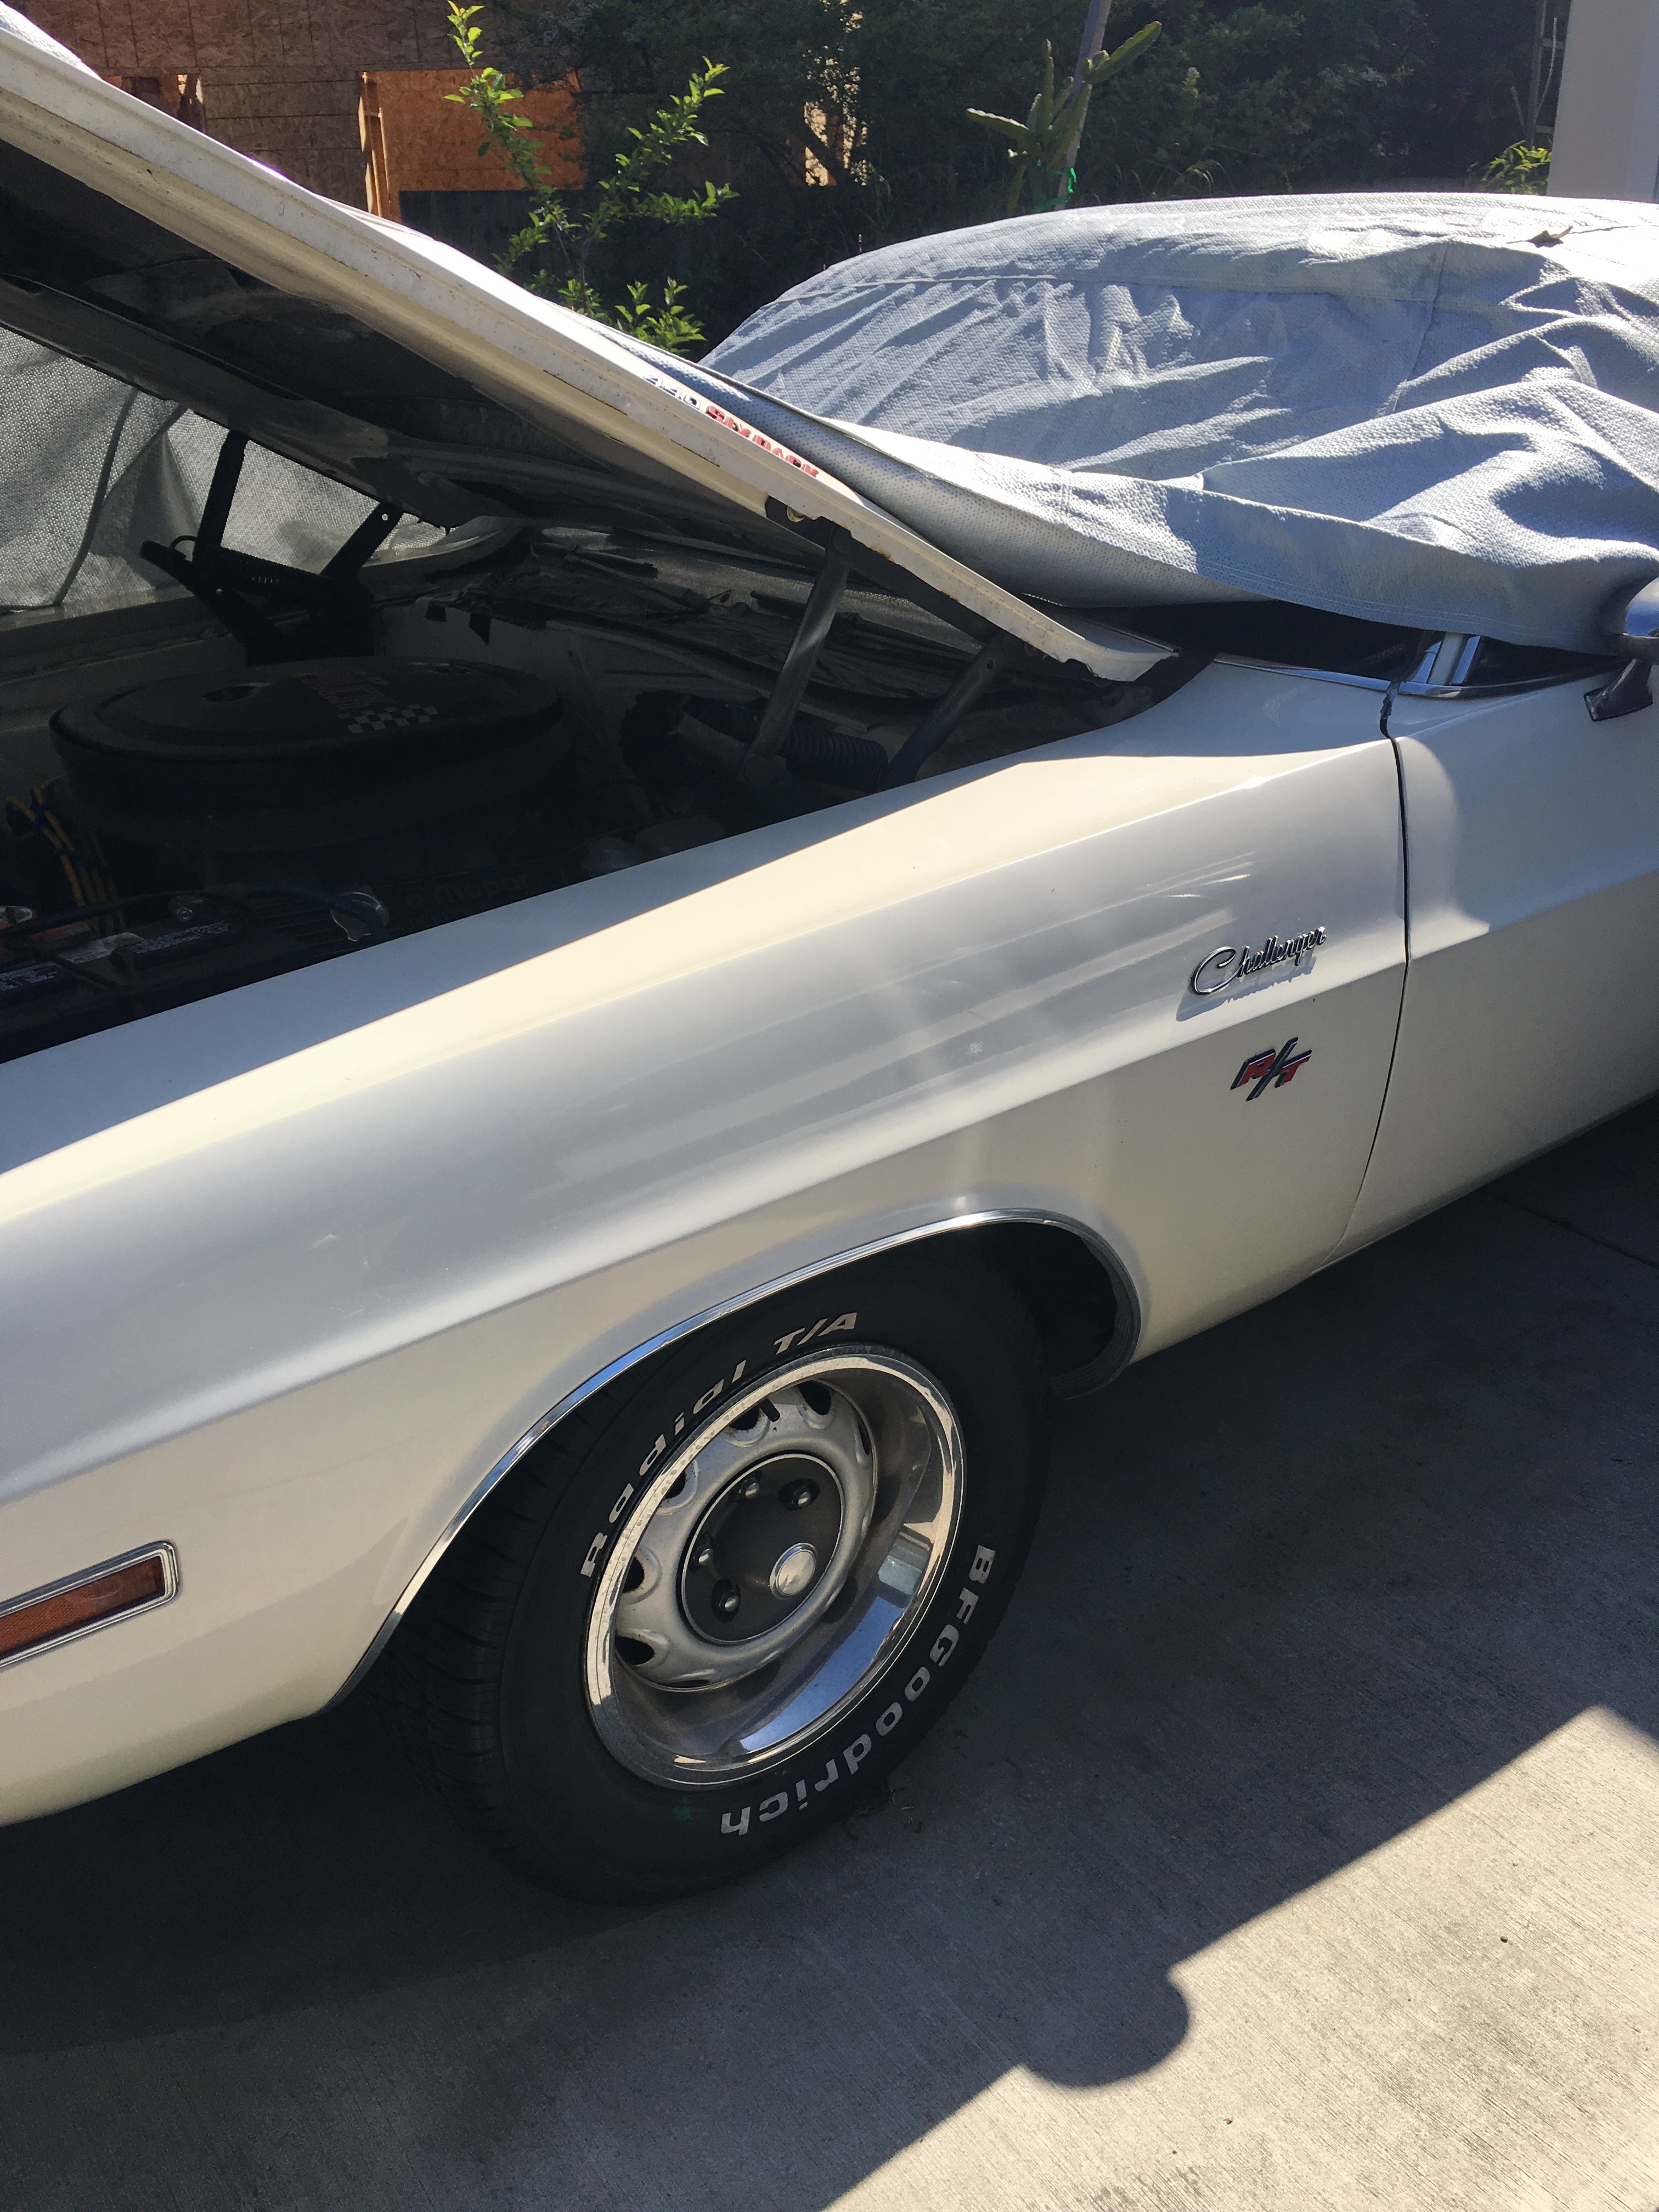
Now it’s 2016, I no longer have my Red T/A, and now all that is left are the memories, a few photos, this little article and my Acupuncture License. I can spend a life time needling myself out of this self-induced musclecar-deficient depression.
You can check out several photos below.
CKY

CLICK ON THE VALID CONCEPT IMAGE below TO GO TO RICH TRUESDALE’s ARTICLE FEATURING OUR THE CARS IN THIS BLOGPOST

+
+
+
PHOTO BLITZ with Captions
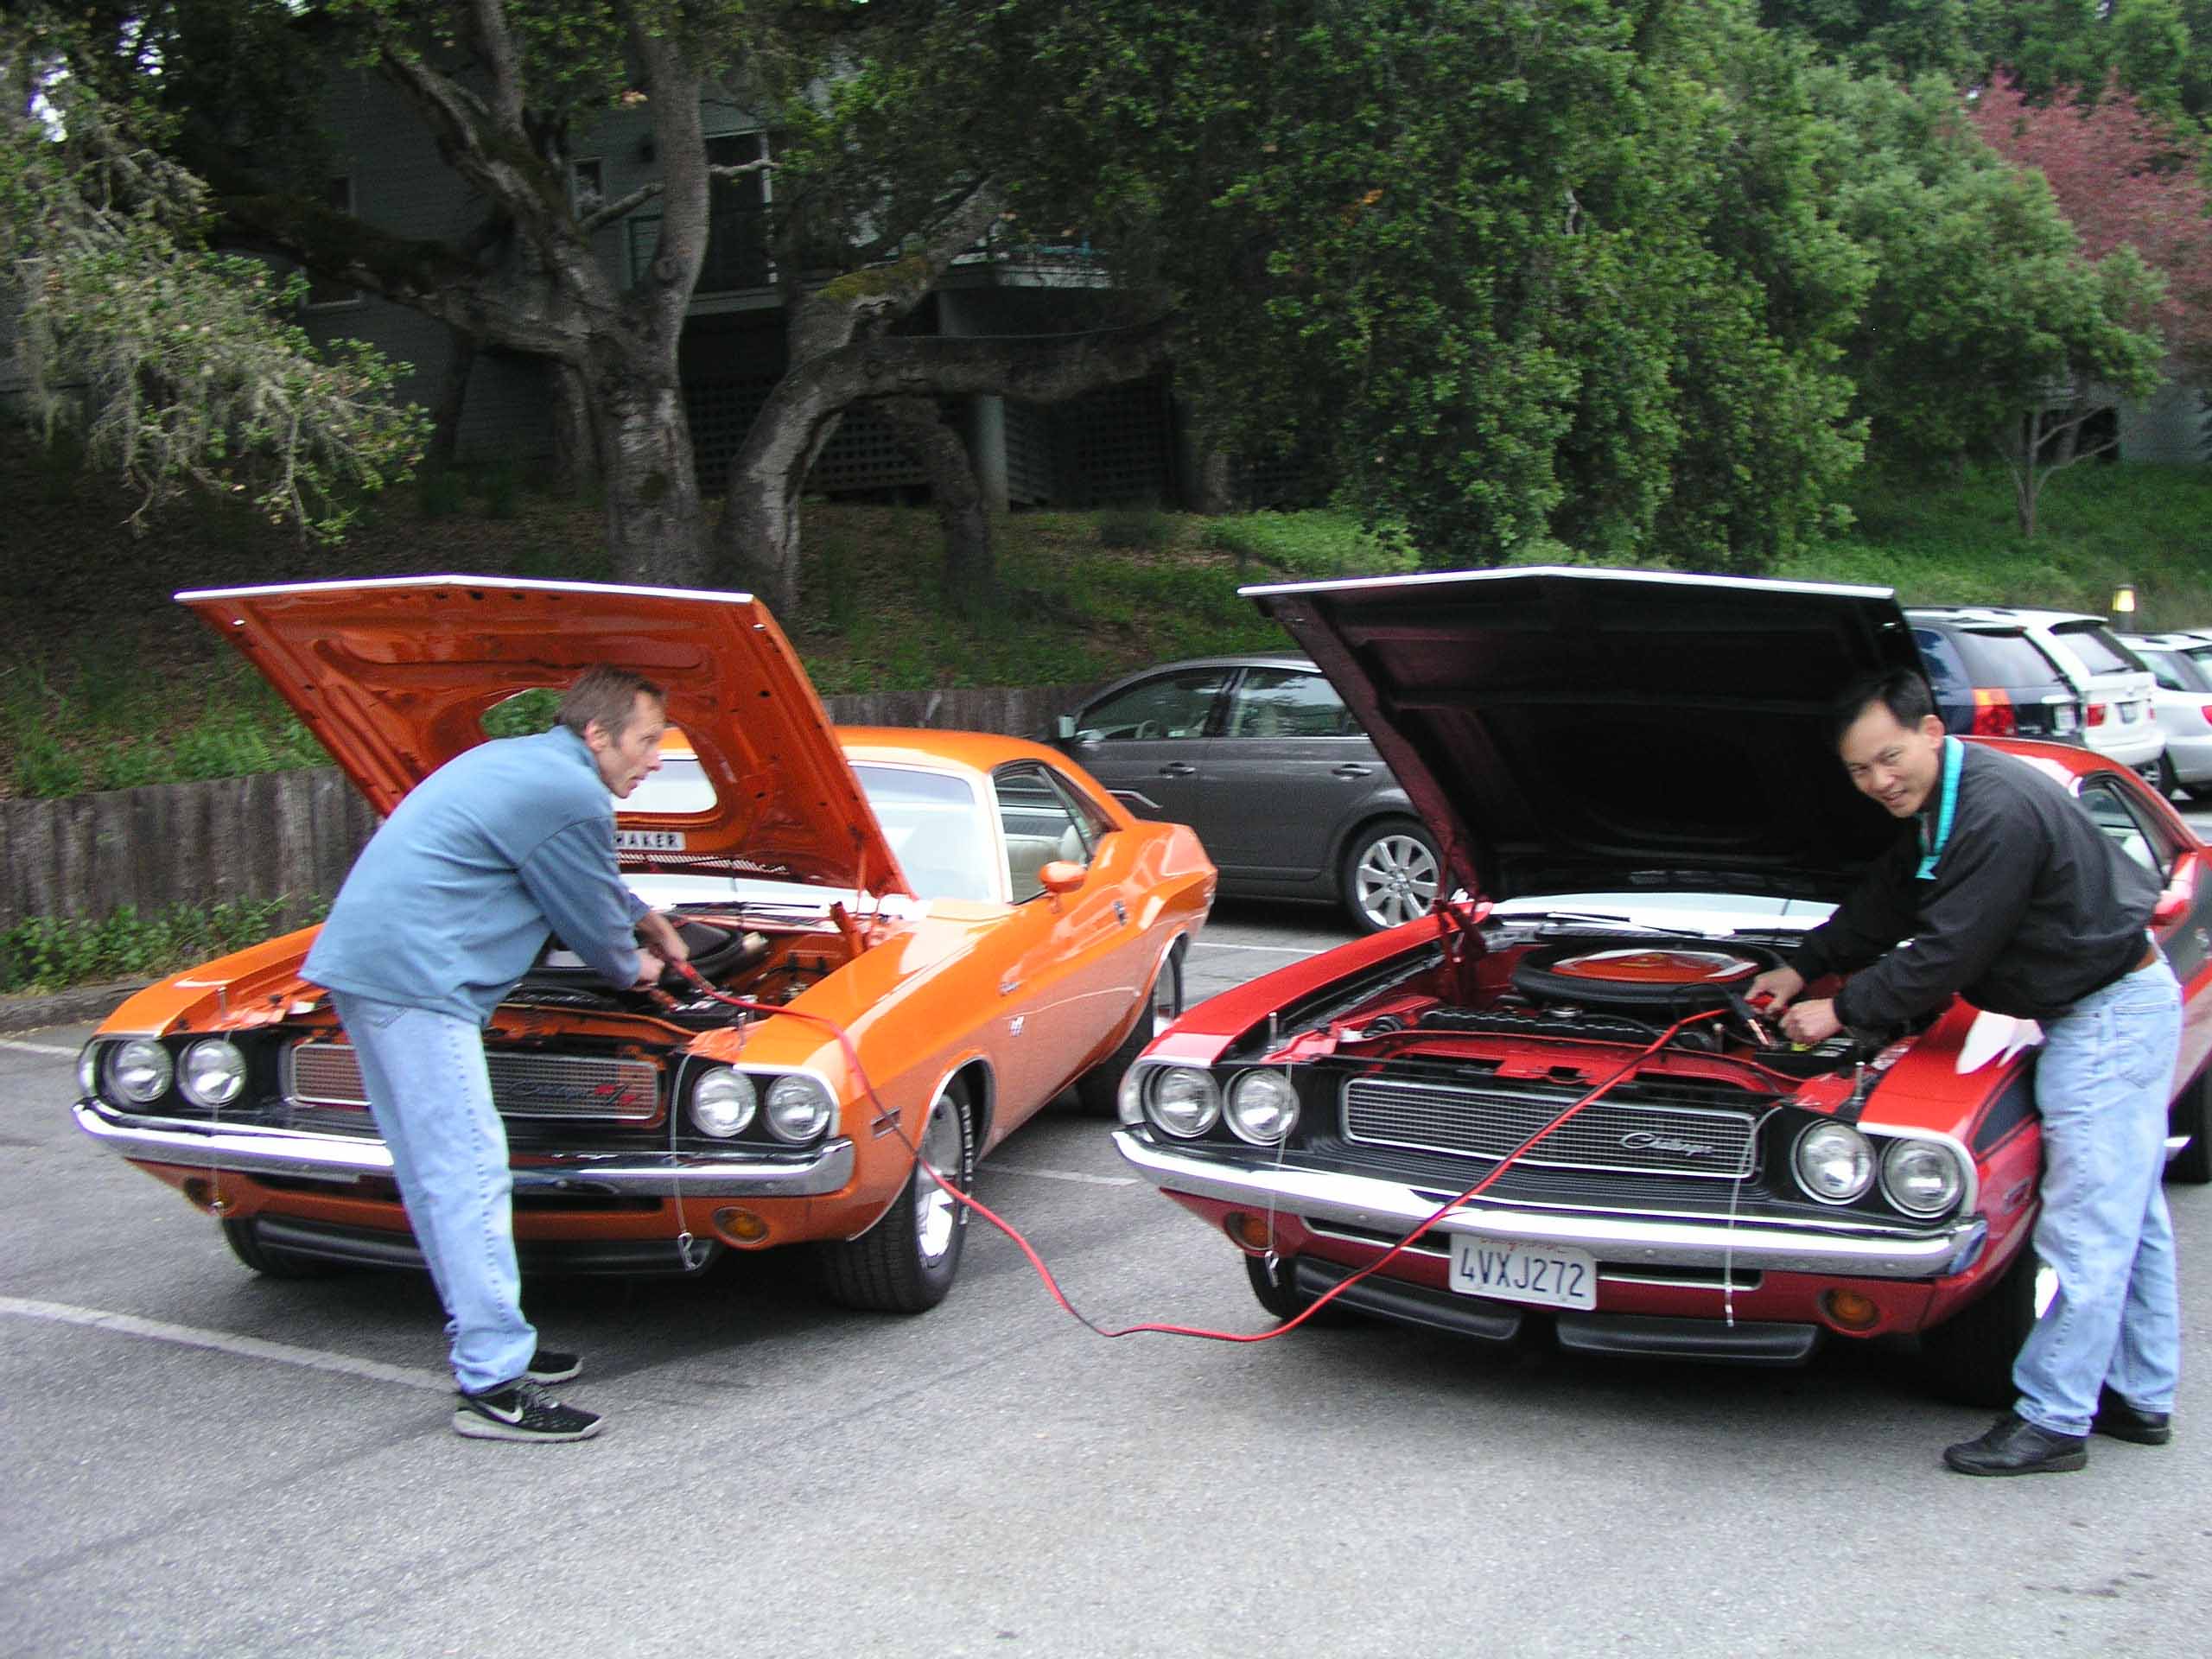
Early morning at the resort, helping a fellow Challenger owner jump start his semi with my unscathed vintage battery.

Photographer Truesdale loved this shot, two dudes screwing with their classic muscle cars. Me with my previously unscathed show battery terminals. Buzz Graves with his orange Hemi-Powered machine
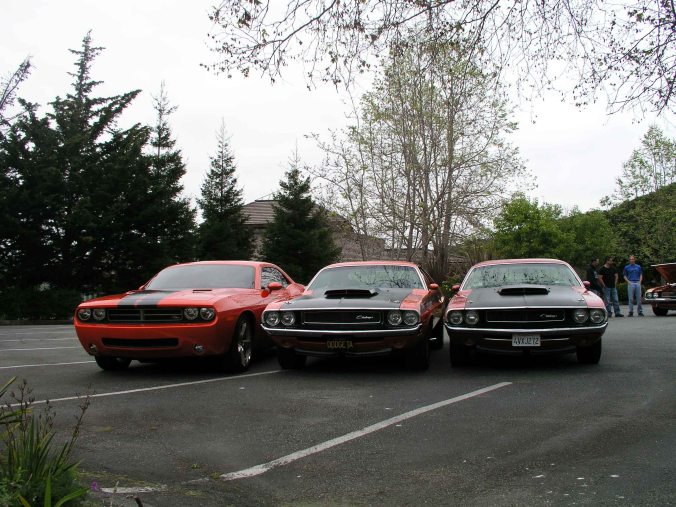
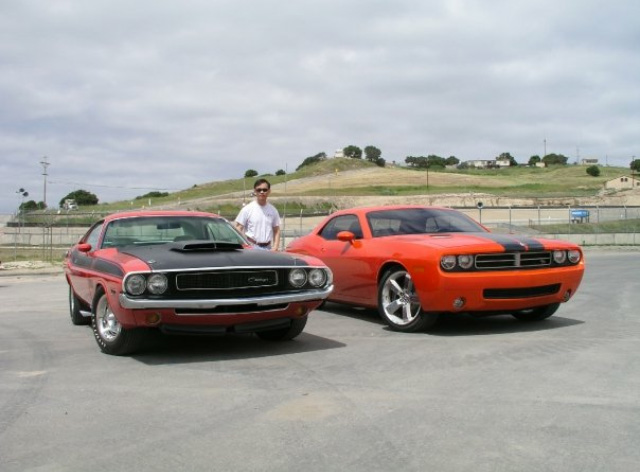
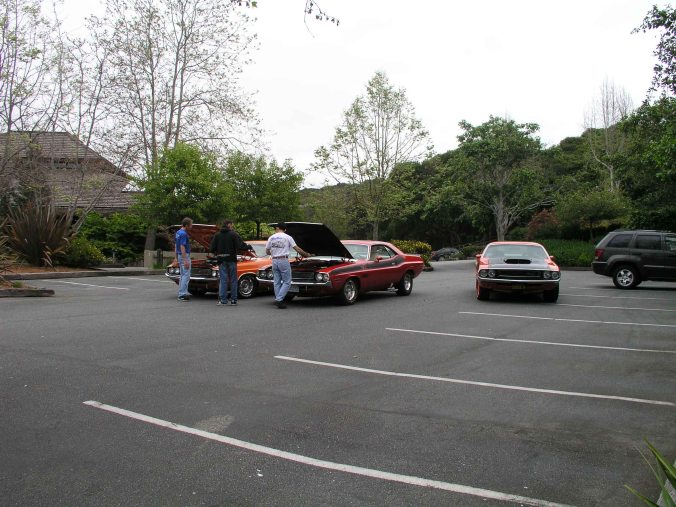
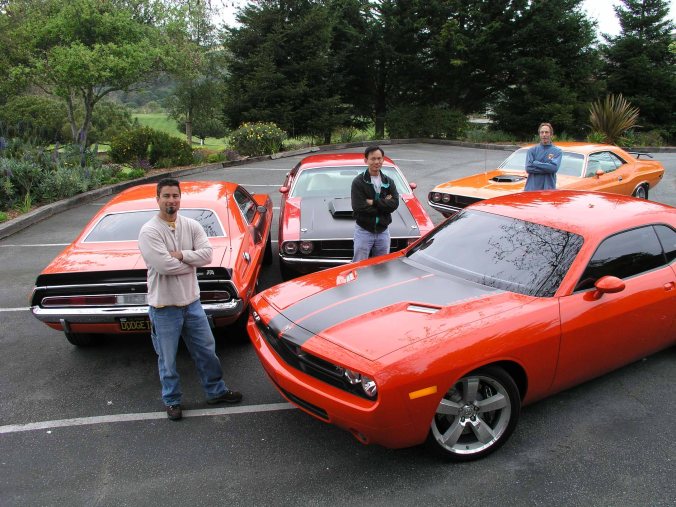
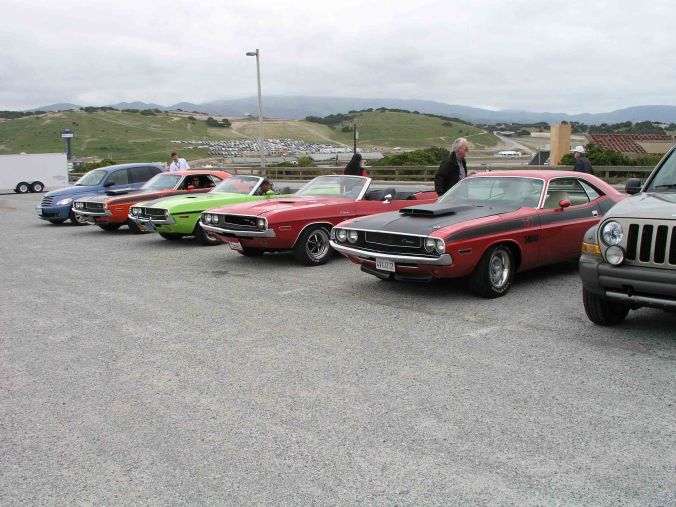
Dig it! The Prototype teams up with some real T/A Challengers.

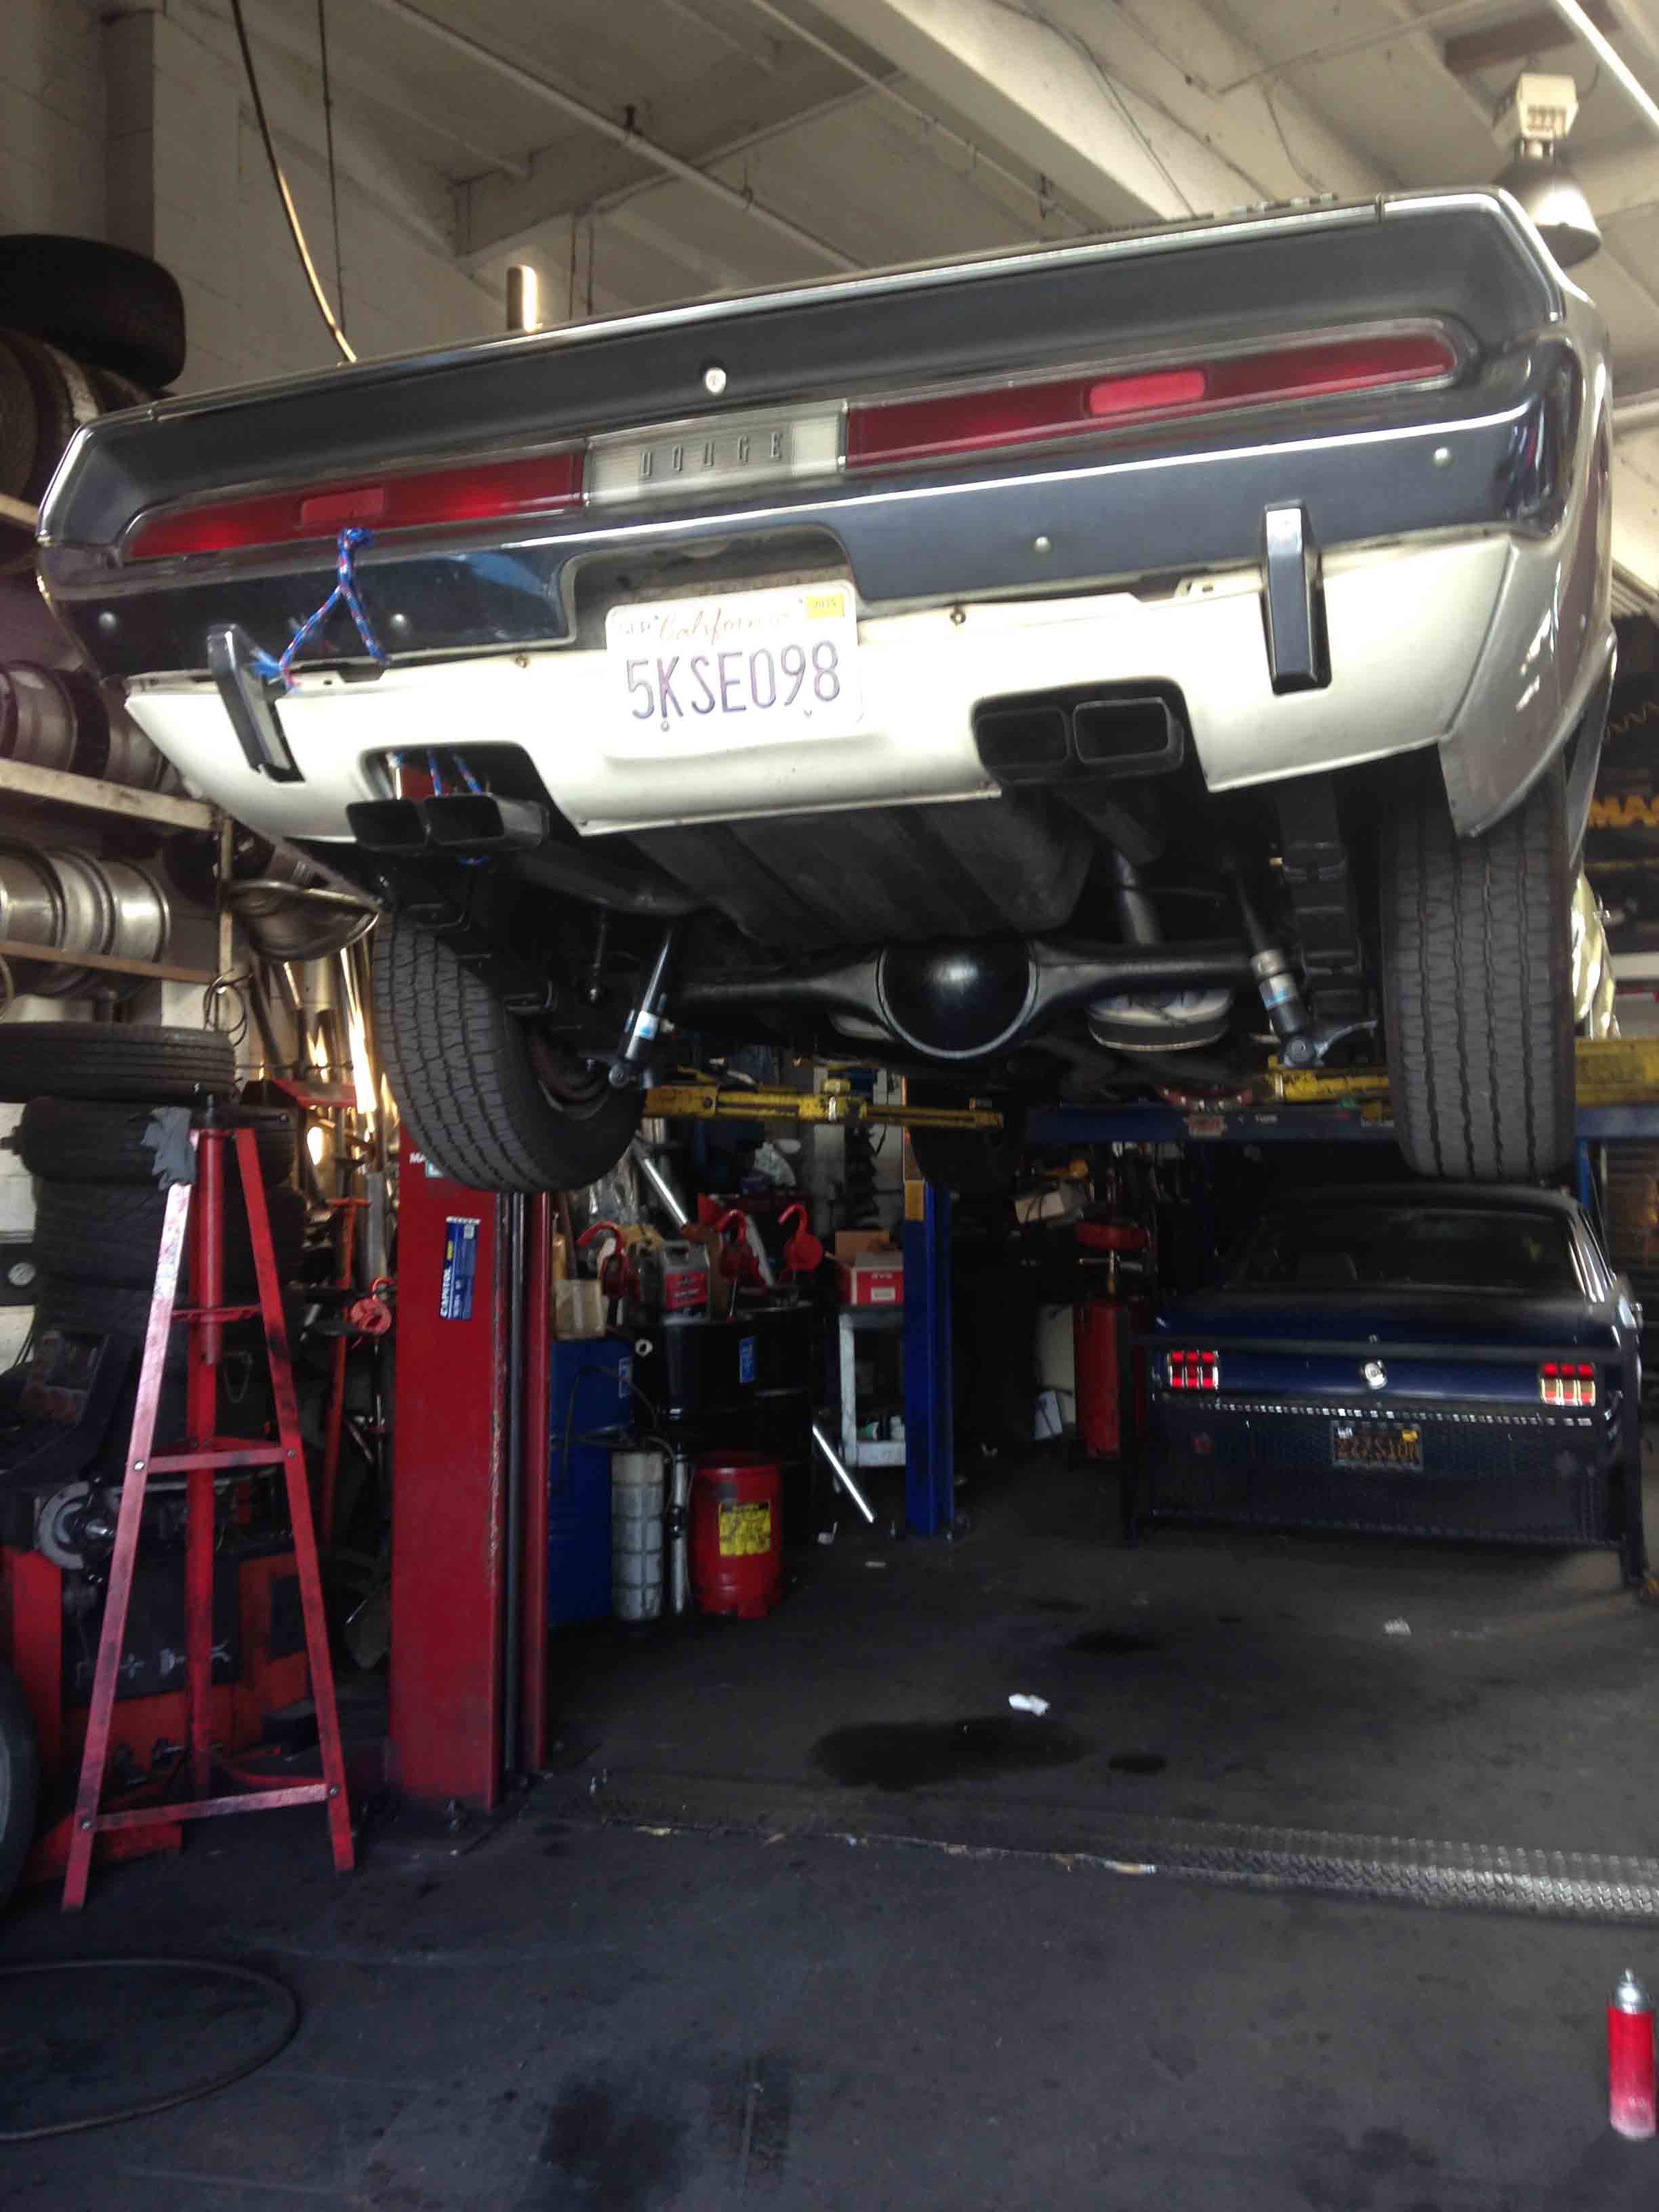
Rear end shot in one of the parking lots of Carmel Valley Ranch.

The Chrysler guys were joking about how we had to pack our cherished cars together, remembering the many times they’ve had to cram cars together at the factory. My friend Rock is in the background. Yes, we had to hide in our cars while the shots were made.
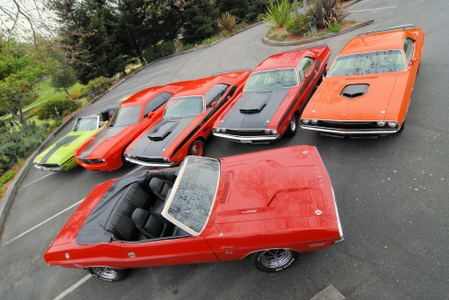
What do you do with a bunch of vintage Challengers? Make a sales ad.
Secret Agent from the Chrysler Plant

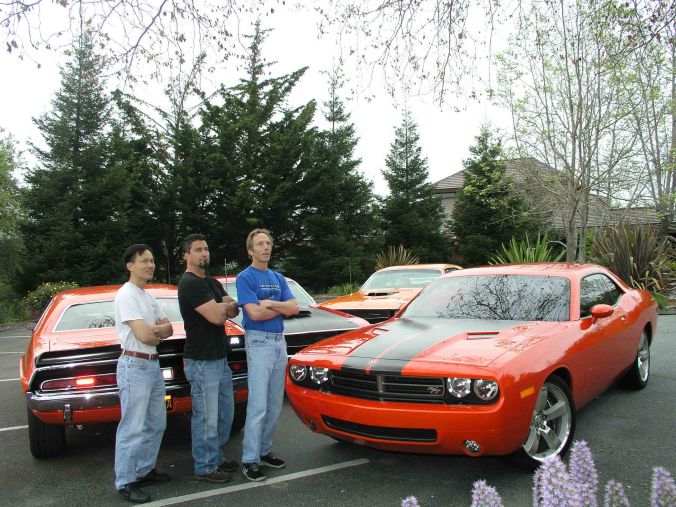
The Three Amigos, Reno Debon, Challen Yee, and Buzz Graves with the HEMI Shaker.
Get back to your cars, Let’s try it this way
No, let’s try it this way… no that way…

So this is how you get some of those weird shots. Don’t forget your athletic cup.
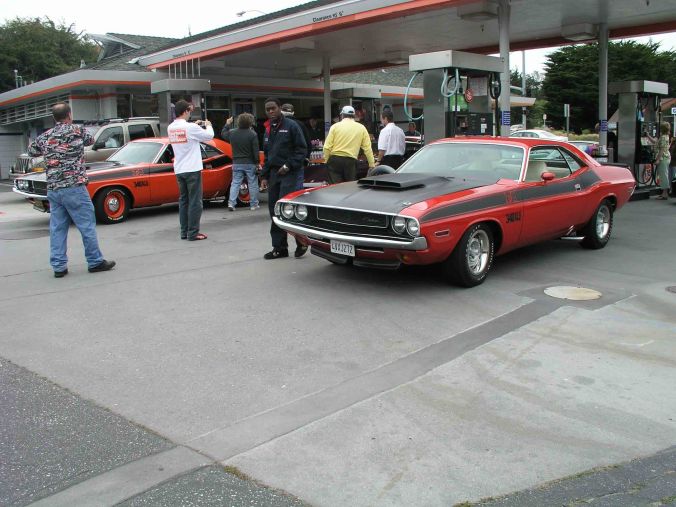
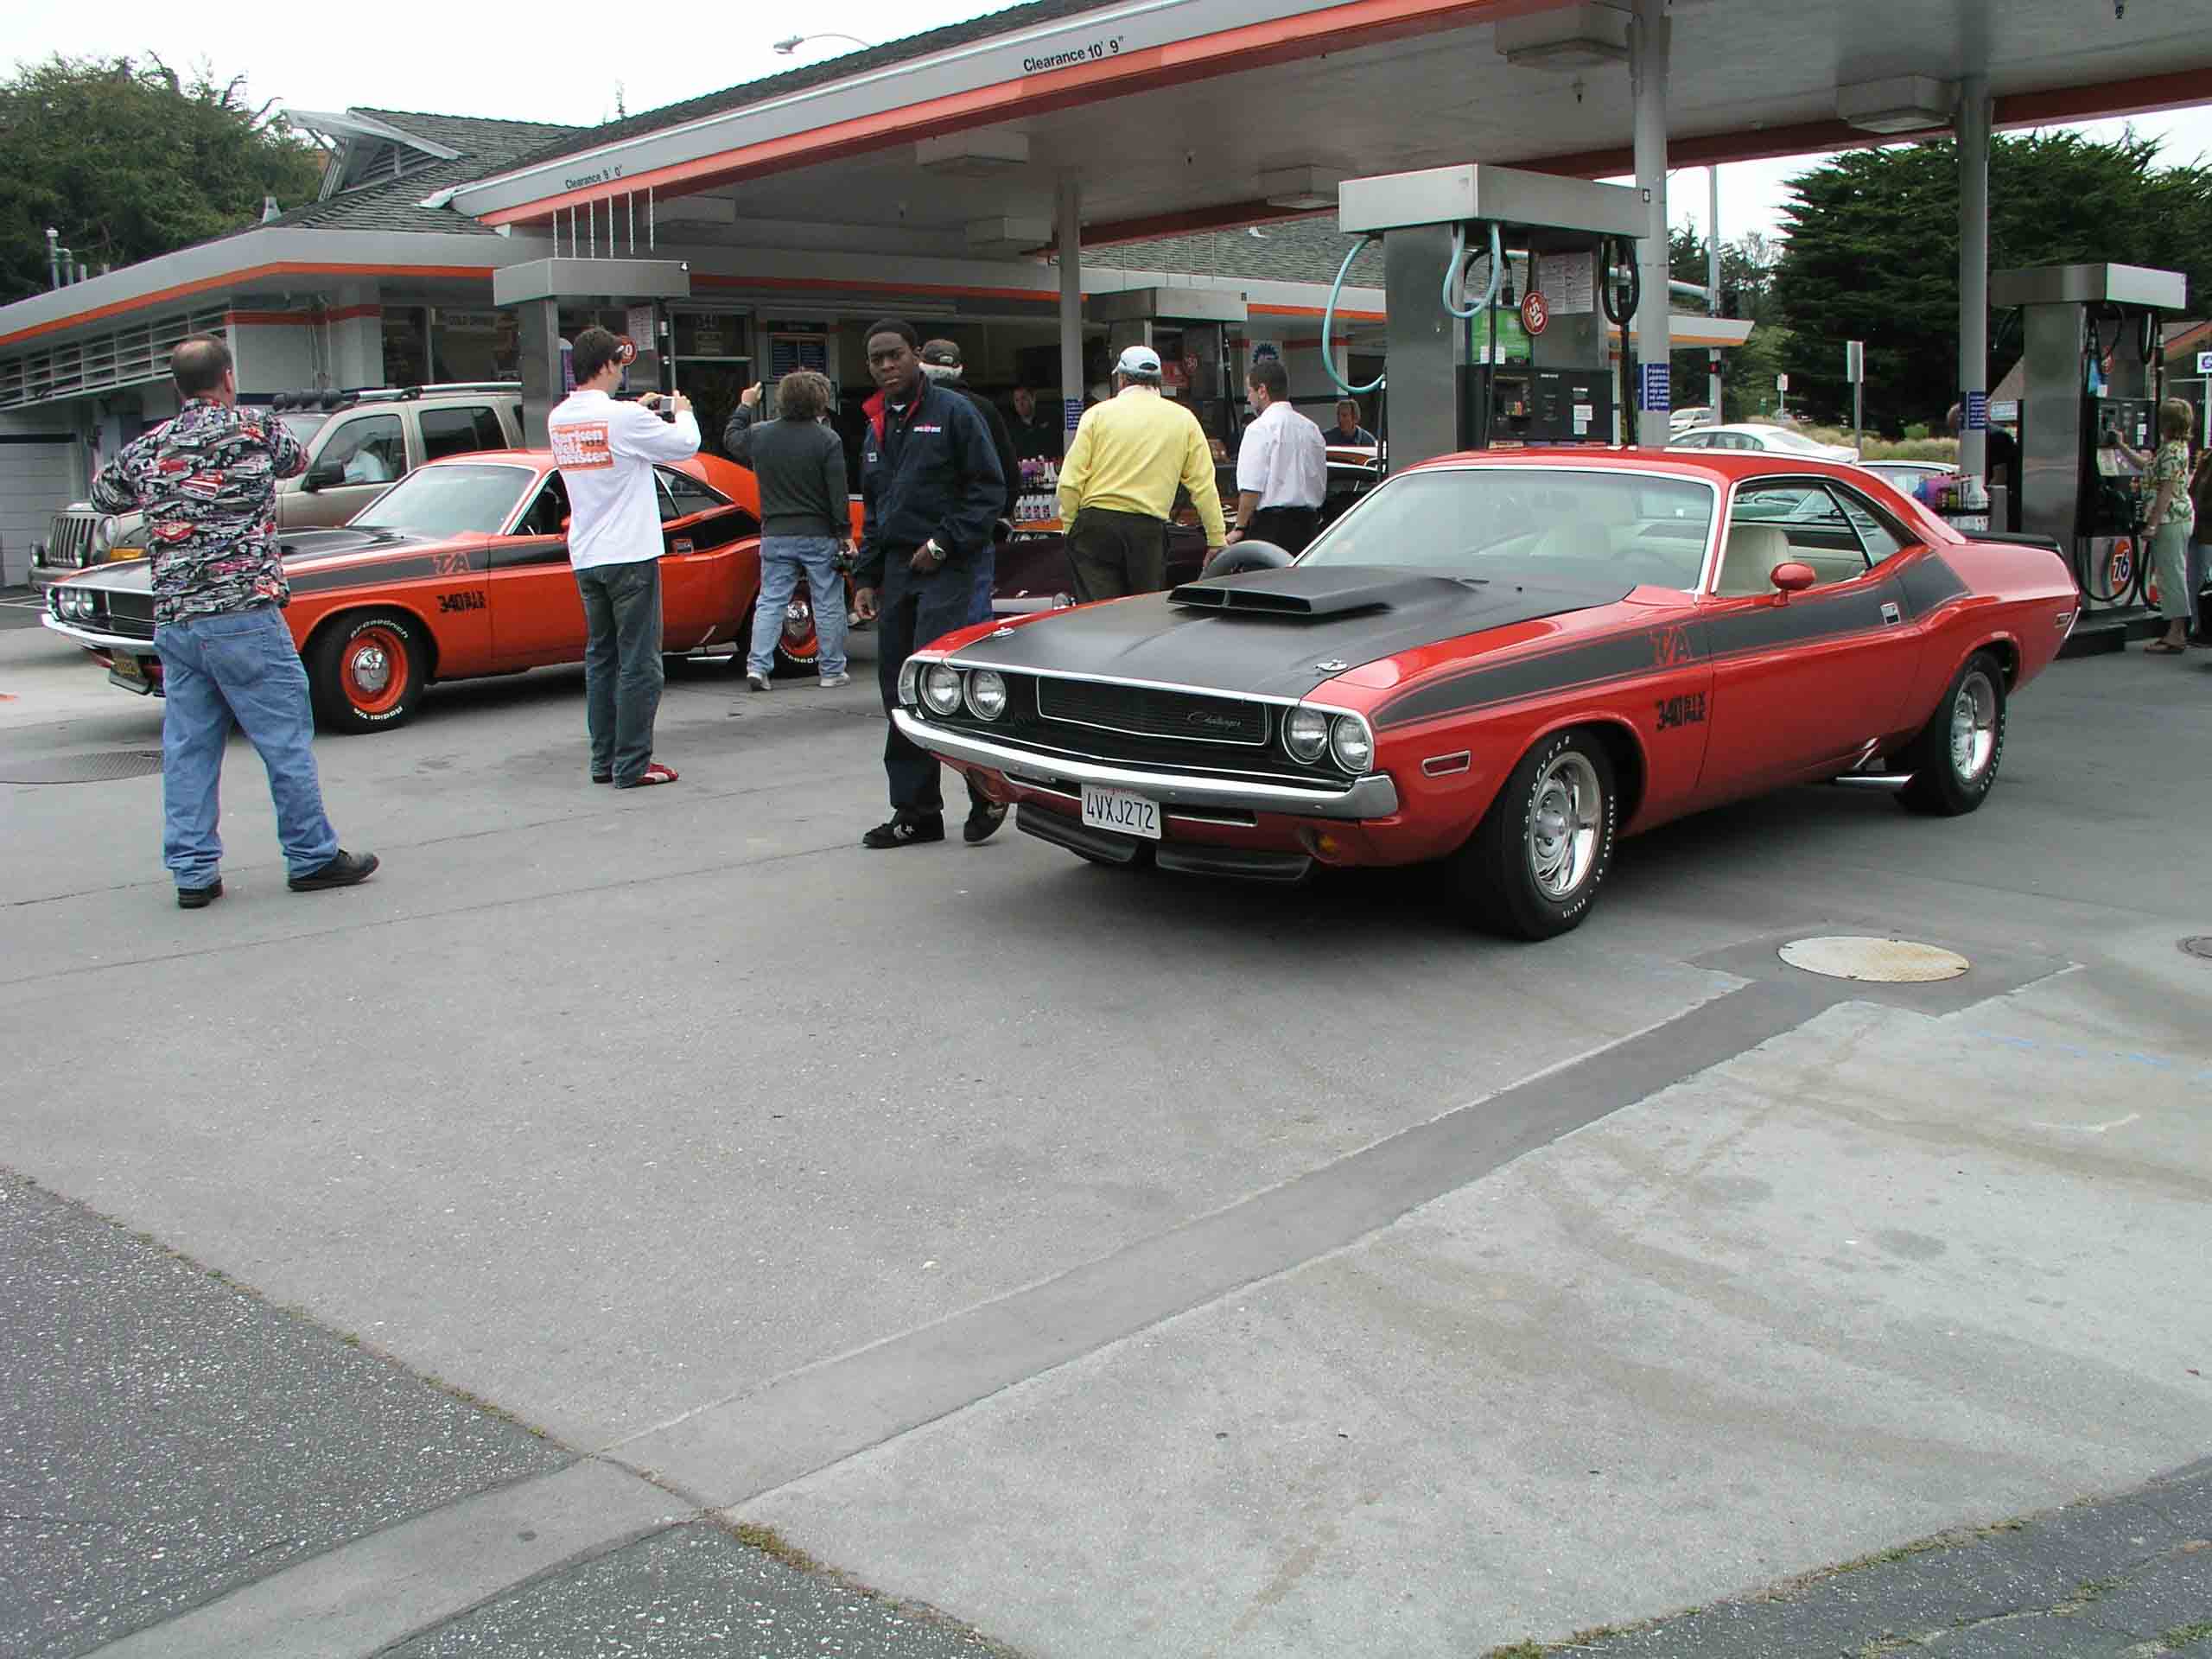
Let’s fuel up and head to the race track. Nice way to attract attention.

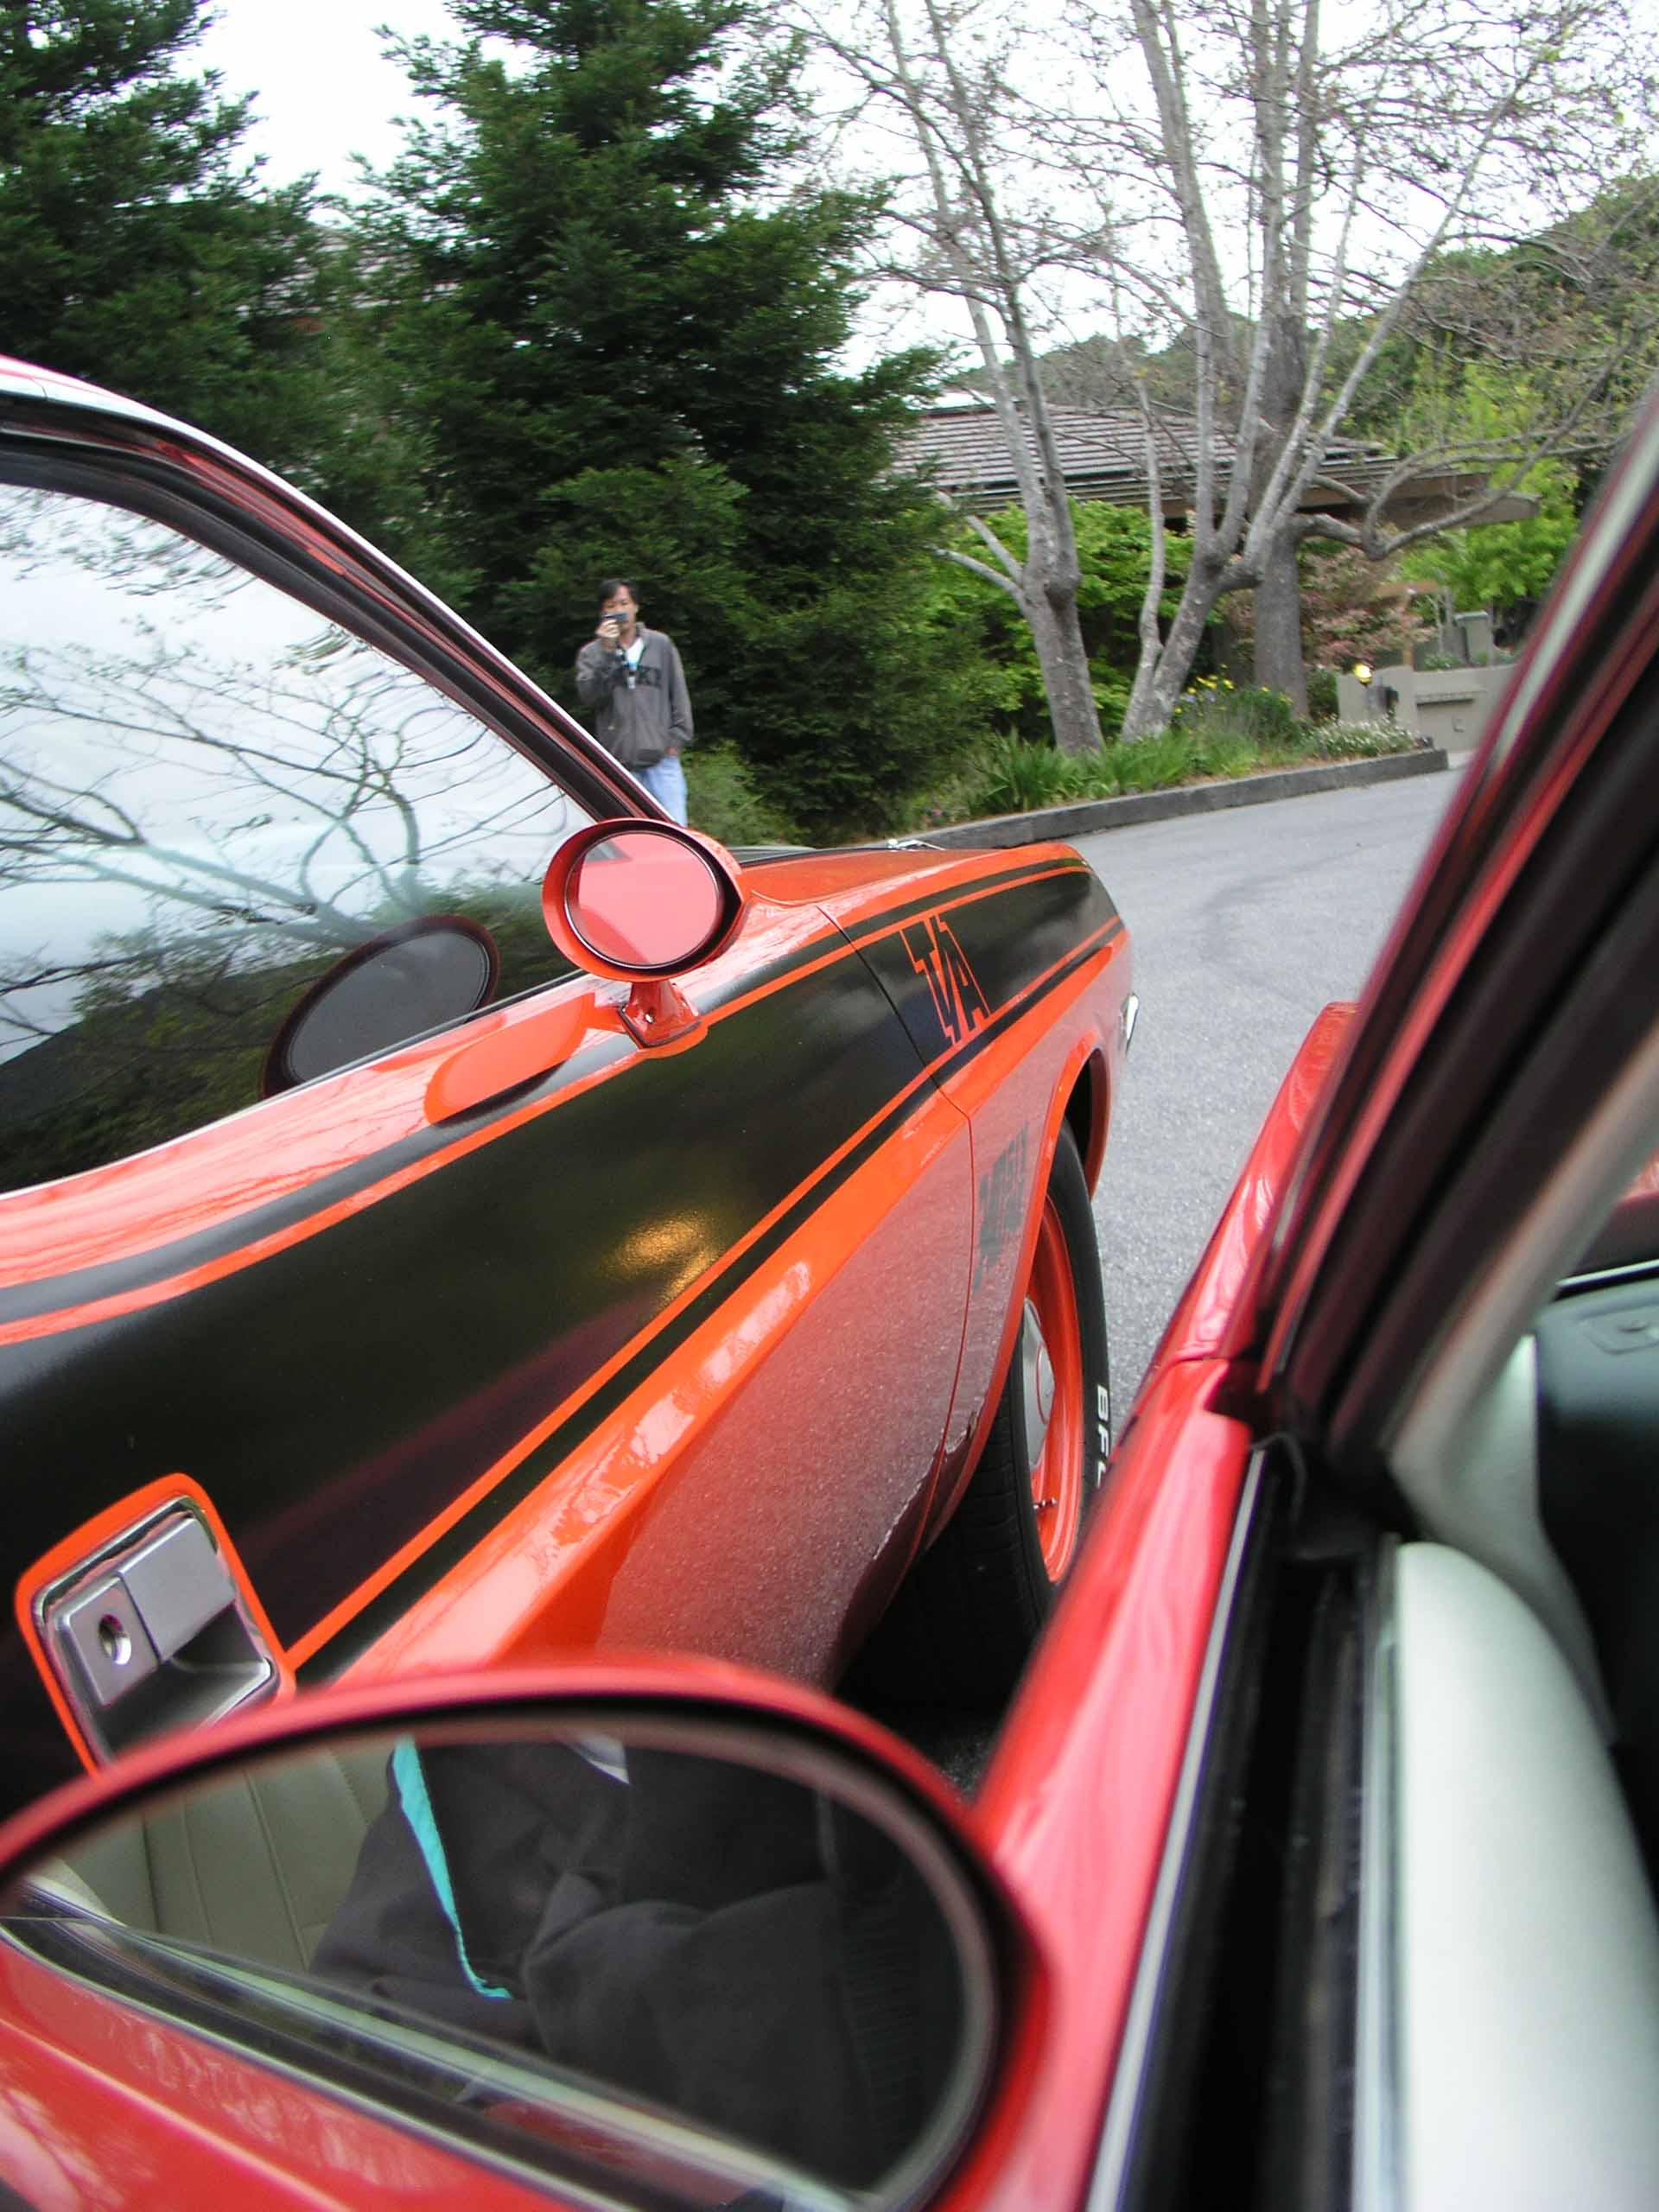
Reno Debon’s T/A

We’re on the roll
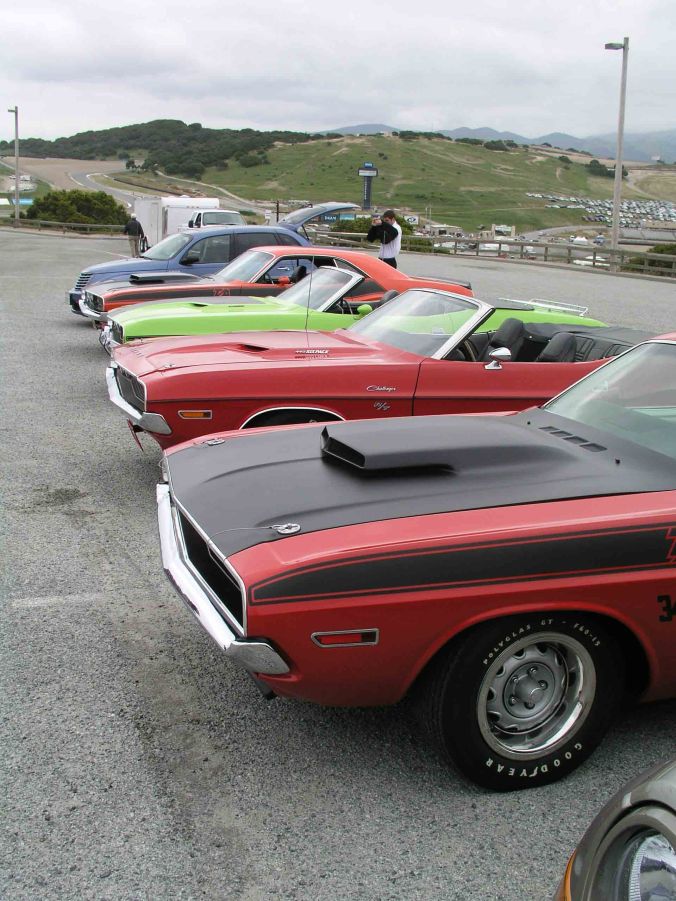
Overlooking Laguna Seca
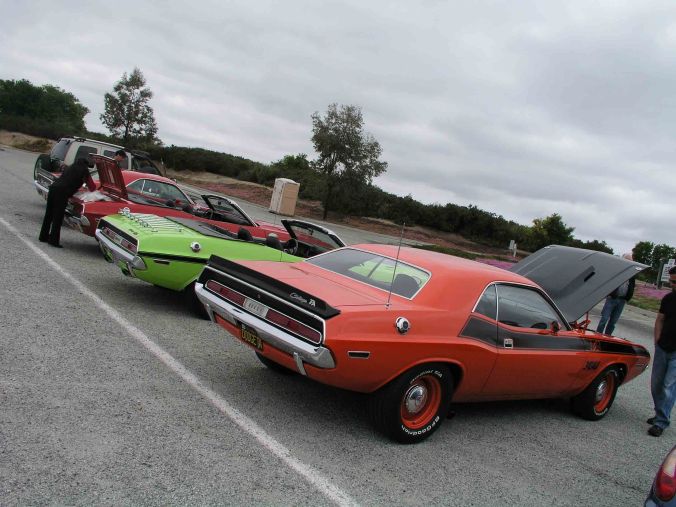
Laguna Seca parking area
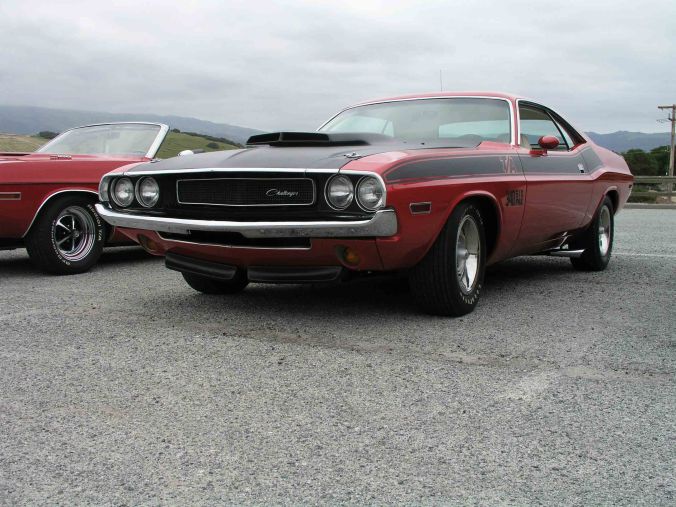
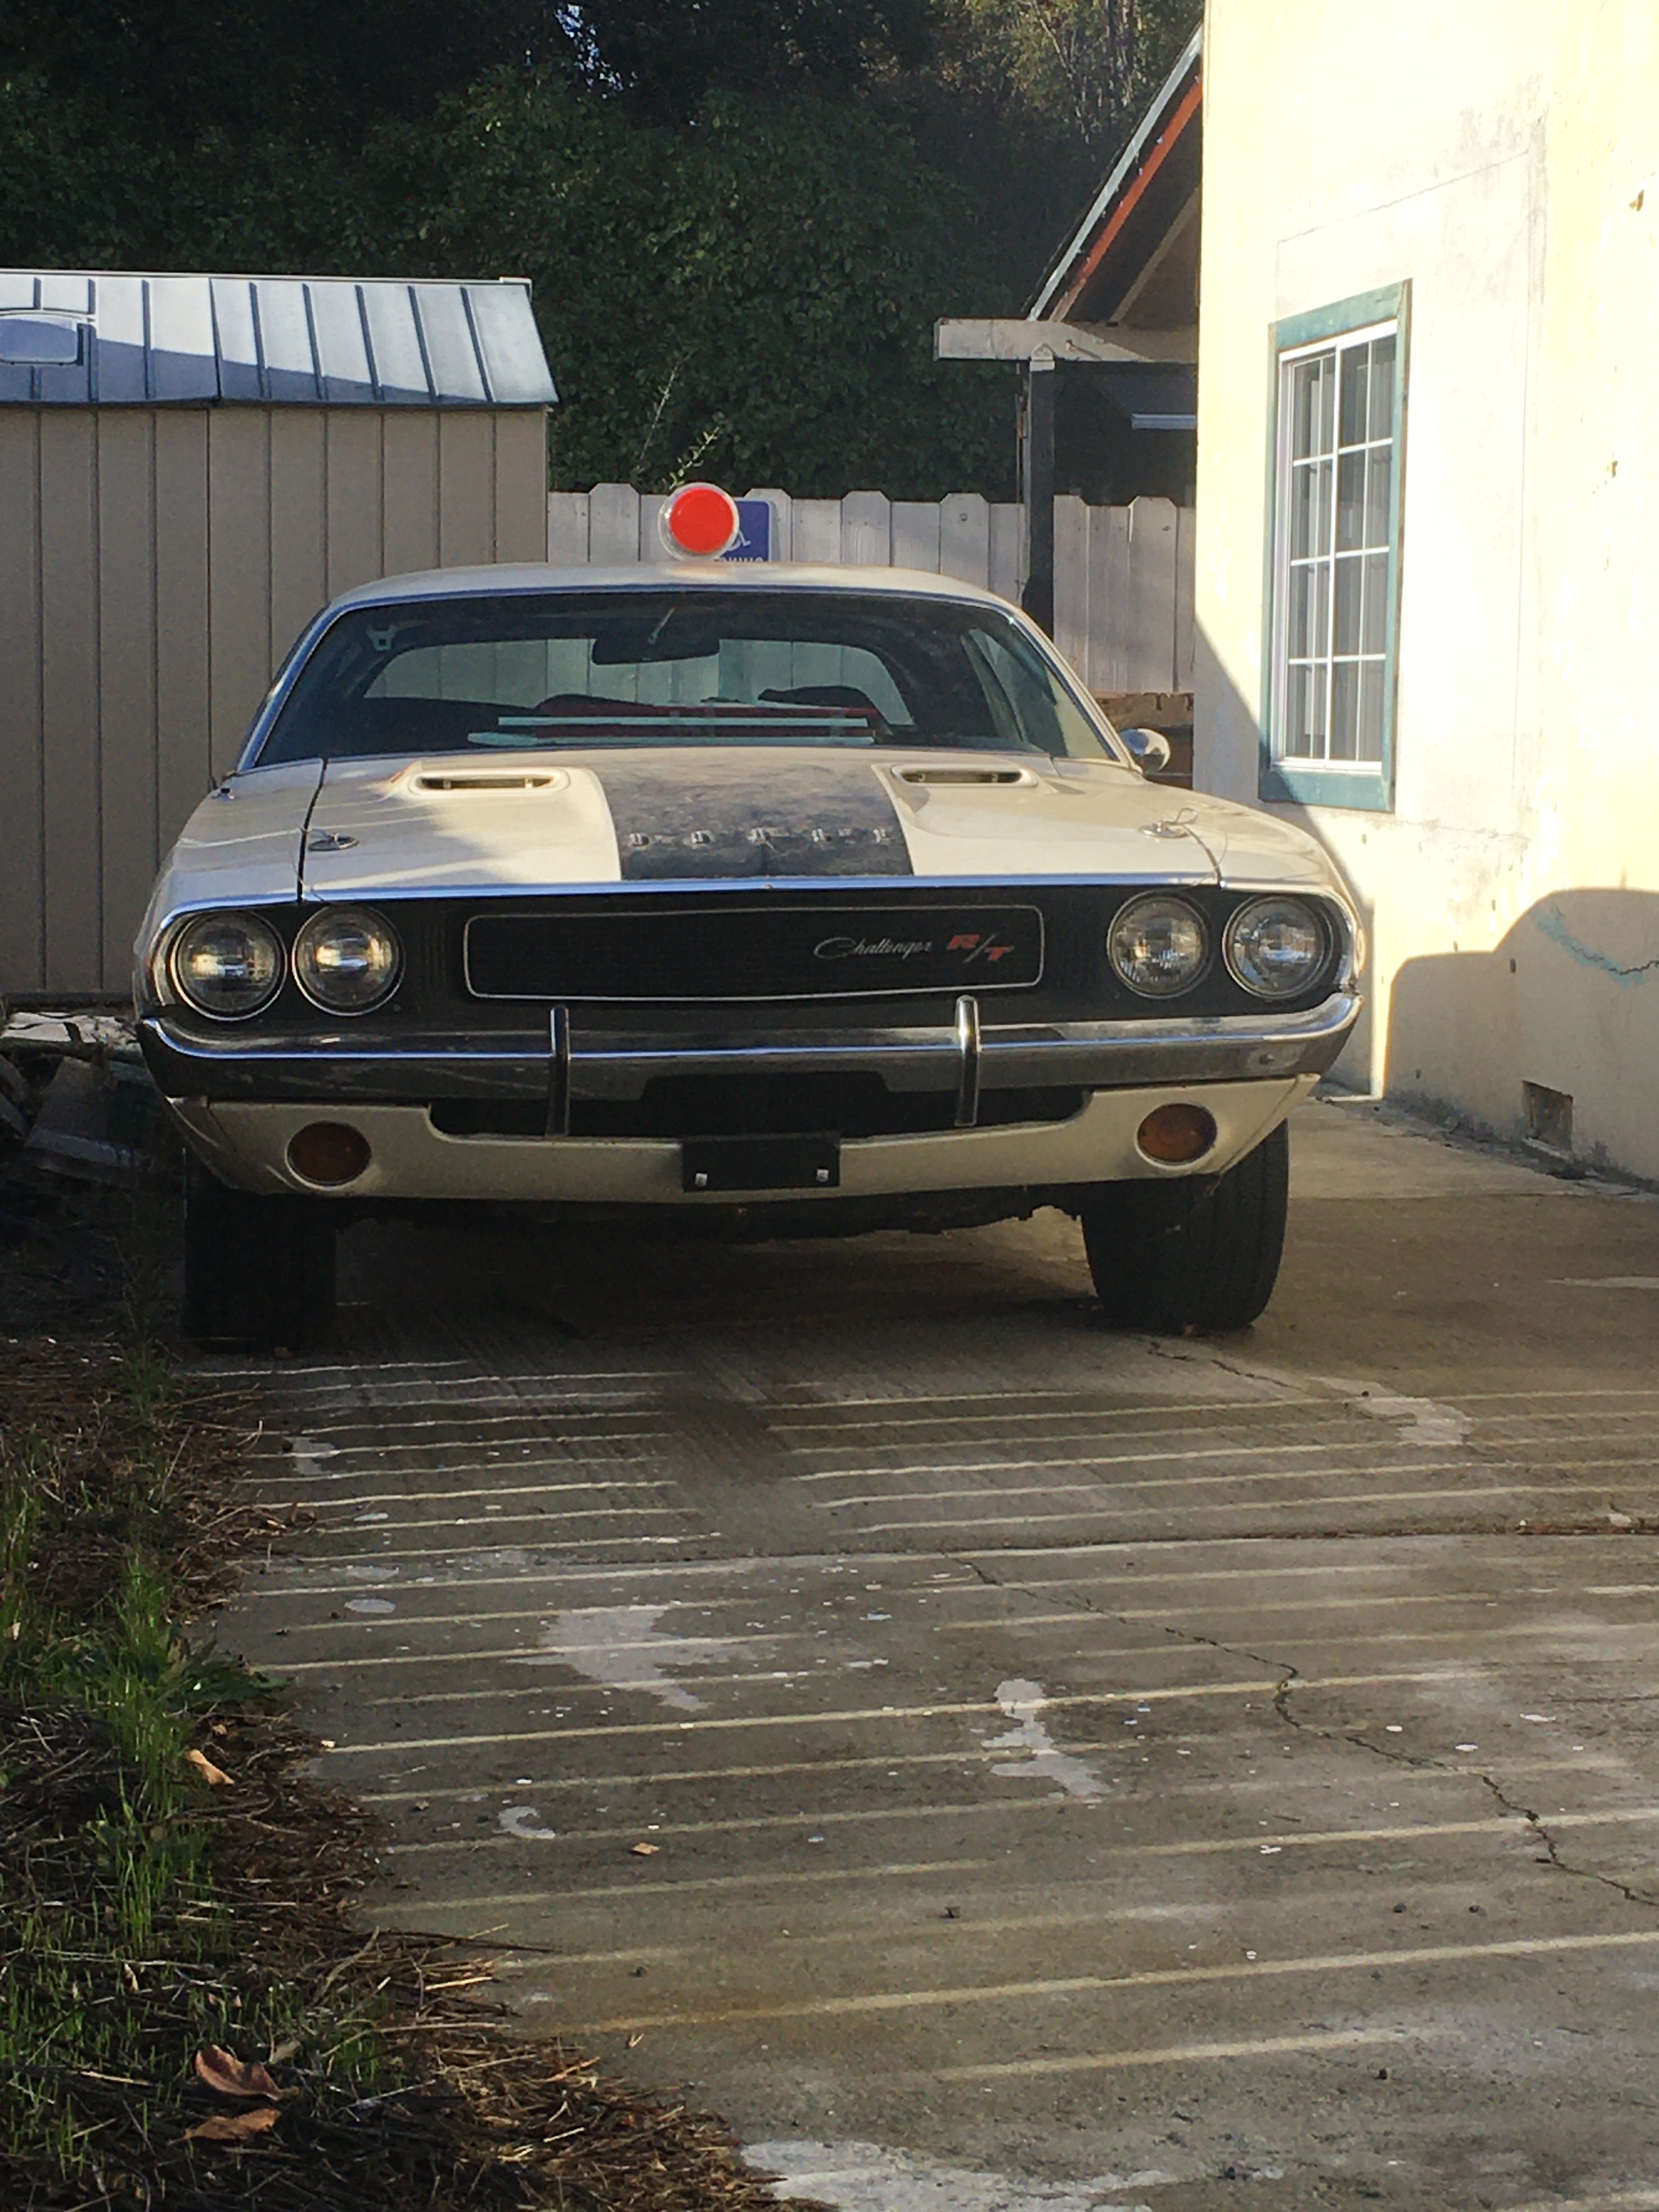
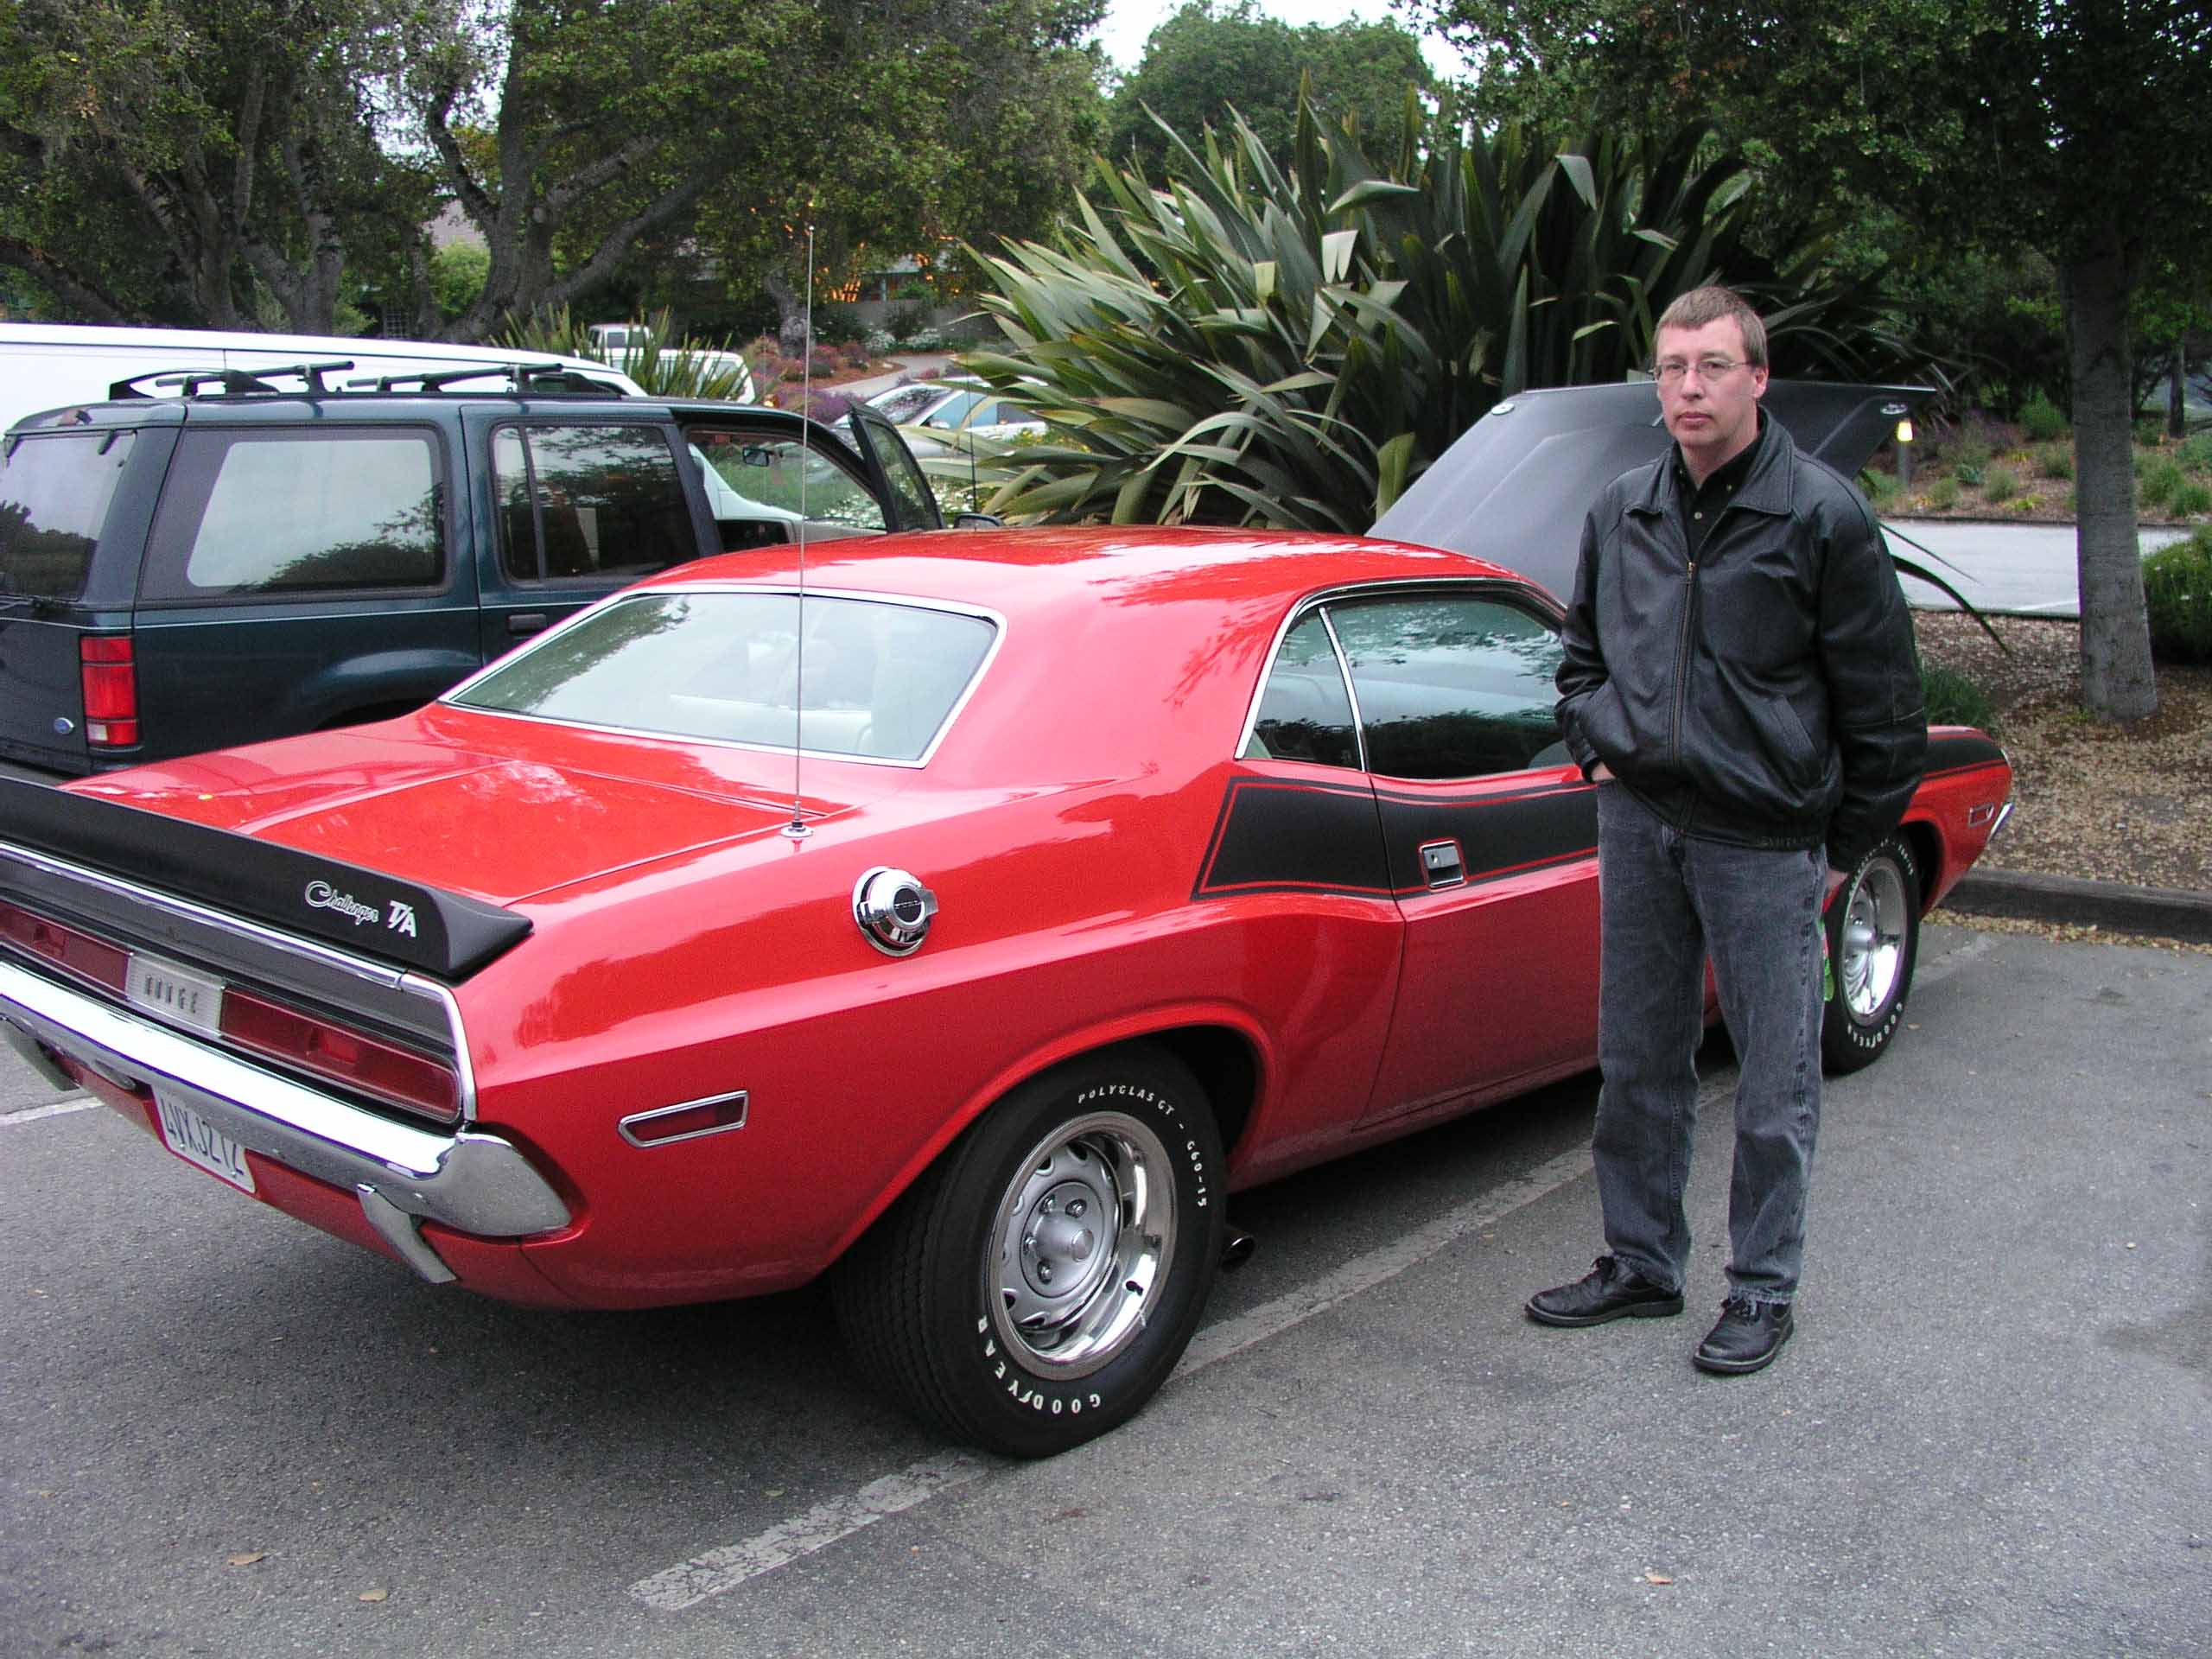
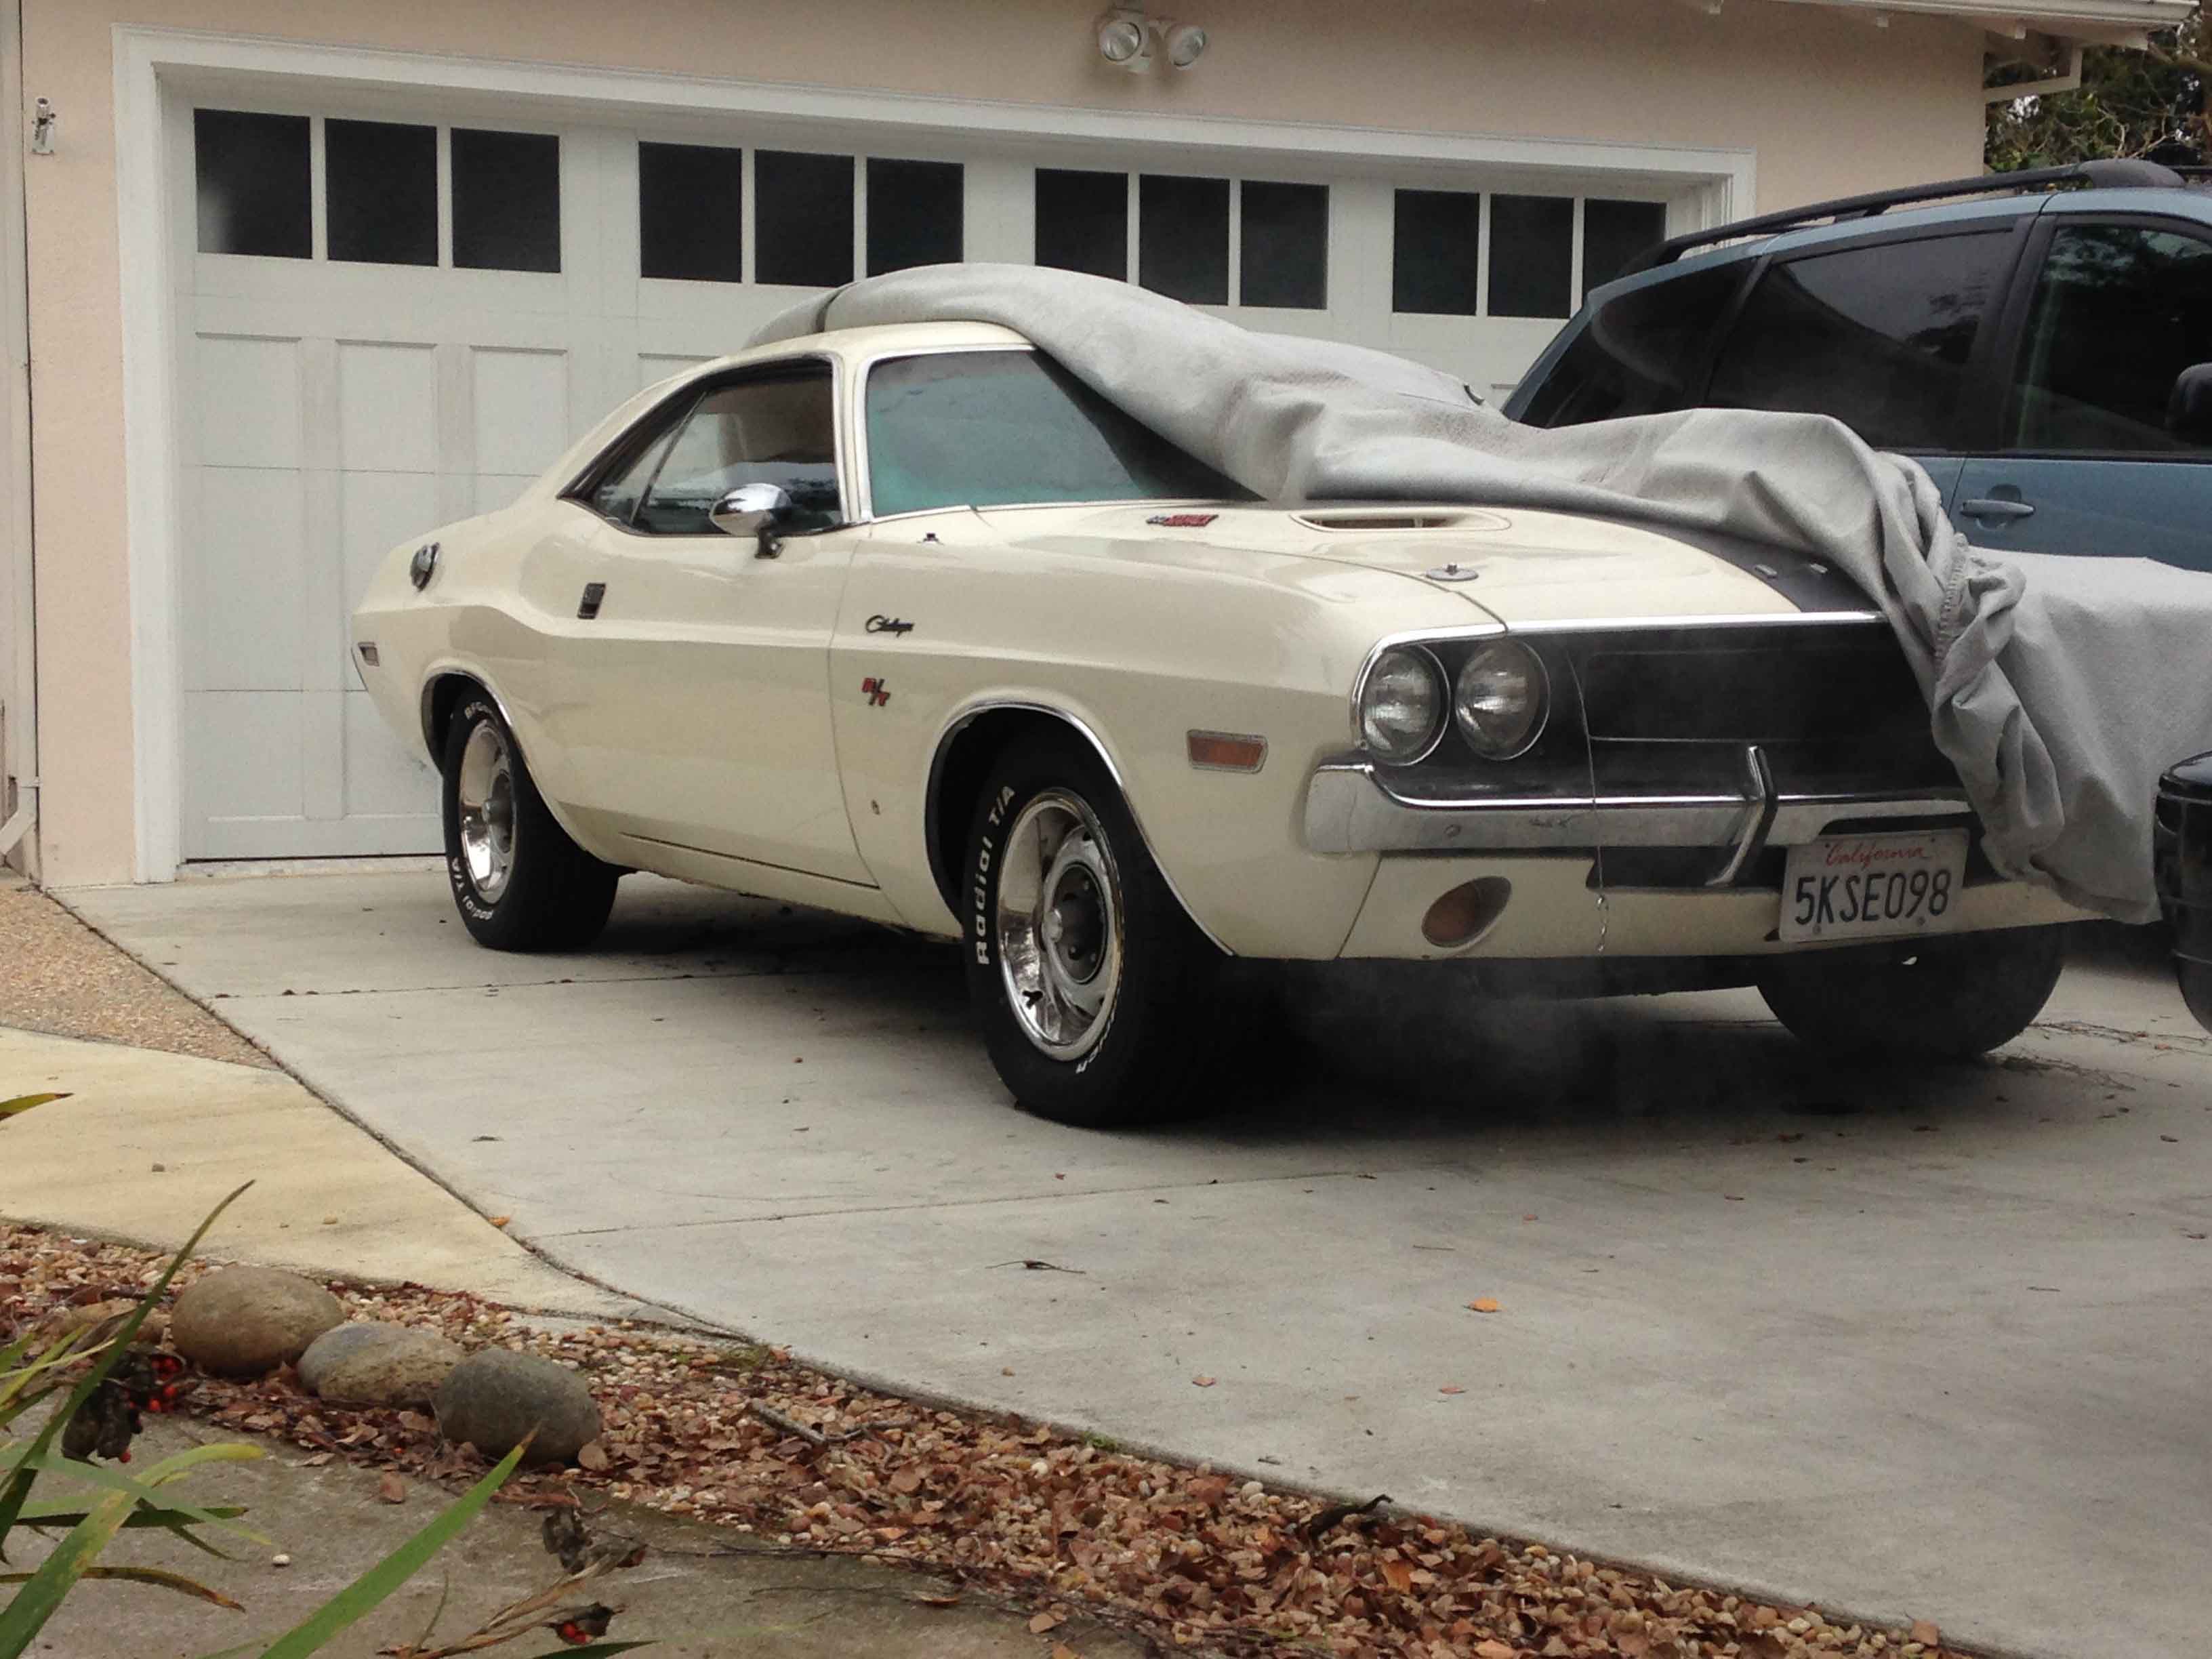
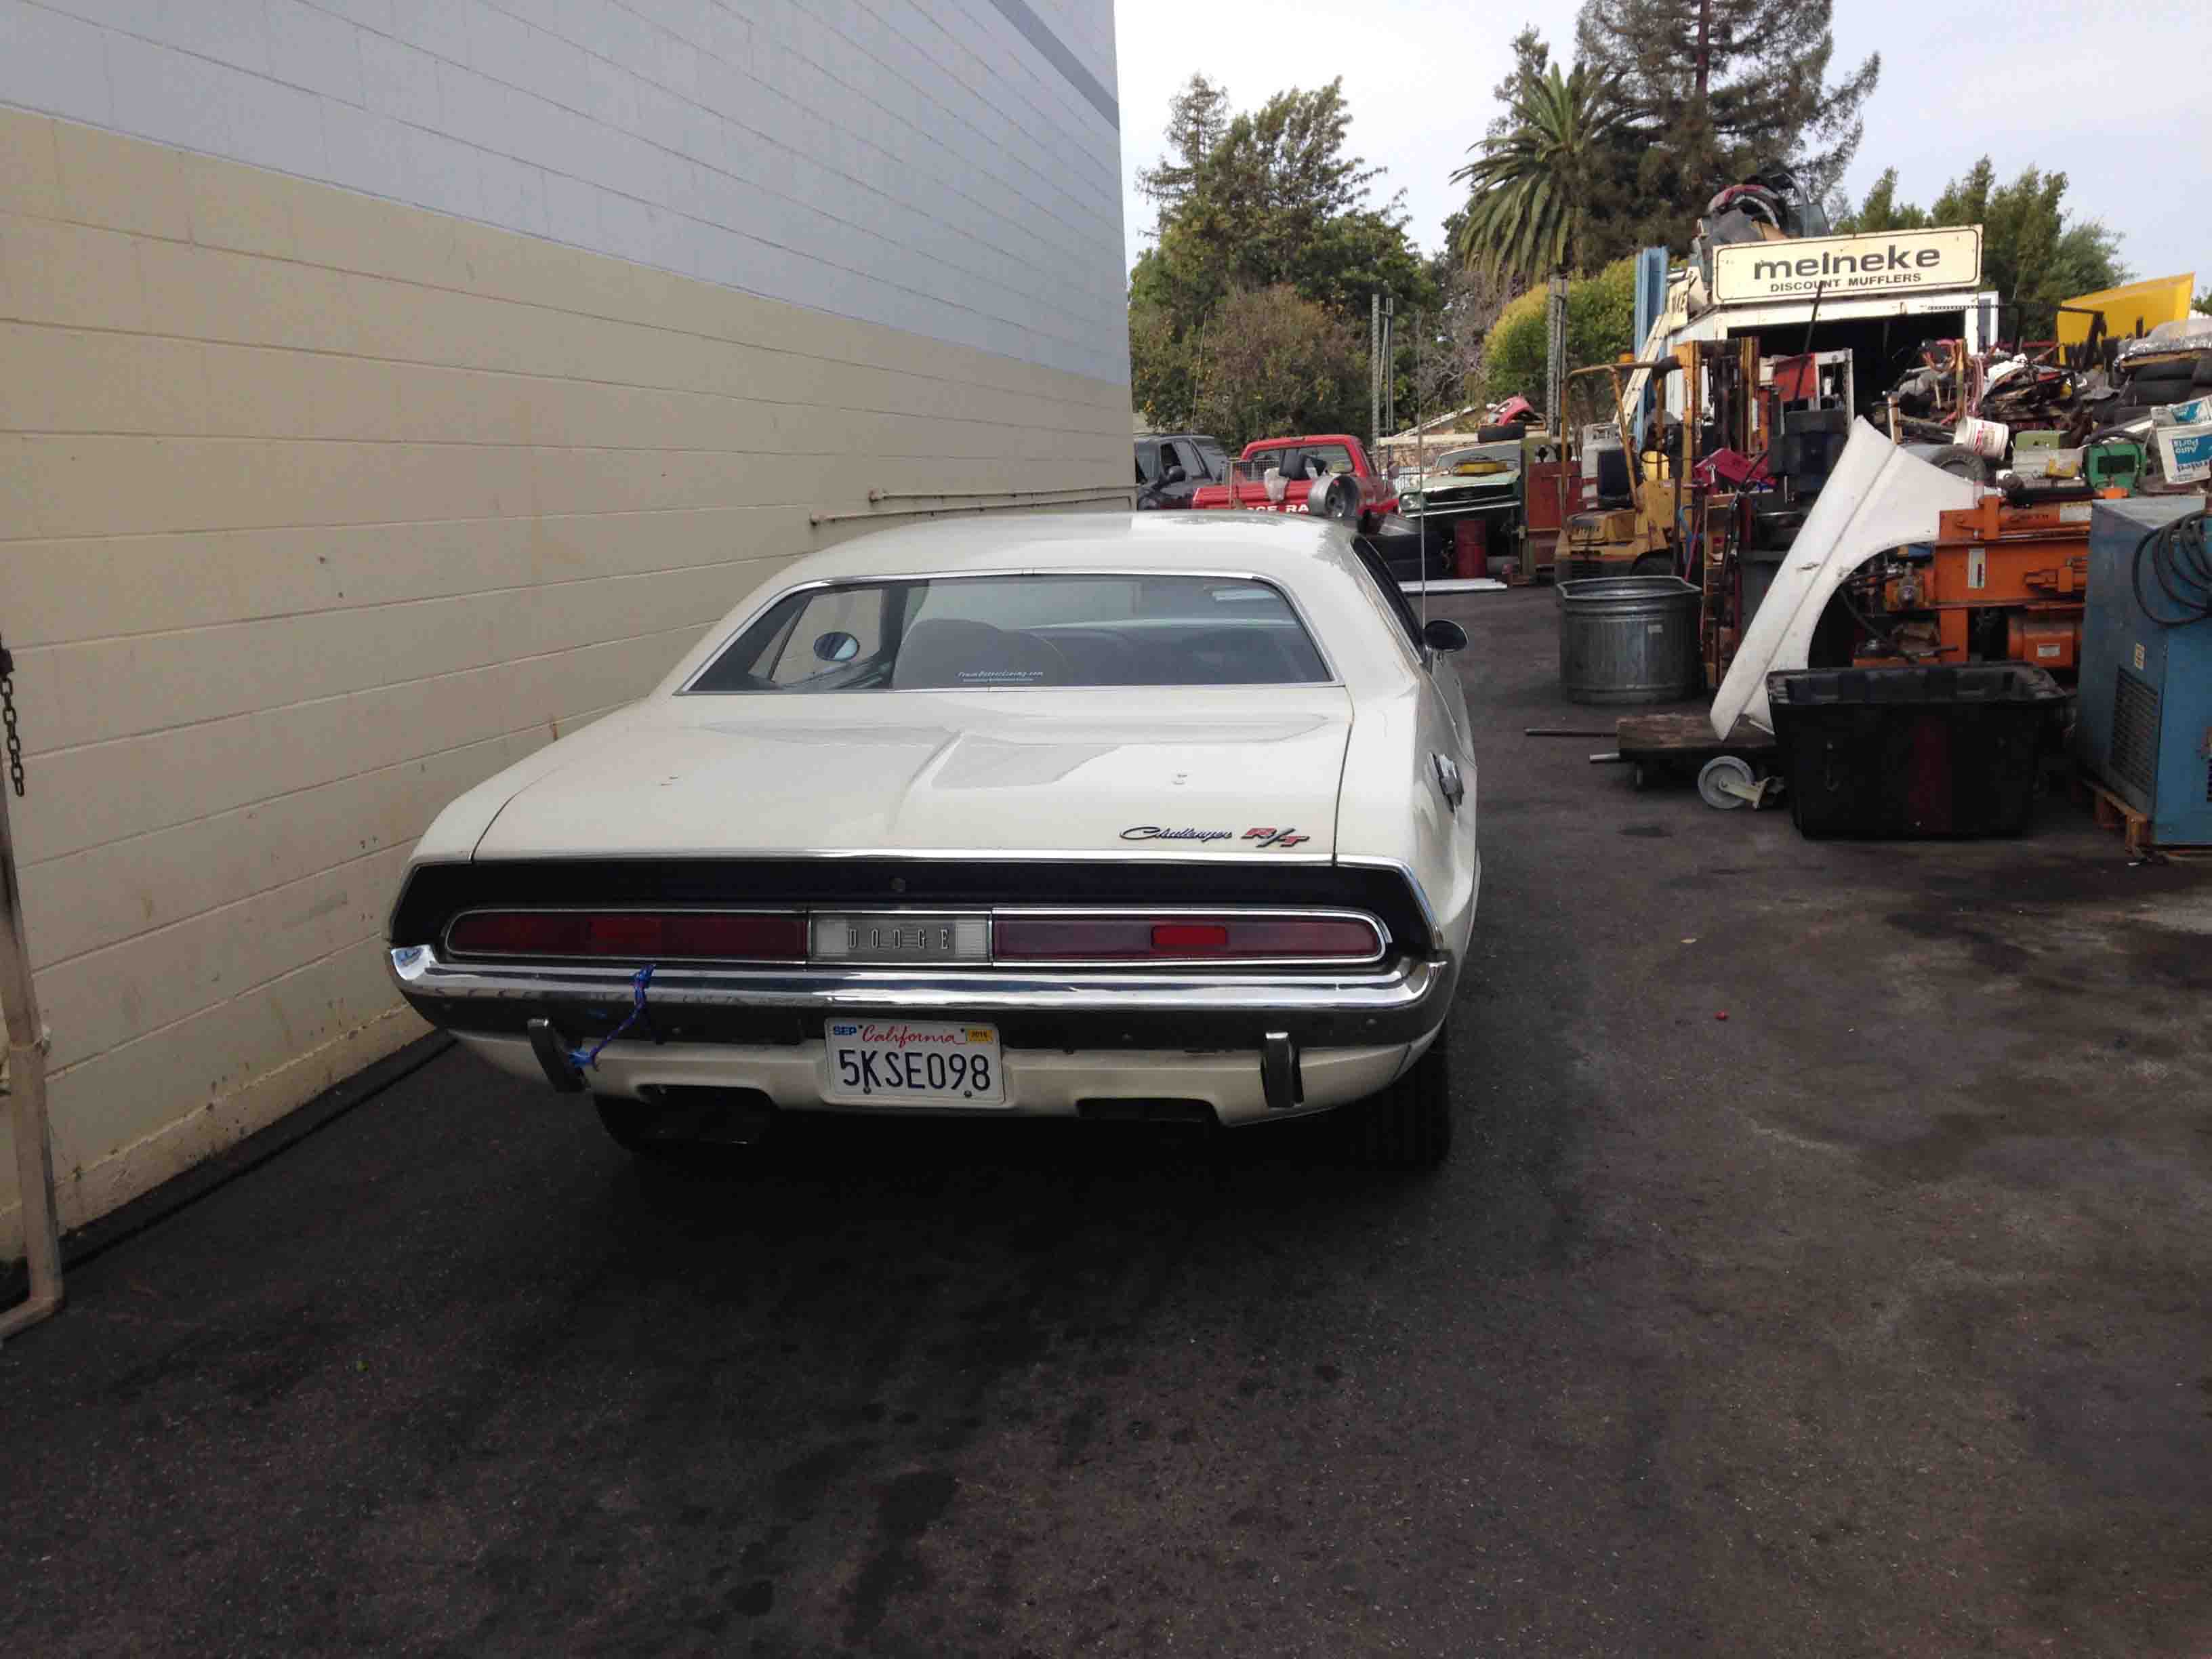
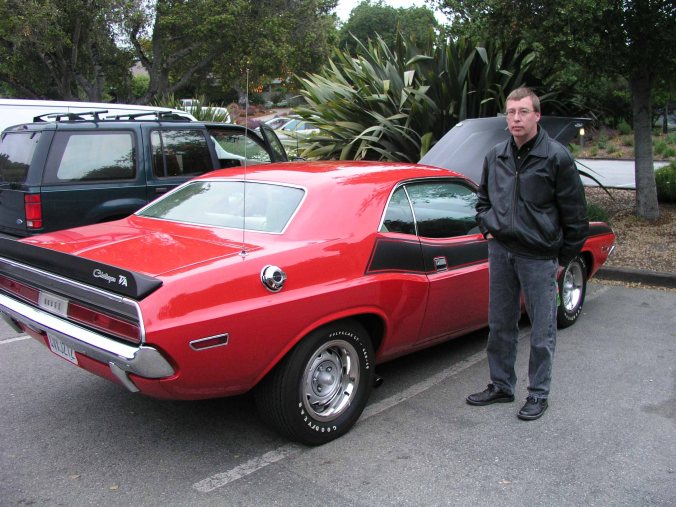
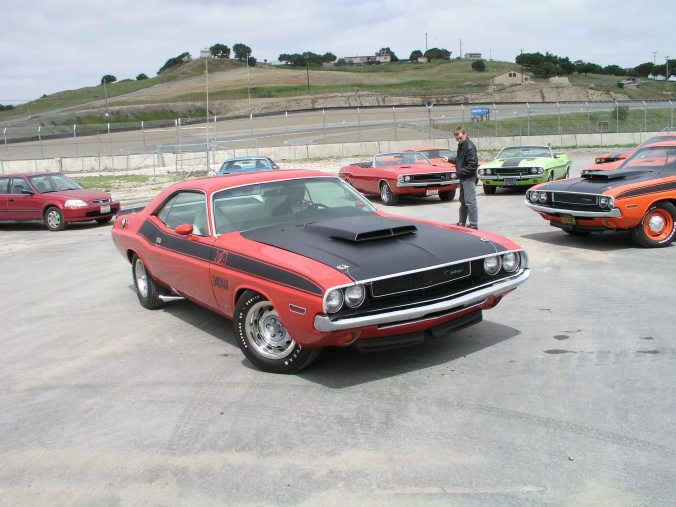
My old pride and joy. The unintended garage queen.
The Reno Debon T/A and Company

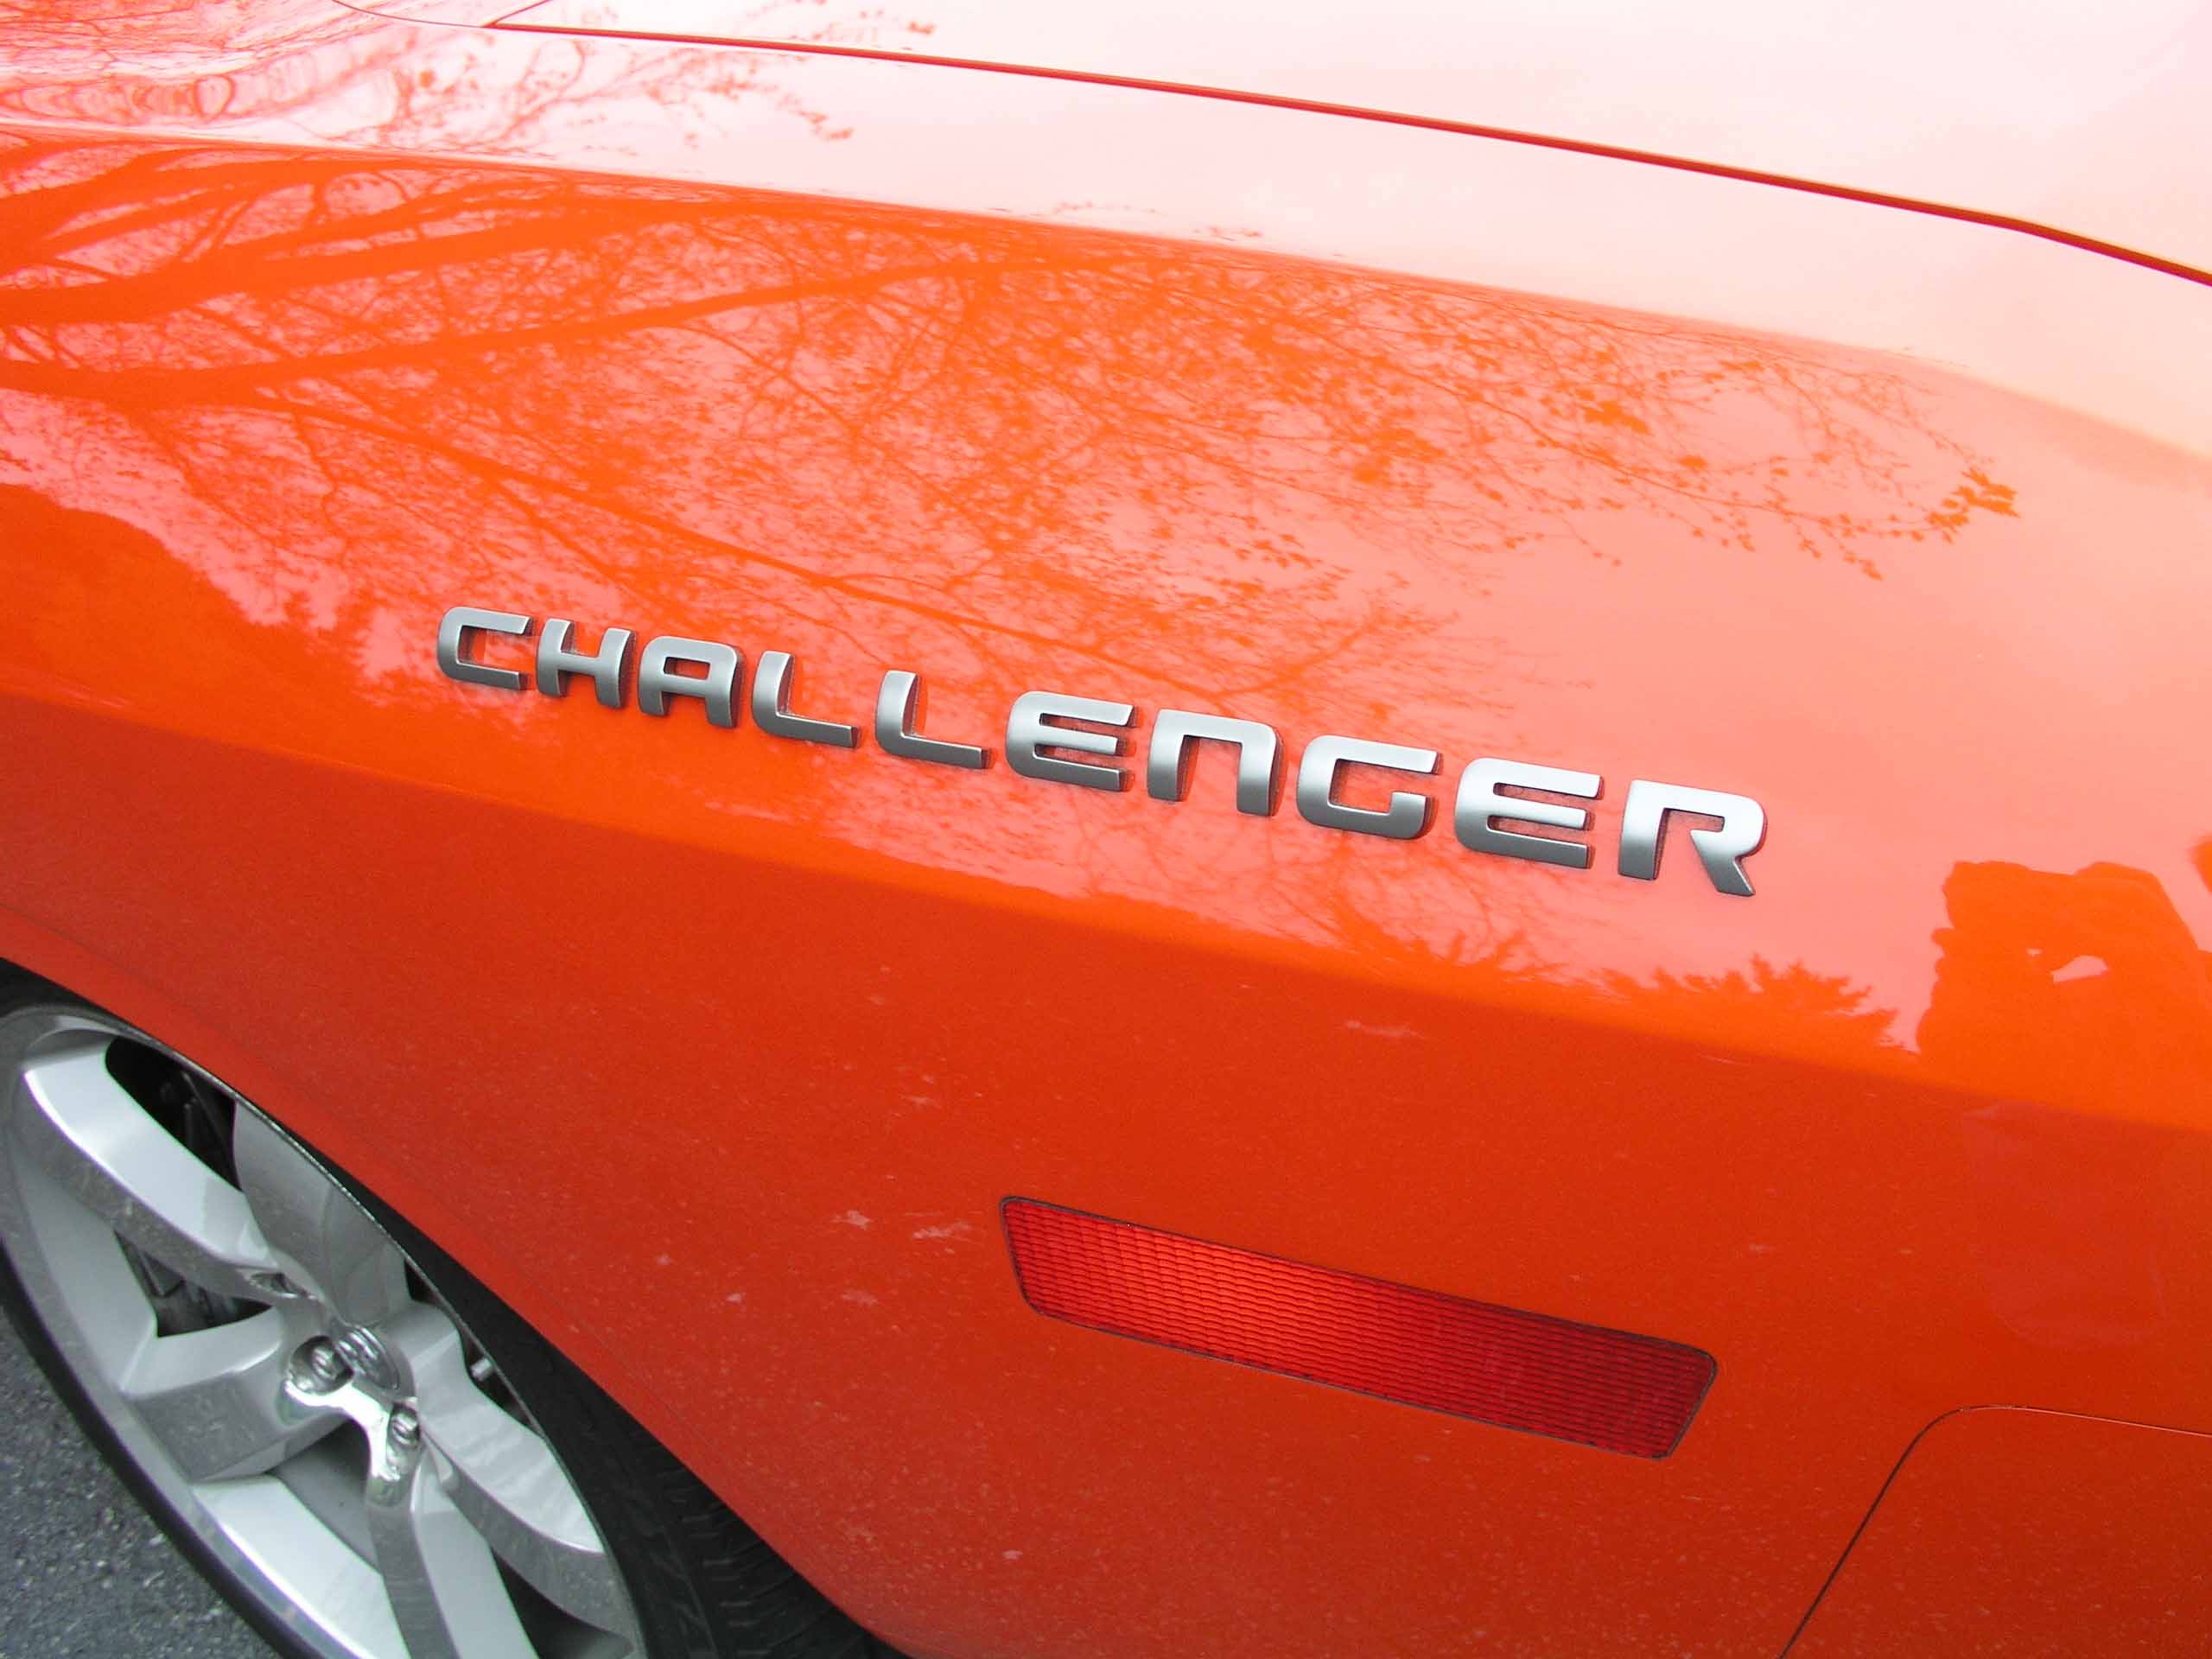
Have you seen this style name plate?

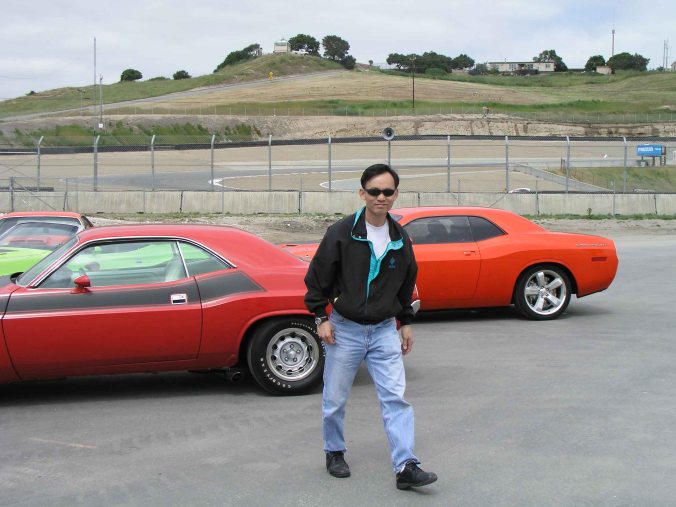
On an infield area at Laguna Seca, the photo group starts small with the prototype and the two vintage T/A’s in attendance.

Move them doggies around
Yeah, Baby. That’s some real Mopar

Drivers! To your Cars!

Let’s try it this way!

Action Shot! Challenger T/A door opening, write it up.
Post it. A rare picture.

Another Rare picture, a vintage blue on blue 1970 HEMI car owned by Jeff Lederman.
We got to highlight each of our cars, I went first because they knew I had to leave early.
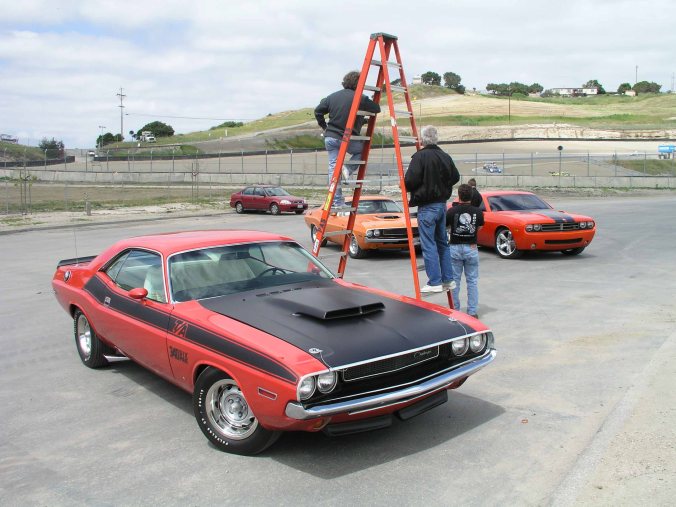
Nice pic, but yes, that ladder is very close to my car.

Yes, very close.

It was fun while it lasted. Once in a life time photo shoot. Hope you enjoyed my little walk back in time.
*****
. If you enjoyed this post, please LIKE SHARE COMMENT
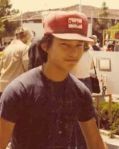
The Dodge Kid in his youth about 1976.
Copyright © 2016 ChallenYee.com TheDodgeKid.com BestBuckBuck.com TeamBetterLiving.com All Rights Reserved.