It is not recommended to change the accelerator pump nozzle on a choked carb without removing it from the car, but if you are very very careful, you can see what I did.
Please read entire article before considering attempting this operation.

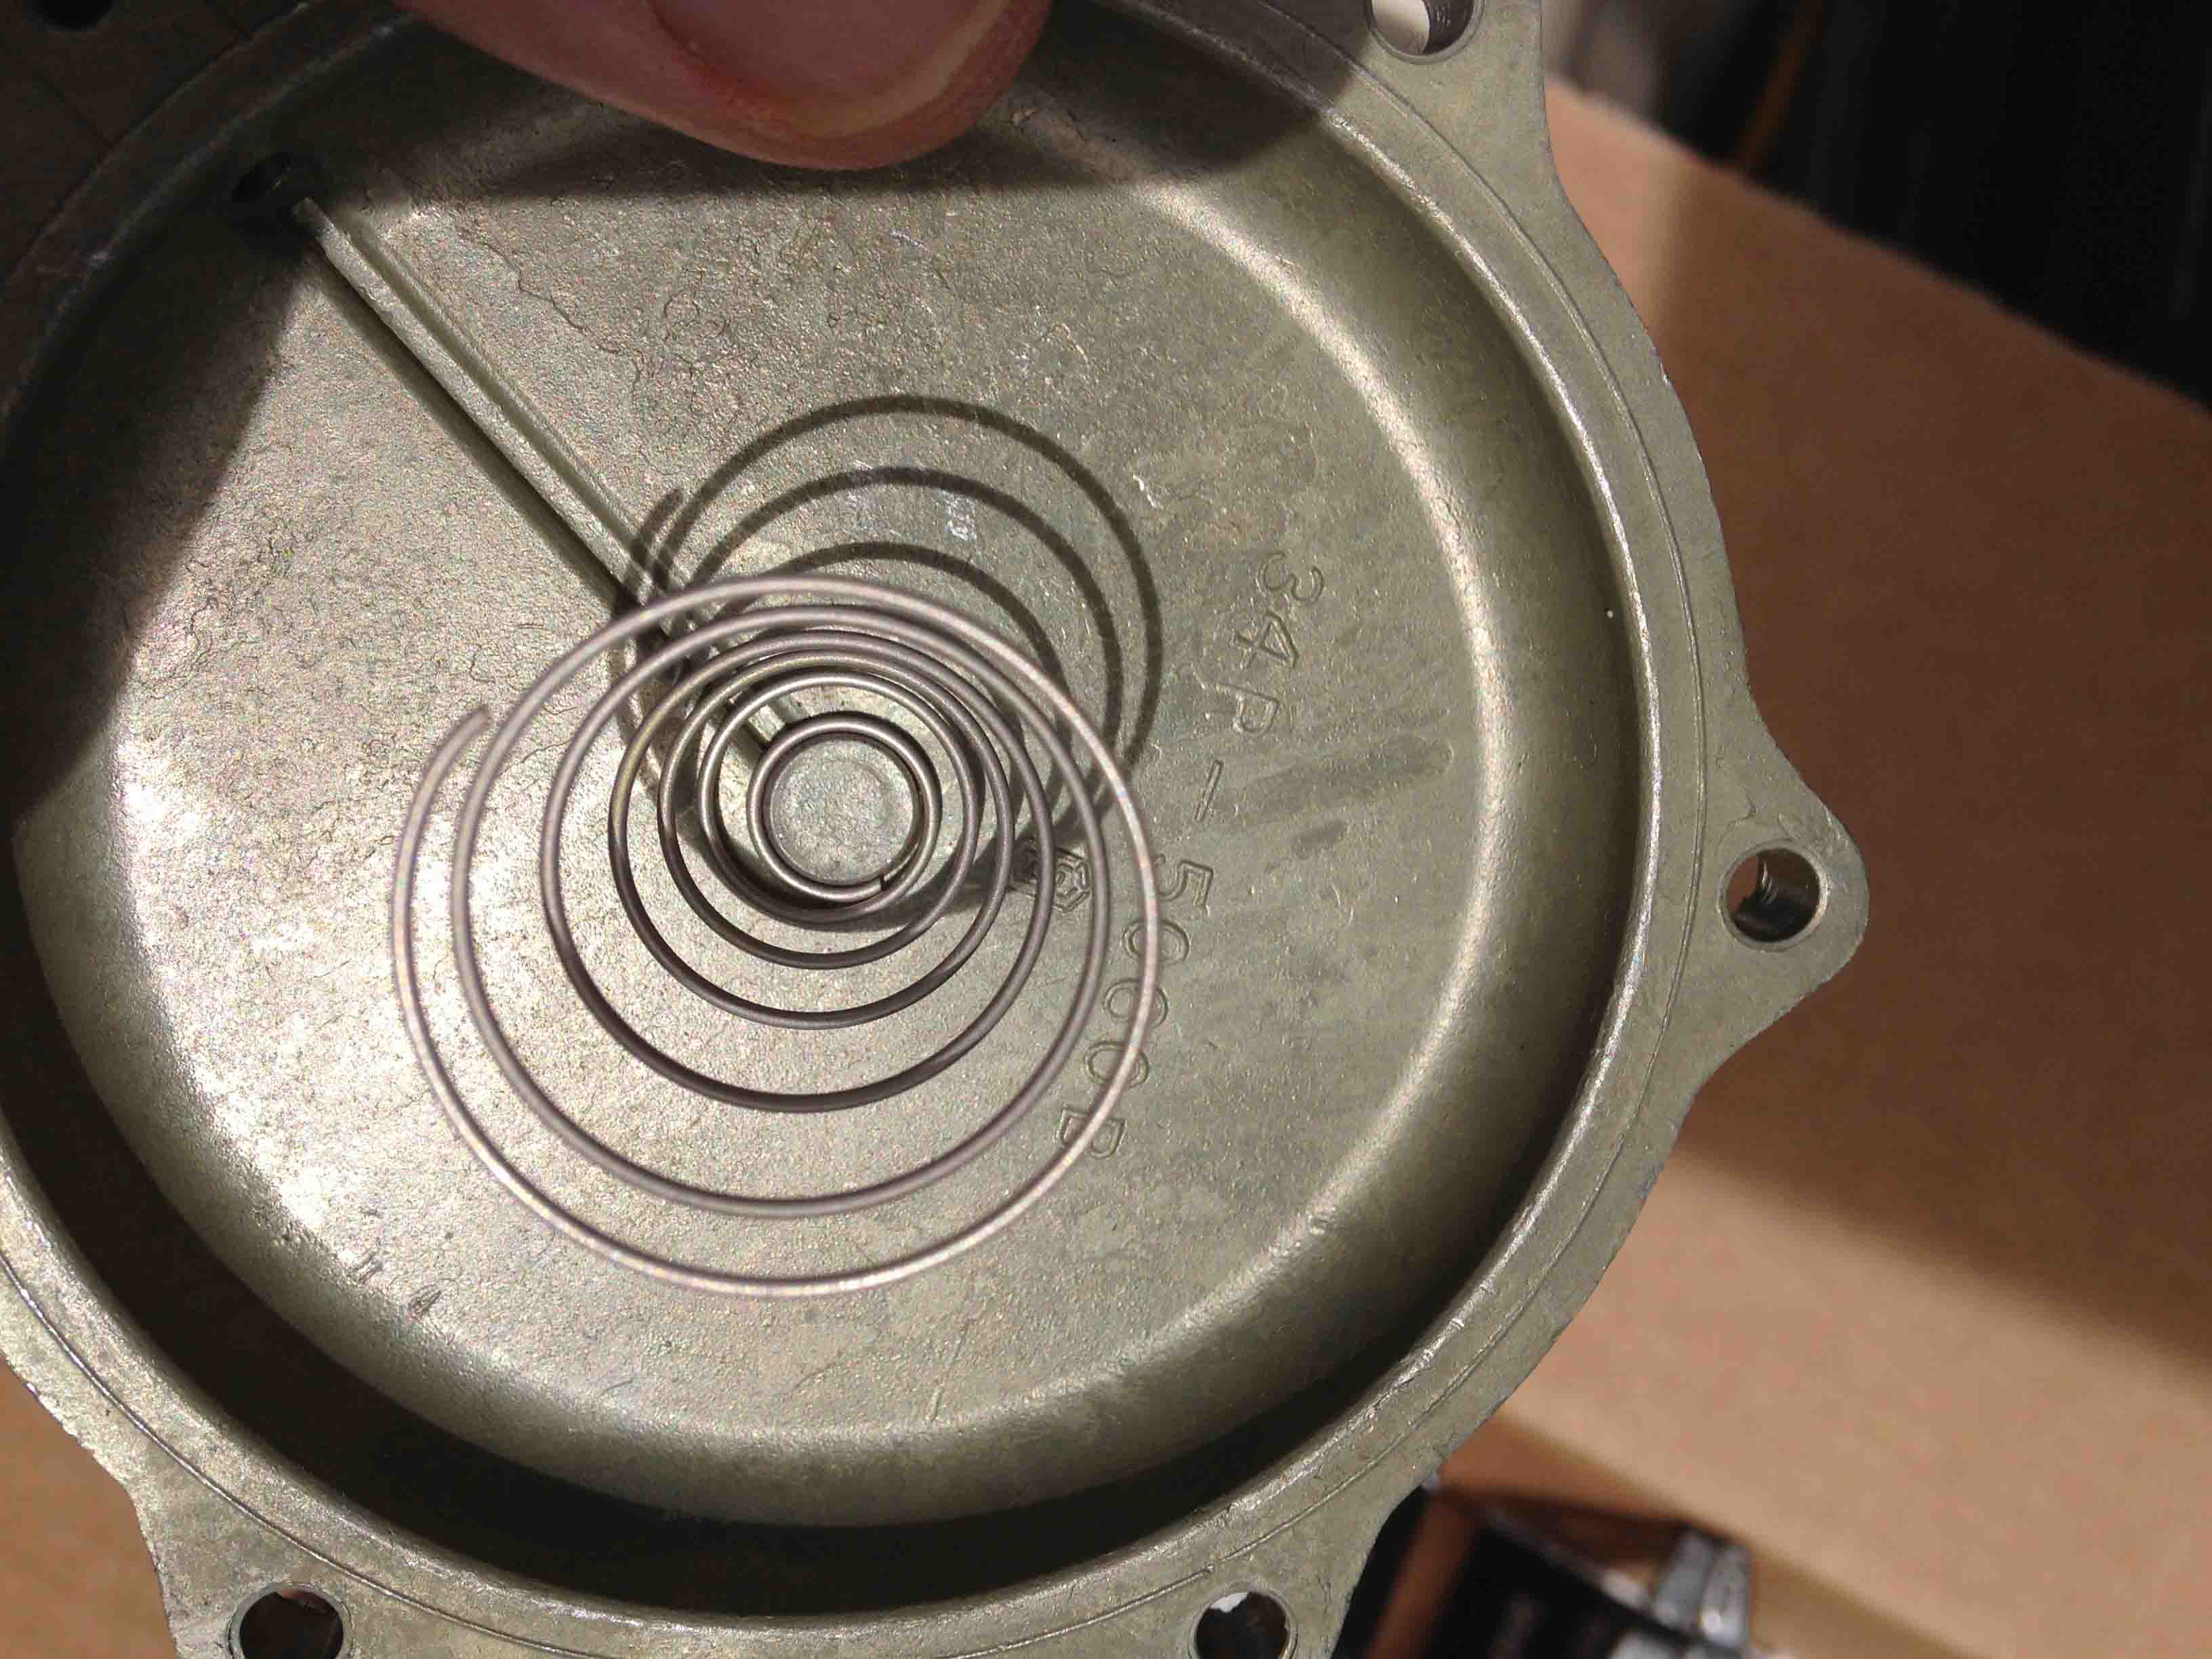
Problem: How can you safely change an accelerator pump nozzle with a choke plate in the way… answer, you have to be extremely careful. It can be done but no one is going to officially recommend you do it without taking the carb off the car. This is how I did it (see next photos). Gently feel the torque on the screw before removing for your “feel” reference. In this photo, I’ve already loosened the retaining screw and am ready to pull the assembly out with a needle nose pliers.
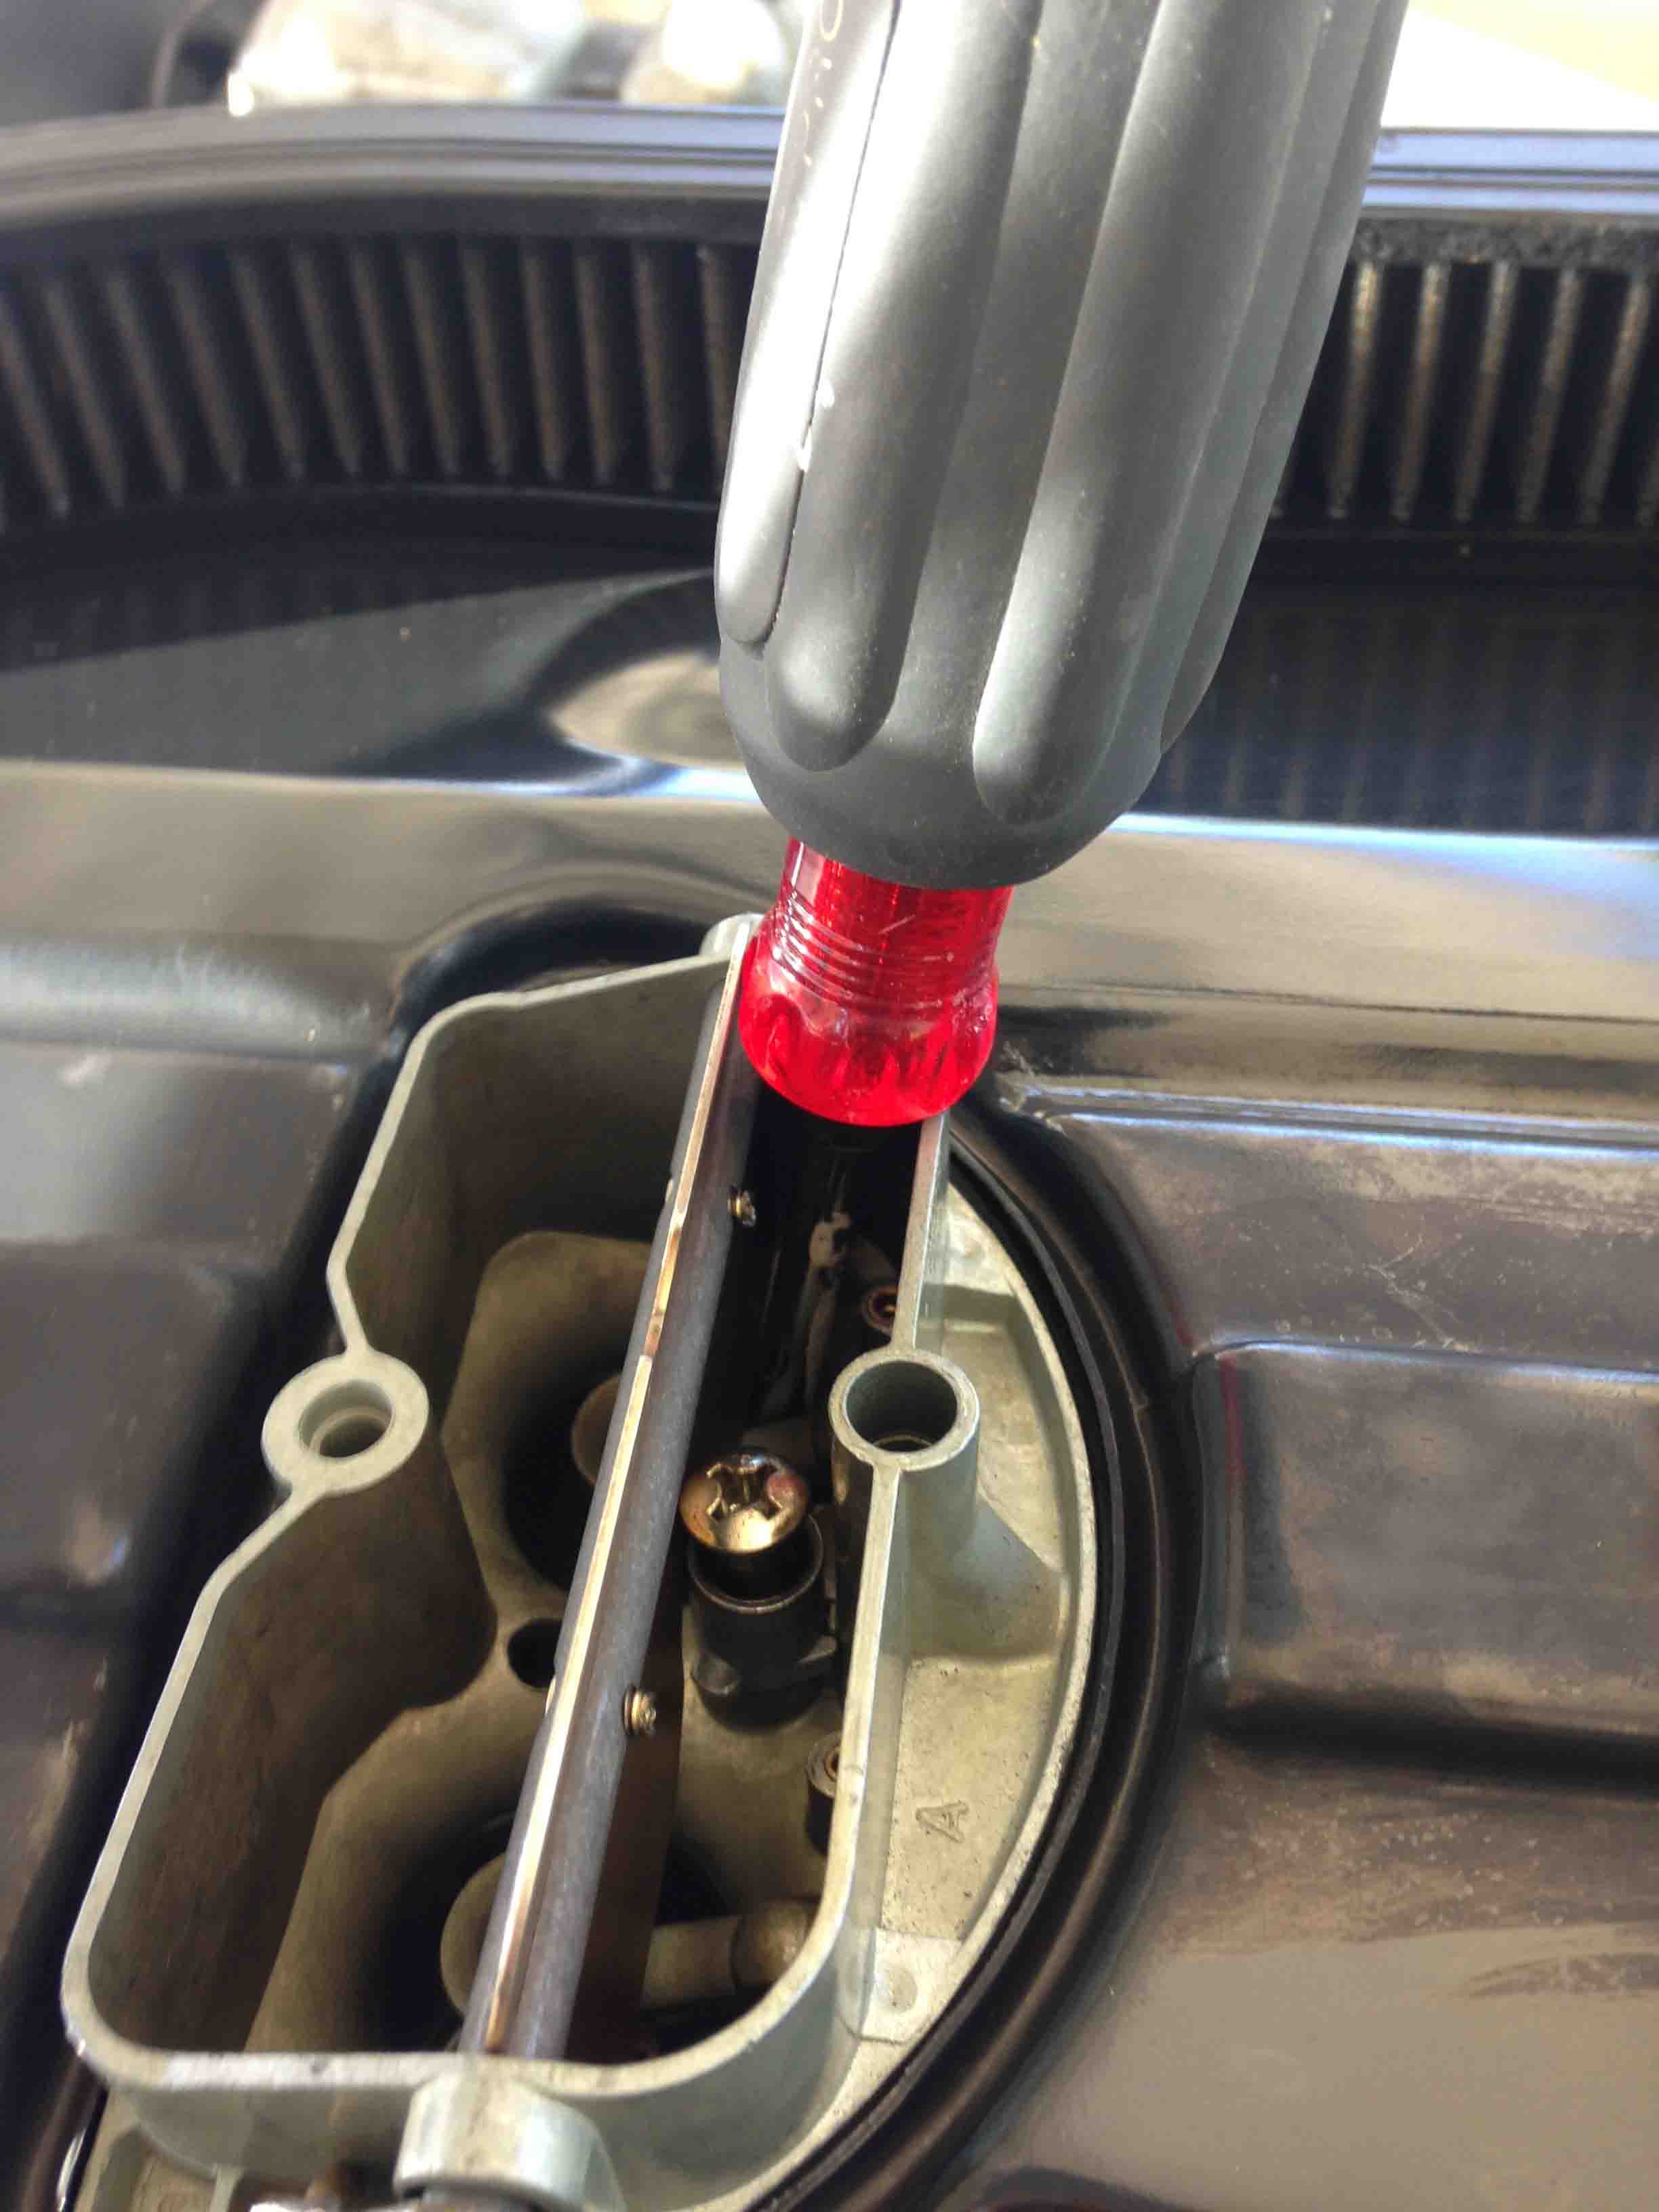
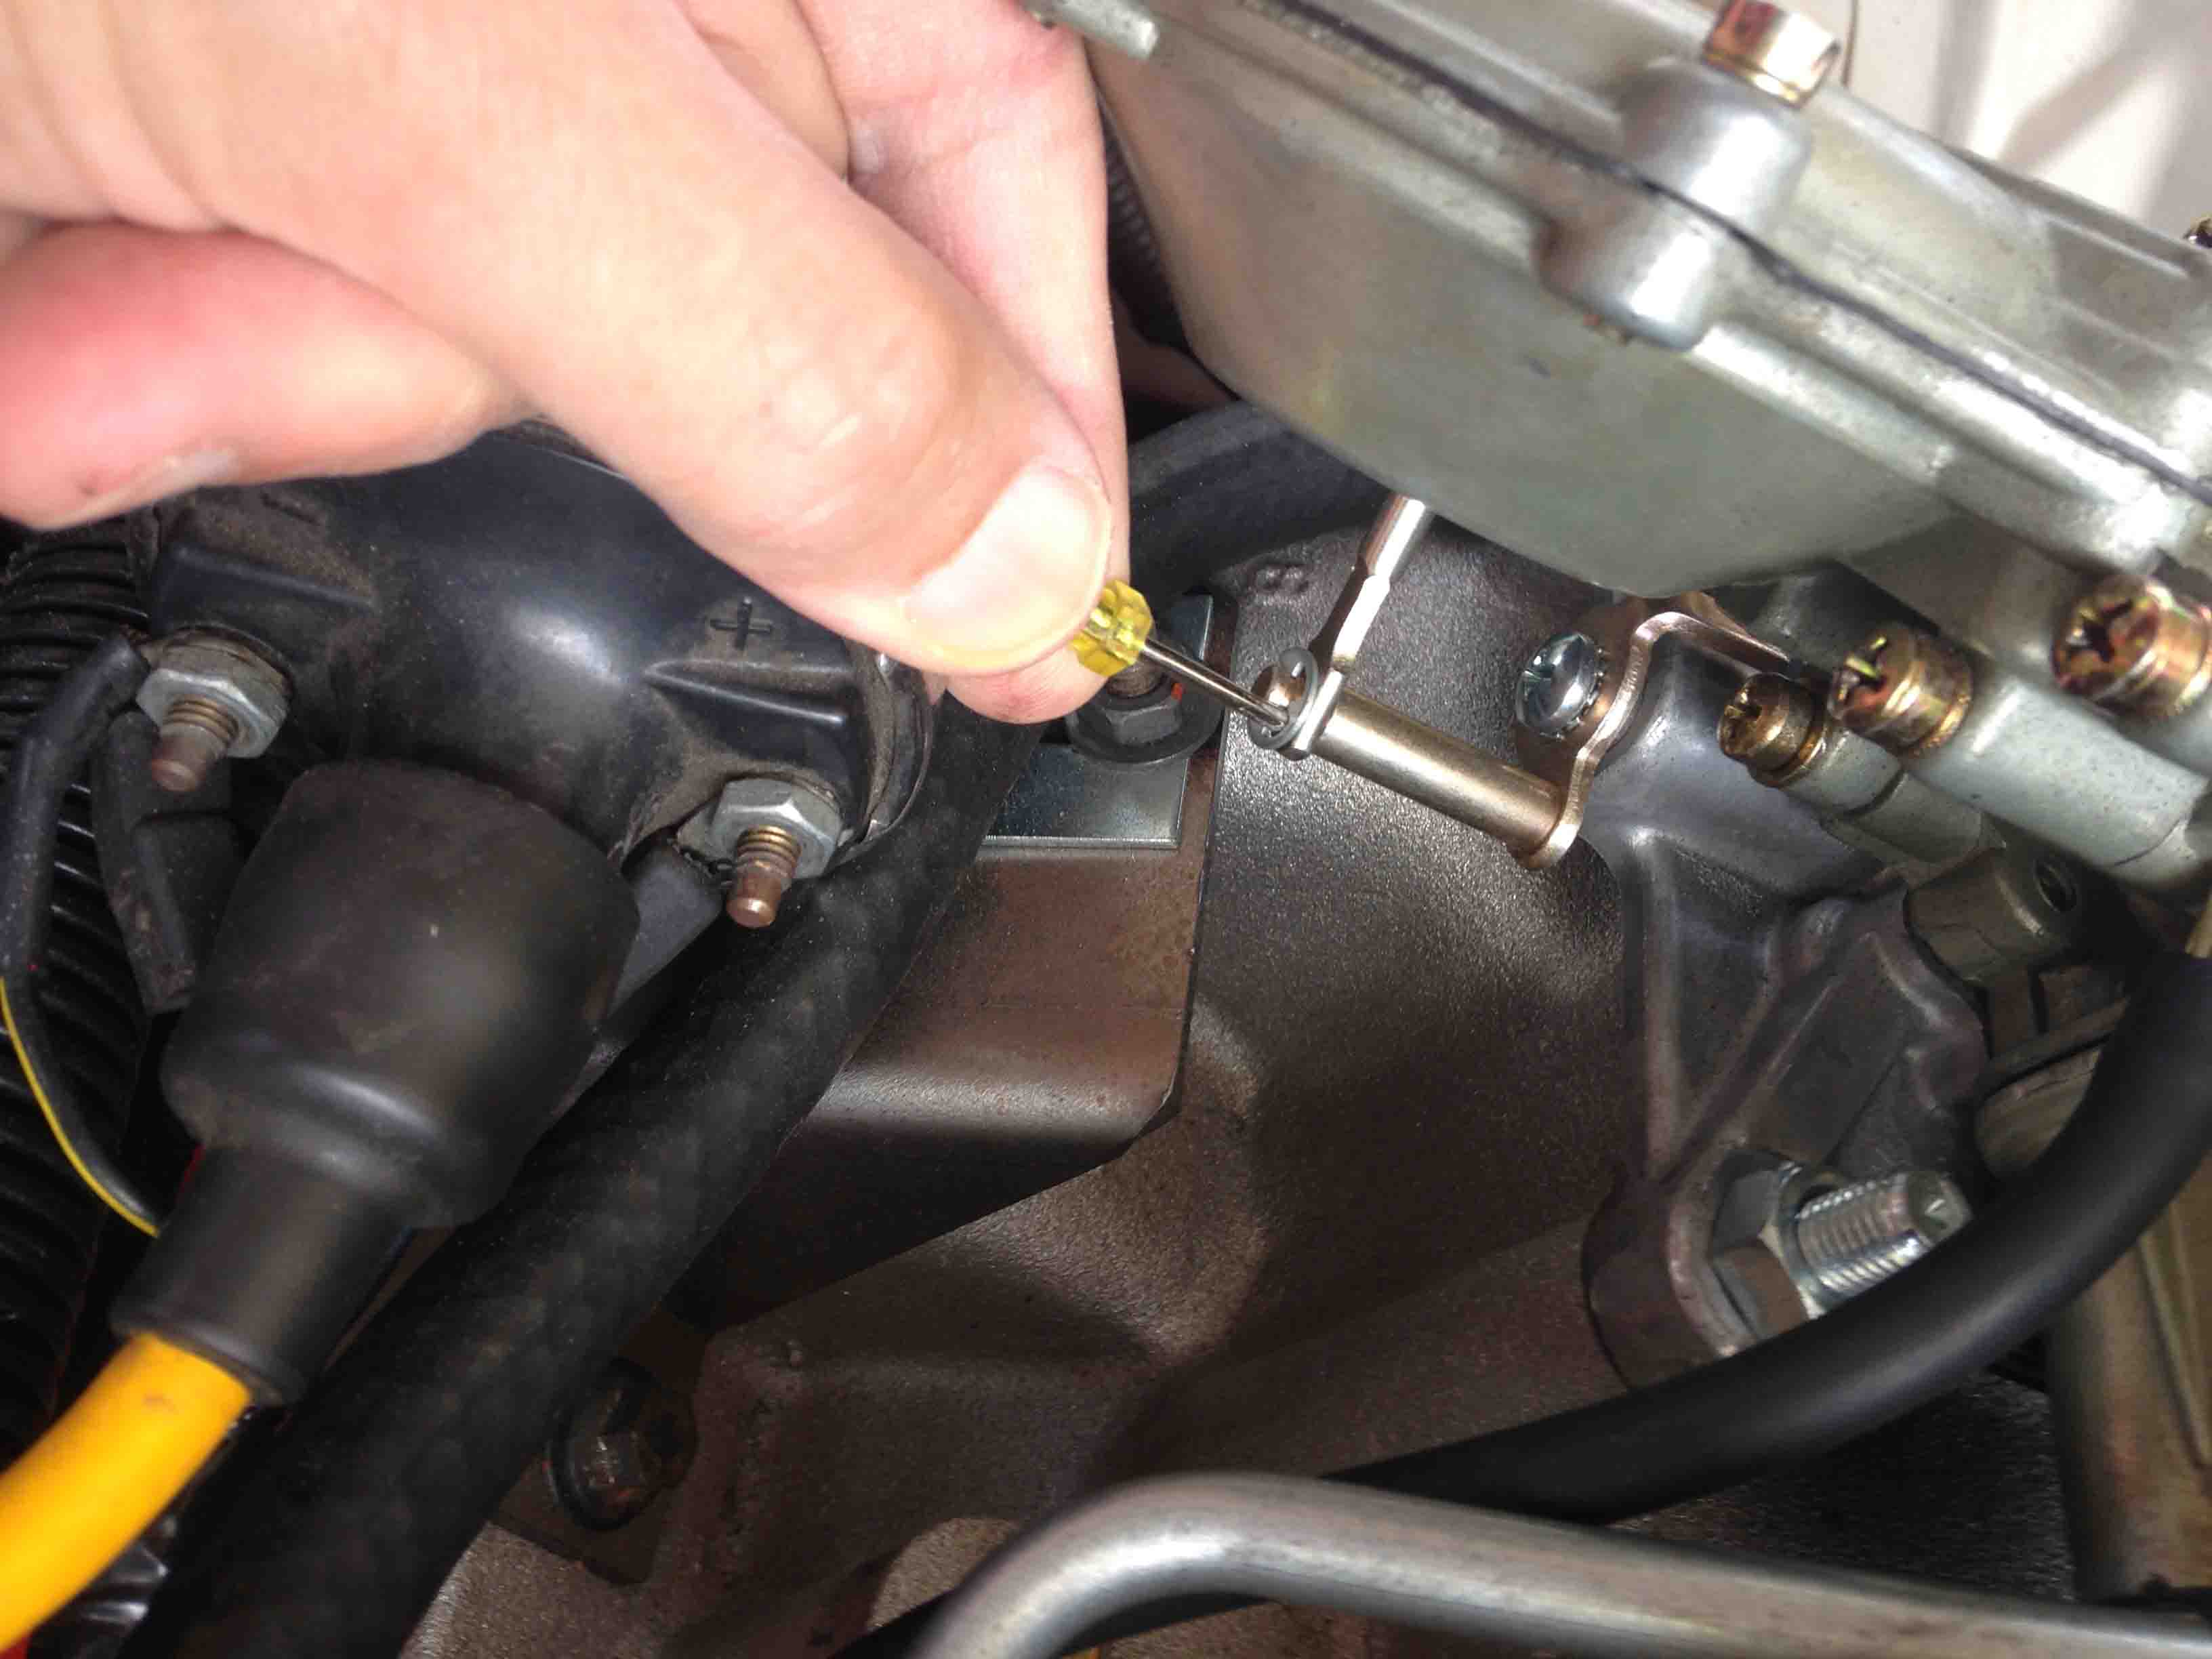
In order to stabilize the choke plate, use a device like this screwdriver, to hold the choke open the max amount. It frees up your hands and allows you to concentrate completely on the removal and replacement of the nozzle.

I loosened the retaining screw and used a needle nose pliers to very carefully pull the assembly (nozzle and screw) out. I was worried about two things: 1. dropping the nozzle; 2) losing the flat gasket you see still laying in the proper position on the carb. I decided not to move that as I considered it too risky. The carb is almost new, so I presumed the gasket is still in okay shape to seal.

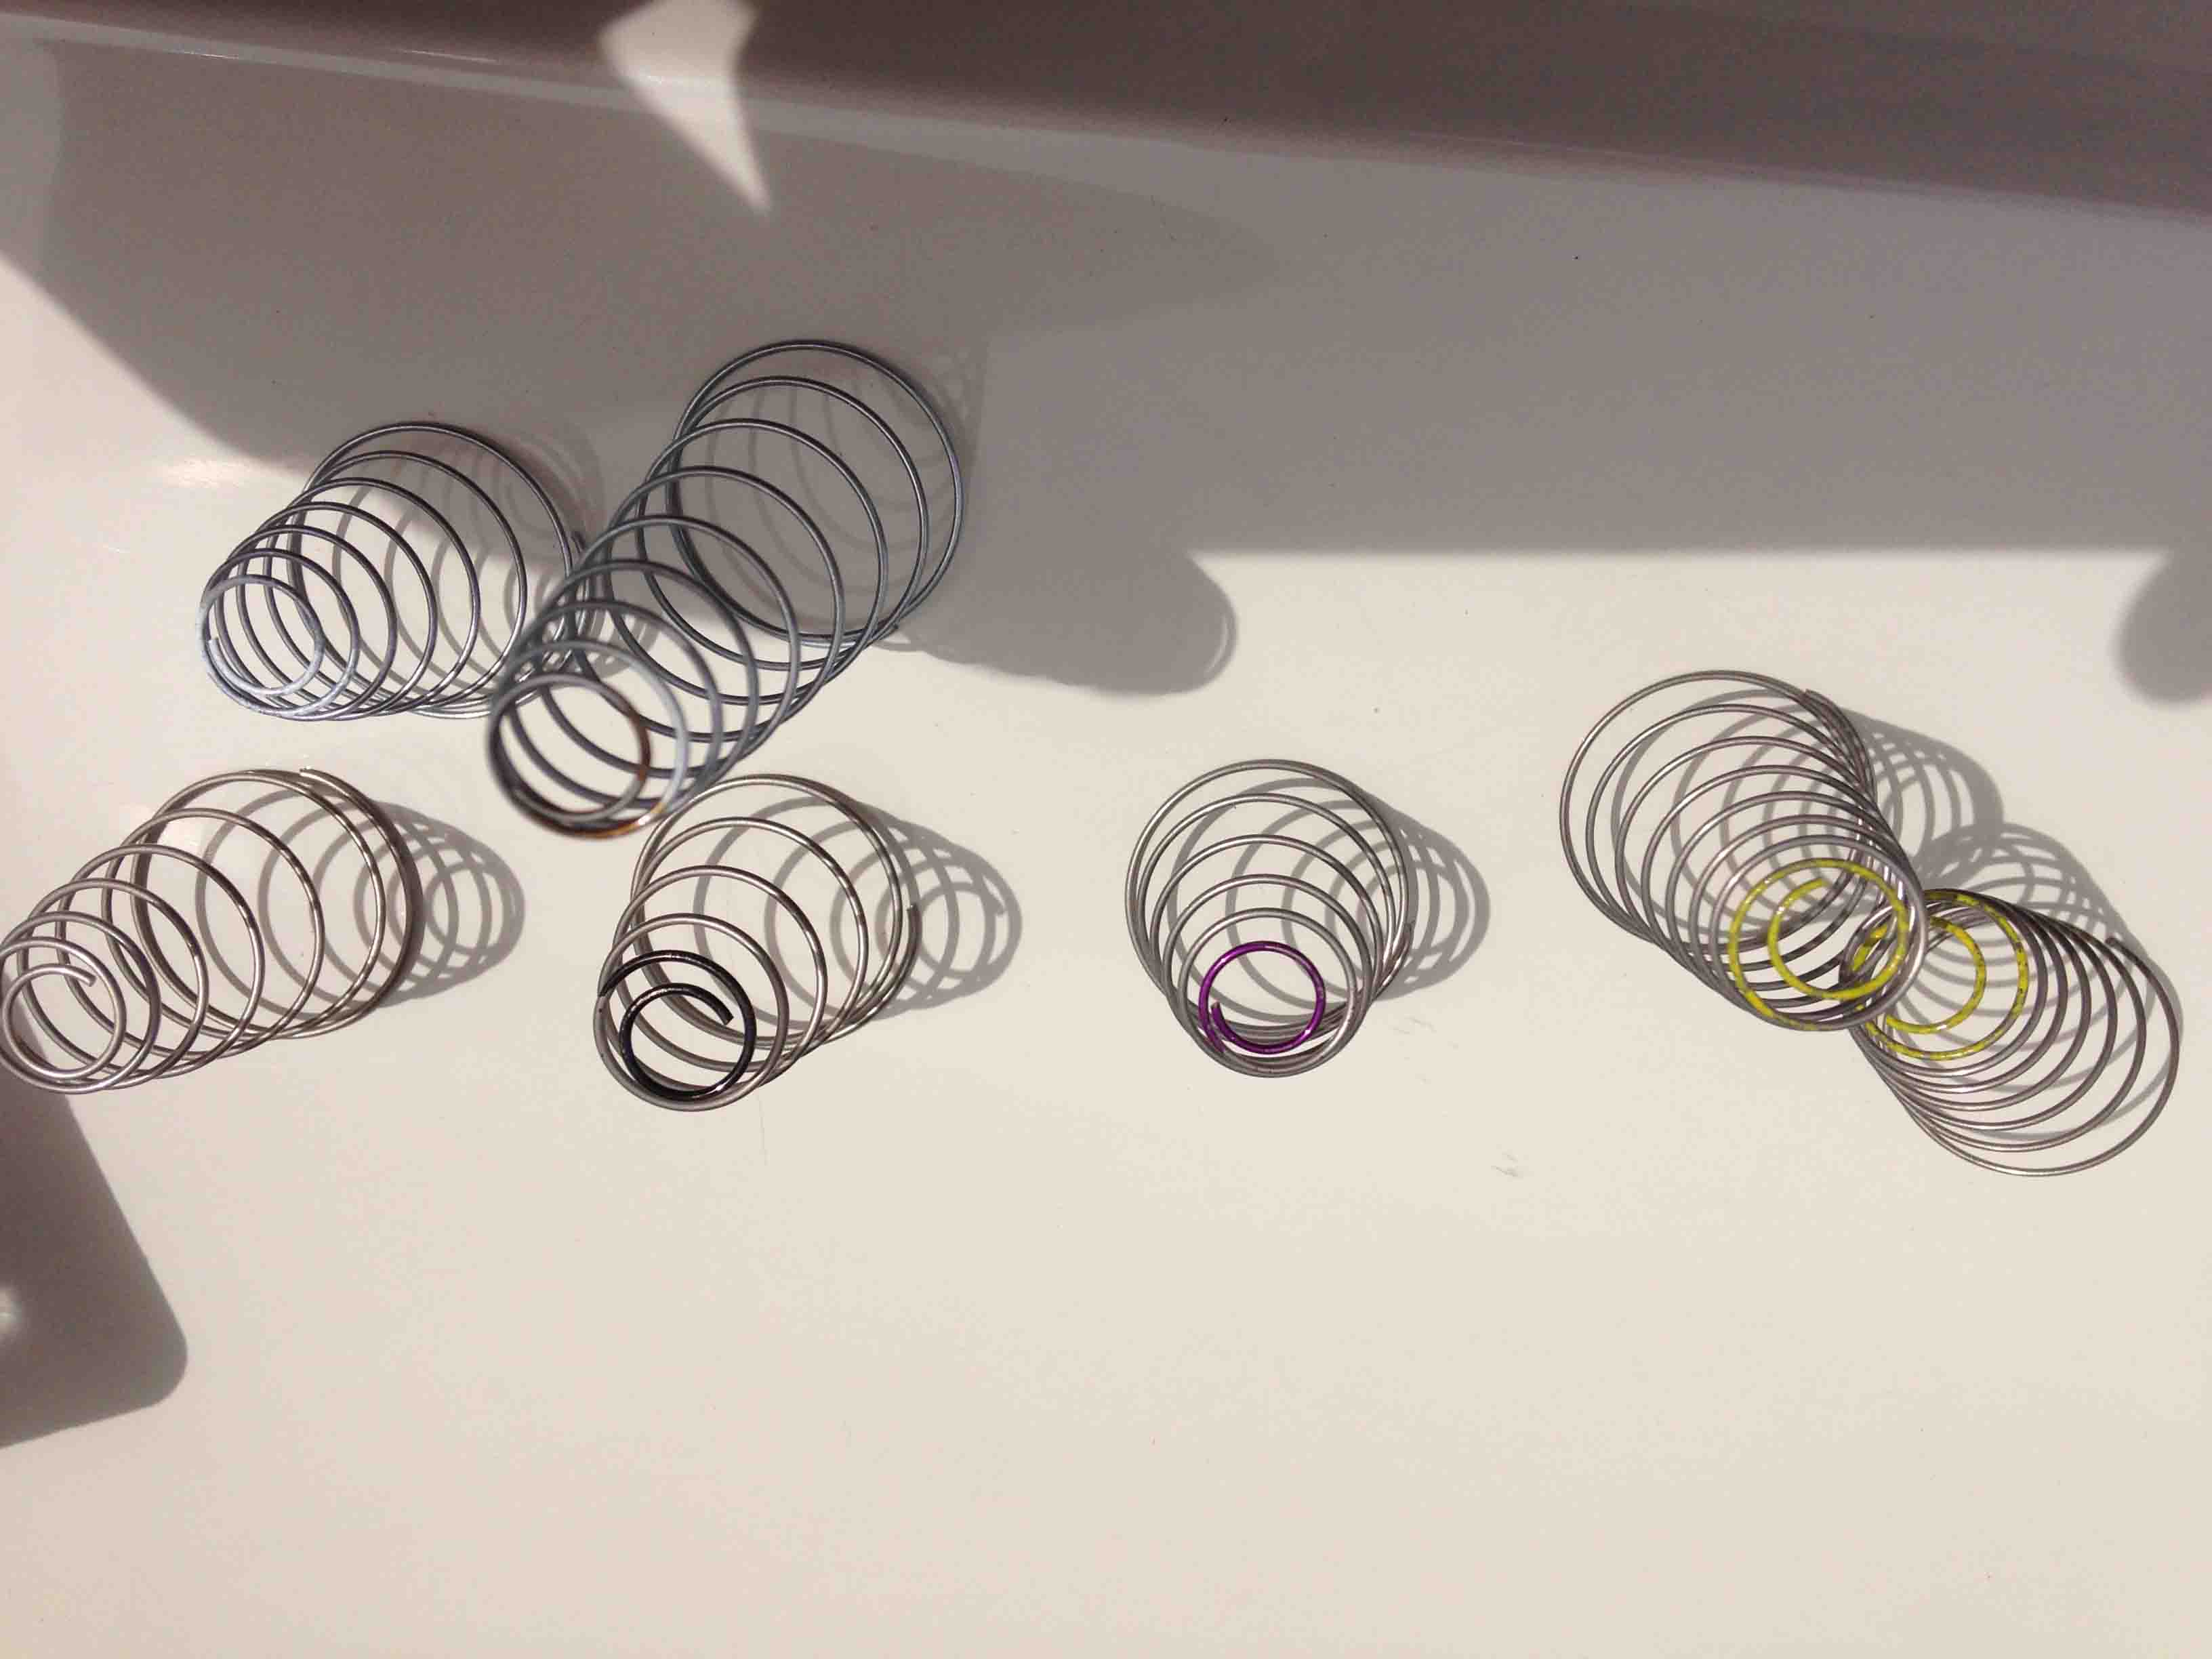
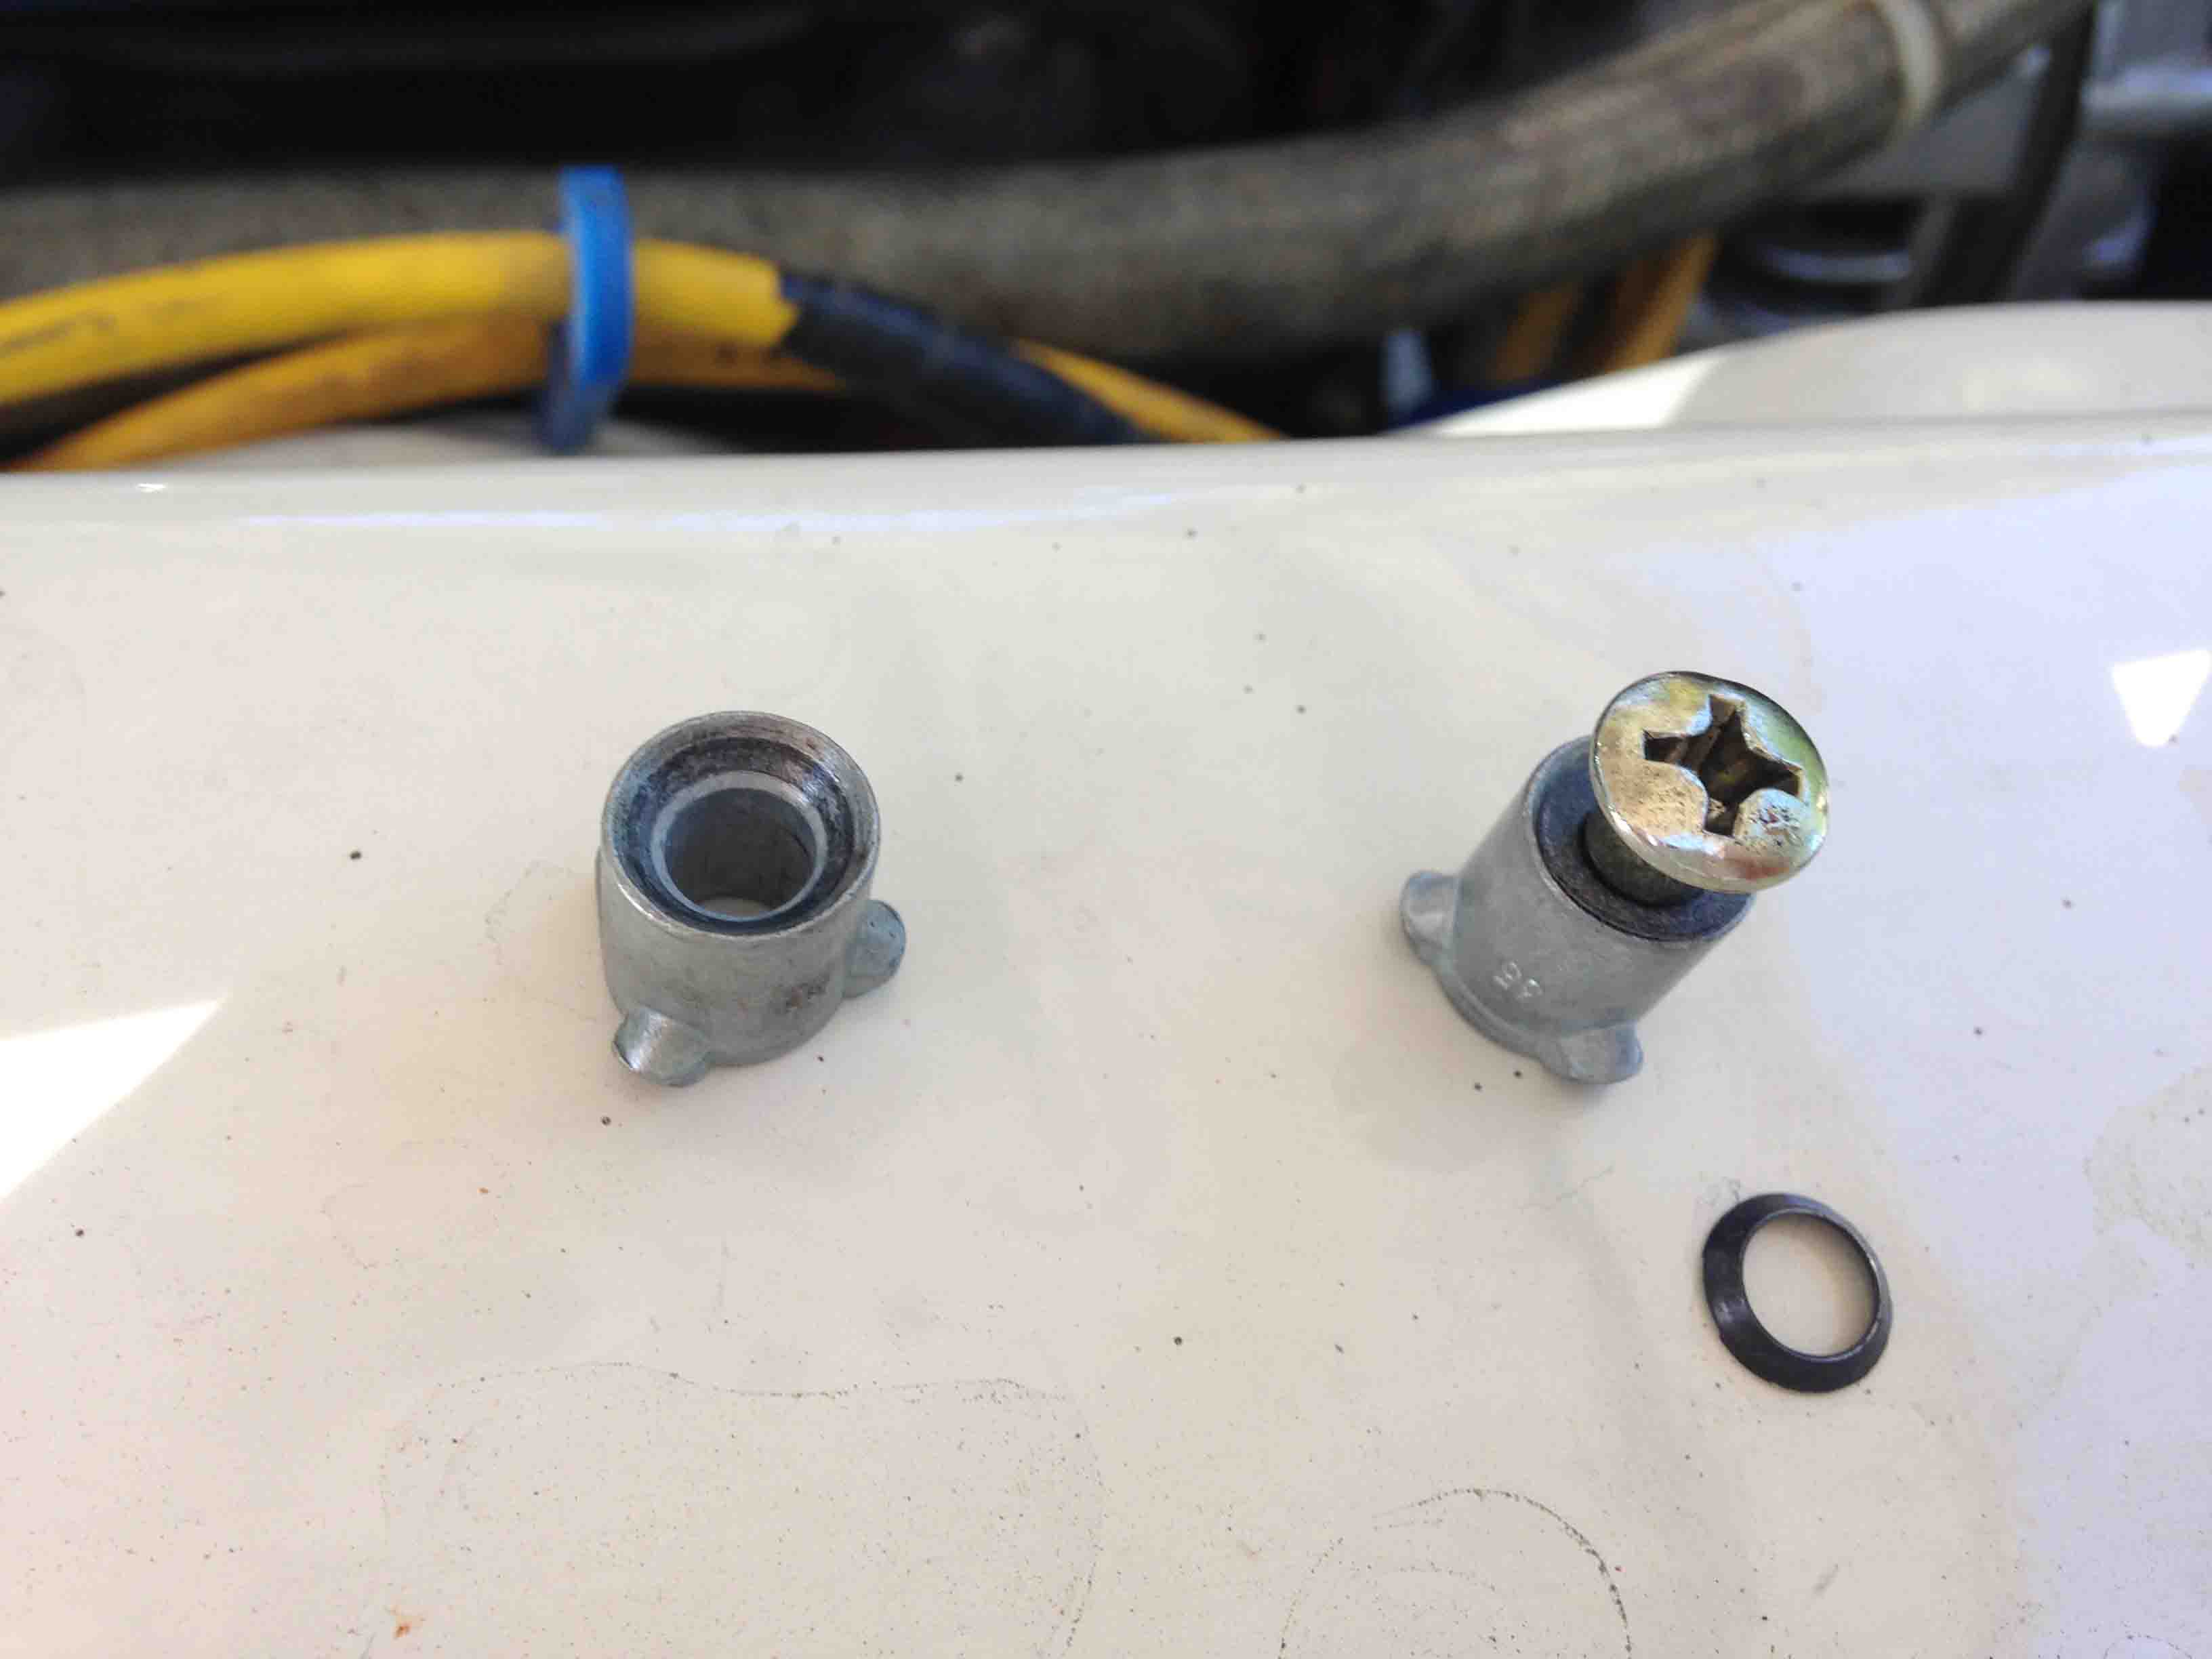
Here’s a shot at the two nozzles. Left is a #31 and the right is a #35, two sizes larger. Bottom view.

Here’s a top view. and the new top washer/seal that I chose to replace since the is little or no risk in replacing that one. I’ve read somewhere on the Net that you don’t need to go larger than a #35 on the street. I’ve also heard from Julius Steuer that he usually goes two sizes up. Which would be a #35.

I’m taking this picture with my free hand so it’s not in focus. This action you need to be rid of all distractions, you do not want to drop this sucker into your carb throat. You need to guide this into the open hole like your life (in the near term) depends on it!

Ahhh… made it. You do need to carefully maneuver the assembly into place as it didn’t just go straight in. You have to work around the curved part of the carb vent due to the limited space…. Carefully and gently tightened the screw to slightly tighter than I felt before and pulled the screwdriver out to see the choke plate in its non-op position.

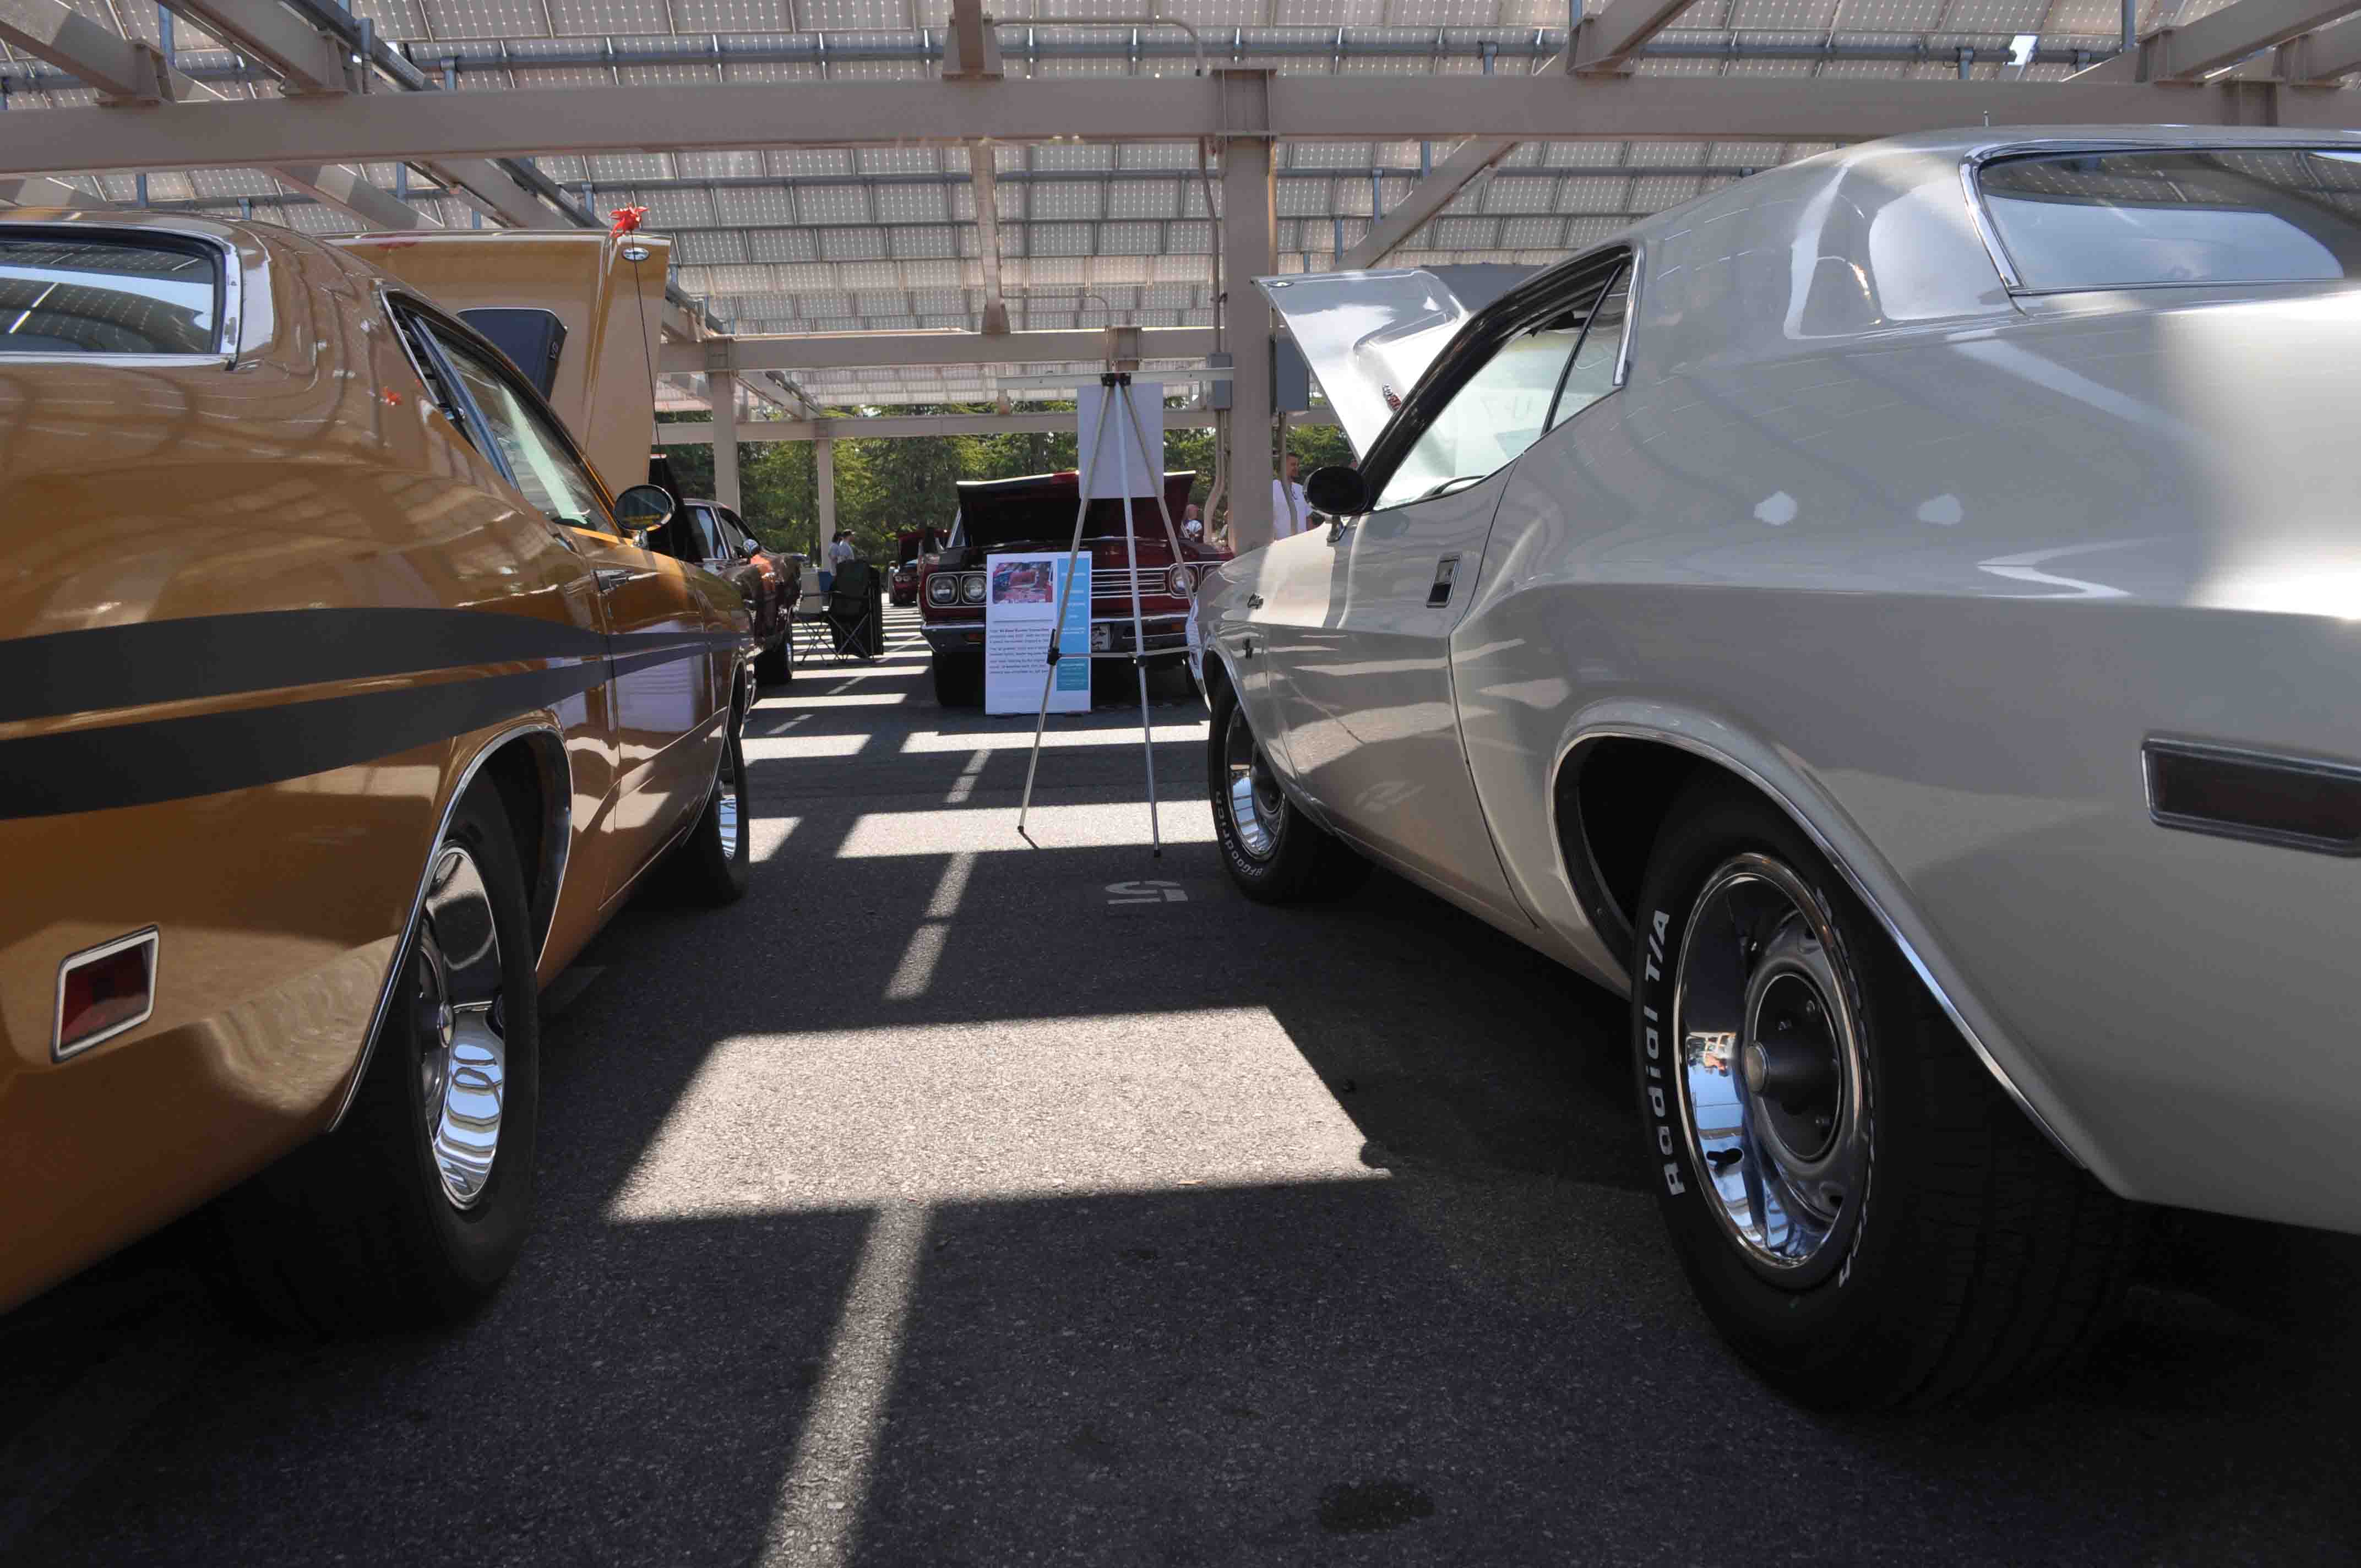
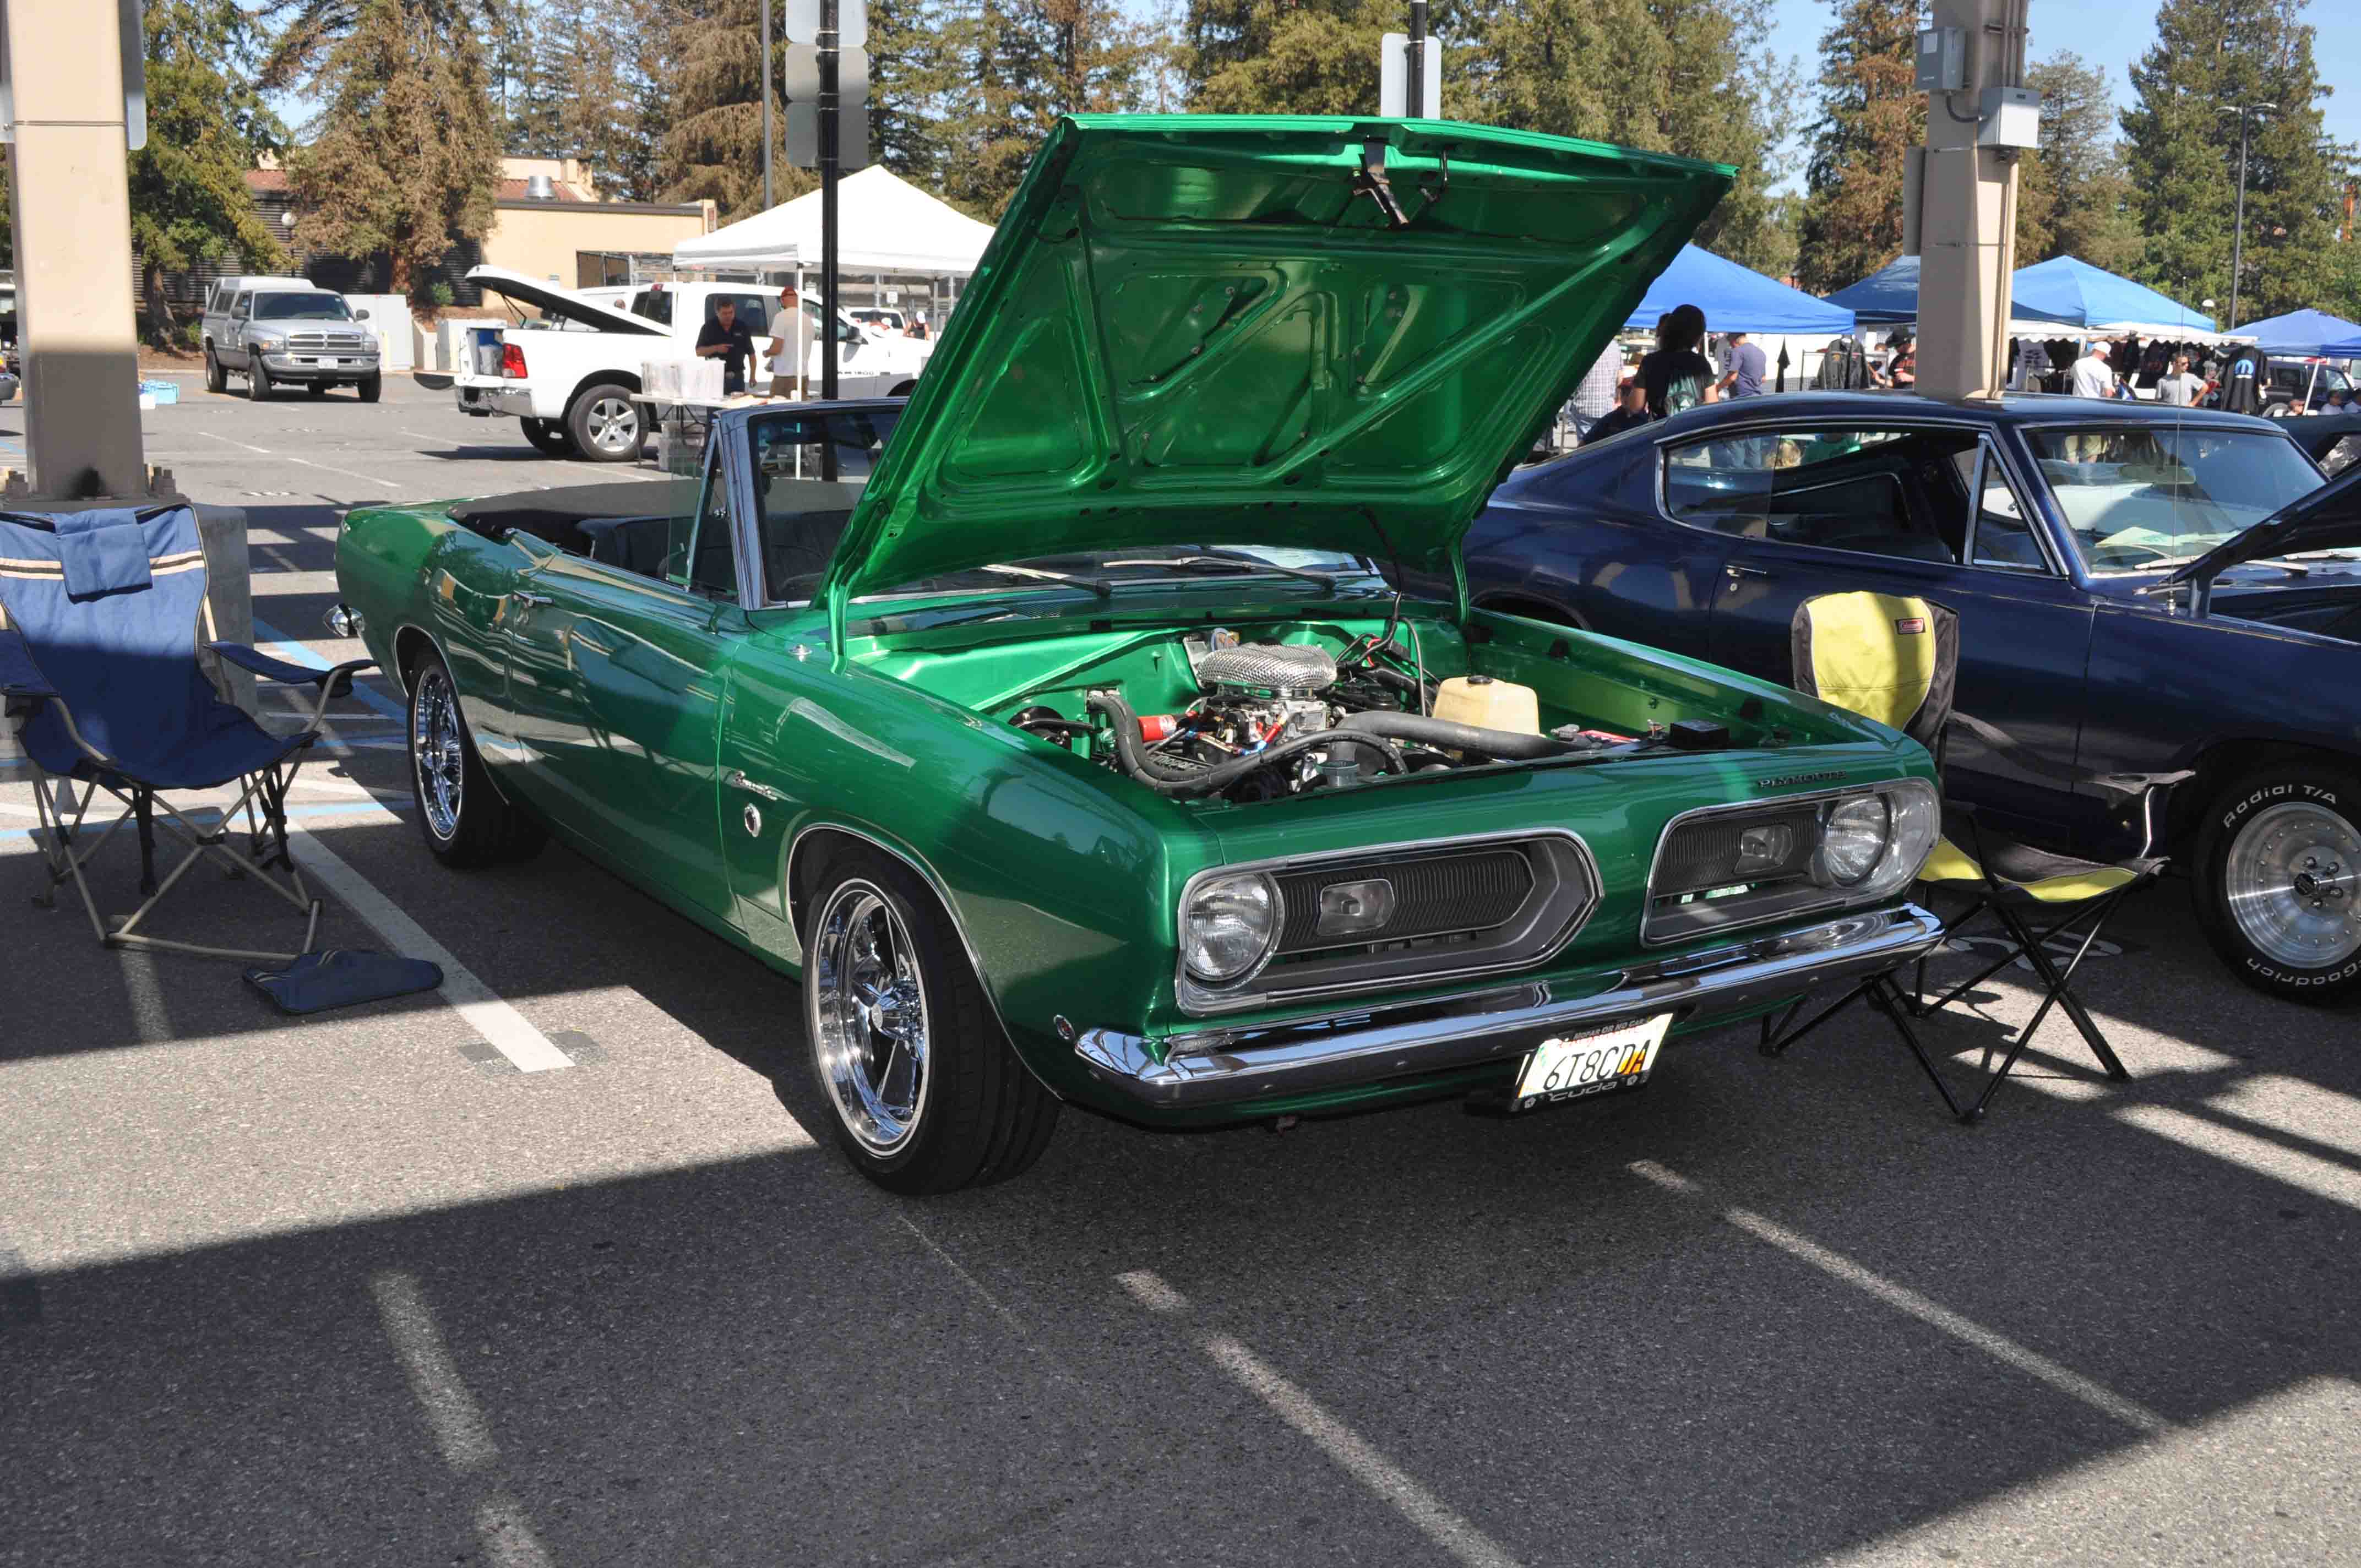
Done. The test drive that day revealed NO popping out the carb. I thought I had fixed the problem. But as I push the engine harder, like I did the following weekend. It still backfires through the carb under harder acceleration. When this thing stops popping, it is going to accelerate like mad money. Notice the 340 decal – this air cleaner assembly was from my Challenger T/A when I first bought it. It was the wrong assembly for a small block, but correct for a big block. I sold the T/A a few years ago, it was completely restored with the correct small block T/A air cleaner. I may keep this decal on just as a remembrance of the old car and to mess with people’s minds.
BONUS VIDEO

If you enjoyed this post, please LIKE SHARE COMMENT

The Dodge Kid in his youth about 1976.
Copyright © 2014 ChallenYee.com. TheDodgeKid.com All Rights Reserved.