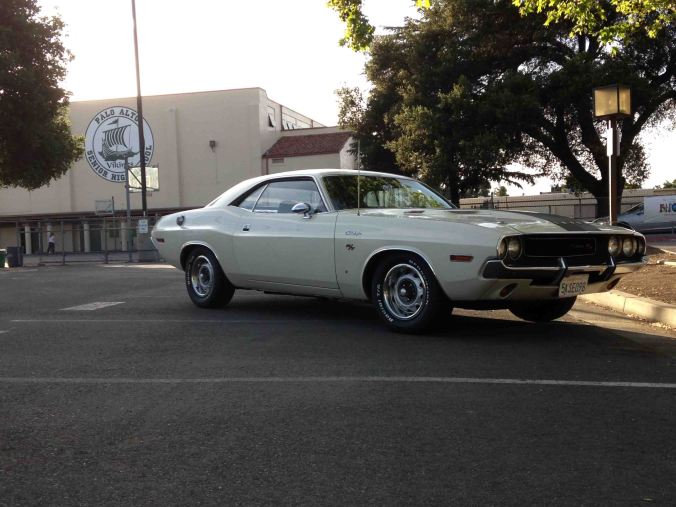
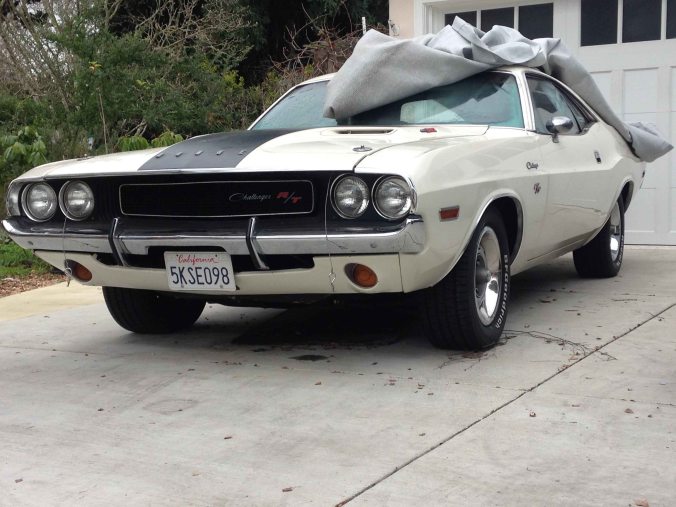
Getting a more personalized or stock look with a Torsion Bar Adjustment
One of the unique features of a classic Mopar is the front torsion bar used in place of the commonly used coil spring front suspension. The torsion bars have an adjuster which allows control of the front end ride height without replacing any parts.
In the past, on my first Challenger (1971), I needed to increase my tire clearance when I changed from the stock 70 series tires on skinny 14 inch wheels to F-60’s on 15×10 inch mags.
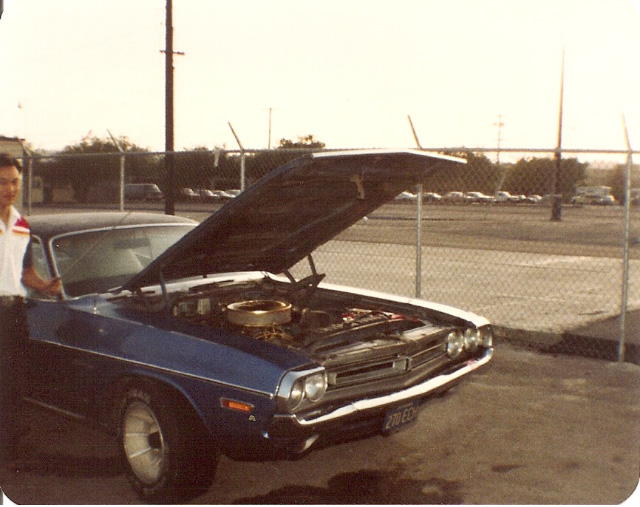
Check out the size of those mags and tires on my first car. No doubt needed to crank up that fender clearance! Taken in 1981 by my friend Mike Avery in San Diego, while we were in the Navy,
Today, I want to increase the front end height, not for tire clearance problems, but to change the appearance of 1970 Challenger to appear more stock.
Before I changed my suspension, the car rode about two inches lower, due to worn leaf springs. After I changed to “stock height” HD rear leaves from Firm Feel, the rear end rode higher than I expected. Replacing the front torsion bars increased the front end height (about 3 1/2 inches) but that was easily adjustable.
My initial desire was to keep the same front end height as before the suspension work, but the previous ride height was way too low for the new rear springs and the car looked “jacked up”. At the suspension shop, we raised the height and kept a slight rake on the car although the guys at the shop thought it looked better leveled out…
Alternately, in the 1970’s a lot of guys raised the front ends high to give their Mopars a bit of that “Super Stock” look.
After driving the car for almost a year, I think giving the car a more decided “level-look” rather than a “slightly raked” look matches what I want out of the appearance, so I wanted to raise the front end to emphasize more of a showroom look than modified look.
Making the Adjustment
In order to do this, I decided to do it manually, meaning no power assisted tools. I first used my non-ratcheting breaker bar, but figured out it would take too long when I could only get about an 1/8 of a turn per pull with the car on the ground. I ordered a long handled ratchet to get the job job.
I looked on-line and found a nice black-parkerized Proto 16-inch ratchet, the same length of my breaker bar, and it gives me adequate leverage to pull on the adjuster screw while laying on the ground. If using a standard depth 3/4 inch socket, it’s helpful to use a short extension to both clear any undercarriage obstruction and allow ground clearance for the swing of the ratchet handle.
Before the adjustment, the distance from the ground to the apex of the froth wheel well (using the center of the wheel cap for a reference) was 24 inches (BTW, I am running 235/60/15 BFG’s, the equivalent to the old F-60’s which was the largest option sized tire for the E-bodies, only the T/A model had the larger G-60 on the rear).
After approximately 5 complete turns of the adjuster in a clock-wise, or tightening direction, increased the height by approximately 3/4 inch. I did this pulling on the ratchet about an 1/8 of a turn at a time x 40 pulls.

A standard 3/4 inch half inch drive socket with a short extension (not shown) would work well to help clear the lower control arm, under-carriage, and allow ground clearance when adjusting the torsion bar. Photo taken on my non-ratcheting 16 inch breaker bar.

If you don’t have an air driven power tool and your Mopar on a rack, you’ll need at least a 16 inch breaker bar/ratchet like this one to have enough leverage to make it reasonably easy to turn the torsion bar adjuster. A 10 inch long ratchet could work if you are Arnold Schwarzeneggar in his prime.
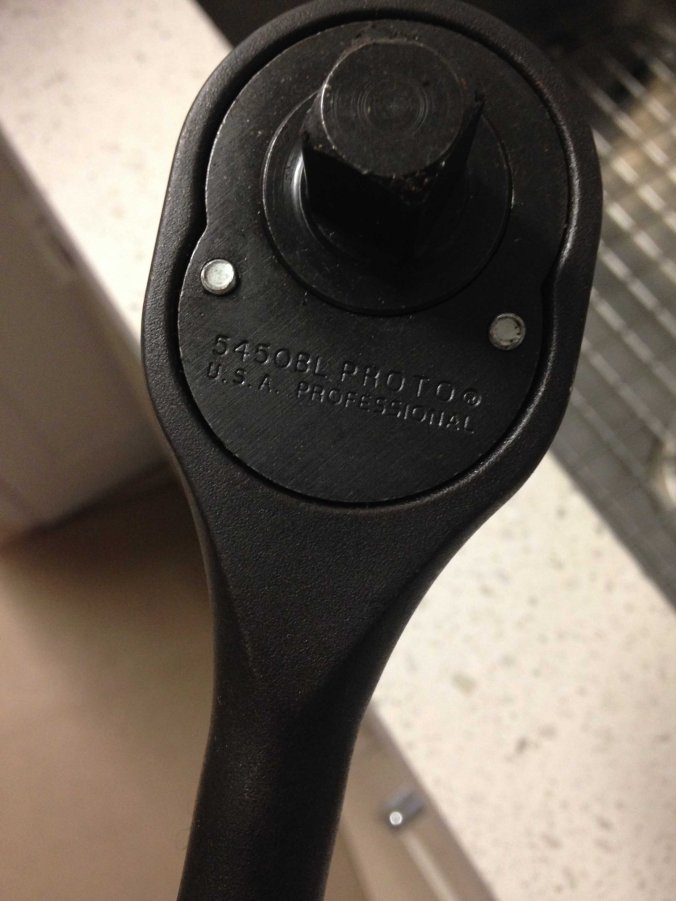
The one I used I bought myself for a Christmas gift, a Made in the USA Proto 5450BL. All the reviews suggest this is a quality tool that will not strip out on you when you on a high torque situation, like when you need a breaker bar. A torsion bar adjuster is not extremely hard to turn but I hate cheap tools.

Here’s the general area under the passenger side lower control arm. Notice the lower control arm is braced with a piece of sheet metal from FirmFeel. This stiffener plate is recommended for heavy duty front sway bars to reduce the stock lower control arms from twisting into mush with hot cornering.
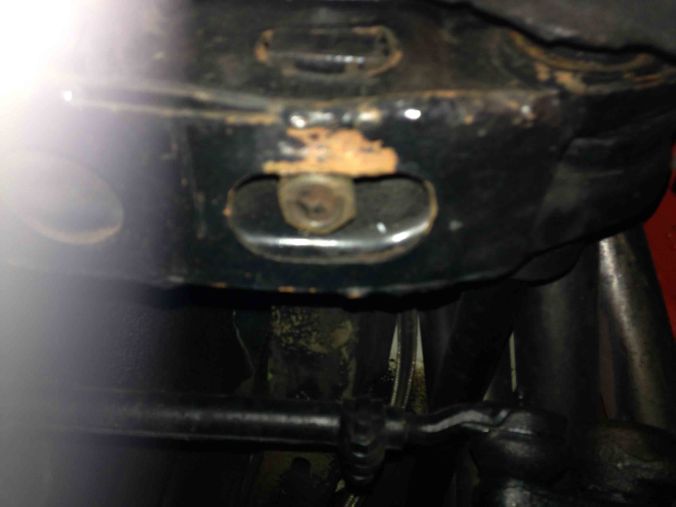
Here’s a closer look at the adjuster for the torsion bar. Tighten (clock-wise) to raise the front end.
I turned mine about 40 1/8 turns to raise the car 3/4 inch, or approximately 5 complete turns to raise 3/4 inch.
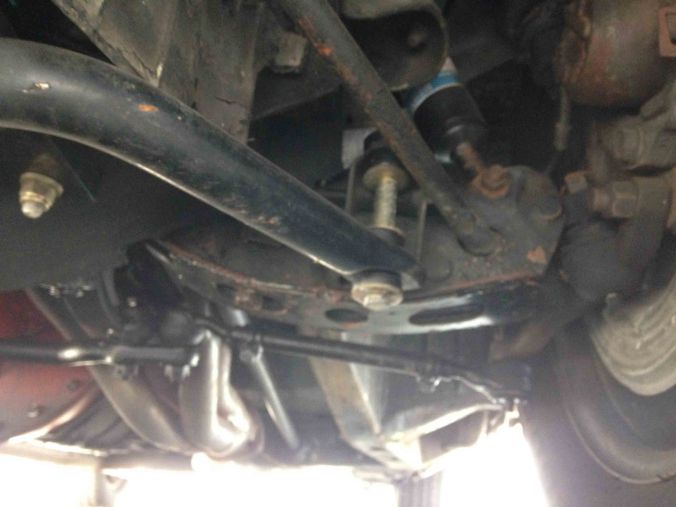
Here’s a look at the driver’s side in the daylight. You get a good look at the lower arm stiffener that is welded to the lower arm to strengthen it, plus you can see the torsion bar adjustment screw head protruding from the plate.
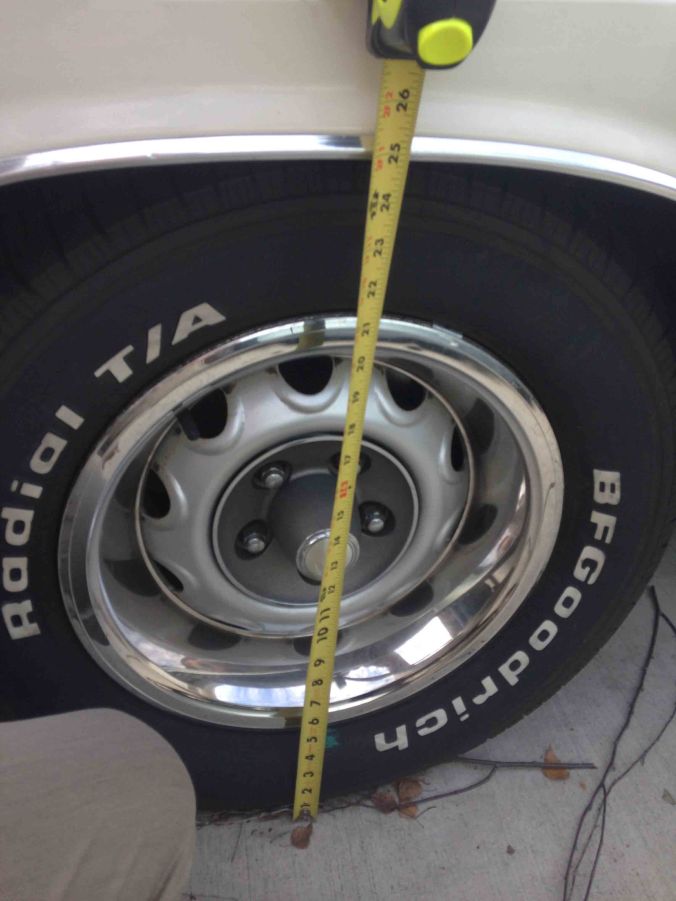
Here’s how I measure the height of the car, from the ground to the lower lip of the fender well moulding.

Be consistent and specific on your adjustment. It started at 24 inches, I raised it to 24 3/4. The photo is a bit of an angle looking downward, you’ll need to look directly perpendicular to sight your measurement.
BEFORE and AFTER SHOTS
So what do you think? Car’s have this great capacity for personalization and the torsion bar setup on your Mopar makes tweaking your ride height a snap.
. If you enjoyed this post, please LIKE SHARE COMMENT
Copyright © 2015 ChallenYee.com TheDodgeKid.com BestBuckBuck.com TeamBetterLiving.com All Rights Reserved.
