The following write up was what I used for my car show placard when I showed my Challenger T/A at car shows.
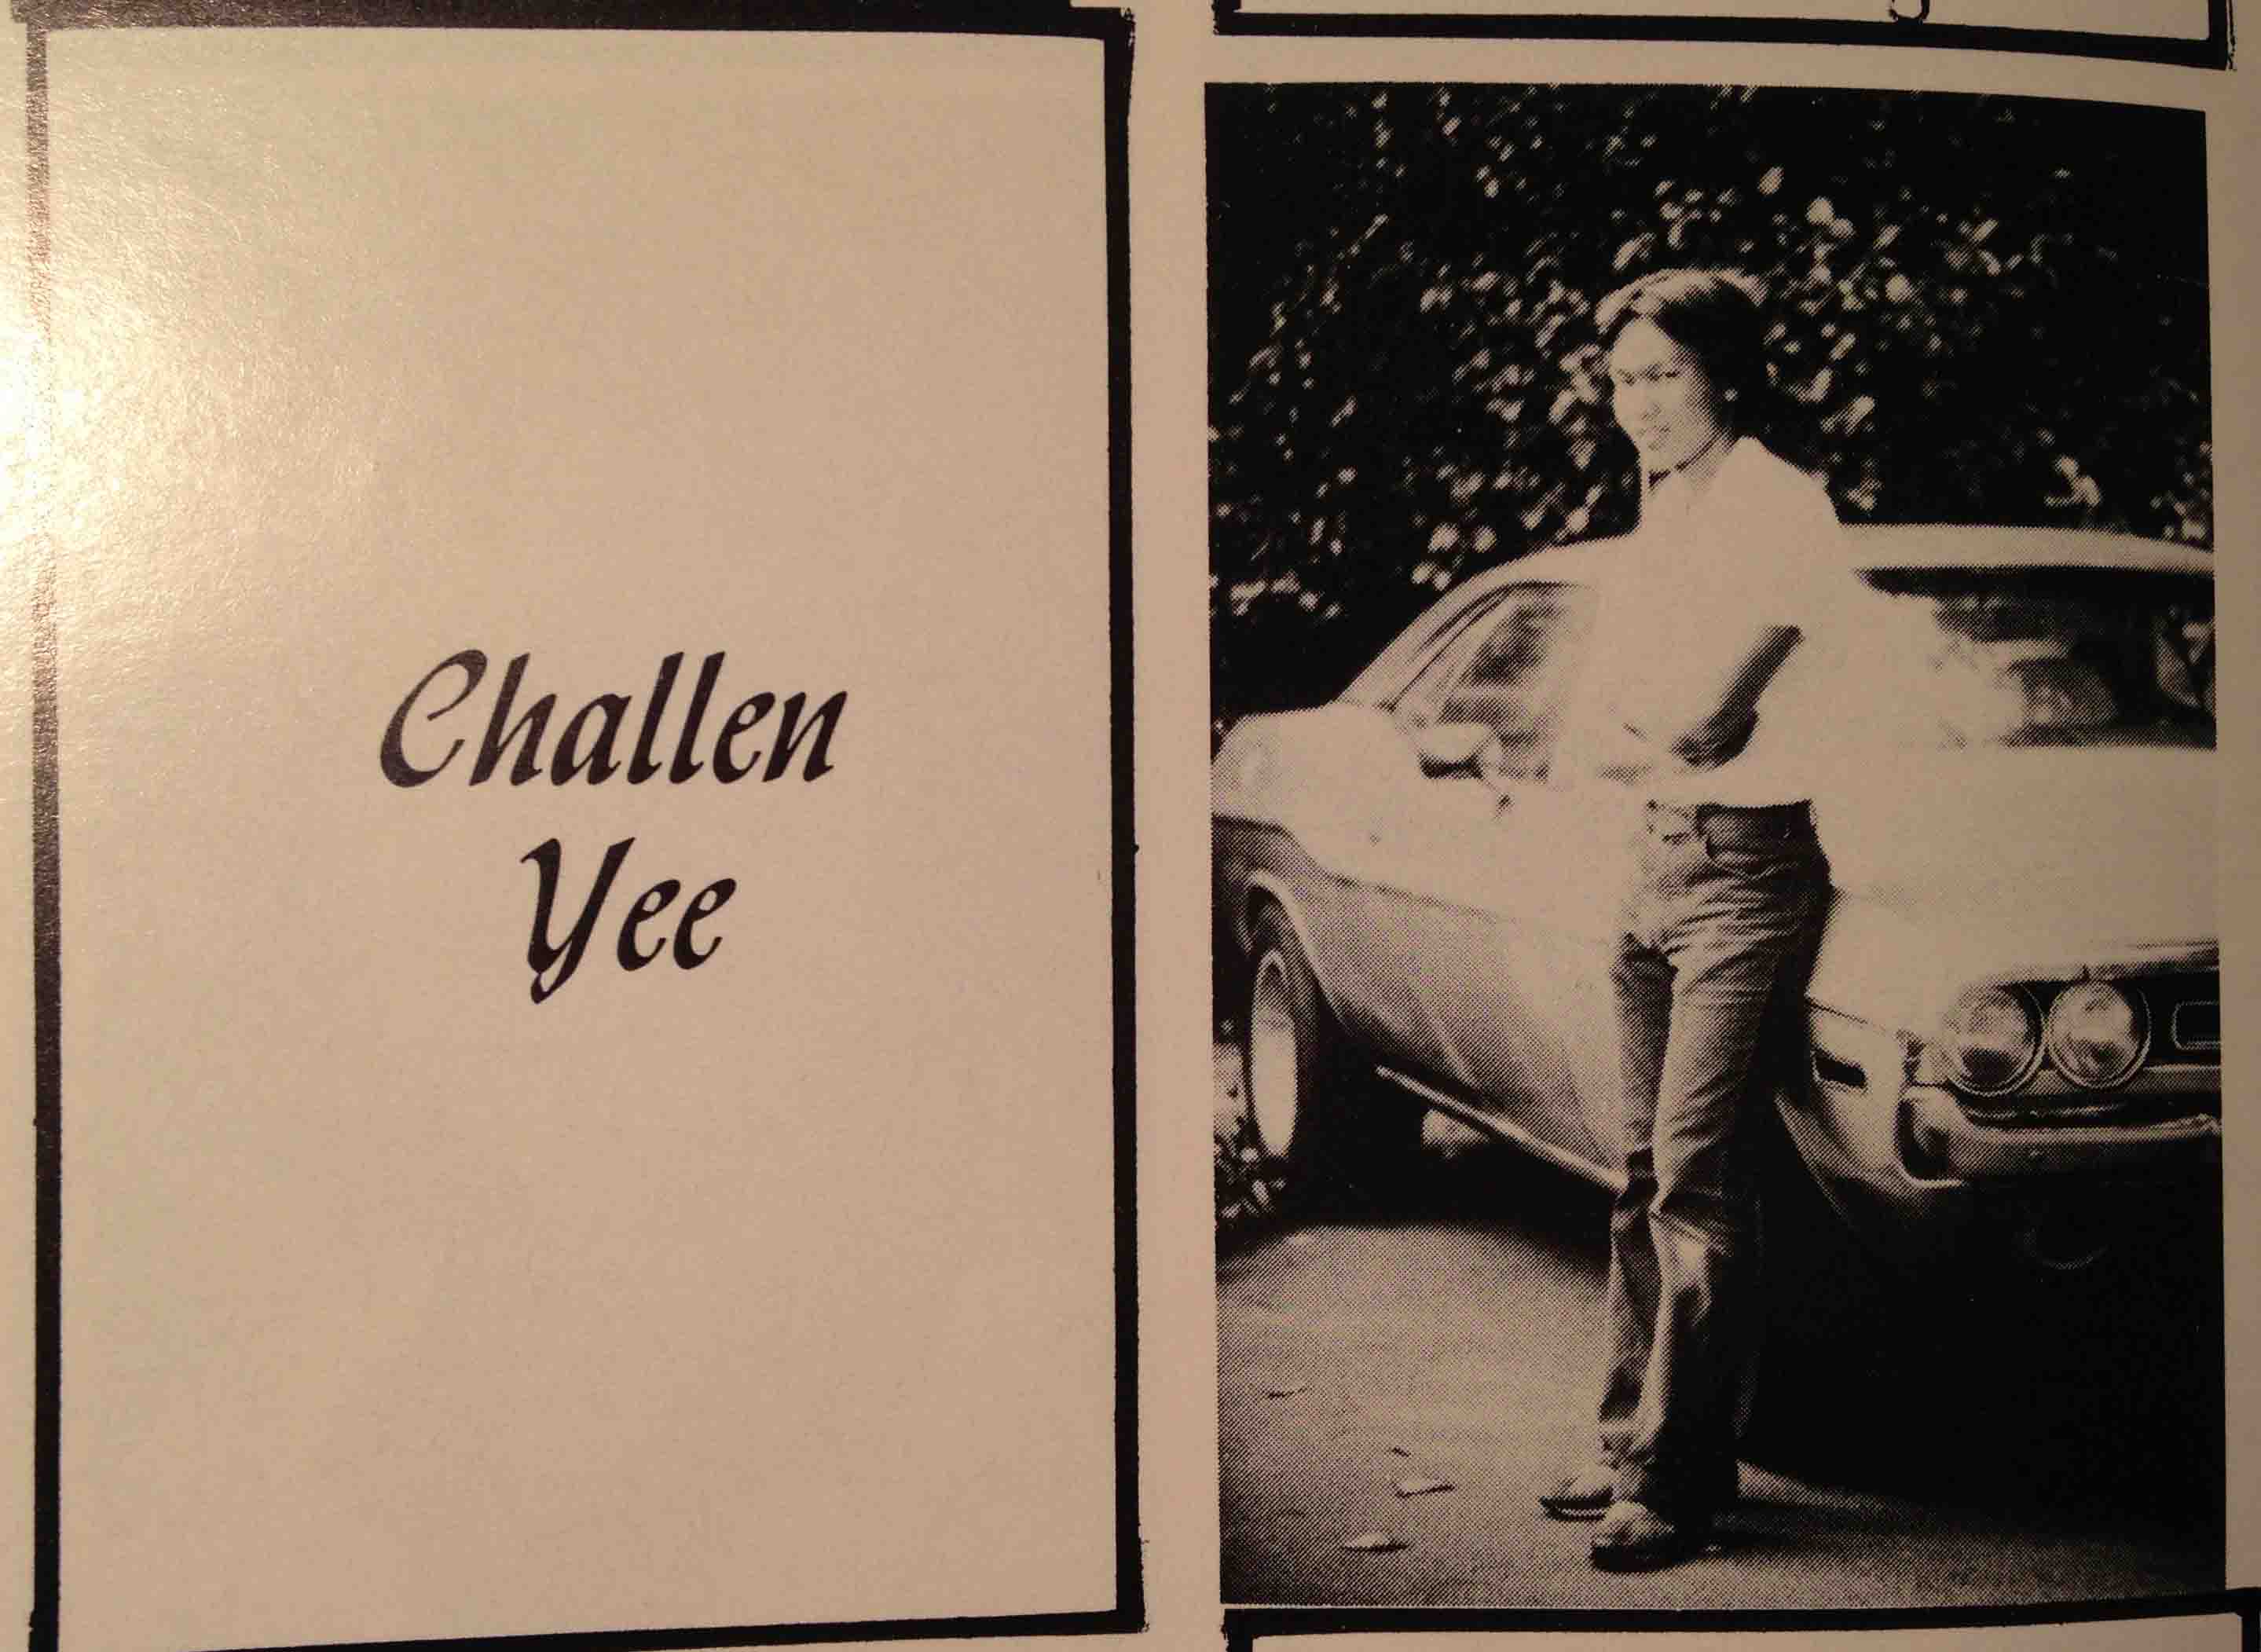
Article and Photos by Challen Yee
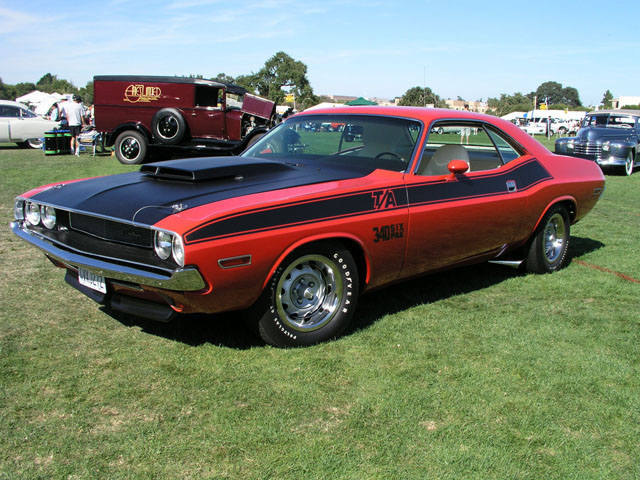
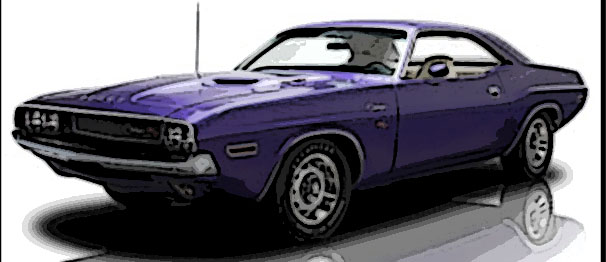
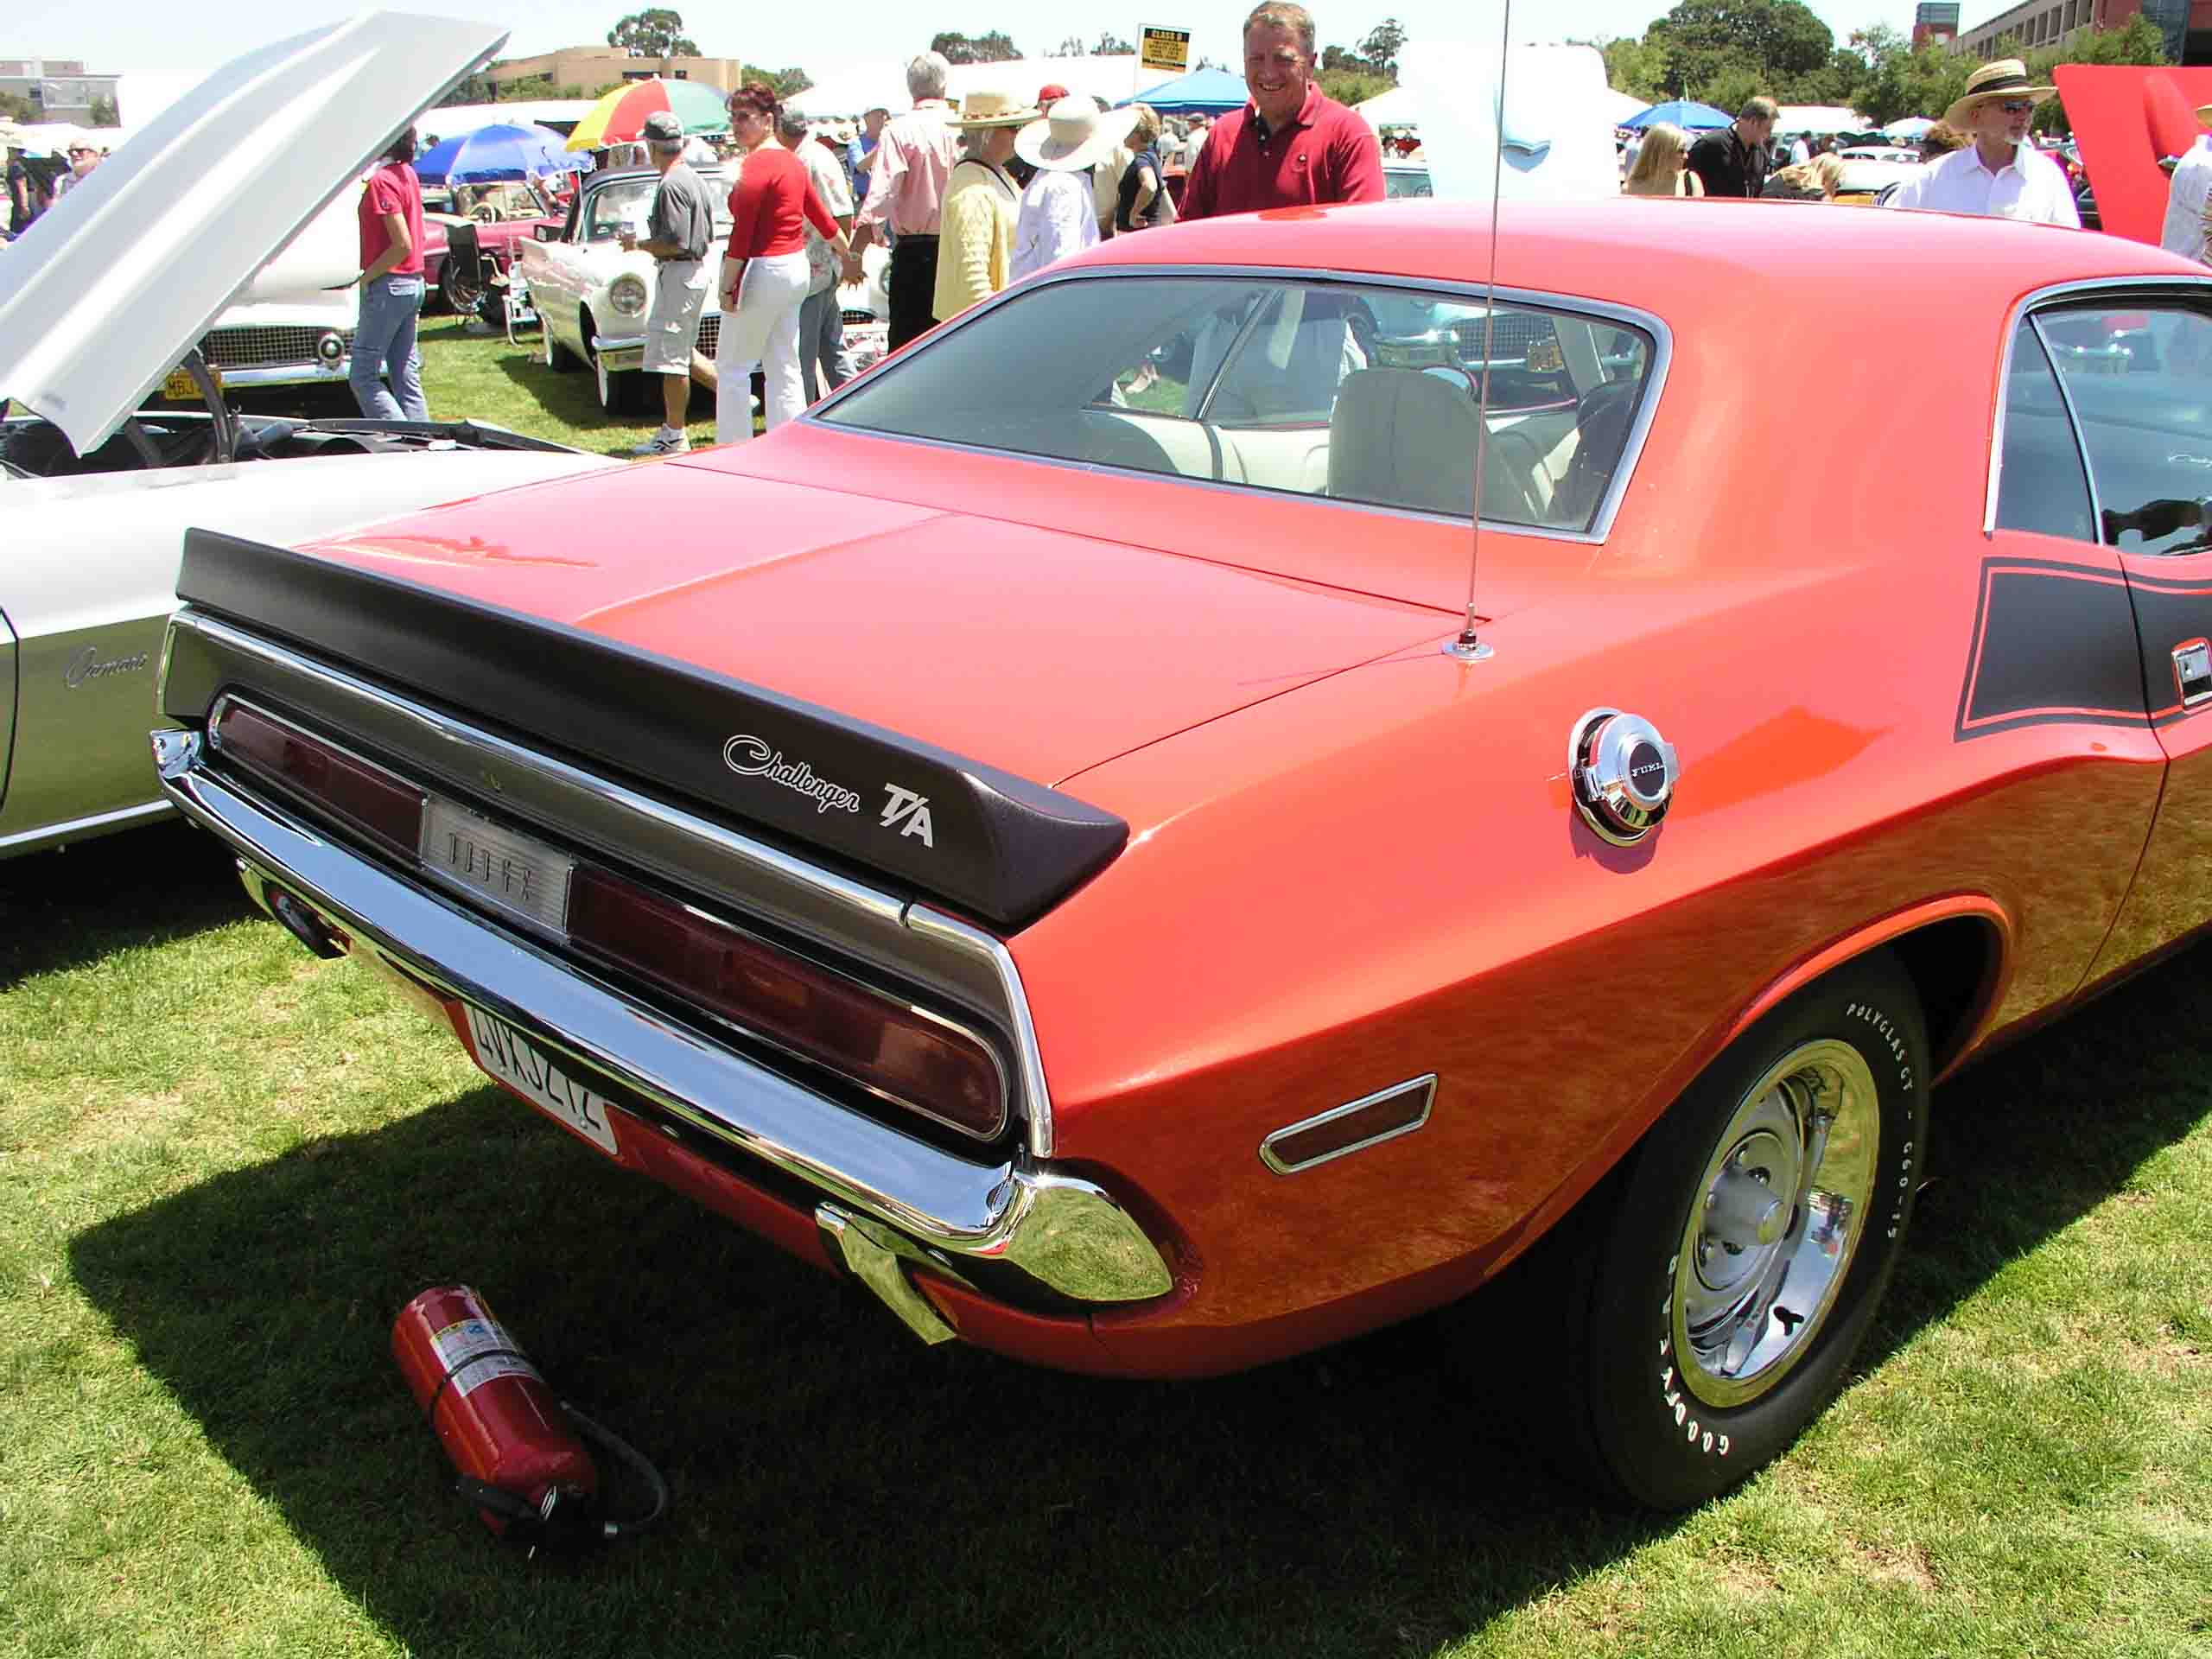
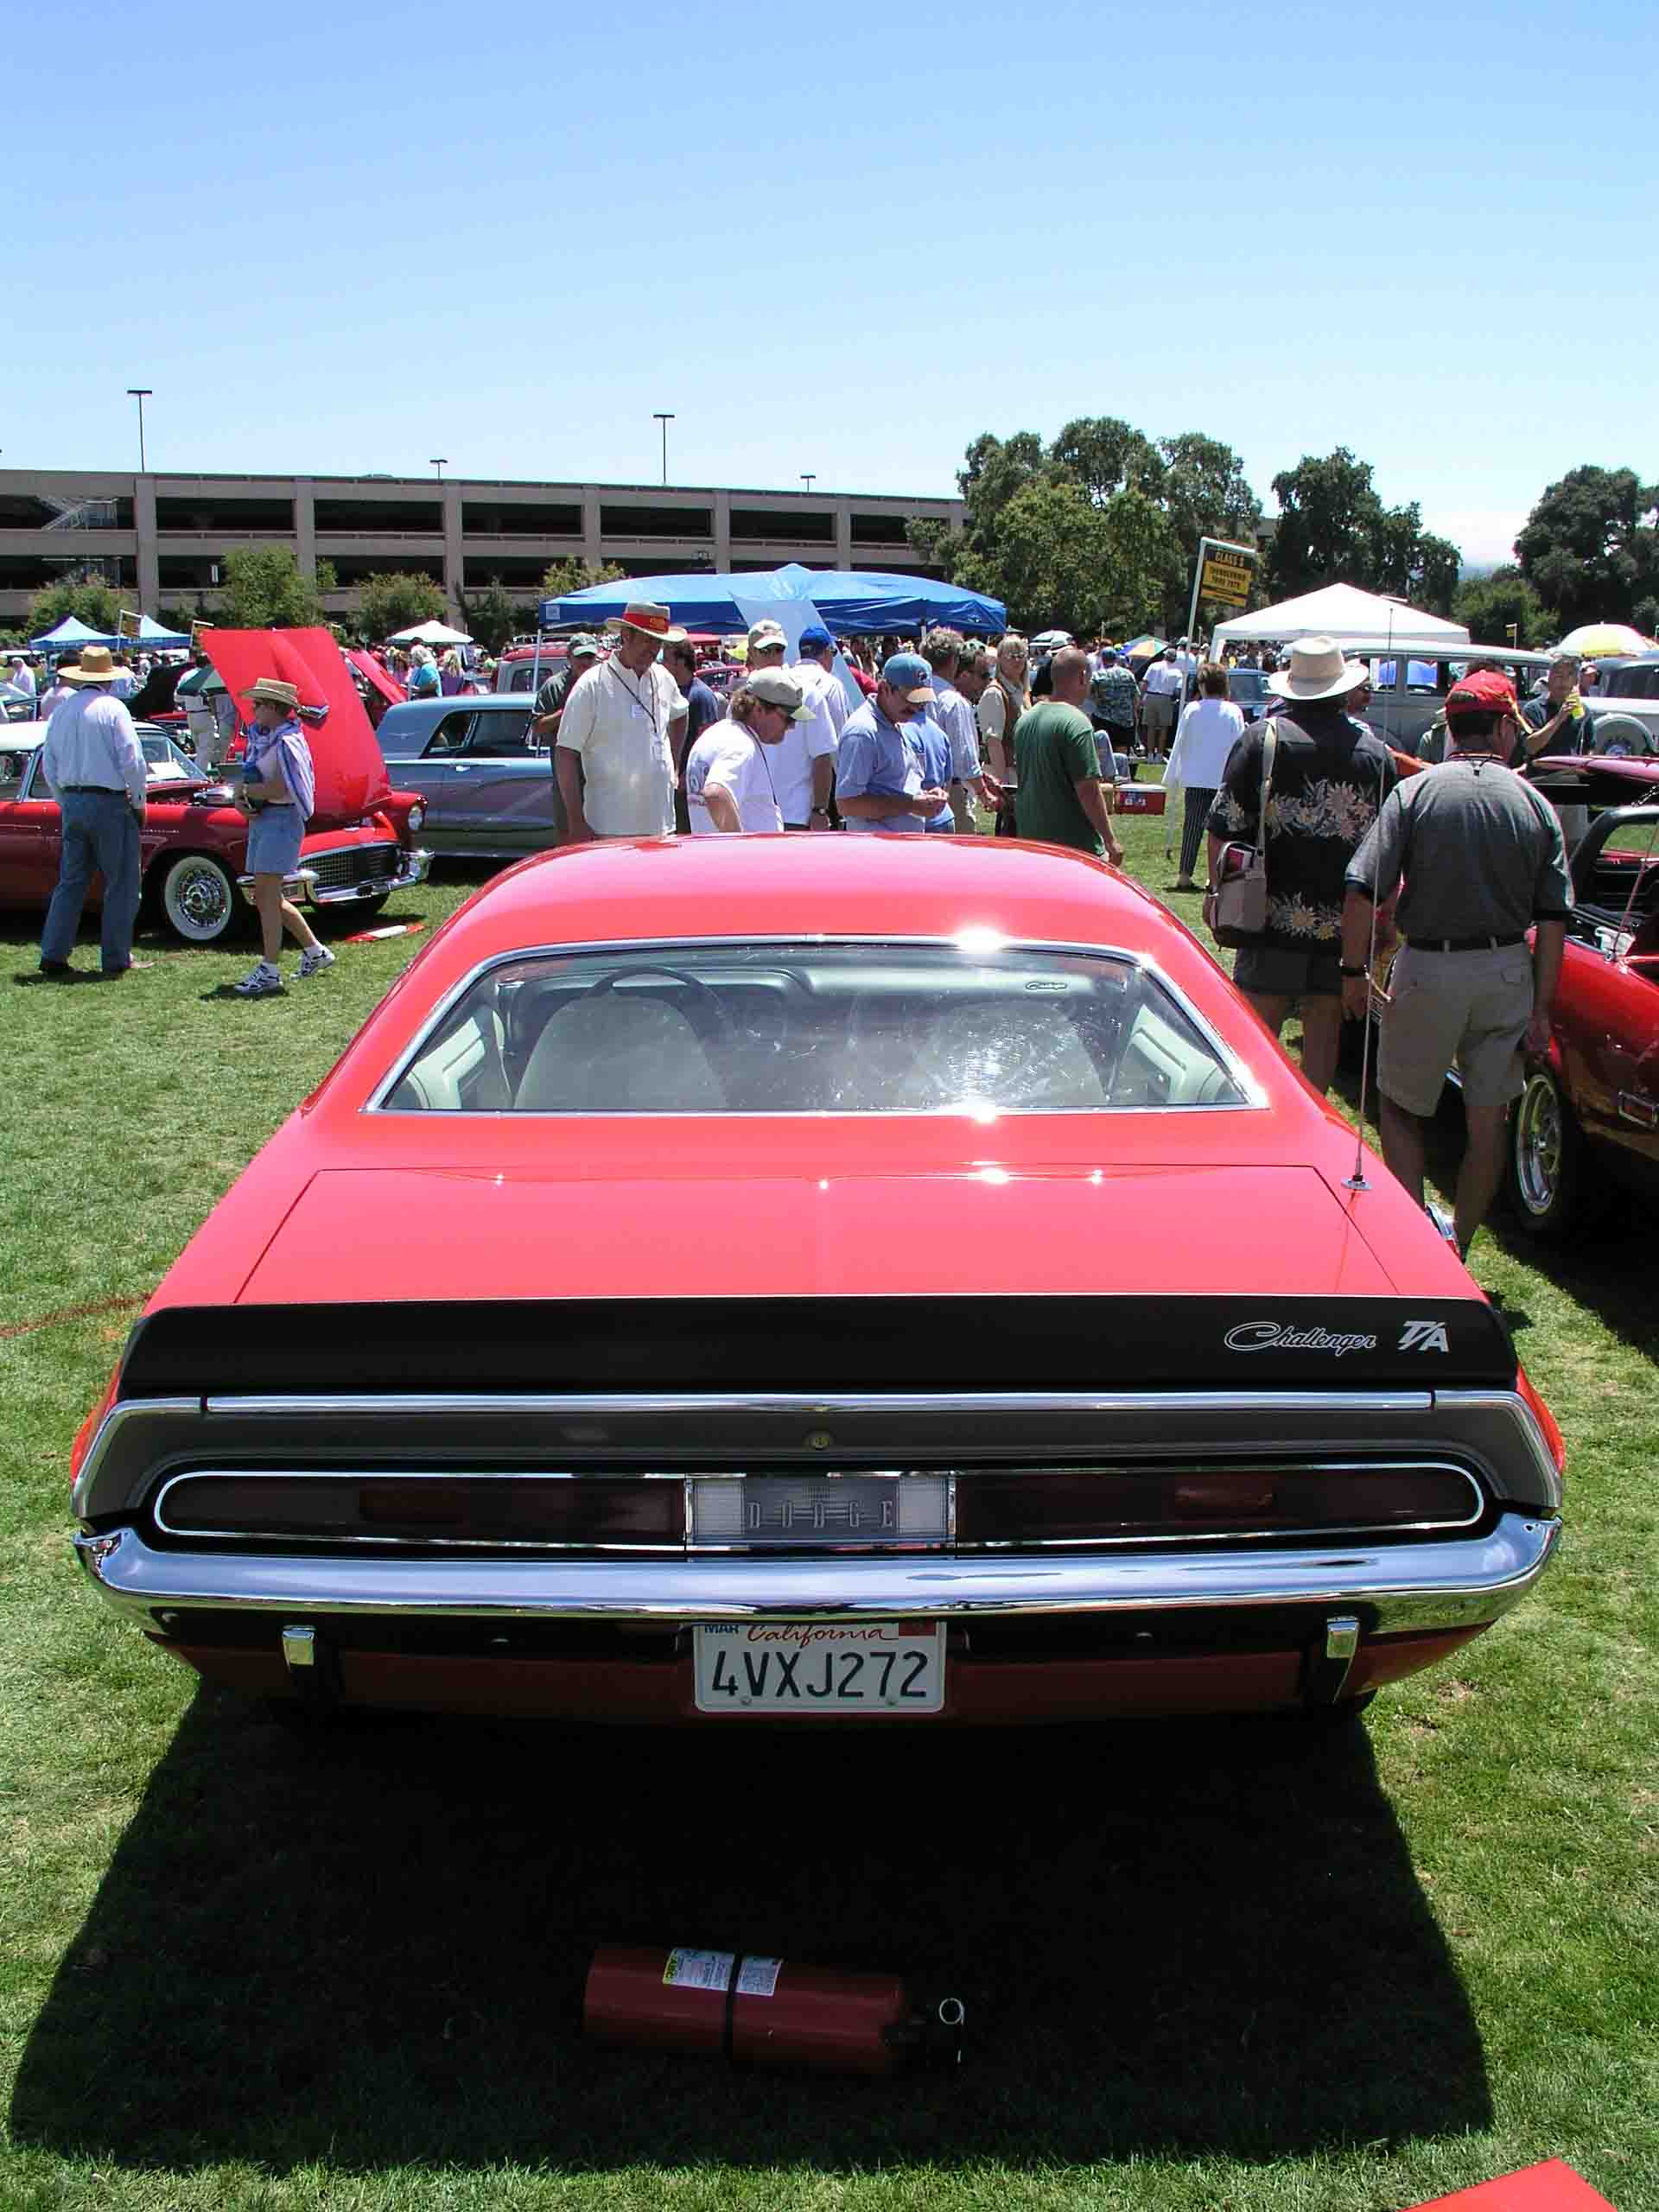
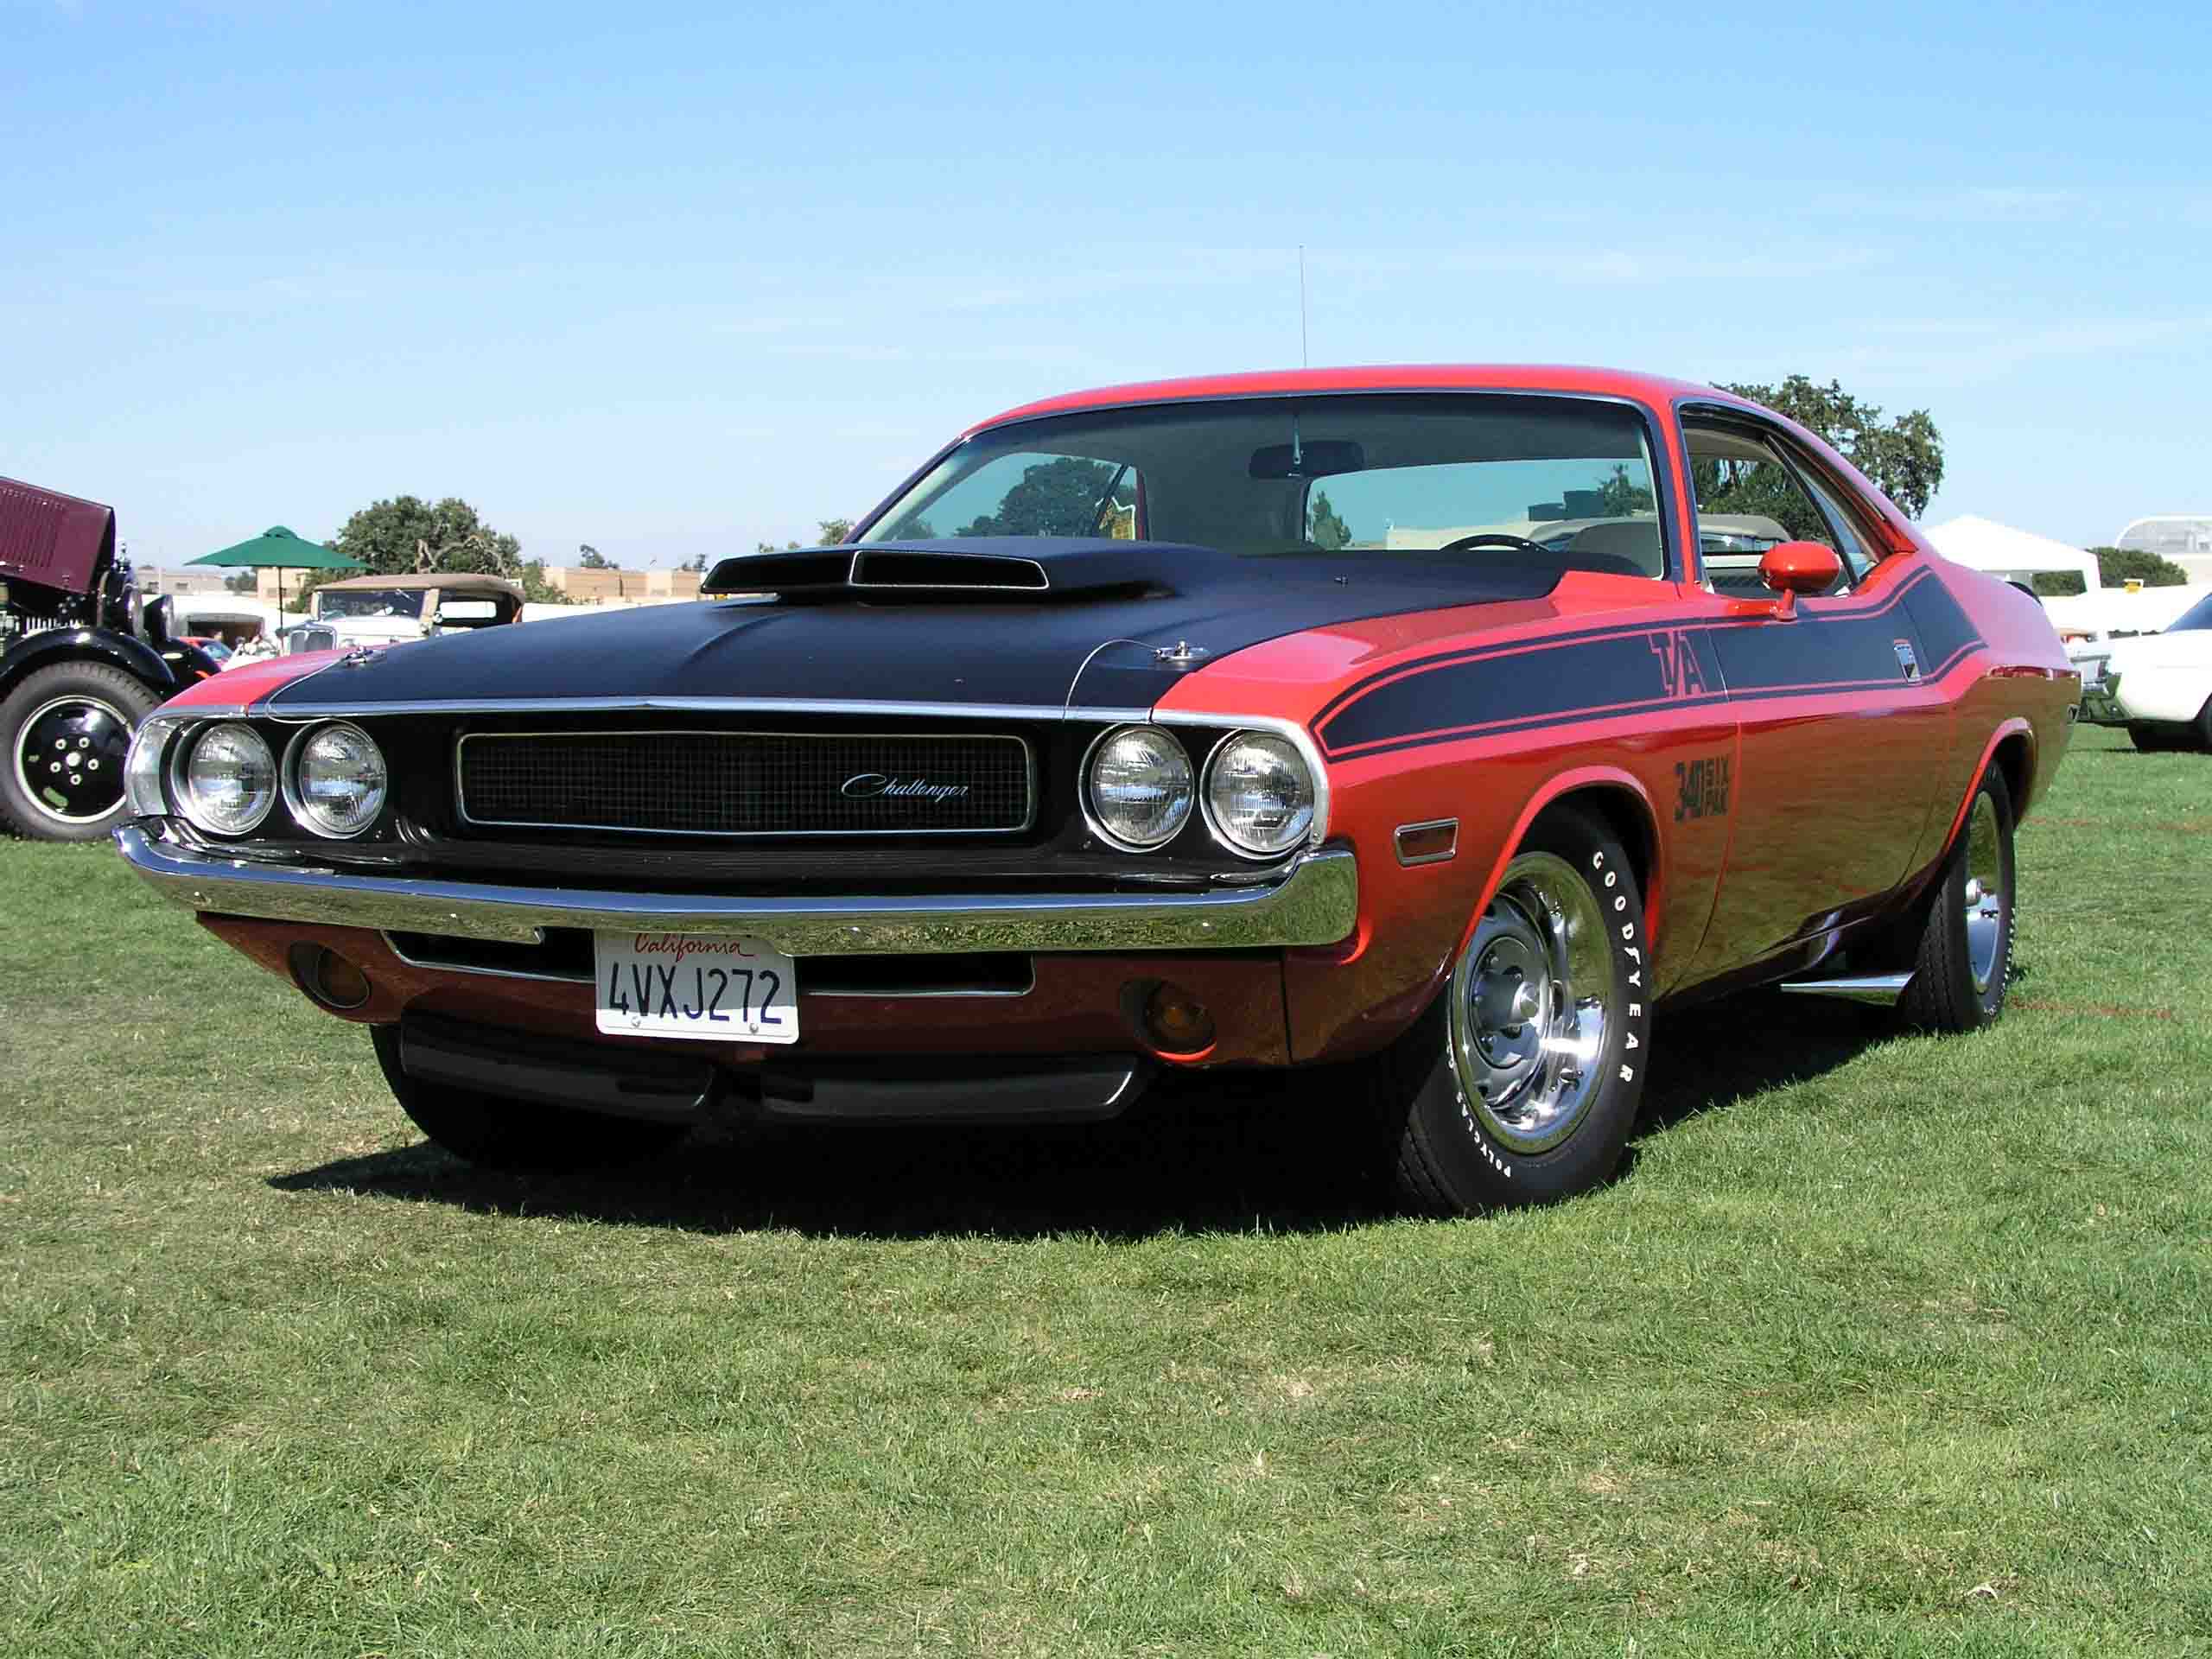
1970 Dodge Challenger Trans Am
By Challen K. Yee with excerpts from “Dodge Challenger and Plymouth Barracuda” by David Newhardt (2000)
“Chrysler was a bit tardy in getting a factory entry into the SCCA Trans-Am racing series. Both Ford and General Motors had been slugging it out with Boss 302s and Camaro Z-28s. “The gang at Mopar wanted some racing glory to rub off onto their line of street cars, so they dove into the fray for the 1970 season. The rules required that the manufacturer build 2,500 street models of its racing car. To this end, Chrysler released All-American Racers (AAR) `Cuda and its cousin, the T/A Challenger…
“2,142 Challenger T/As were put on the road. All of these were built in a five-week period in March and April of 1970.
“Unlike the racers, which had to use a 340-ci engine destroked to 303.8 ci and topped with a single four-barrel carburator, the street versions were powered by a Six-Pak-equipped [three two-barrel Holley carbs combining for over 1300 cfm] 340-ci engine.
“The iron block was stressed relieved, and the main bearing area, while delivered with a two-bolt main, had plenty of material for the fitting of four-bolt main bearing caps. [Furthermore, the block had a higher nickel content and the heads were also a special T/A item designed to allow more radical porting by the use of an offset rocker arm system which relocated the valve pushrods].
“The engine was rated at 290 horsepower at 5,000 rpm, but redline came up at 6,500. “The Challenger T/A was modeled after the Trans-Am racer Sam Posey wheeled around the Trans-Am series. Its fiberglass hood was influenced by the belly air scoop on the P-51 Mustang fighter plane, and Dodge pulled it off beautifully.”
(The following excerpts are from David Newhardt’s “Dodge Challenger and Plymouth Barracuda”).
The standard rear axle set was 3.55:1 which according to Car & Driver magazine’s July 1970 issue helped deliver 0-60 in 5.8 seconds and a quarter-mile time of 14.3 seconds at 99 mph. Optional gear sets included 3.91 and 4.10 housed in the mighty Dana 60. The transmissions, both the A-833 manual and the A-727 automatic were “big-block” pieces designed to be mated to the hot performing “small-block” 340. Some of the distinctive standard equipment on the T/A models were: front disc brakes, E60x15 Goodyear tires in front and G60x15 on the back, higher rate front and rear sway bars, torsion bars and rear leaf springs, side exit exhaust, frame stiffening features, special stripe and decal treatments, fiberglass hood, and front and rear spoilers. Some of the many popular options included: fast ratio steering, rally gauges, dual painted mirrors, vinyl tops, and a myriad of awesome colors for both interior and exterior.

The Annual Concours is no longer being held at Stanford University. Not sure for which political reason.

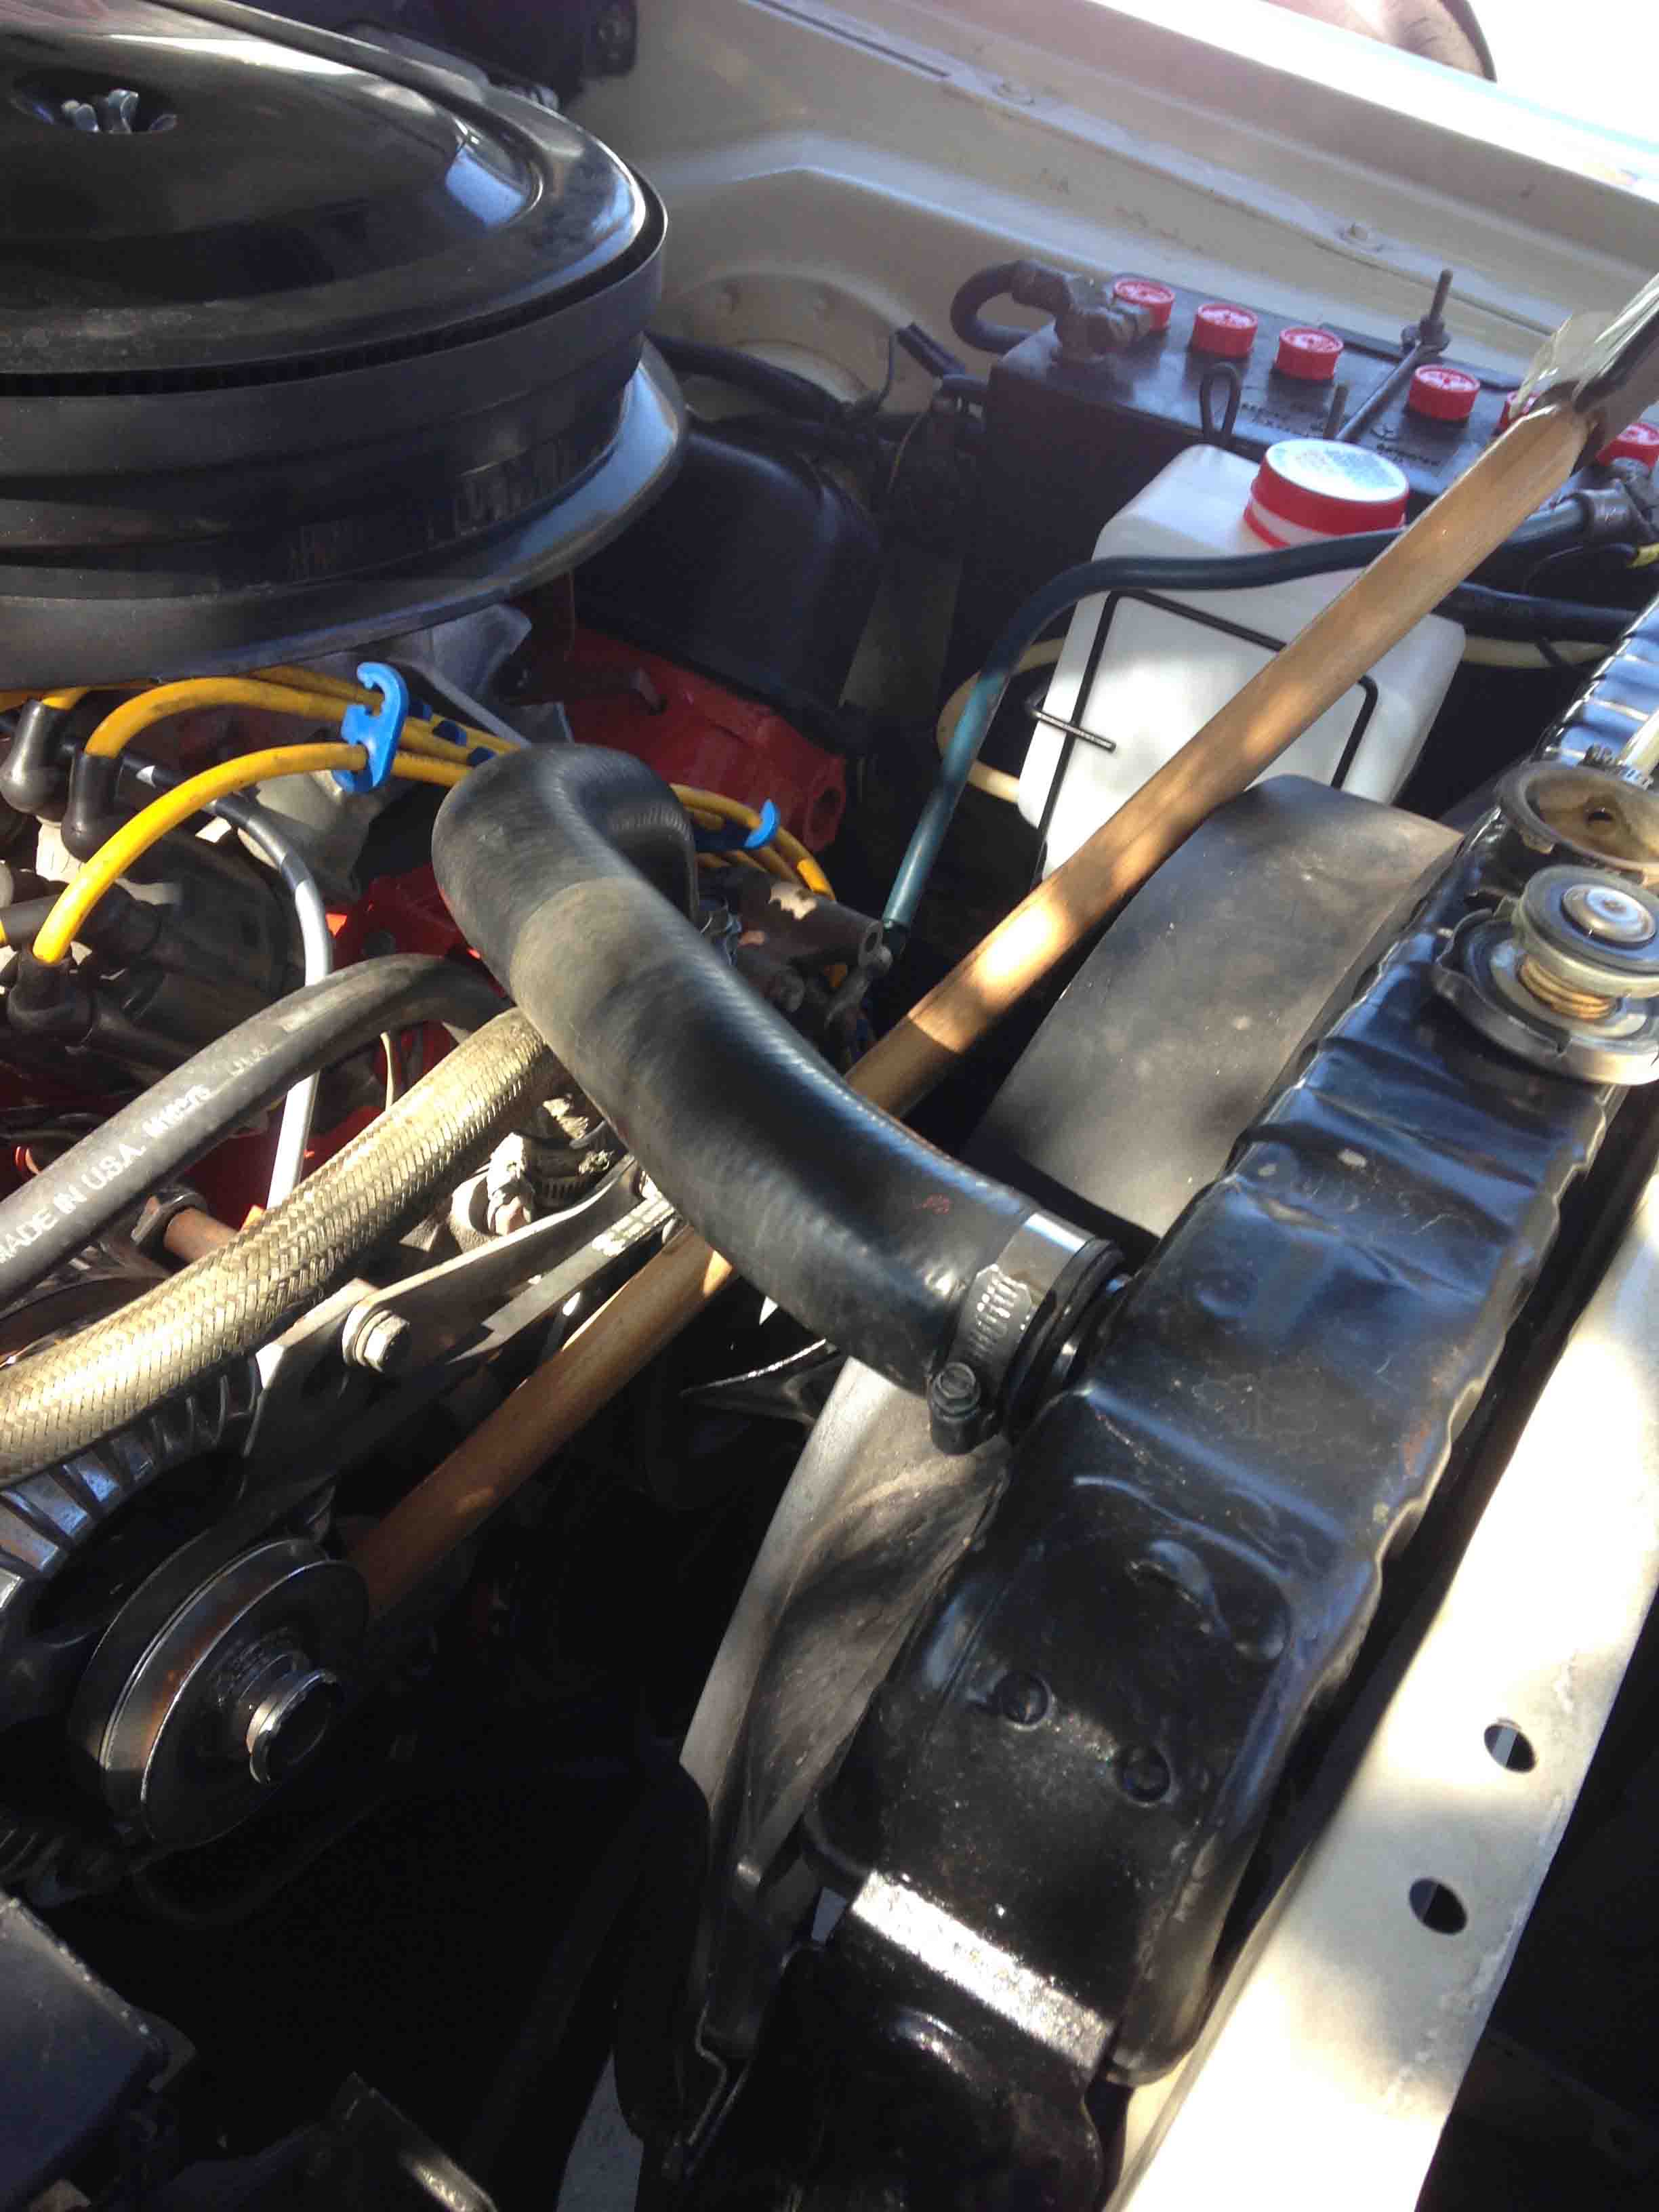
Non-matching numbers TA engine out of a AAR Cuda that got totaled in the late 1970’s. The father of the owner saved it in a garage in central California until I bought it through an Ebay auction. The restoration was meticulously performed by Restorations By Julius in Chatsworth, CA.
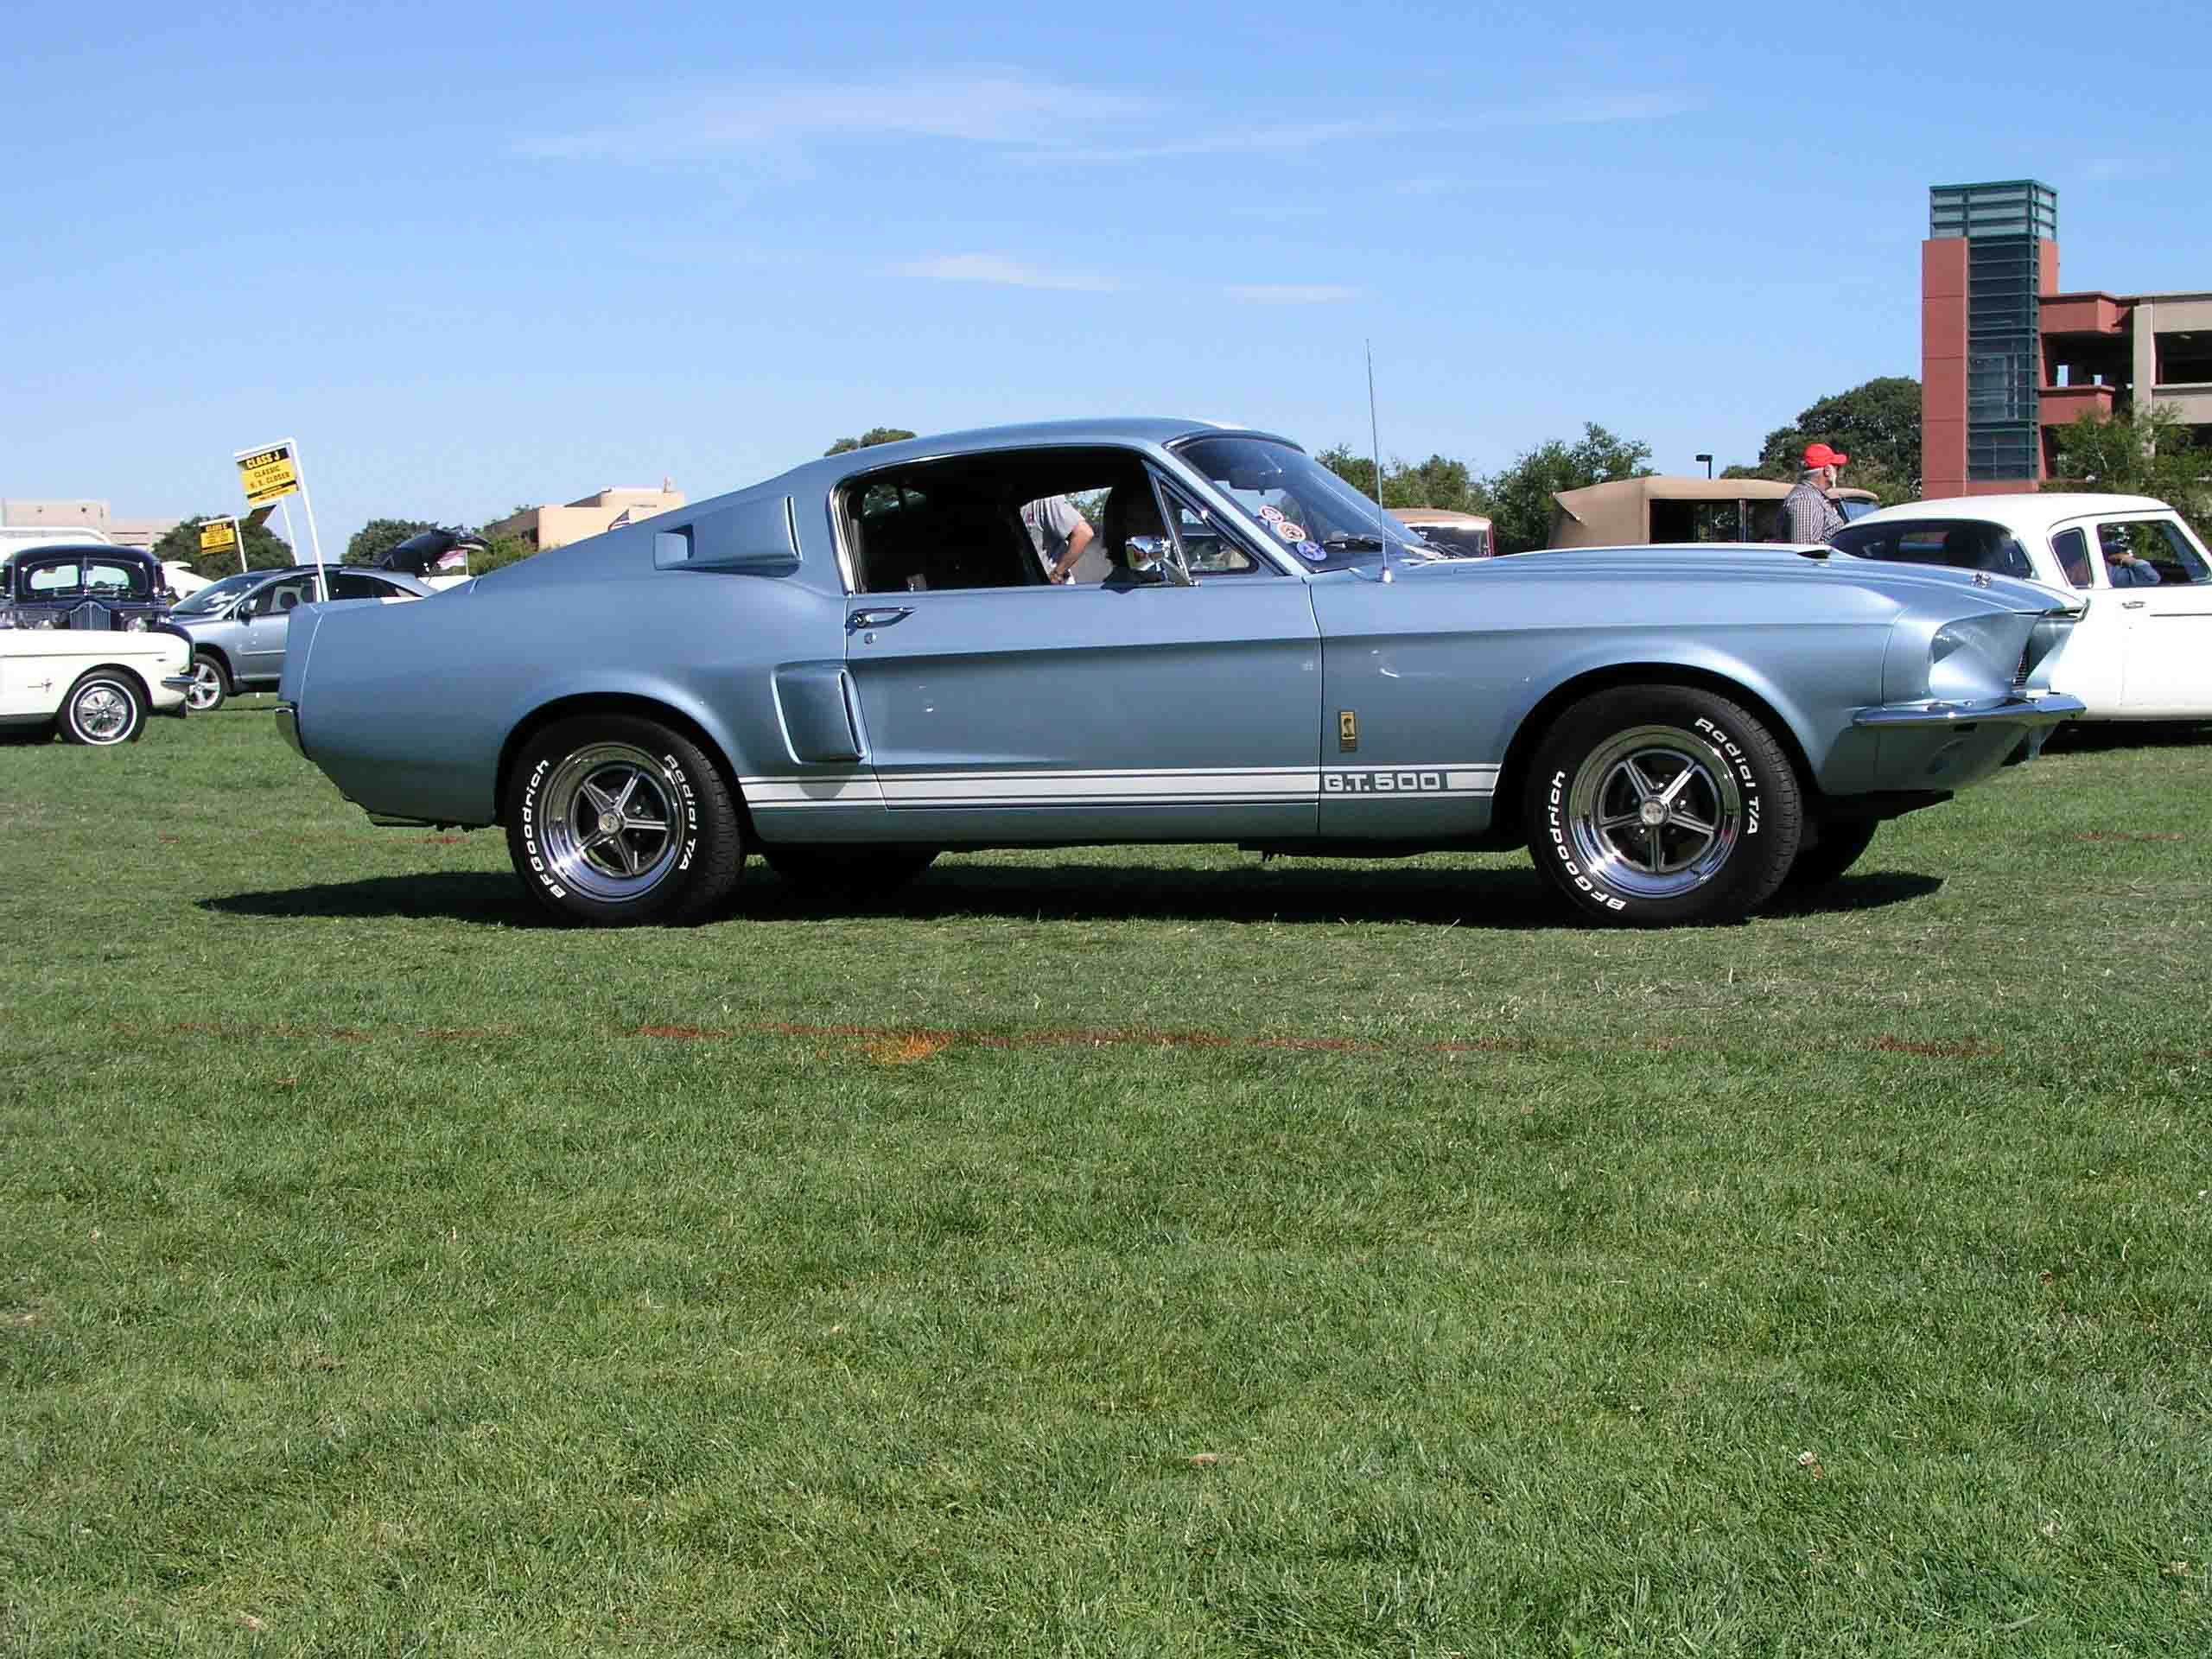
My friend Scott Douglas. “The Shelby Kid” and the Ford guy at school, he’s owned several Ford products in his life including a Shelby like this one. Shelby’s are also one of my favorite non-Mopars, having been a Mustang owner in the past I had a lot of fun with the NorCal Shelby Club at open tracks.

Simply one of my favorite non-Mopars, and with respect for my old departed friend Rick Elliott, who was the Chevy guy in school.
Let’s end this article with my old garage queen MoPar. As life would have it, I no longer own this Challenger. Sure was nice.
.. If you enjoyed this post, please LIKE SHARE COMMENT

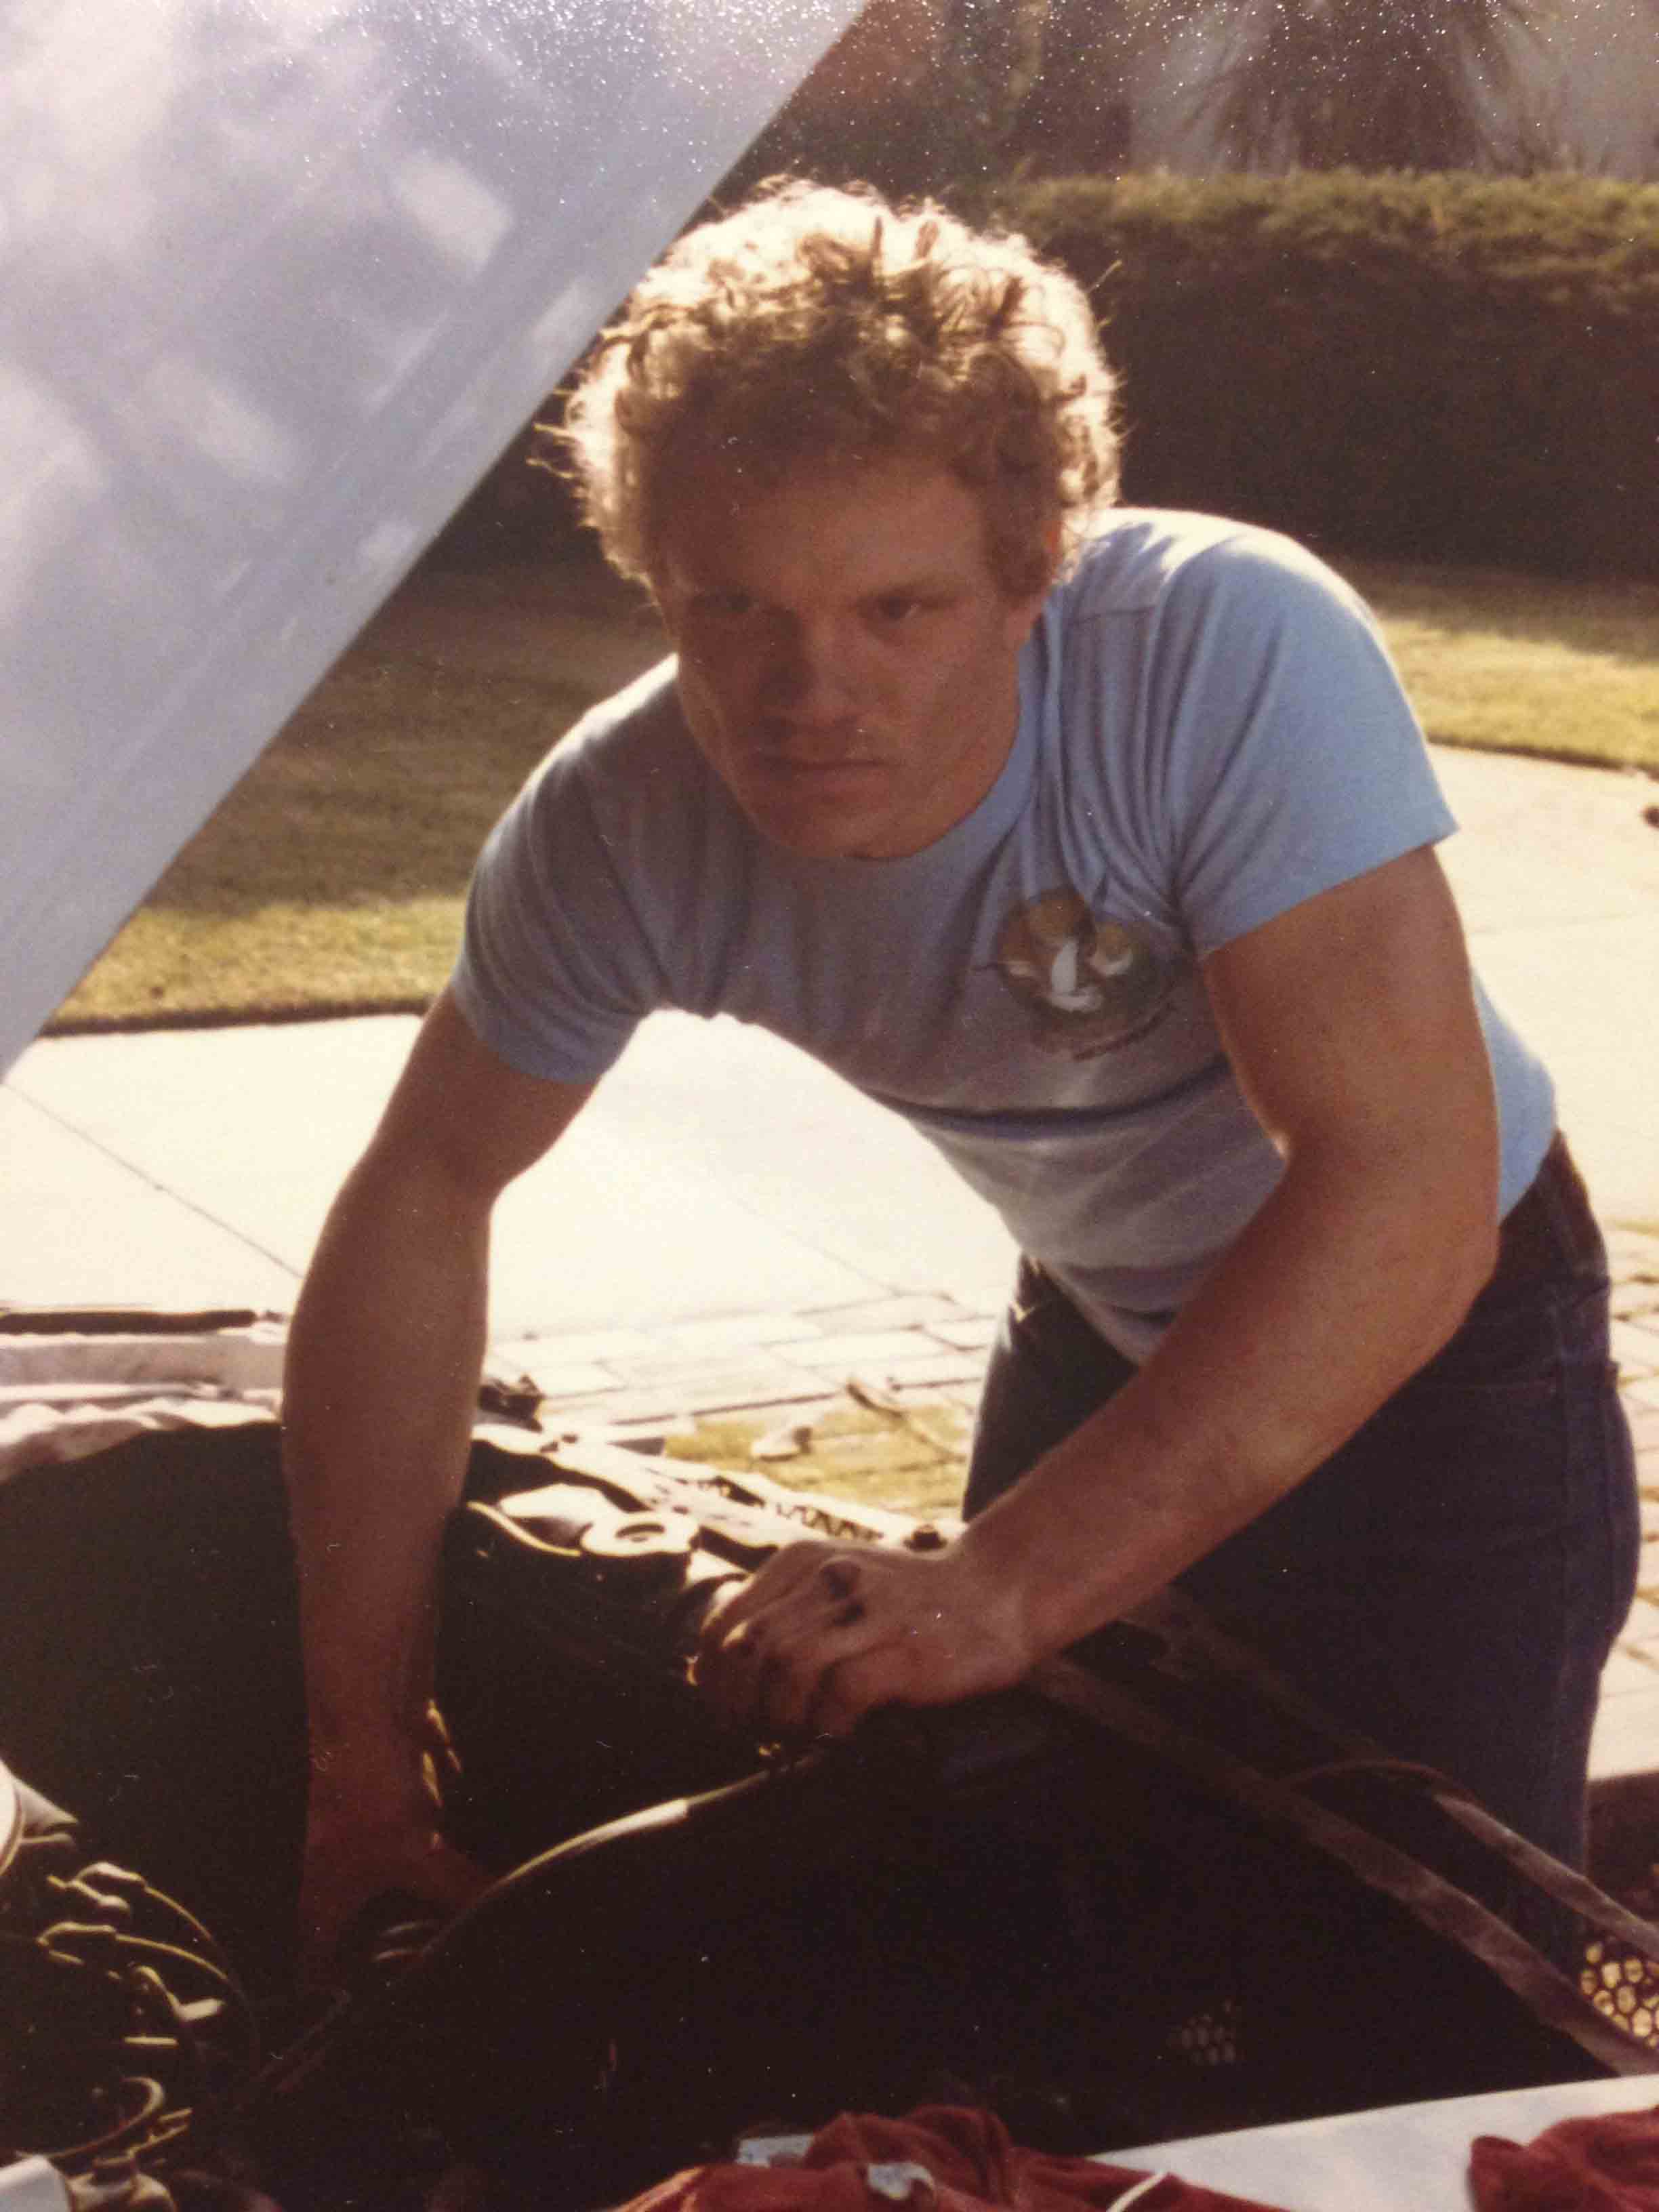
The Dodge Kid in his youth about 1976.
Copyright © 2015 ChallenYee.com TheDodgeKid.com BestBuckBuck.com All Rights Reserved.