As a Vanishing Point movie fan and more than likely anyone who has had a long term interest in the old Dodge Challengers, that one phrase should take your adventuring mind soaring through the expanse of the American West, across the long and often lonely highways extending into the majestic horizons.
I live in California.
California, once imagined a land of free and easy people, thanks to a generation of flower children, hippies, and surfers, but prophetically enough, even in 1971 when the movie was produced, California is the emotionless machine run by mean faced clipped haired nazis enforcing the law that ultimately brings the story to its abrupt end, by means of that fatal road block. That marked the physical end of “Soul Mobile”, the “Last American Hero” the last “Beautiful Free Soul Spirit” so dubbed by Super Soul himself.
But the Spirit lives on.
Okay, I have a friend in Denver and I live in California, near “Frisco” as Kowalski puts it.
My roof needs be repaired and one of the only people I know who can replace the roof is my friend who lives in Denver.
The plot is forming…
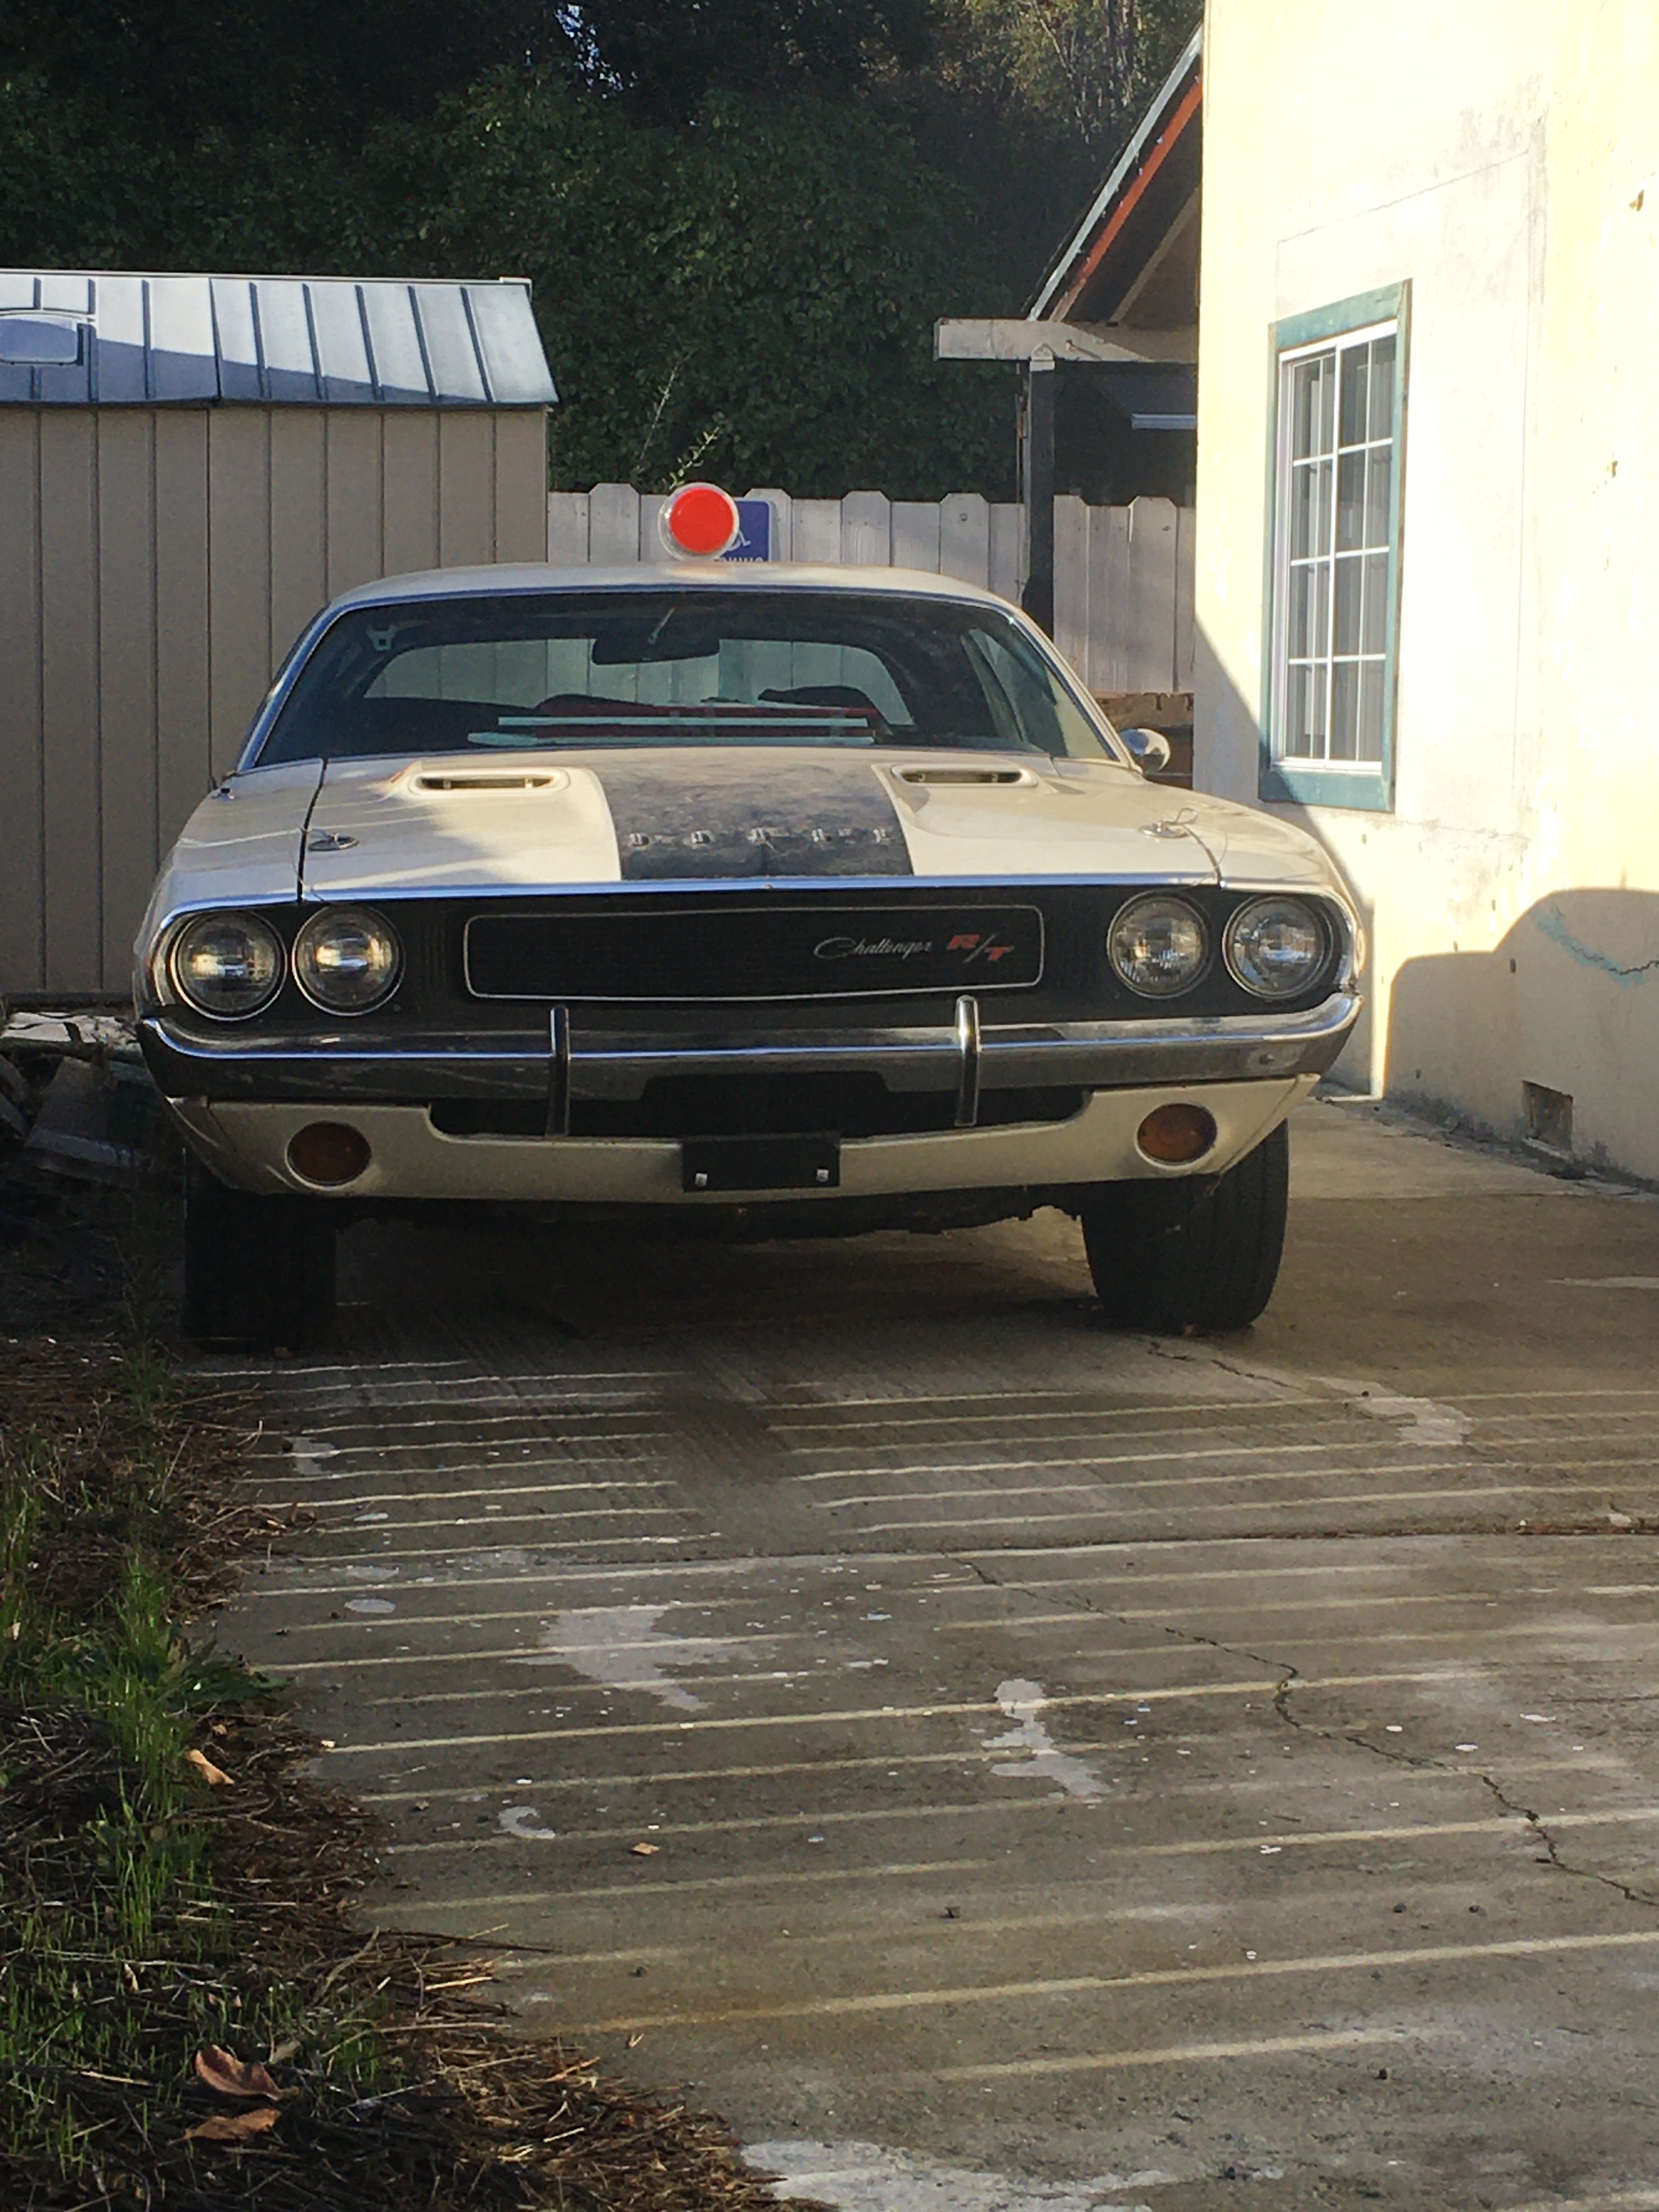
The question is, will I ever take my 1970 Dodge Challenger R/T to Denver to be repaired so I can then drive back from Denver to San Francisco and retrace the path of Kowalski on his last drive?
That is, without the abrupt halt in “Cisco”.
Time and money allowing, I’d like to get a few more things done to the car before I make such an epic journey, like repaint the car all alpine white (no blackouts on the white), replace the interior back to stock specs (more or less), fix the super soul radio and tune the engine to perfection.
I was driving one night trying to beat the sunset. I knew my lights might cut out and I didn’t want to drive after dark.
Well, I got a later start than I wanted and although my headlights were working, my tail lights were out, as evidenced by some guys behind me in an SUV that just could not stop flashing his headlights from behind me.
I knew what he was trying to tell me. I was only a few blocks from where I needed to get to, but this guy was so persistent I waned to get him off my back, so I took the next right just to get him off my case.
I hadn’t worked on my 1970 Challenger for a while, but it was about time I change that intermittent light switch. I had problems with in off and on since I bought the car back in 2006. On the over 350 mile drive from Los Angeles, I did uncover a couple of problems. The dash lights would cut out , which is not really fun when you would like to know how fast you’re going and how much gas you have left. Another problem was I couldn’t fill up the gas tank without gas spilling out the worn tank seal (fixed that several years ago).
She was a real eye catcher though. From LA all the ways up, strangers would give me the thumbs up. When I bought the car it had a 1971 R/T stripe kit (black) and a factory rear wing spoiler.
Okay, so after 14 years, I’m finally getting around to changing out the headlight switch and the dash dimmer.
I was pleased to see these parts a readily available on line. I found my parts from a highly rated E-Bay seller. The price for these parts are nearly $100 each, but unlike buying the parts from the Dodge Dealer in the 1970’s, these muscle car parts sellers 40 years later know they’ve got us baby boomers just where they want us, willing to shell out some cash to keep the lights on their 40 year old muscle machine.
Fortunately, changing the dashboard switches on a 1970 Dodge Challenger is very easy. You need to know which panels to remove, and the watch word when you’re working with 40 year old pieces of plastic is, do not force or overtighten anything! One, those plastic pieces are not as strong as they were when they were young-uns and two, you know they’re going to be expensive to replace!
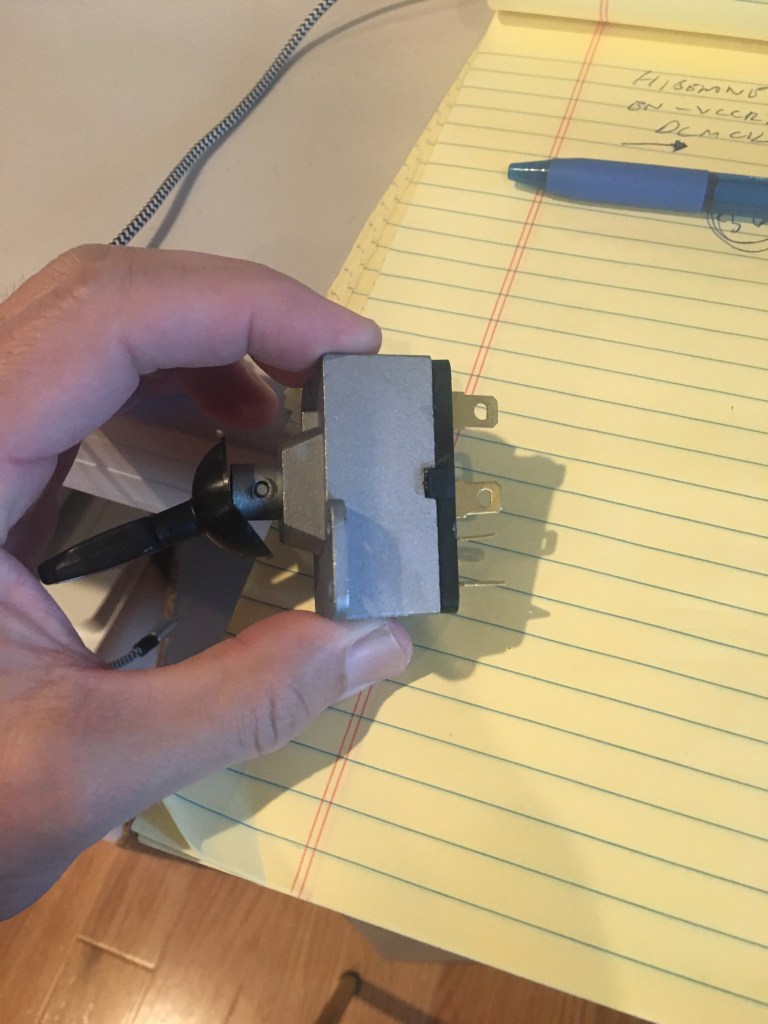
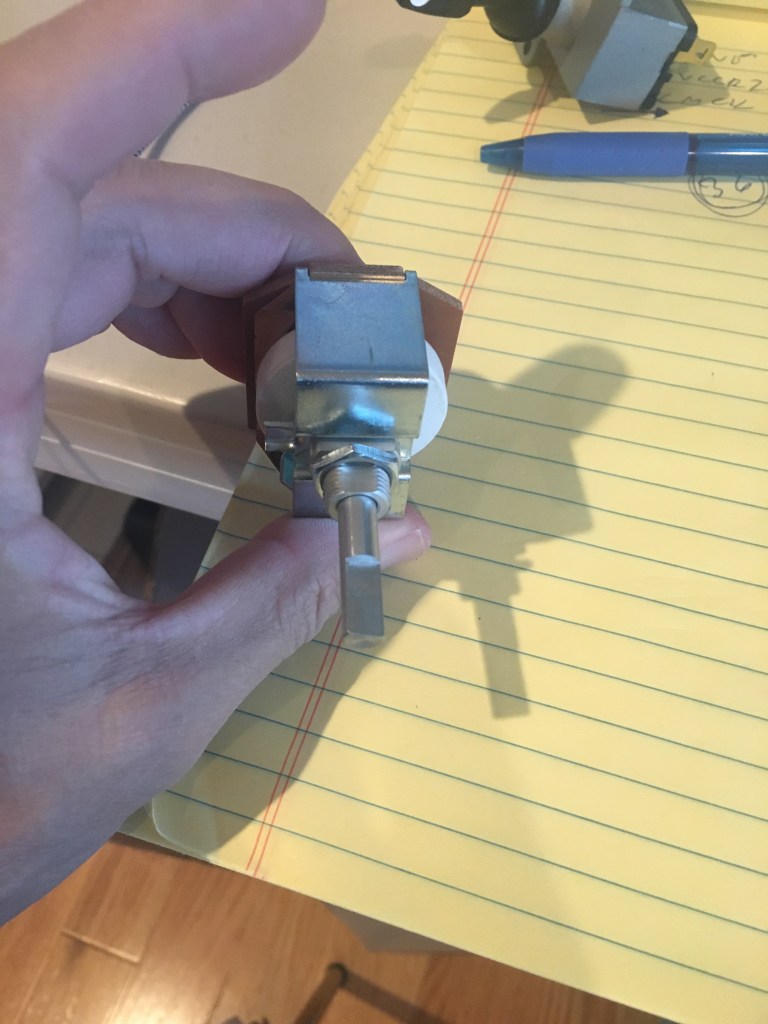
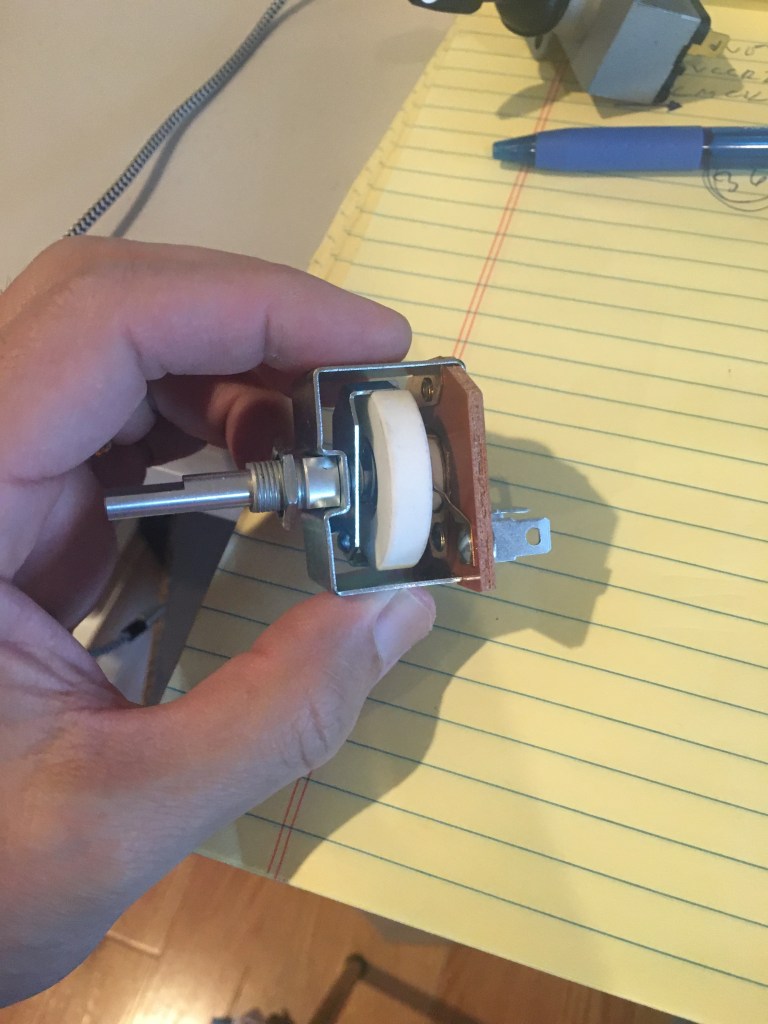
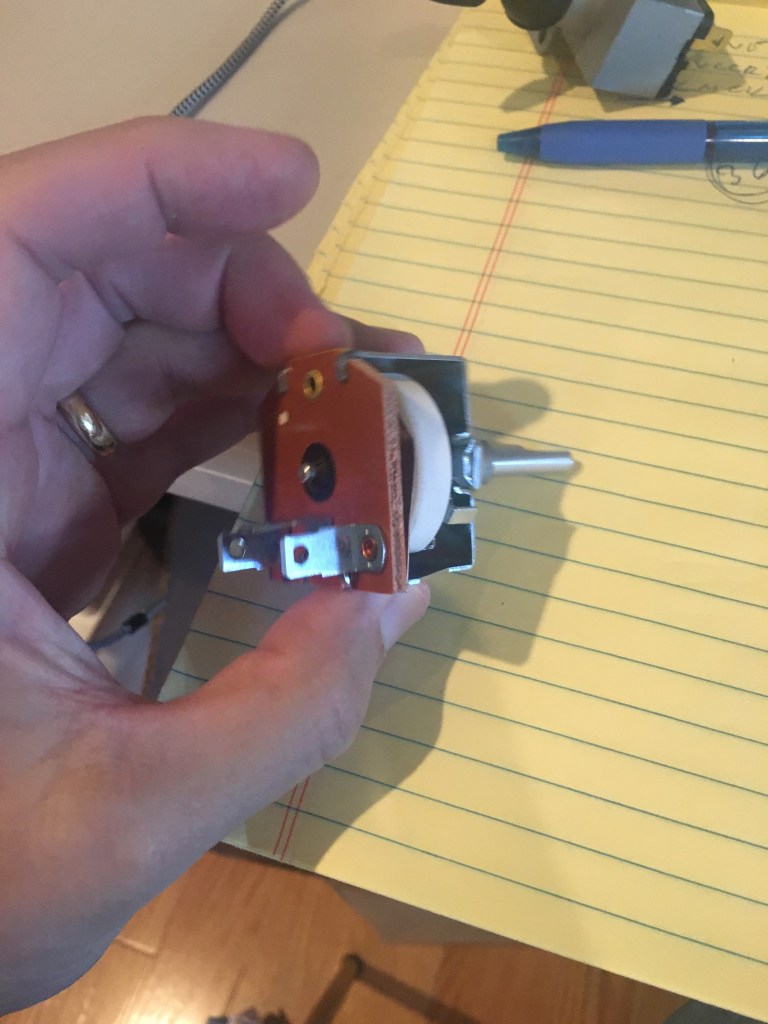
Here are some detailed images of the headlamp and dash dimmer switches, the 1970 version had the white dot on the toggle..
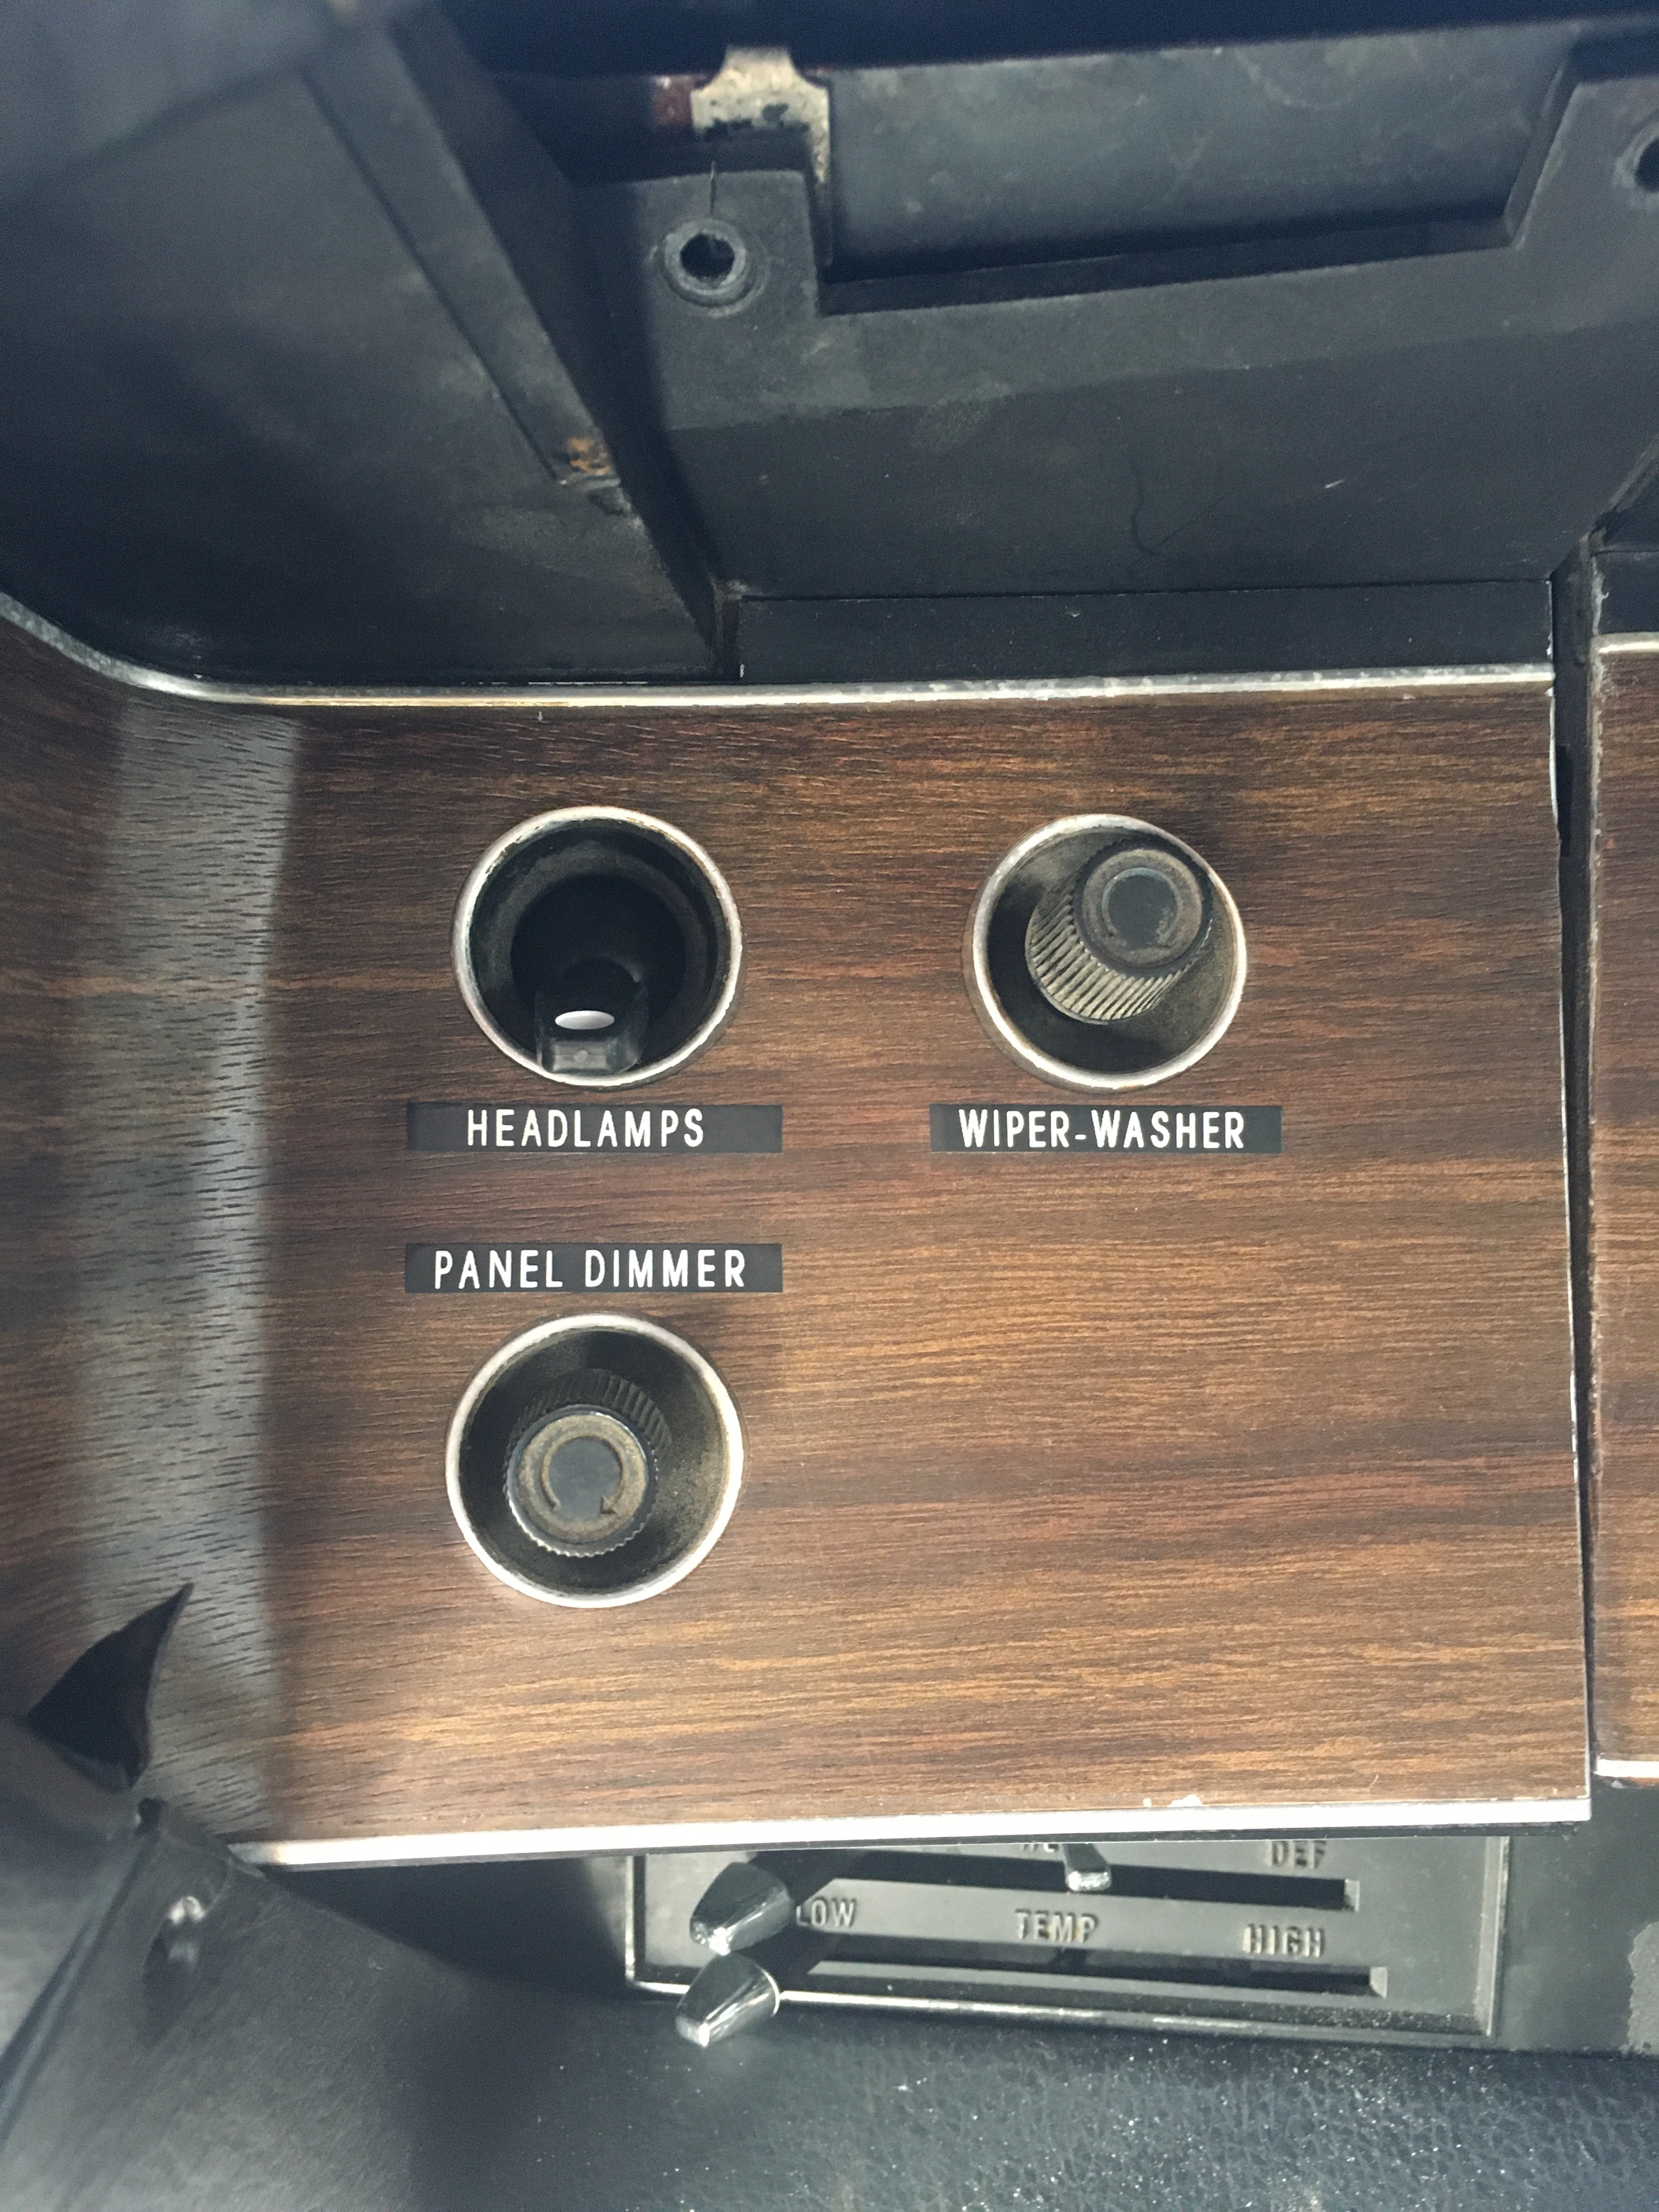
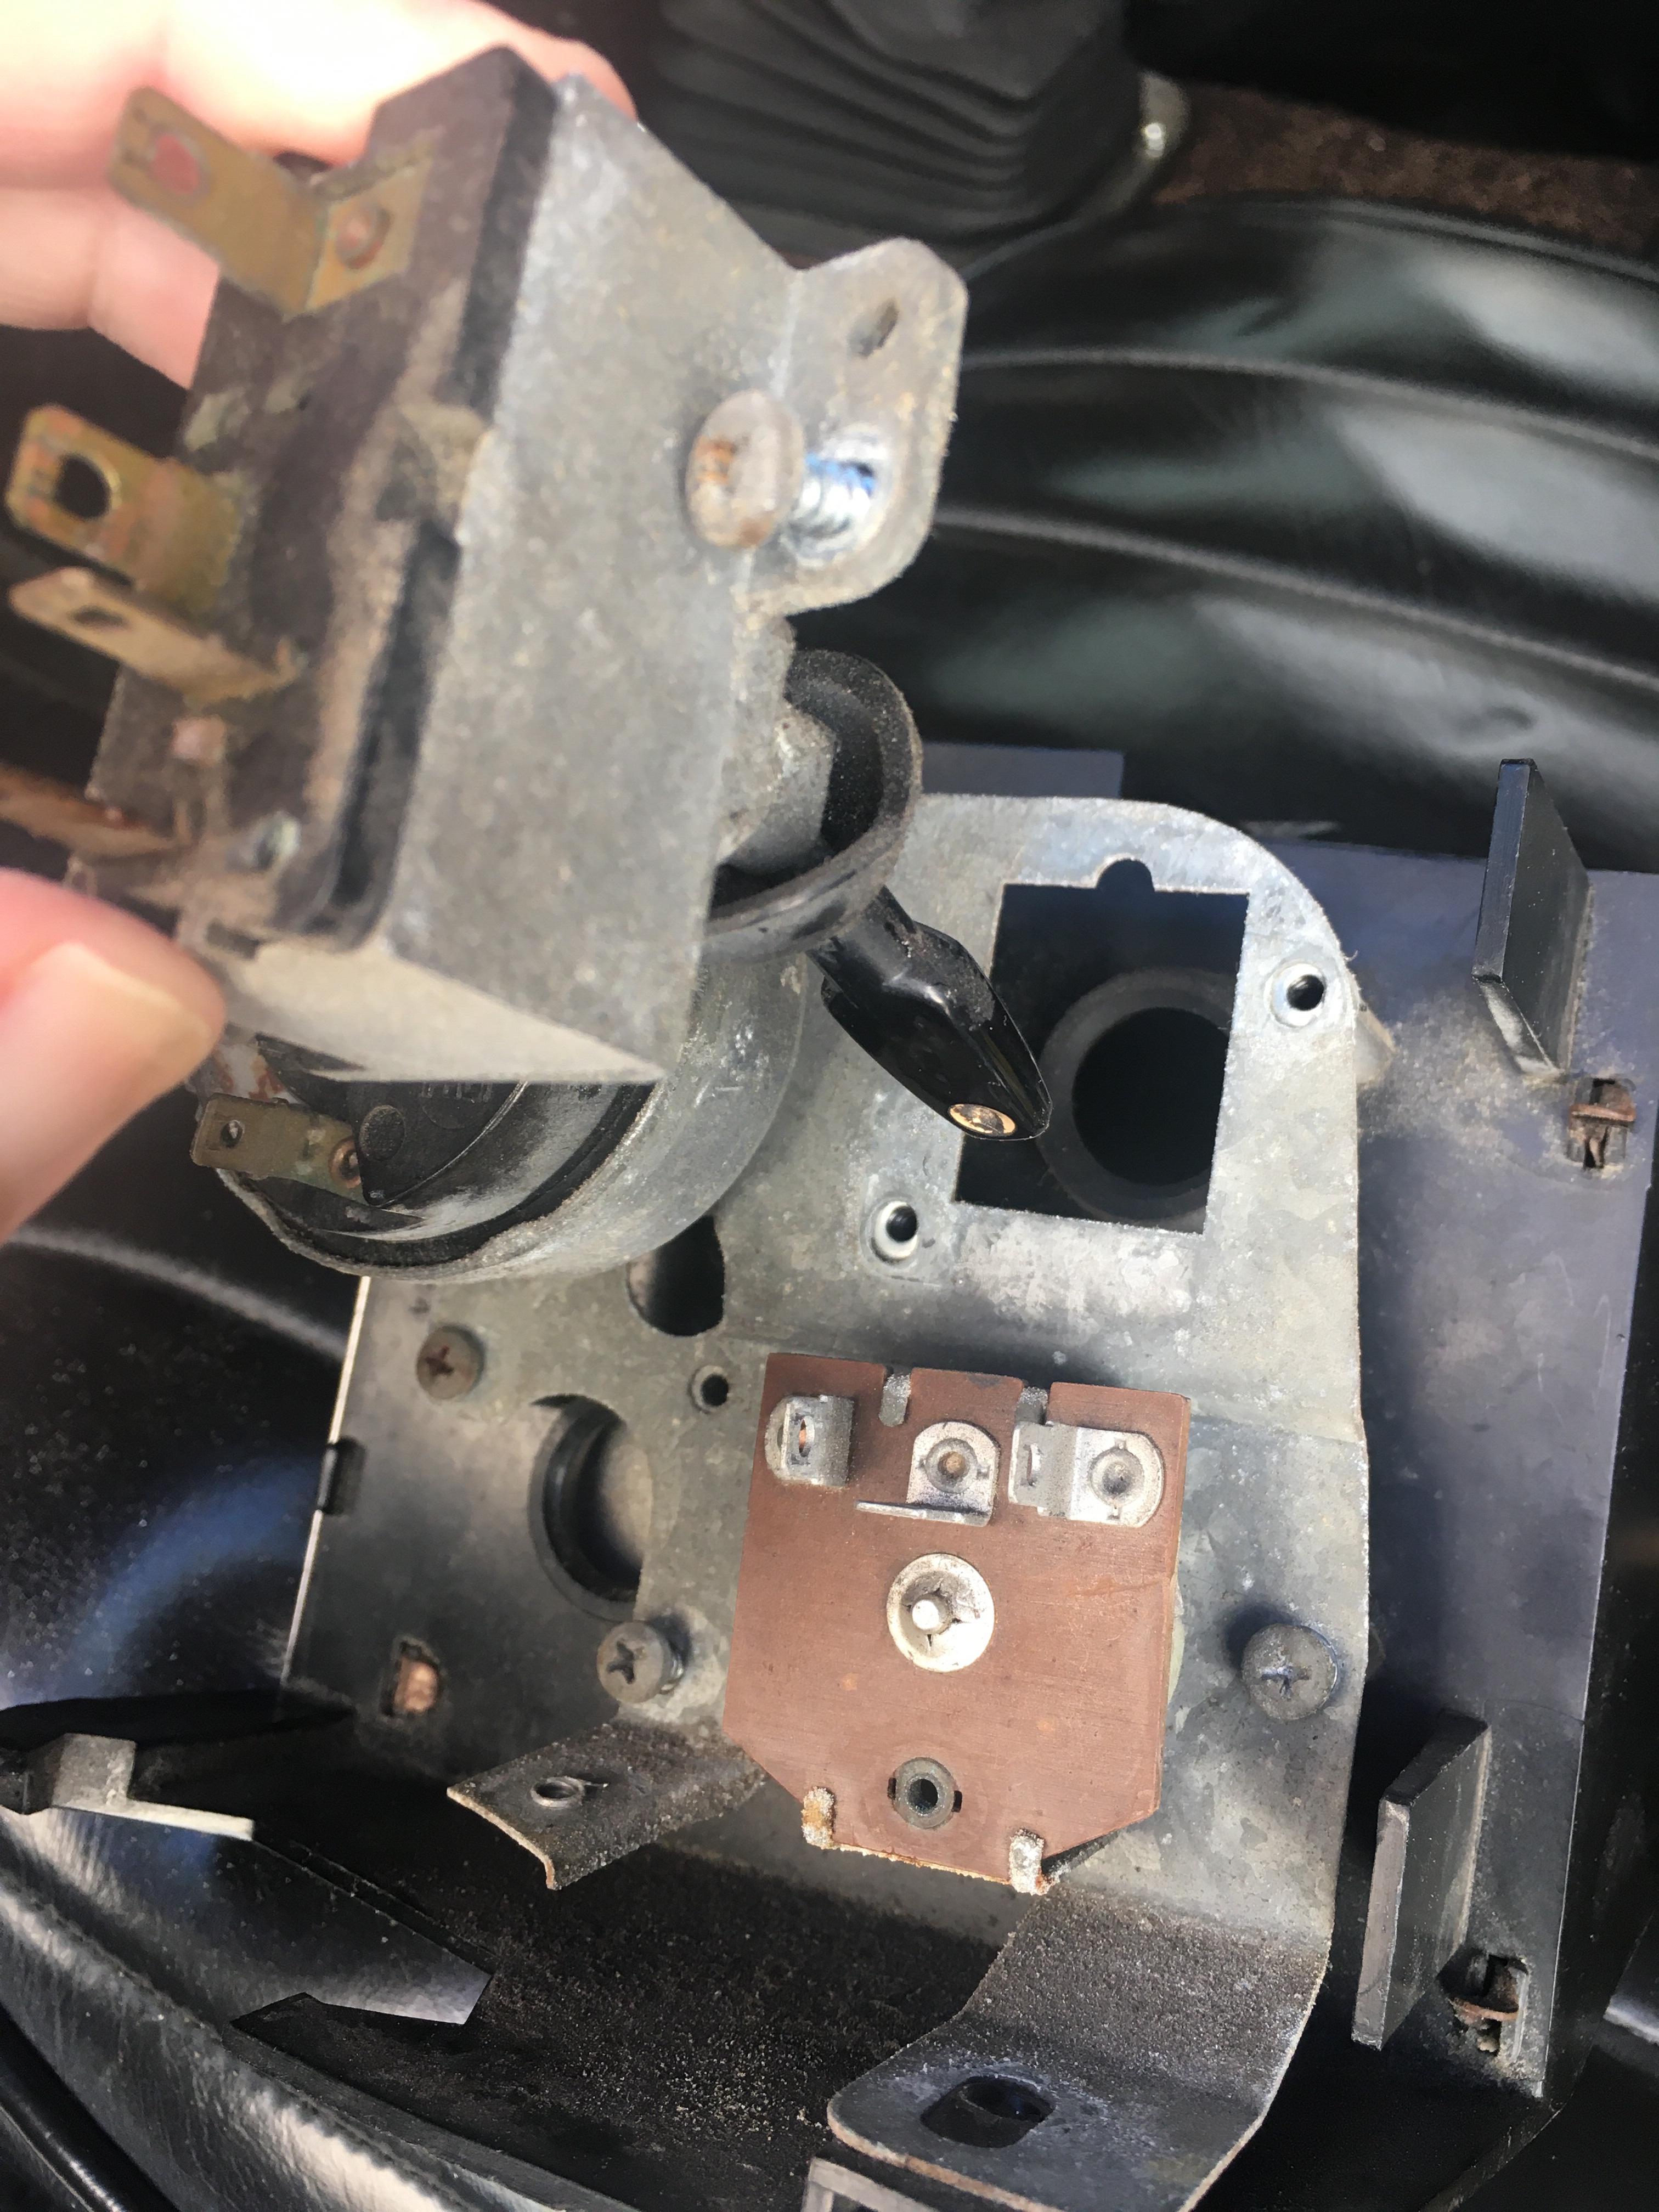
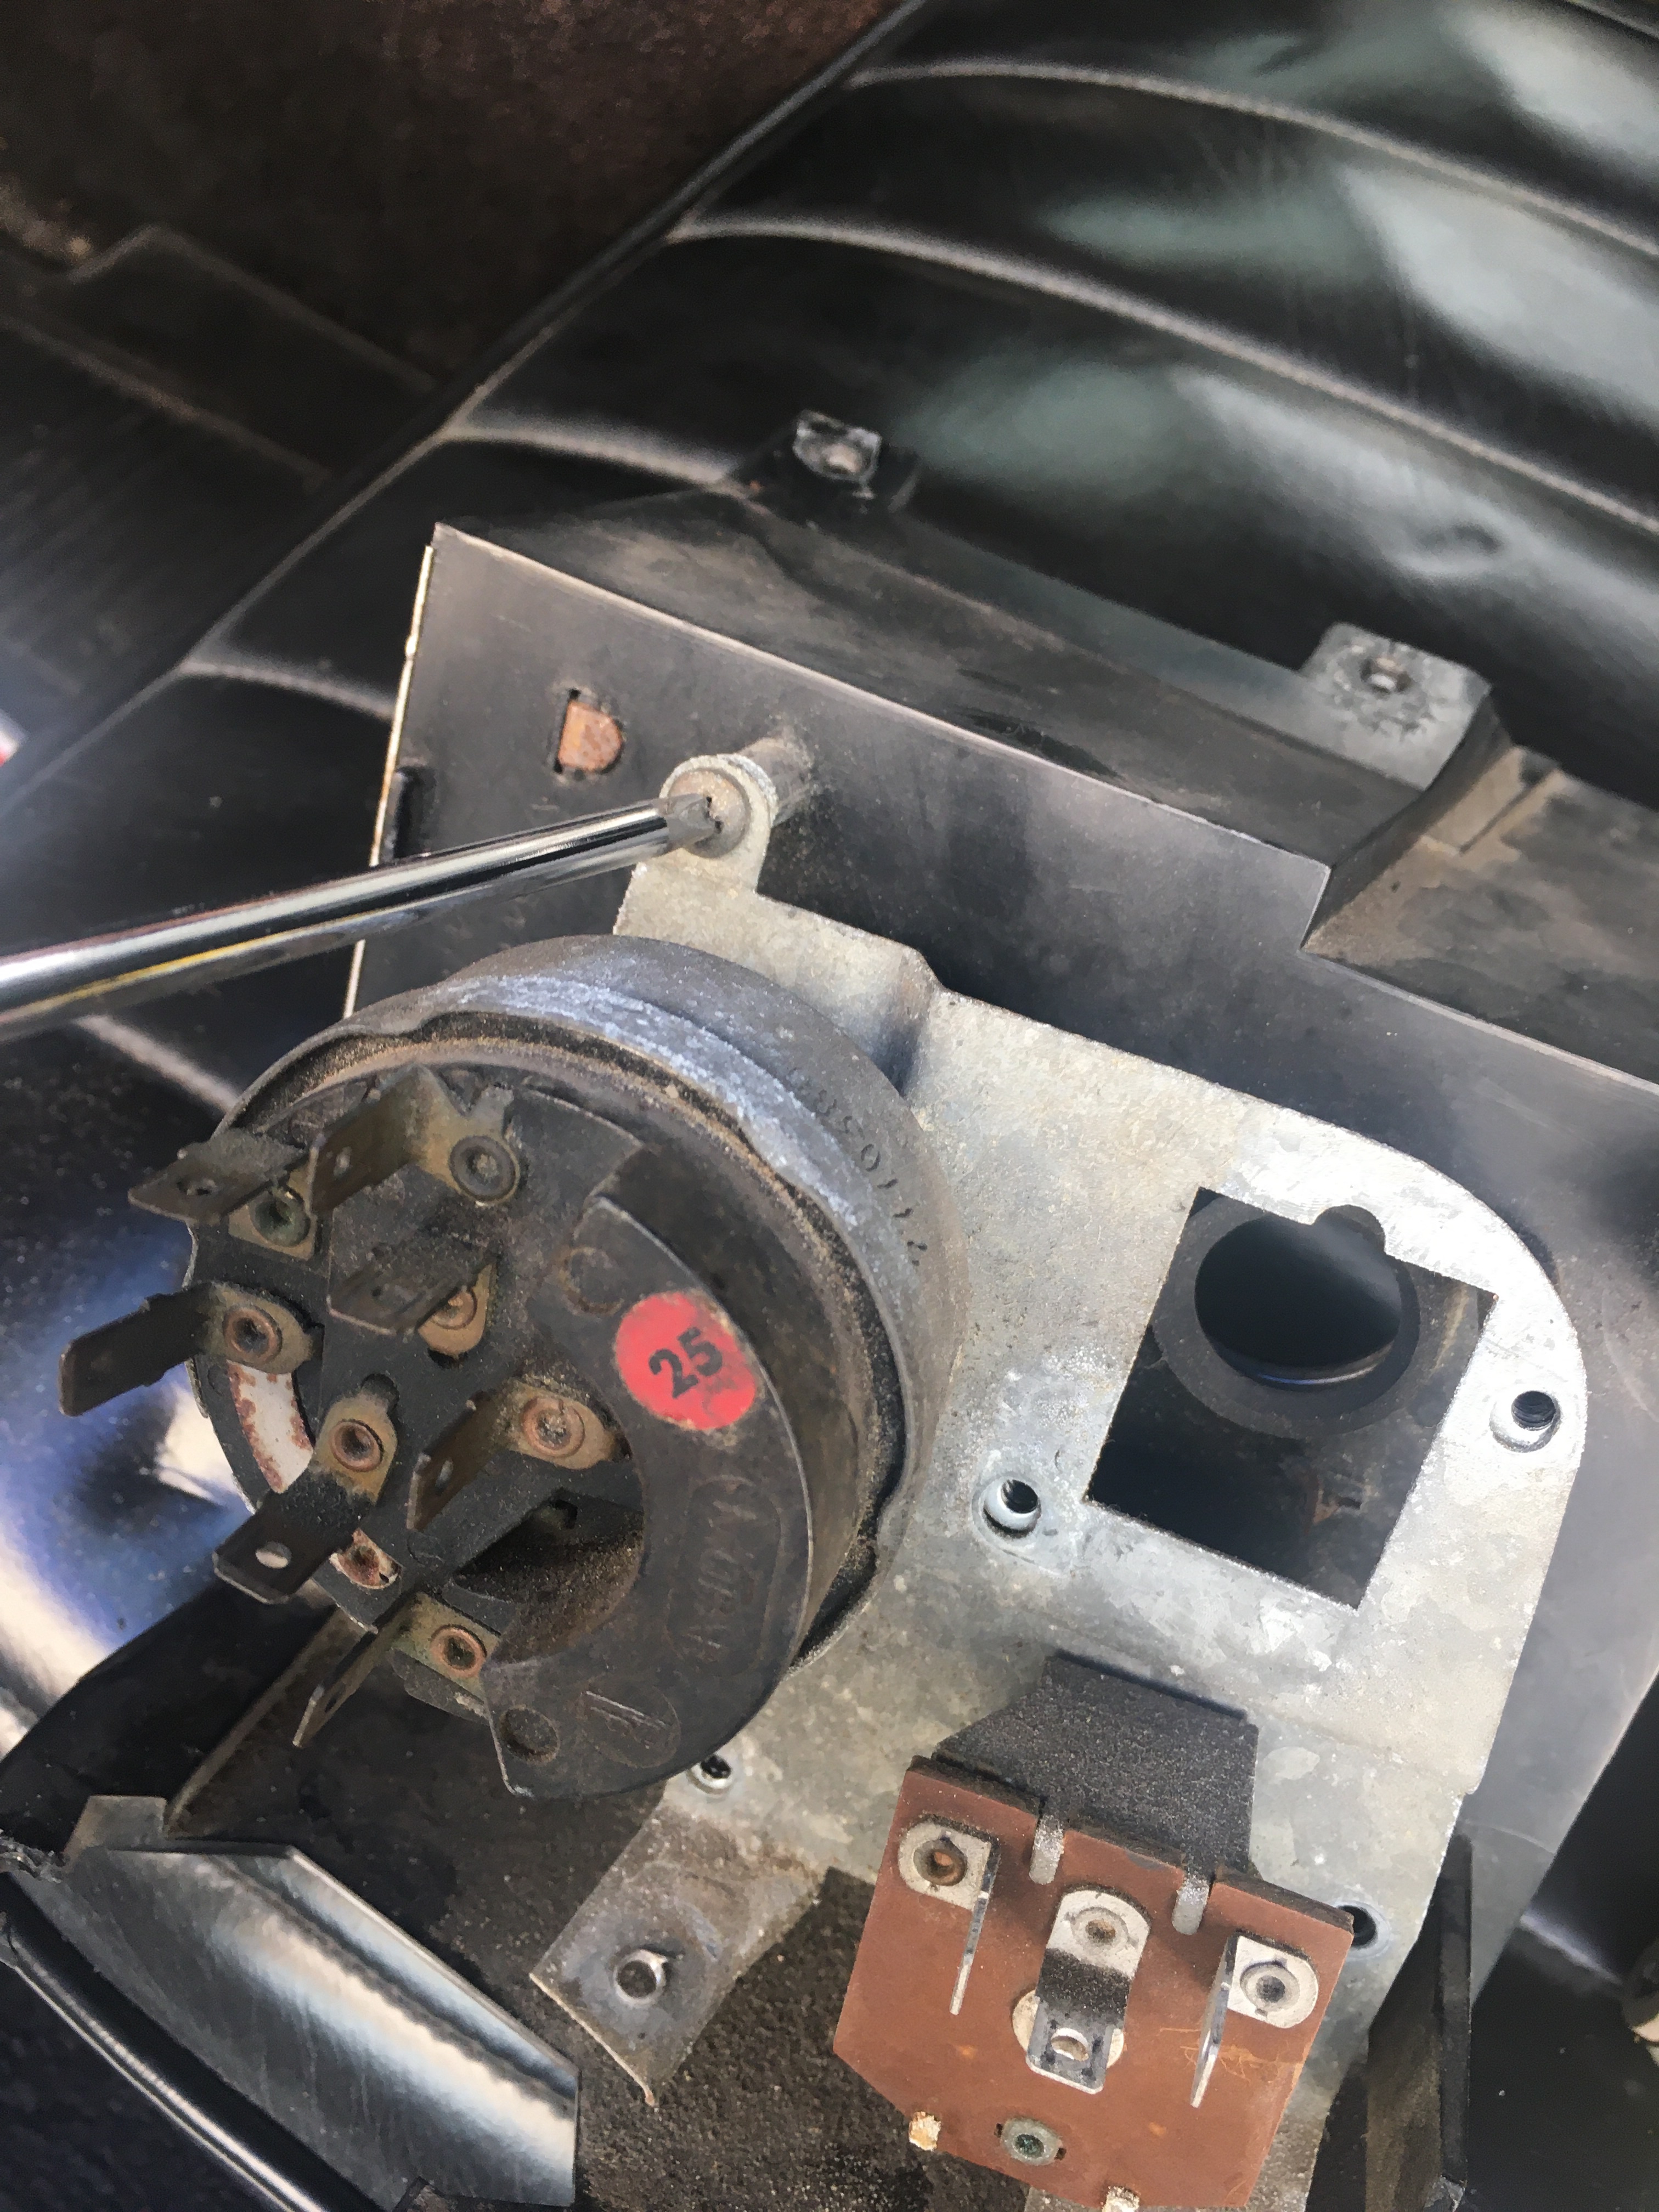
The view above the panel after you take the sheetmetal cover off, the sheetmetal cover that has those peanut bulbs connected with the orange colored wires.When removing the switch panel, make sure you have all the screws out. Then gently wiggled the panel out. Remember, you’re working with an old piece of plastic so be careful not to force it . In order to pull the panel out, you’ll need to disconnect to plug in connectors to the three switches. The wiper-washer has two connectors (the new switch is already installed in this photo). There is also a dash light screwed in to the bottom of the metal frame behind that you’ll nee to remove to get the assembly out..They look like 40 year old switches. Wiper-on top left, headlamp, top-right and dimmer at bottom. Yes, that is not NOS type upholstery (I plan on using some Legendary covers and foam in the interior redo, AFTER I replace the roof because it has a stress crack from years of drag racing before I owned the car).You;ll need to remove the headlamp switch to replace it, but also to remove the metal plate so you can unscrew the dimmer switch.Removing the screws that hold the mounting plate to the plastic cover.With th plate removed, you can unscrew the dimmer switch. Installing is the reverse.
Total time to replace, about an hour, taking my time.