The long-awaited final part has finally arrived for the overheating issue.
I ran the Challenger without a thermostat for drives to get the maximum clearing effect to catch crud in the copper screen trap I installed in my upper radiator hose. I had also been draining my coolant after every extended drive to flush and dilute out as much old coolant and the green stuff as possible before I pour in the Water Wetter.
I’ve read several accounts that Water Wetter mixed with normal anti-freeze/coolant will gum up your cooling system as well as not working or not working well. As I mentioned before, I used to run Water Wetter with distilled water in my old open track car. Spilling that on the track was less of nuisance than dropping coolant. The best cooling is effected by using pure distilled water, but you need the anti-corrosive and lubricating properties of a product like Water Wetter added.
The thermostat gasket managed to last a few removals of the t-stat housing before it died so I replaced the gasket.
The drained coolant, after sitting for a day has what look like a powder sitting at the bottom of the plastic jugs I’ve been storing it in. I’m guessing its the remnants of Bar’s Stop Leak or something. With each draining, the amount is decreasing and is almost negligible now.
.
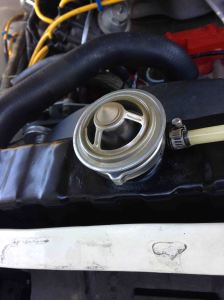
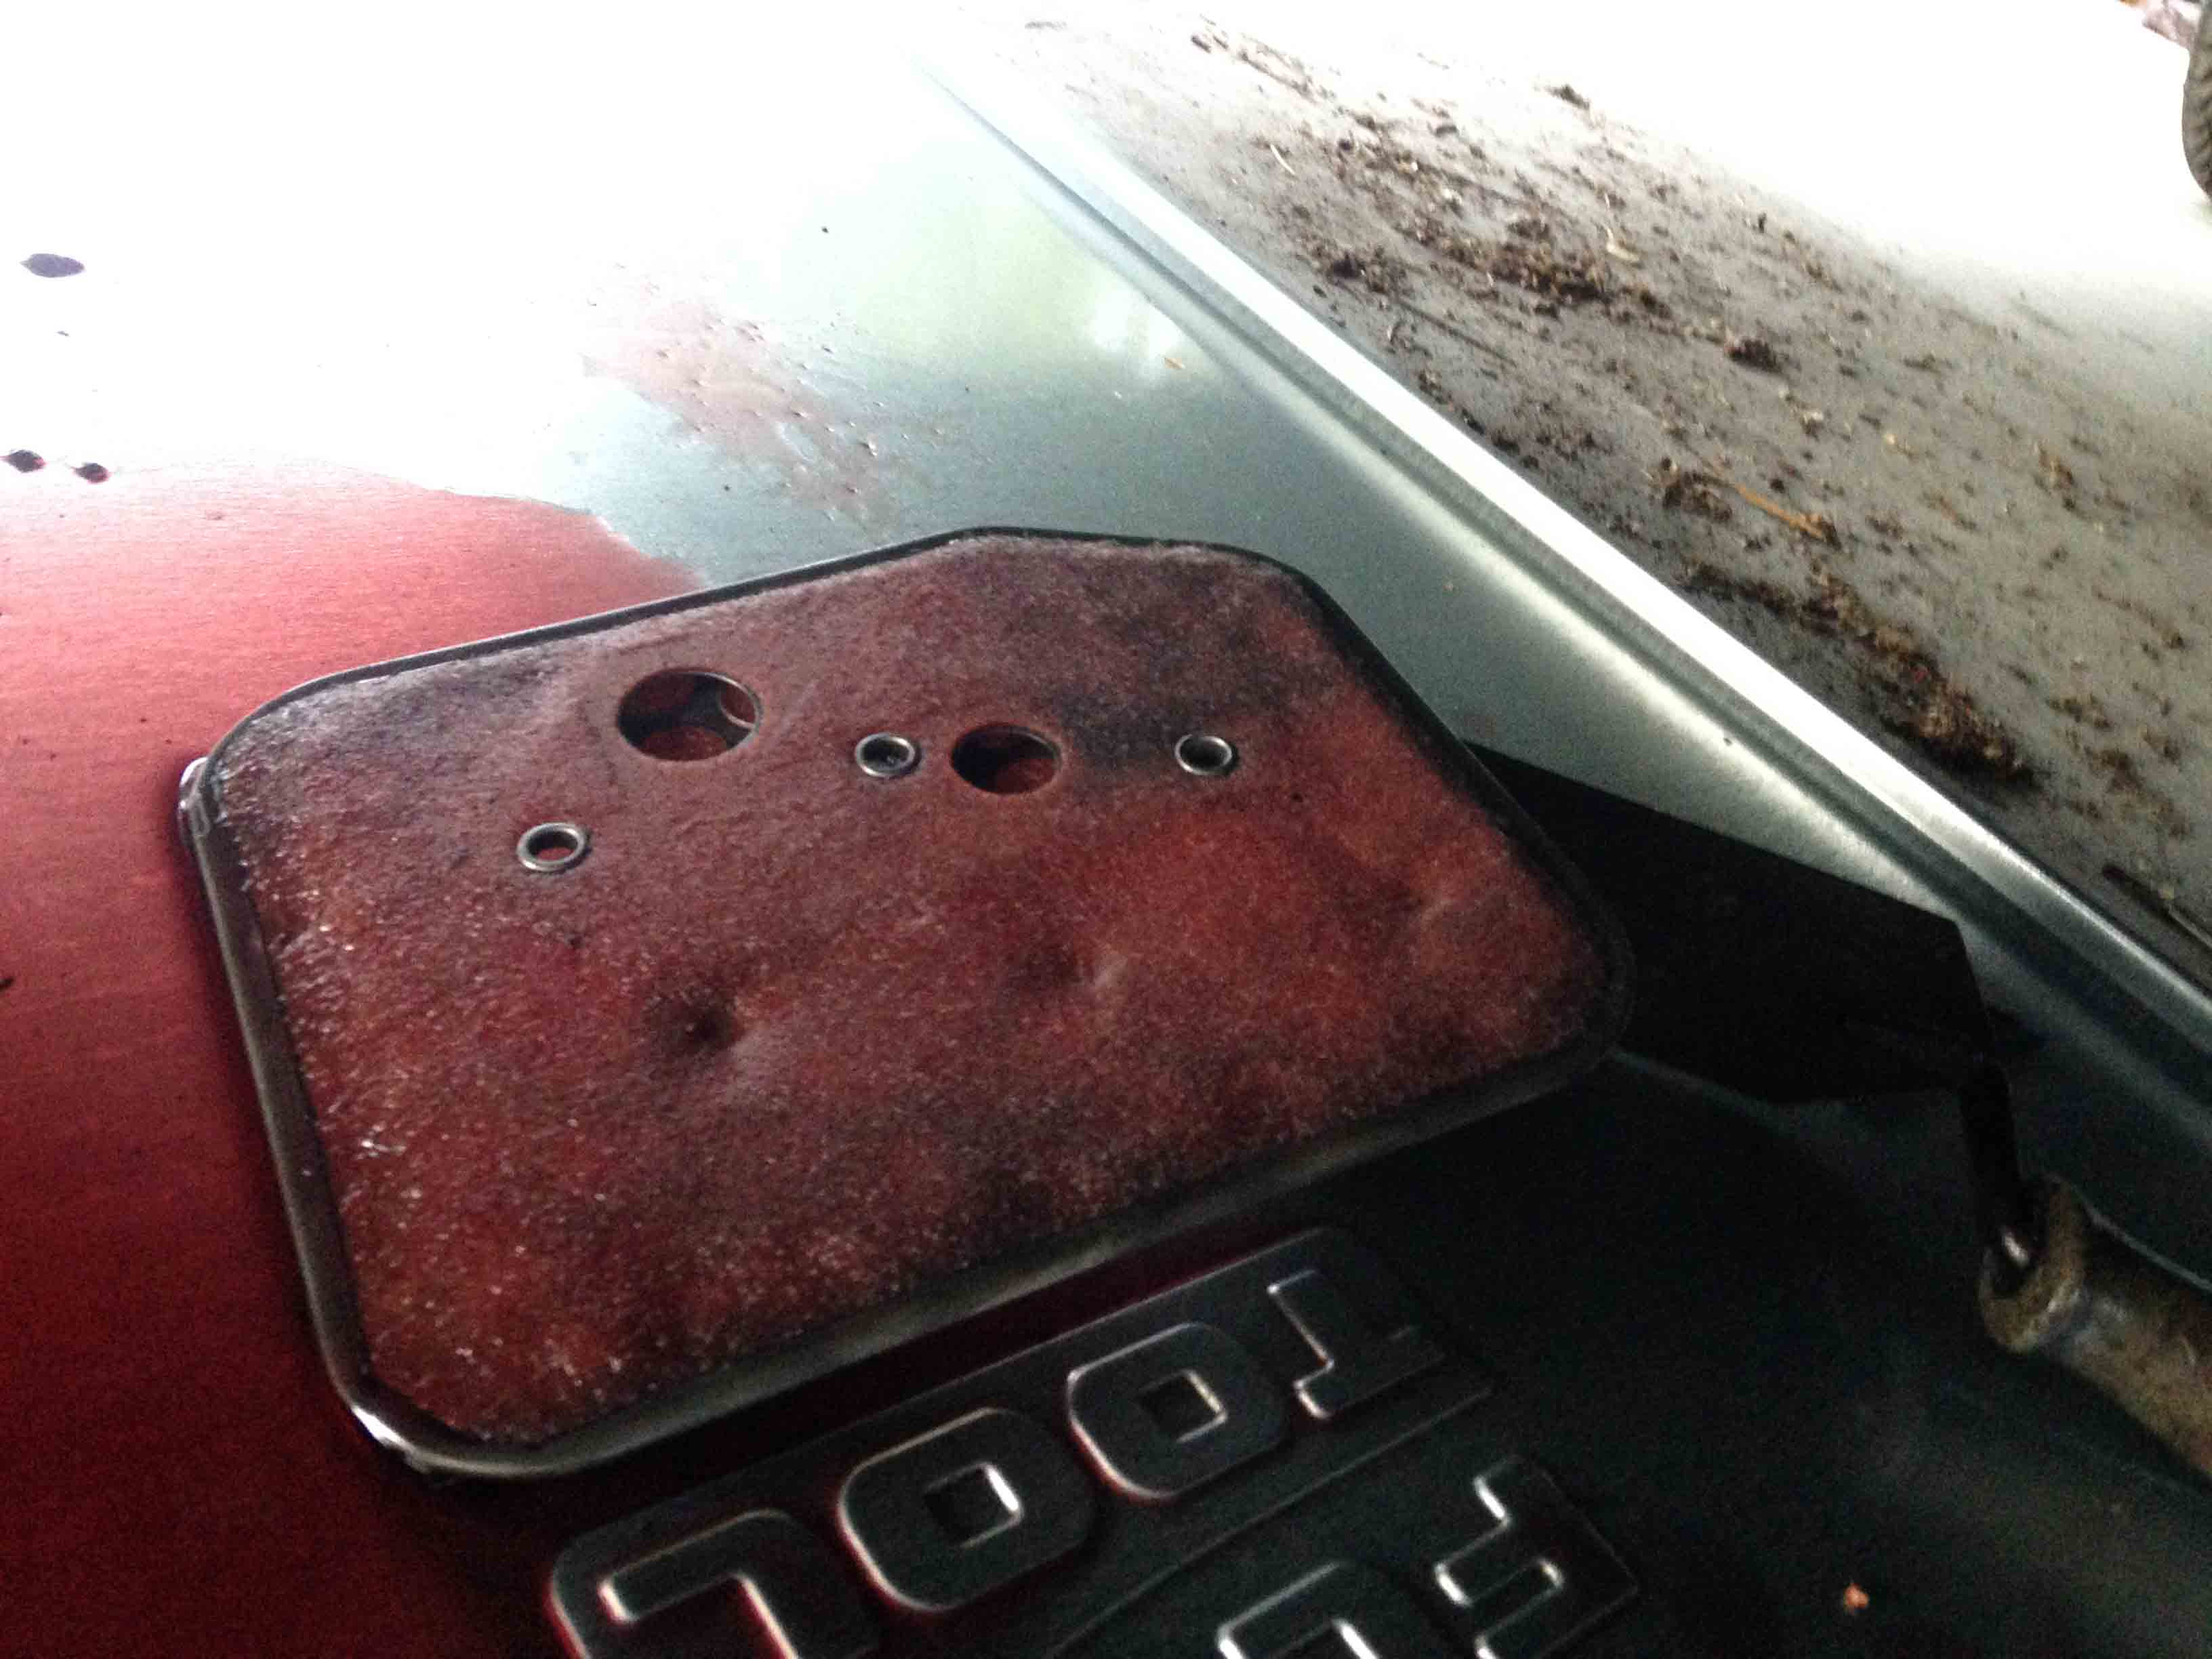
top side (radiator end) of hiflow thermostat. Removing it from system to flush engine block at high RPM.
Better cooling performance with a thermostat
I’ve heard that cars can run cooler with a thermostat rather than without one. I think it depends on the design of your cooling system and the positions of the inlet and outlets. On a typical engine with the inlet and outlet on the front, there is a certain amount of inefficiency in regards to the coolant that is in the rear of the engine.
What I noticed was that not only did the engine run cooler, based on my temperature gauge reading, but the subsequent draining yielded more fluid that smelled more like coolant and less like plain water. I take this to mean that there is better mixing of fluid coming back from the radiator in through the engine passages than without a thermostat.
The temperature gauge without the thermostat read in the low “normal”range, but after the thermostat was installed the reading in slightly below the “normal range.”
.
Effect on water pump churning and installed thermostat
So, it appears, with the thermostat installed and resisting the flow of coolant back to the radiator, the water pump has time to churn the coolant inside the engine passages, allowing more mixing before the thermostat opens at the set temperature.

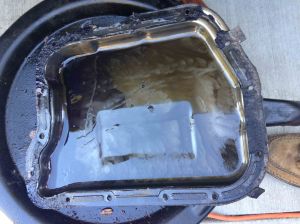
Some extra crud sitting in the upper hose. Clean it.
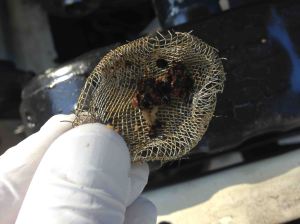
Here’s the flakey cast iron crud, including some pieces of gasket seal. Also need to brush out crud from upper hose. Copper screen is reusable but check it before reinstalling.

These are a few of the photos I took after before cleaning out the copper filter. I typically get a little less that what you see in this picture as of late.
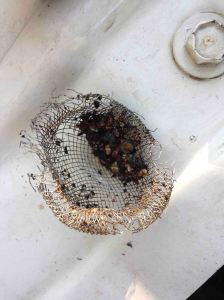
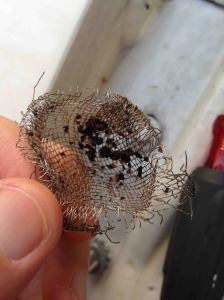

At first I was saving the crud from the filter, here is what was in the cooling passages (except for the washer). I stopped collecting it.
.
Catching debris before and after thermostat installed
I’ve been running the copper mesh at the top inlet of the radiator, held in place by the upper hose. Before and after the thermostat was installed, a consistent amount of small debris are being caught. They look like small pebble-like cast iron flakes from the water passages in the engine. One piece of copper mesh lasts several cleanings. High RPM runs causes a better flushing action as indicated by the amount of crud being caught.
This process would be a lot more efficient if you could pop the freeze plugs and flush out the engine that way, but if you can’t…. well it takes several rounds to clear out. I ended up adding the Water Wetter finally after I managed to drain out the coolant with just a whiff of coolant smell. The heated water comes out with a brown tint from going through the 200+ degree iron passages.

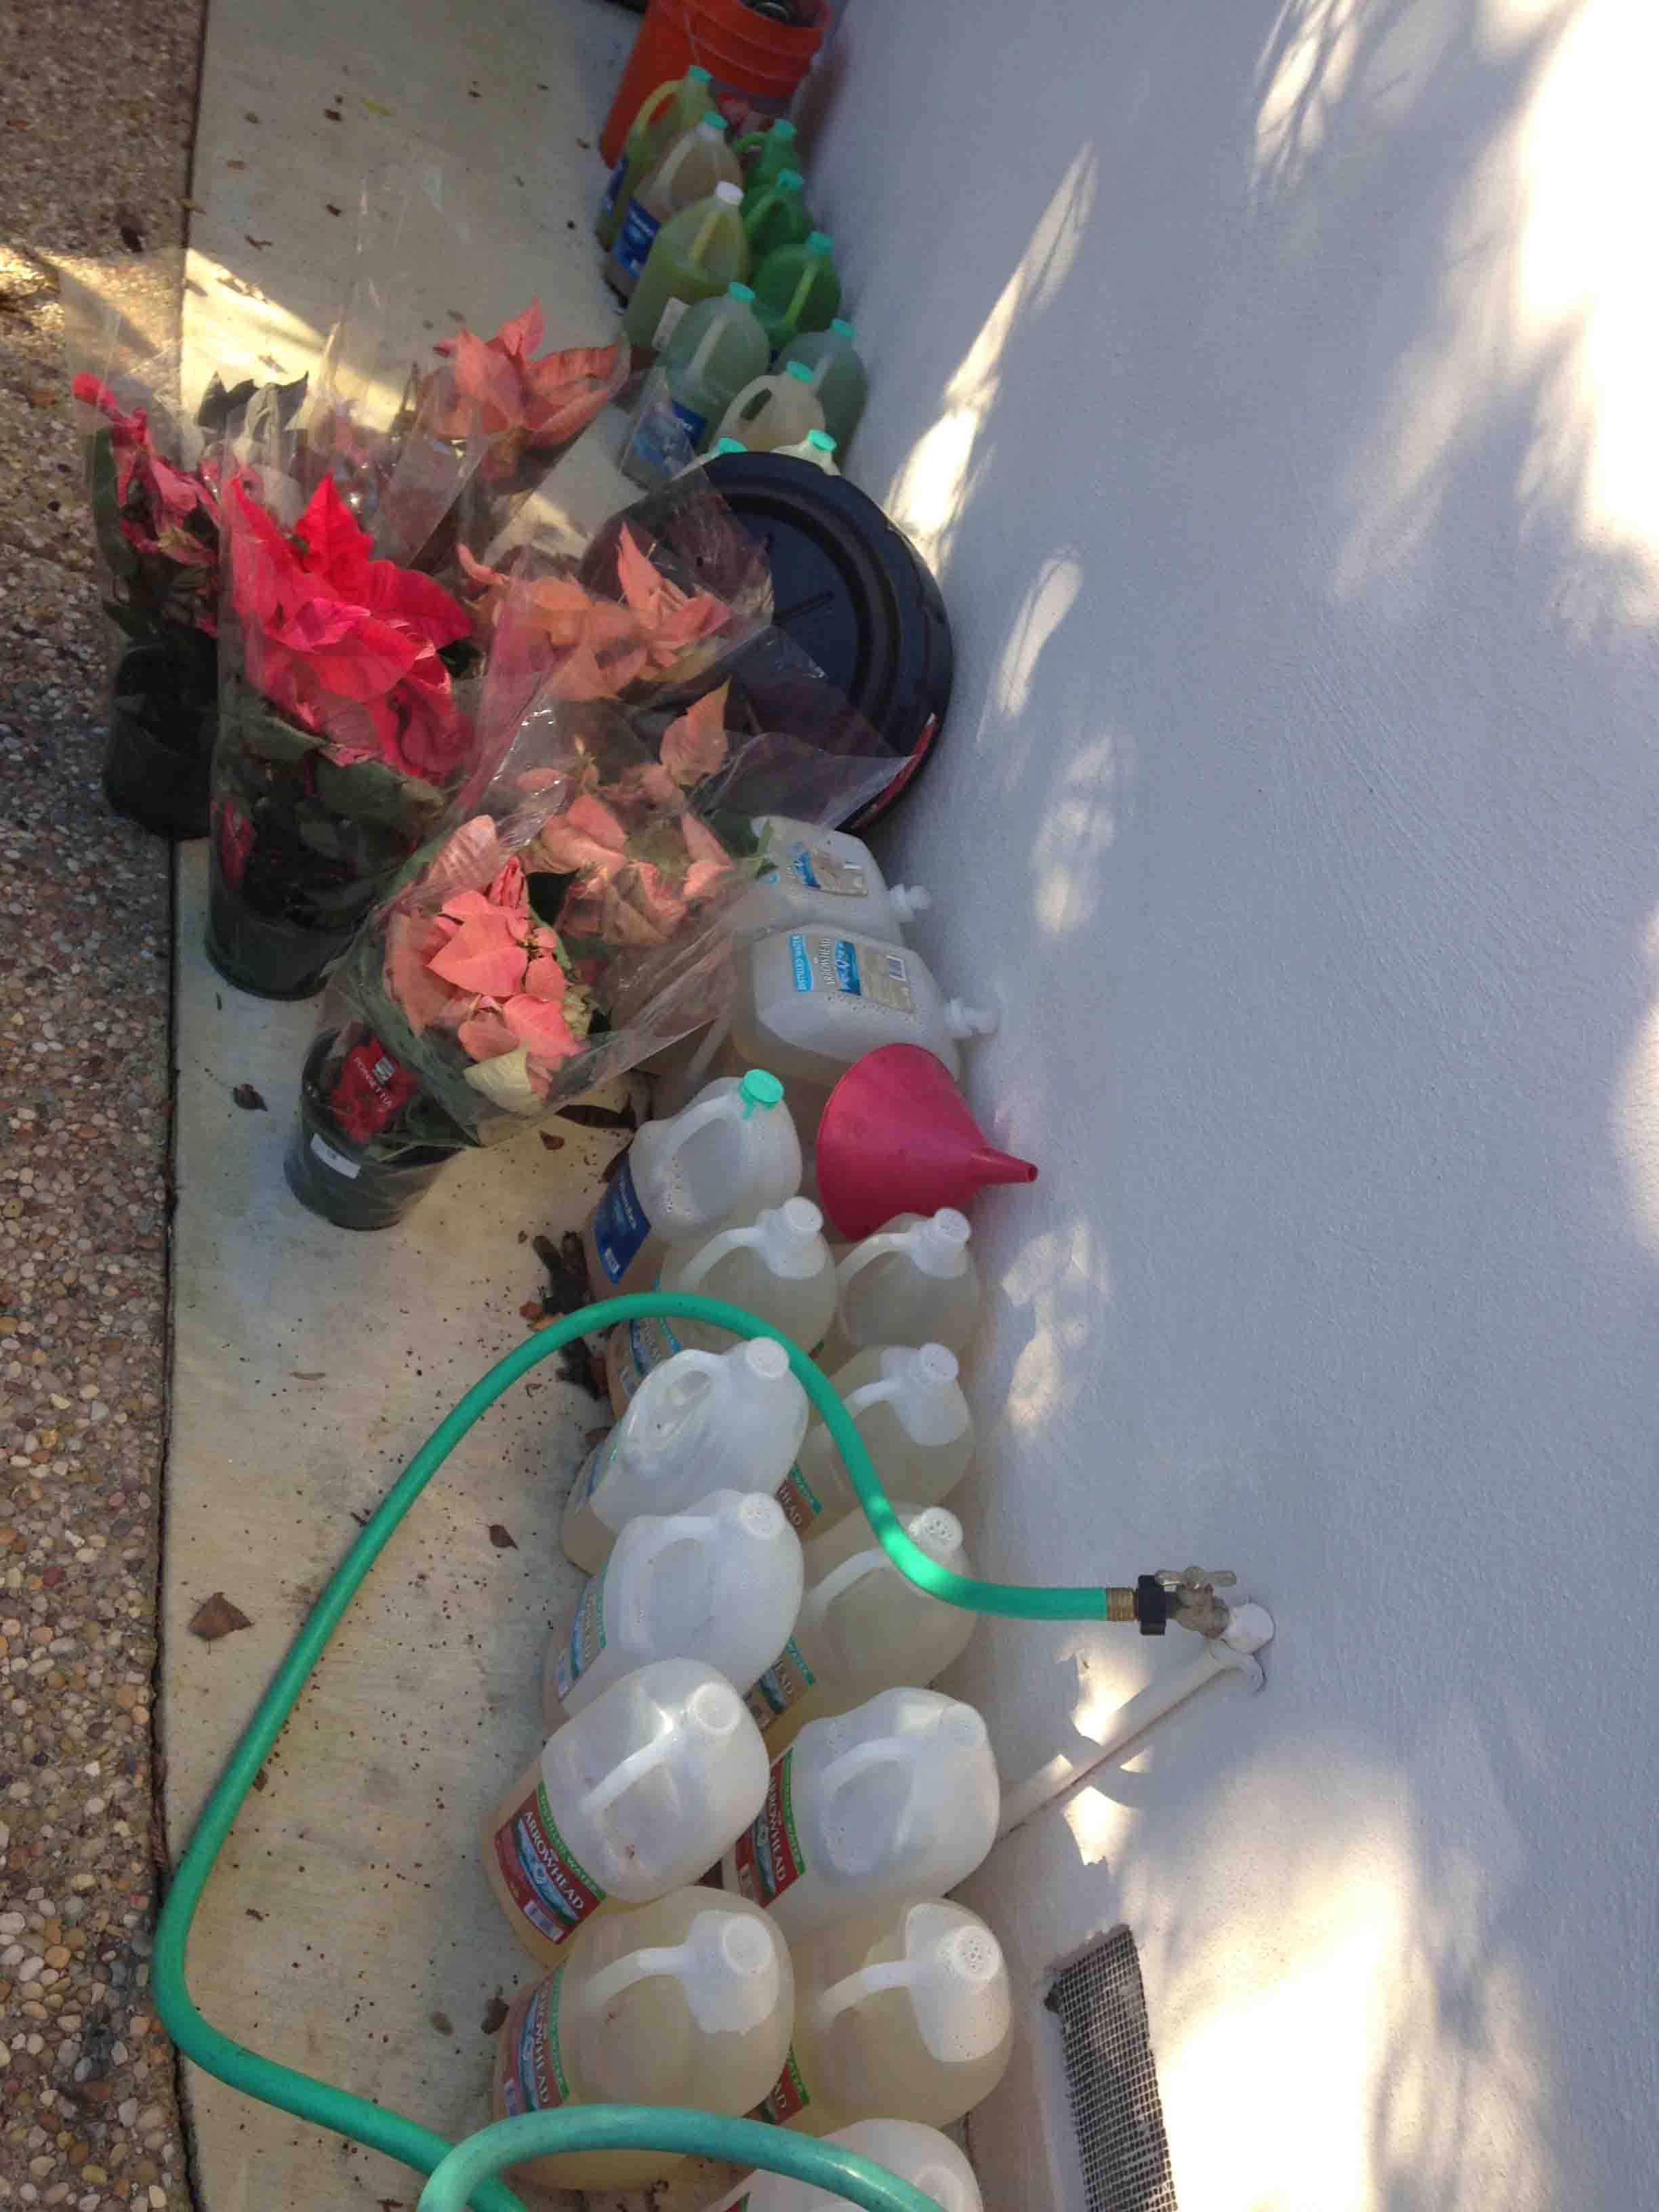
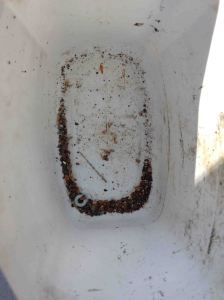
Here’s my running collection of drained coolant. Notice the progression from top to bottom from the traditional 50/50 coolant water mix to virtually pure distilled water. About 2.5 gallons every drain. You do the math. Yes, I’ve called it quits when it comes to draining. Before I put the thermostat back in I managed to get a non-coolant scent in the drain, but after I put the thermostat back in, I get at least a small scent from the drained coolant. Poinsettias not included.
Miscellaneous tips
.

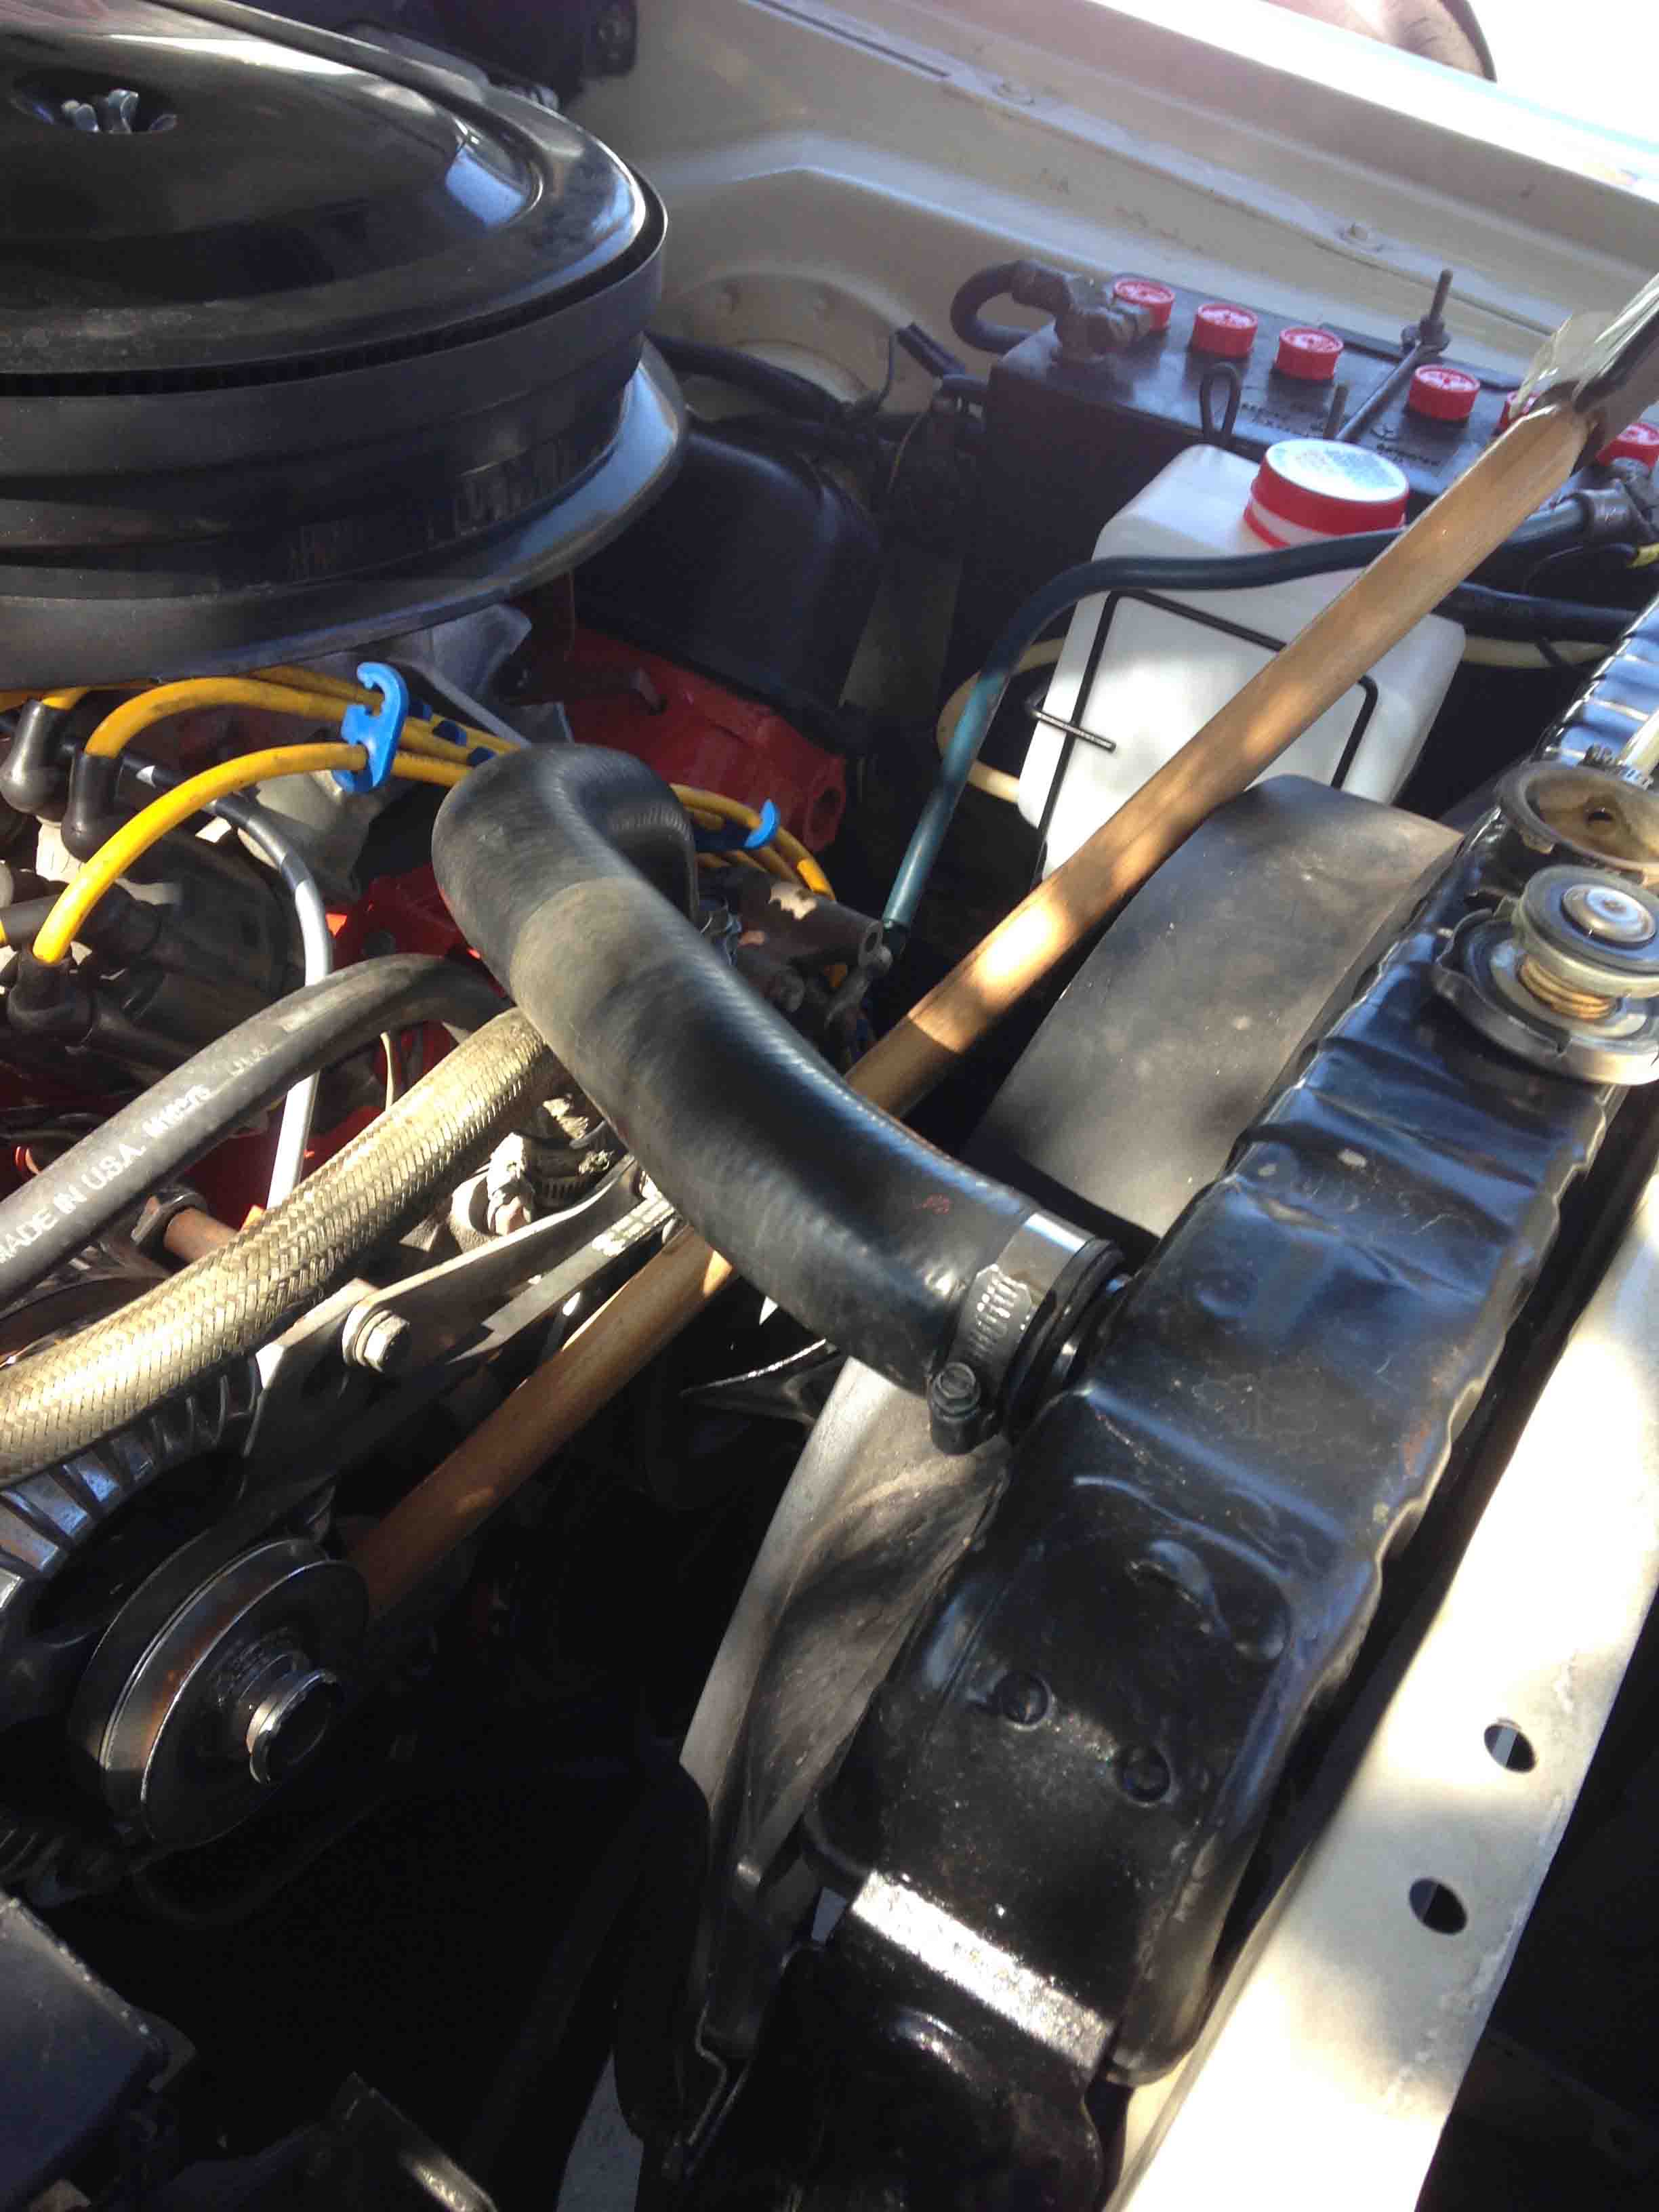
Lonesome Dove Fan Belt Tightening
How about it you are alone and need to tighten your fan belt. If you have a handy wooden-handled ax like I have pictured, you can use that for leverage to extend your alternator after you loosen your holding screws.
.
.


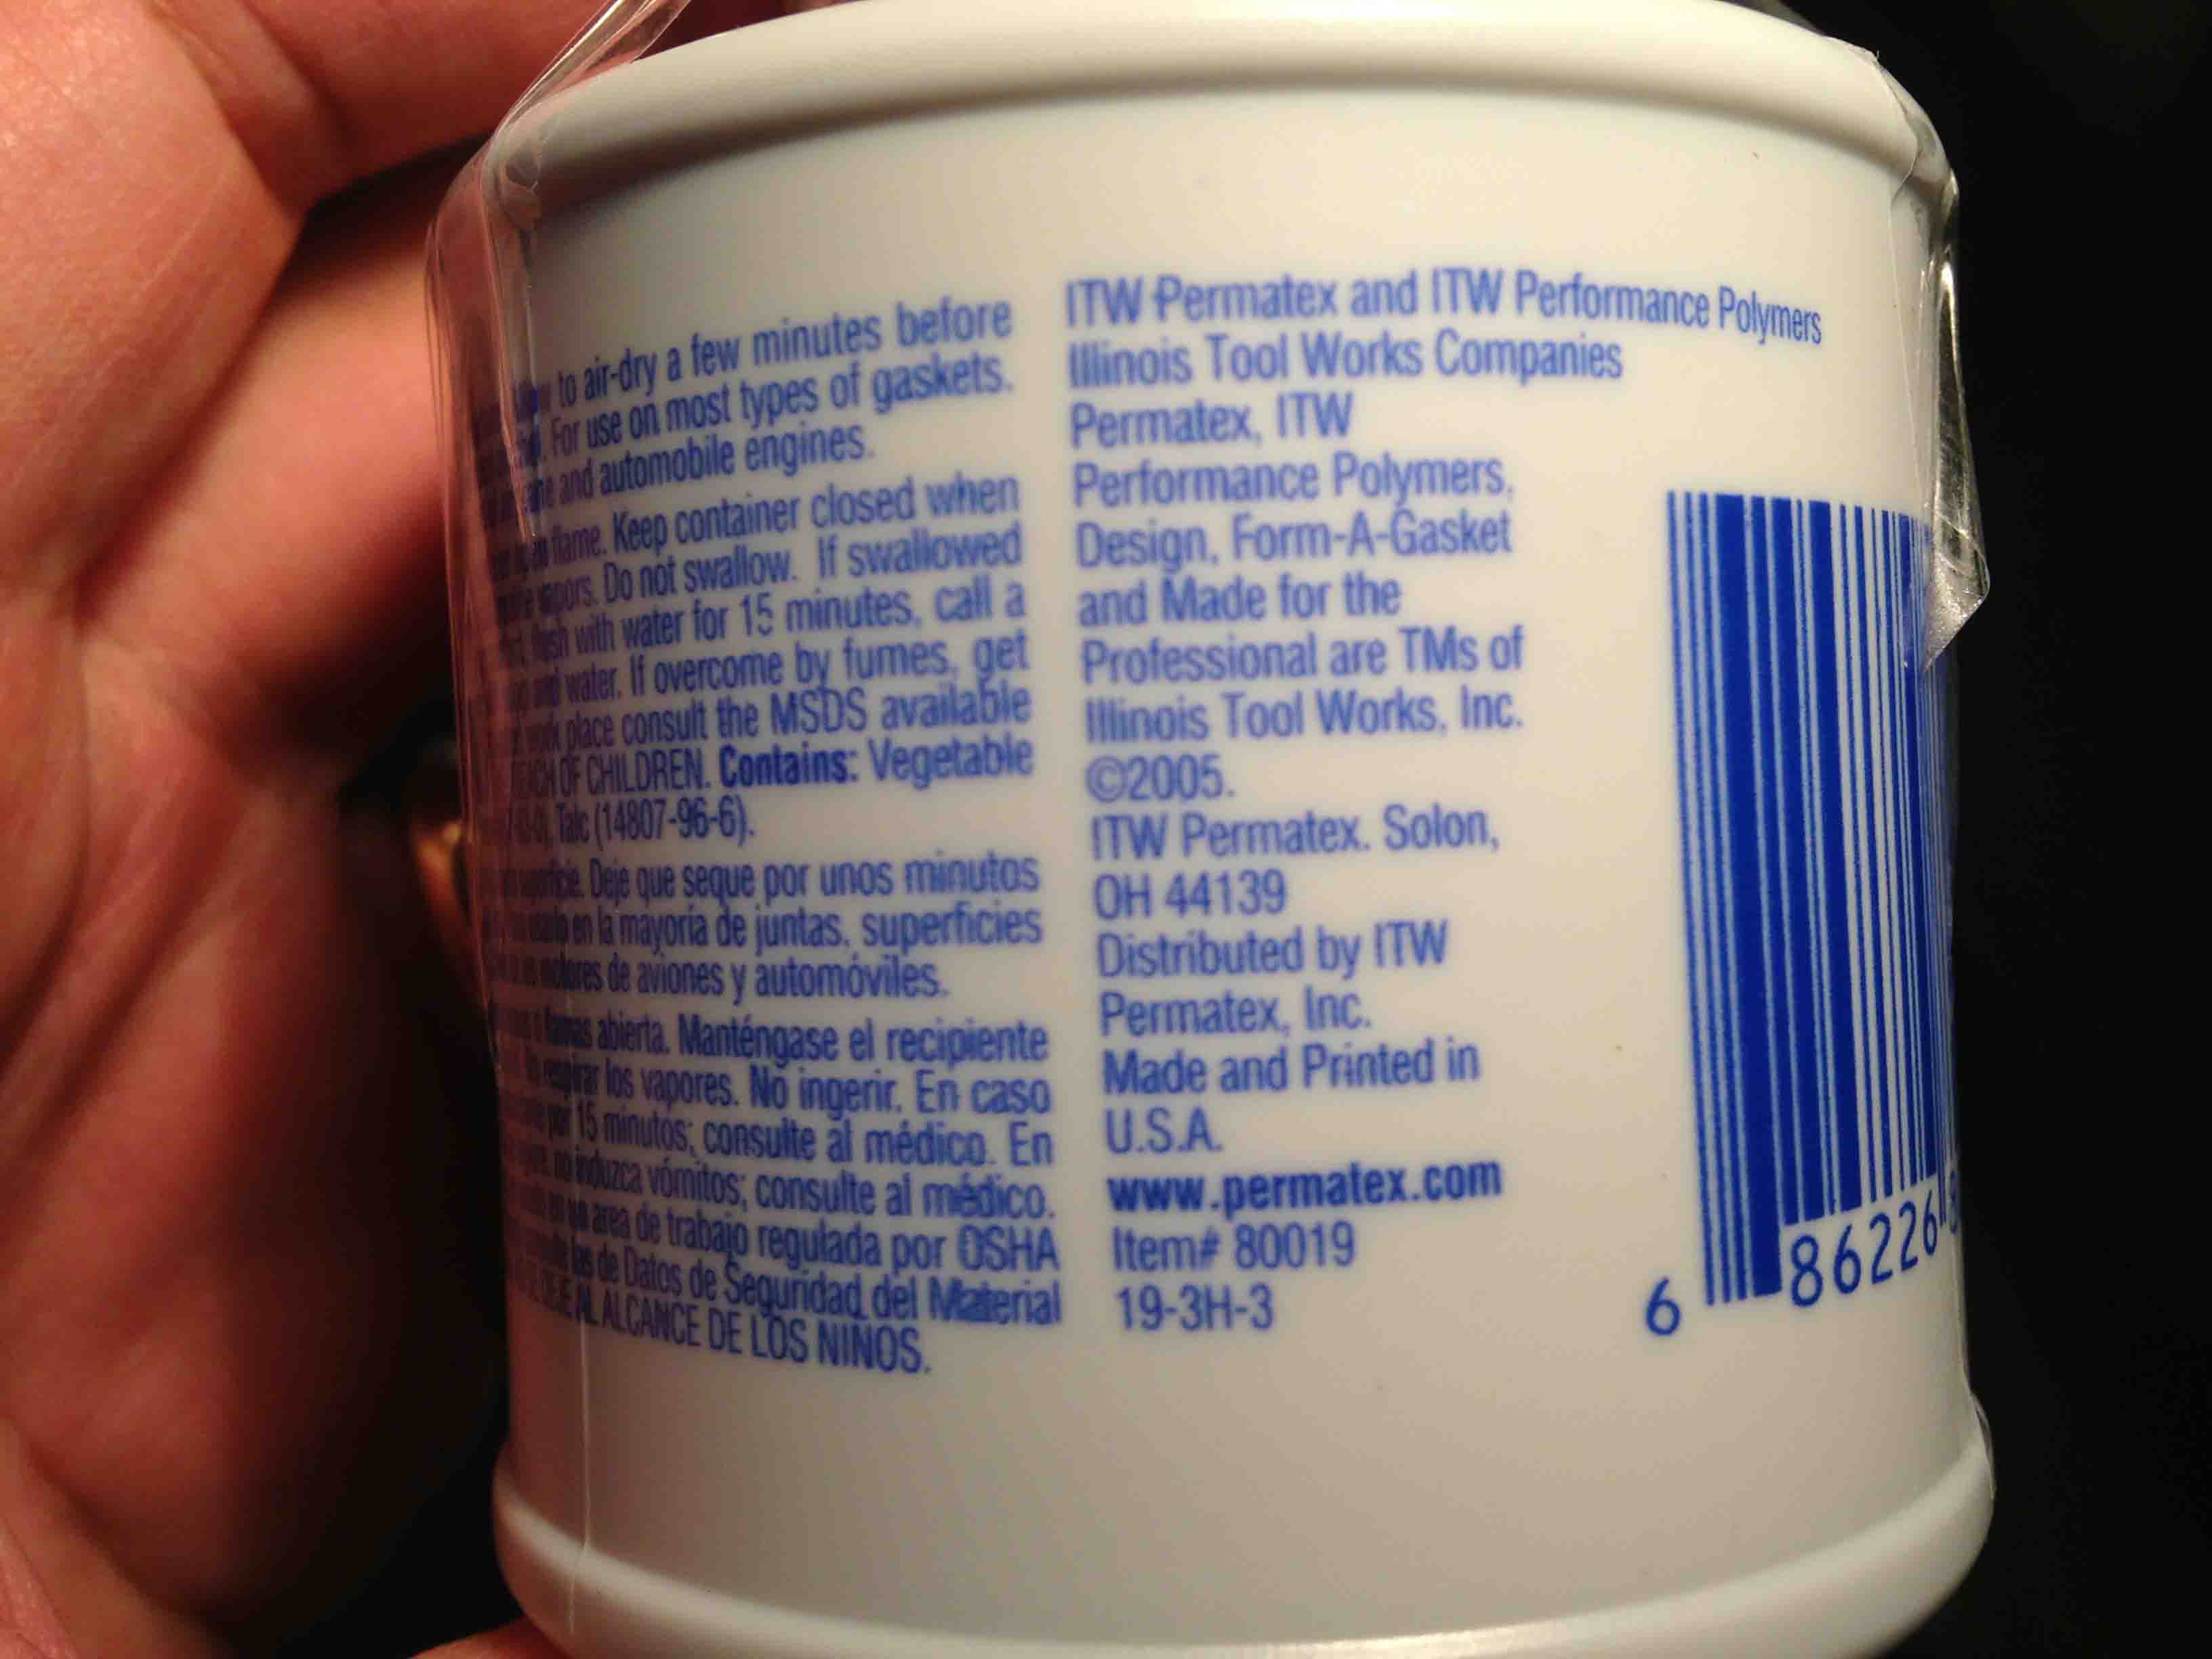
Just in case you were interested in reading the small print on the bottle.

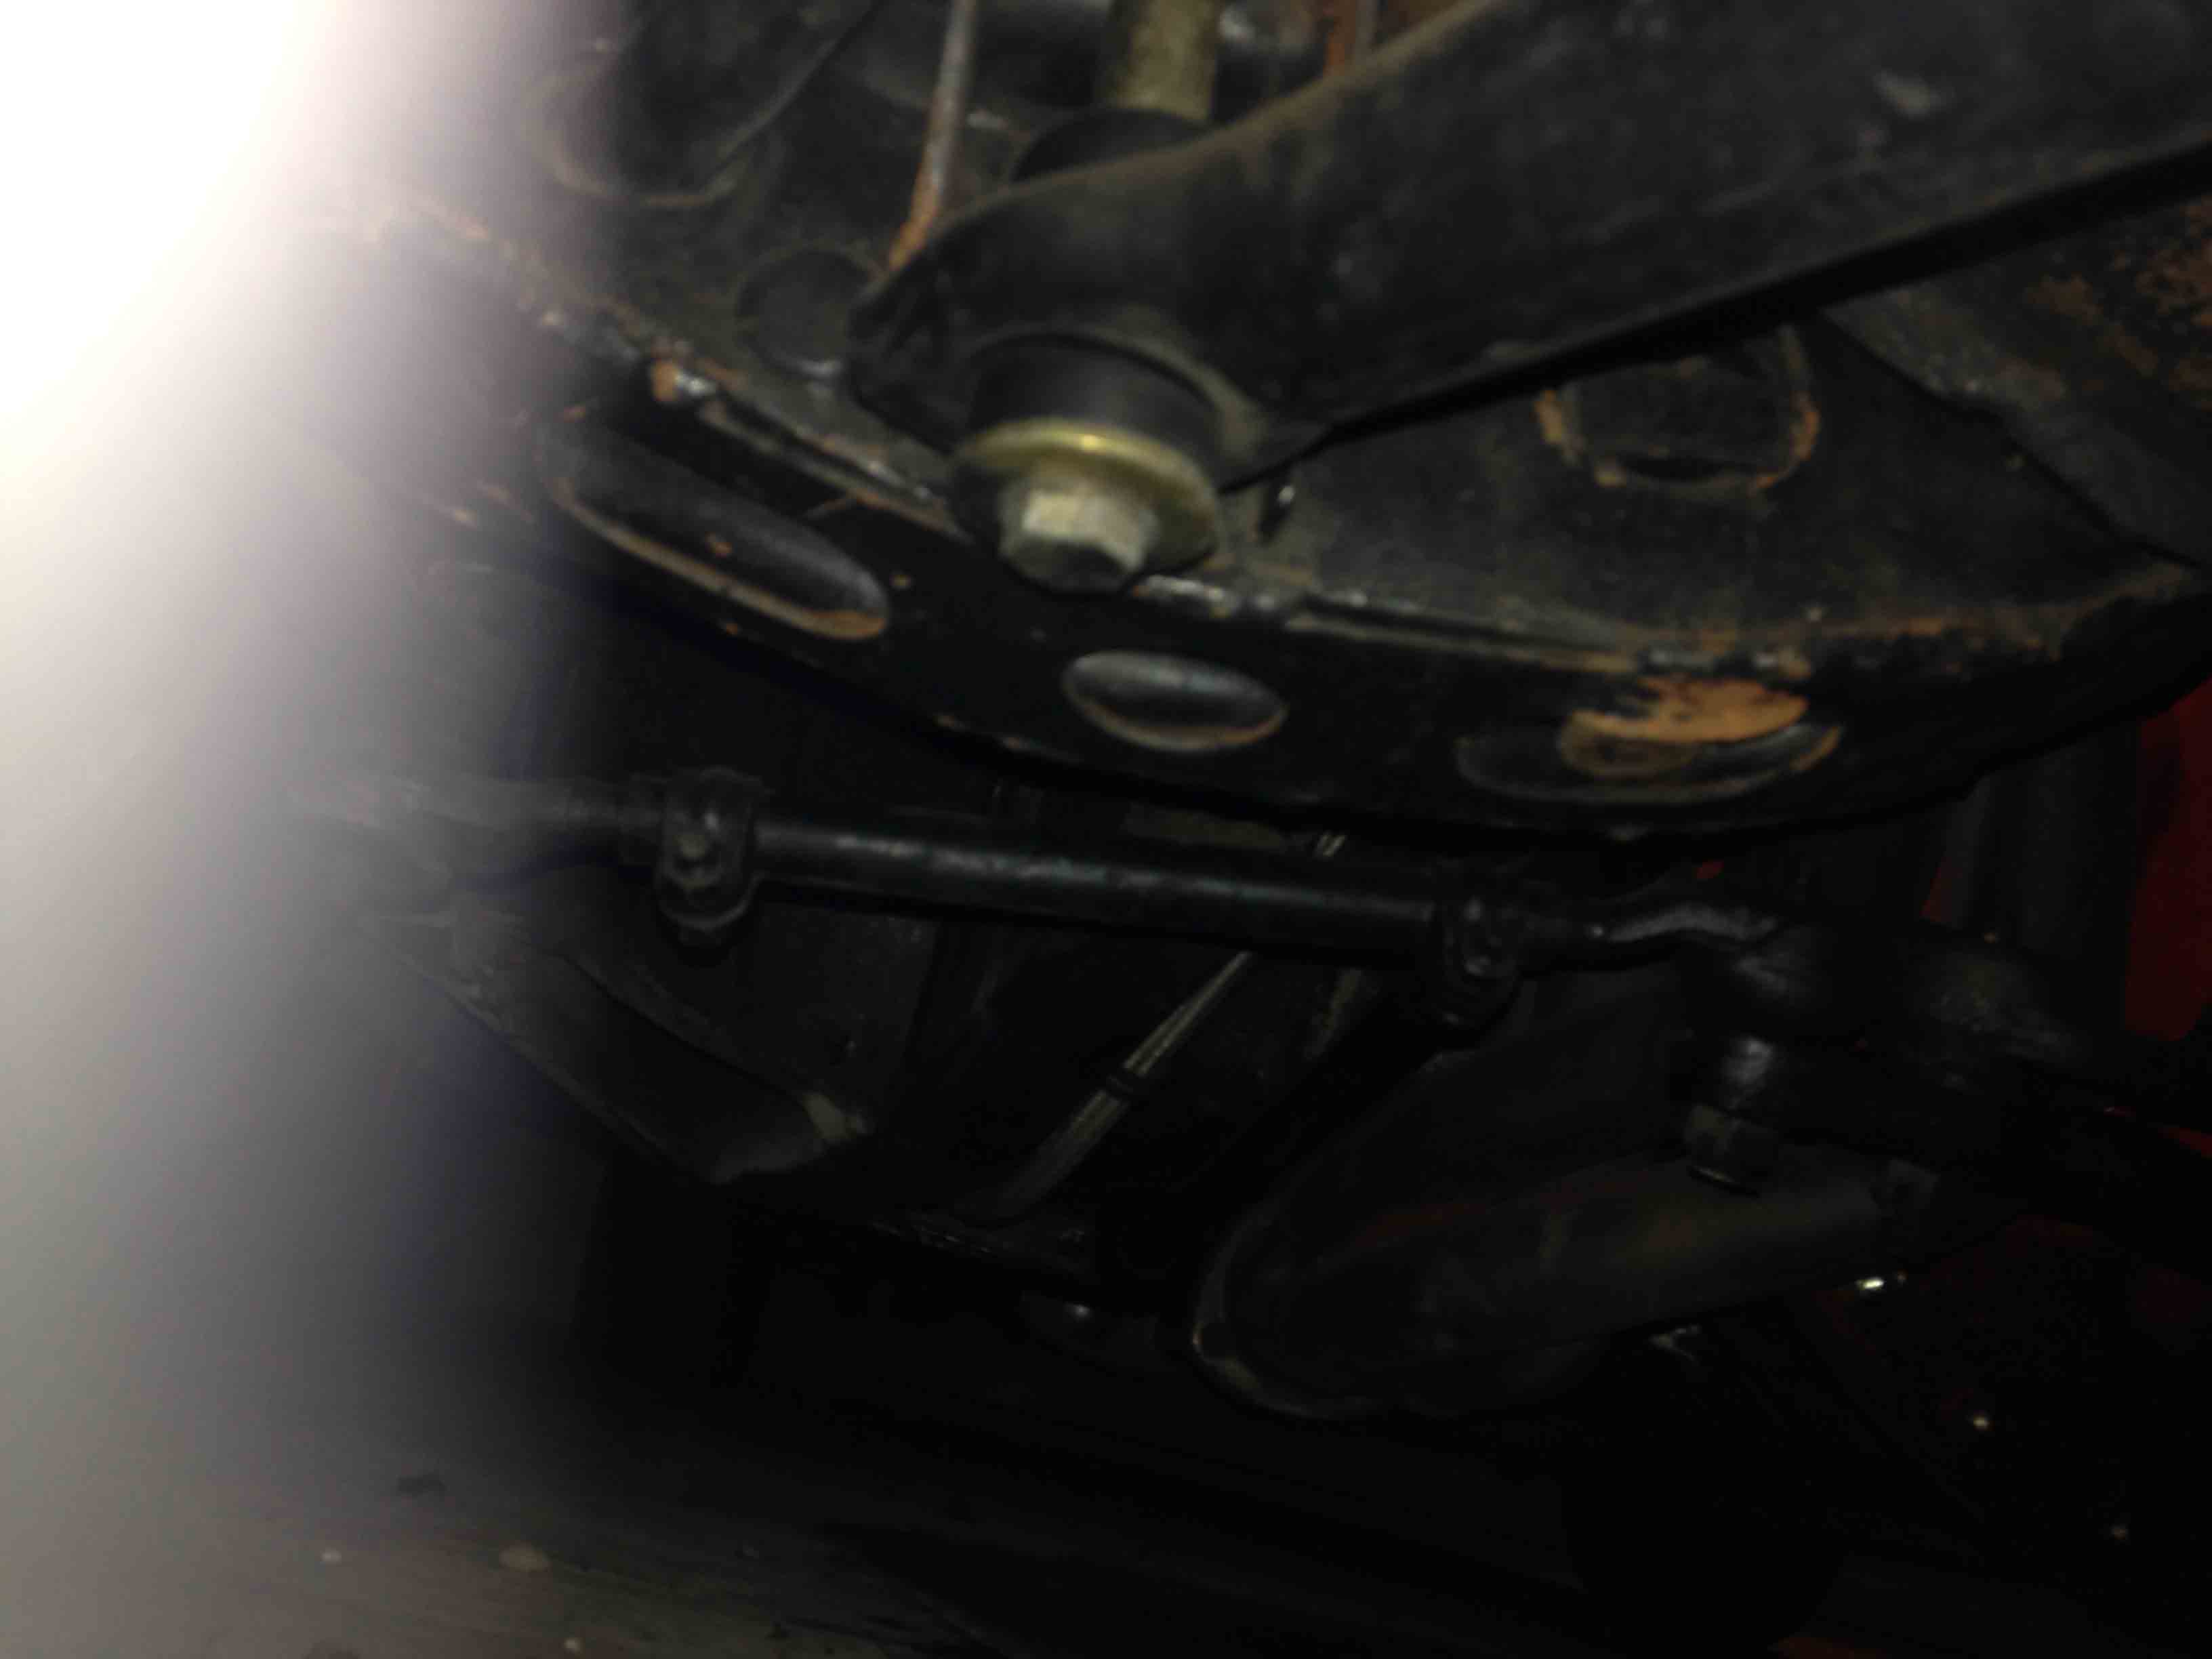
Pesky coolant drip from the lower radiator hose?
The lower radiator hose had a slow drip, so I sanded the outlet pipe with #80 grit paper and felt for any imperfections in the pipe. Then I used Permatex Aviation Form-A-Gasket Sealer #3 with the intention that I don’t want to have to think about any more leaking there. I only coated the radiator pipe and let it set for the required time before sliding the new uncoated hose on and clamping it. I did that to eliminate any possible dripping of sealant into the hose.
I used the same Permatex product on the thermostat housing. It’s a little messier than using silicon but I gave it a go and it works. Again, no intention of removing the housing unless I expect to replace the gasket. The thermostat should be sitting inside a recess in the T-stat housing and should be not interfering with the gasket. Clean the surfaces first of old gasket and sealant before applying the new sealant.
.
.
Carb Backfiring
I’m not sure exactly what was causing my 440 to pop out the carbs, but the problem appears to have gone away except on rare occasion.
However, I have a few possible candidates for culprits.
After several high RPM runs (over 5000) I could have blown the combustion chambers cleaner or it could be the number 7 plug wire touch a header tube and had a couple inches of insulation burned away, cause for some arcing. I adjusted the routing of the wire away from the header.
I plan on replacing the plug wires later.
I would imagine any multiple carb set up could use some more tuning. Have to keep that for later. Also toying with the idea of replacing the old MP electronic ignition with a multiple spark discharge type.
.
*
If you enjoyed this post, please LIKE SHARE COMMENT

The Dodge Kid in his youth about 1976.
Copyright © 2014 ChallenYee.com. TheDodgeKid.com All Rights Reserved.