Note: This is a continuation of previous posts about experiences during my teenage years in the late 1970’s. I’ve been looking for the rare photos I had of the car but I haven’t been able to find the few I remember having. If I find them I’ll update this story’s photos (which I have with some old photos).
I recently was contacted by a few of my old high school streetmachiner friends who discovered this blog and it was a pleasant surprise to hear about some of their car experiences over the last decades. So it’s with you all of you guys in mind that I post this article, hope it helps bring back some pleasant memories.
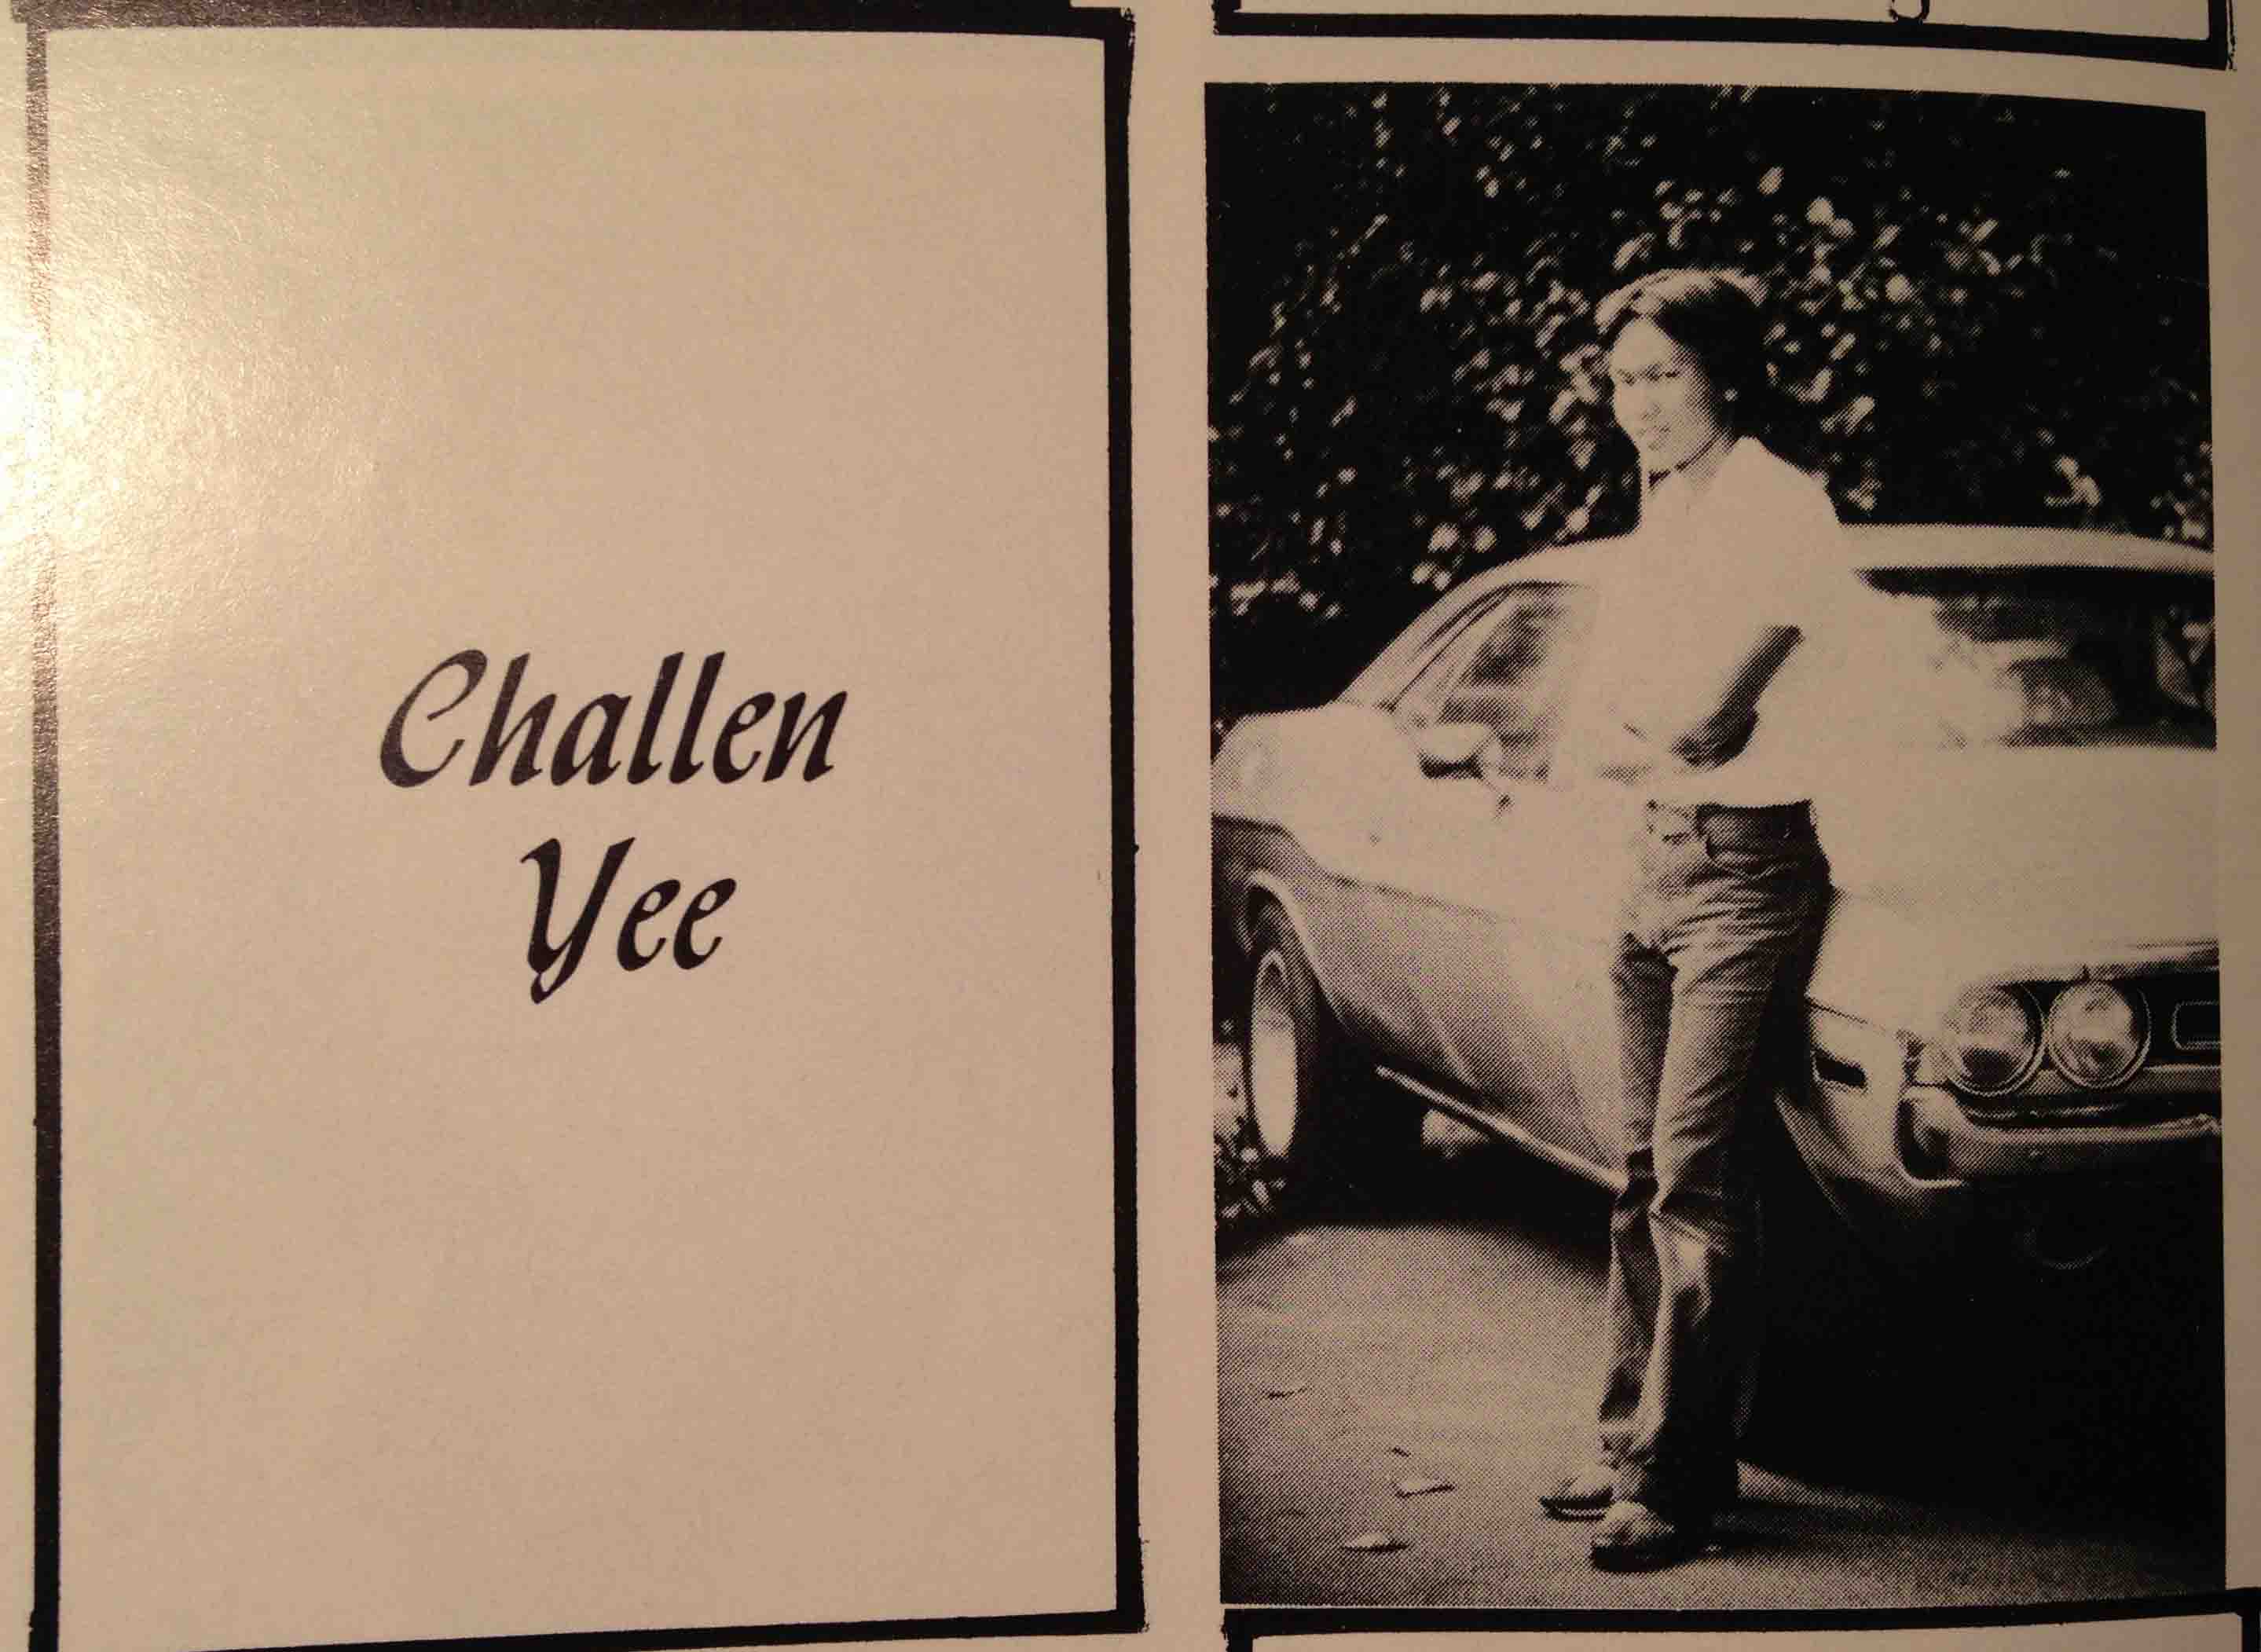
It was a fun and fascinating time, those days searching for my first car. I had two close car buddies, Scott Douglas (The Ford Expert) and Rick Elliott (The Chevy Expert) who together through junior high school and the early days of high school, would spend more time than we should have day-dreaming about life cruising the streets, roads and highways. Rick was the first one to get his car, a 1955 Chevy Bel-Air Wagon which he wanted to restore, so it sat in his backyard for what seemed like years. Then Scott got his 1967 Mustang fastback, which he kept in his driveway as it went straight into customization mode, which over those early years became a local legend, a wimbledon white GT-350 styled ground pounder with gold stripes. Then I found my 1971 Challenger, which, by the way, was the first one that was able to be driven.
A summary of the High School Days with my first Challenger
The Family Outing
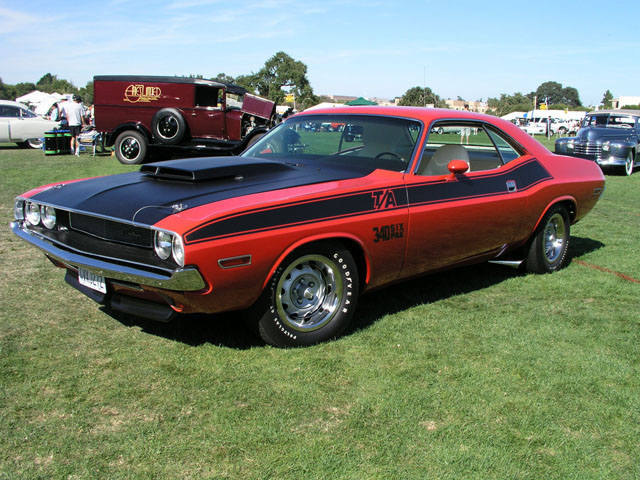
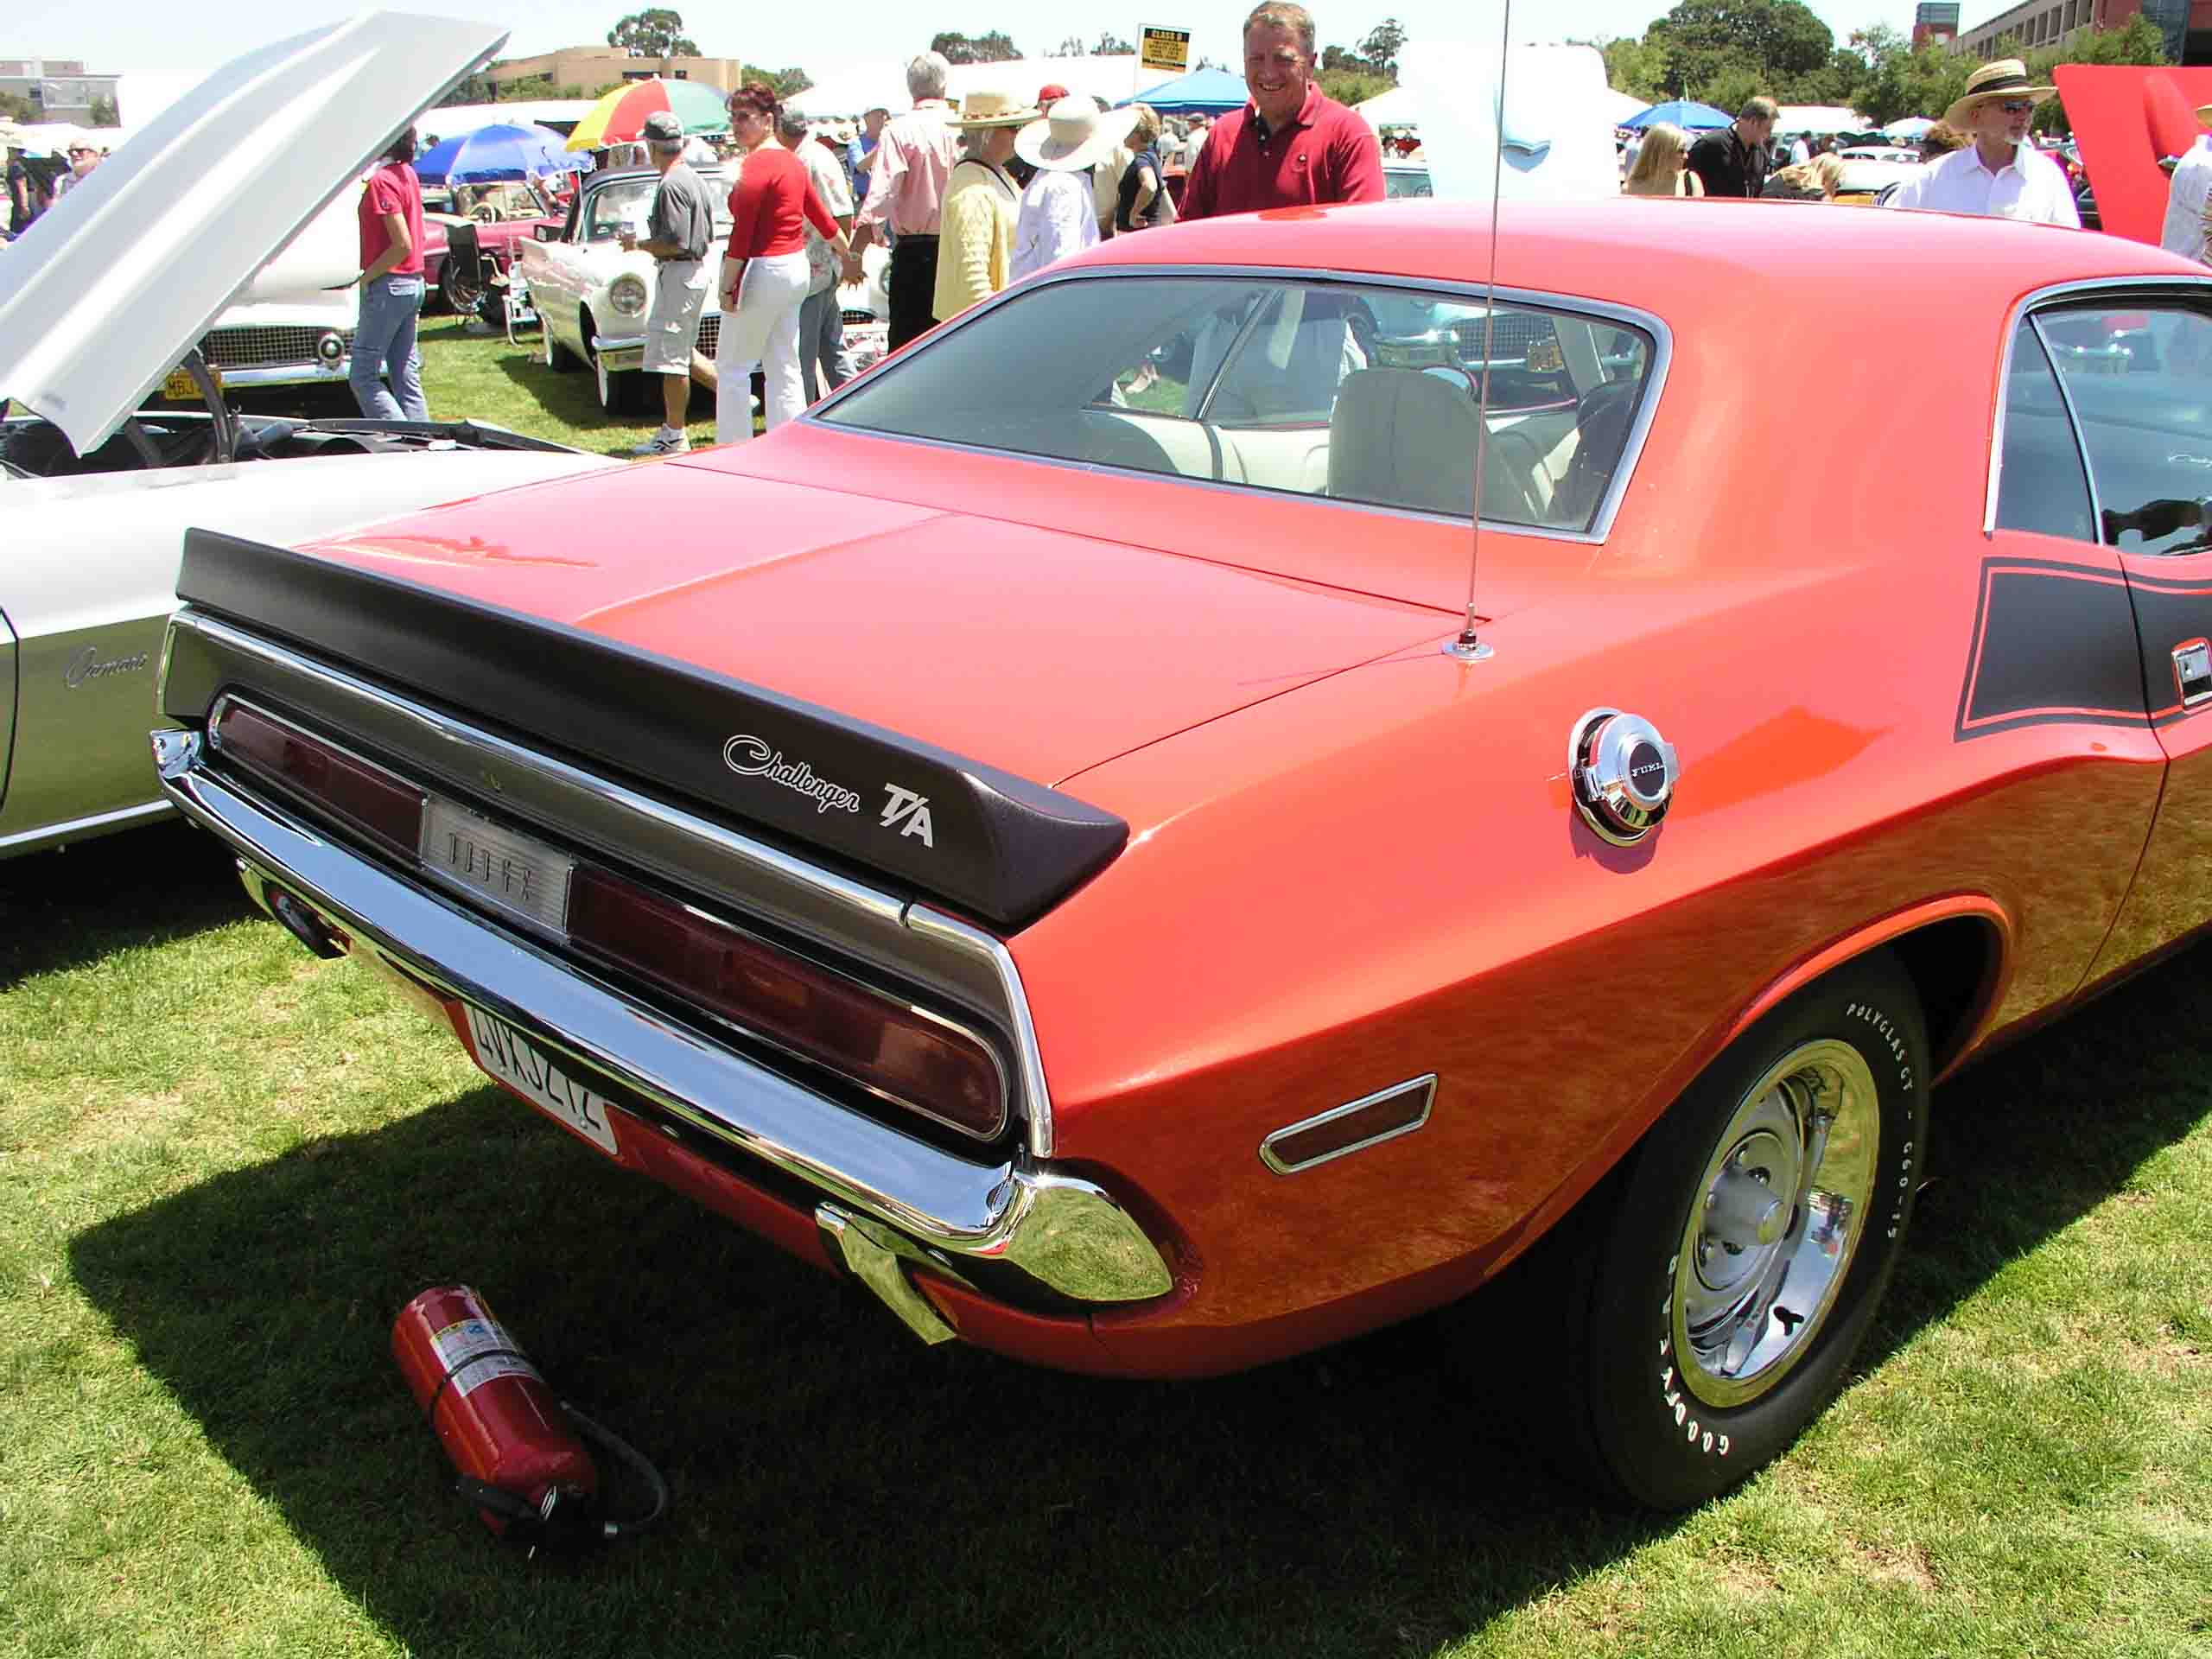
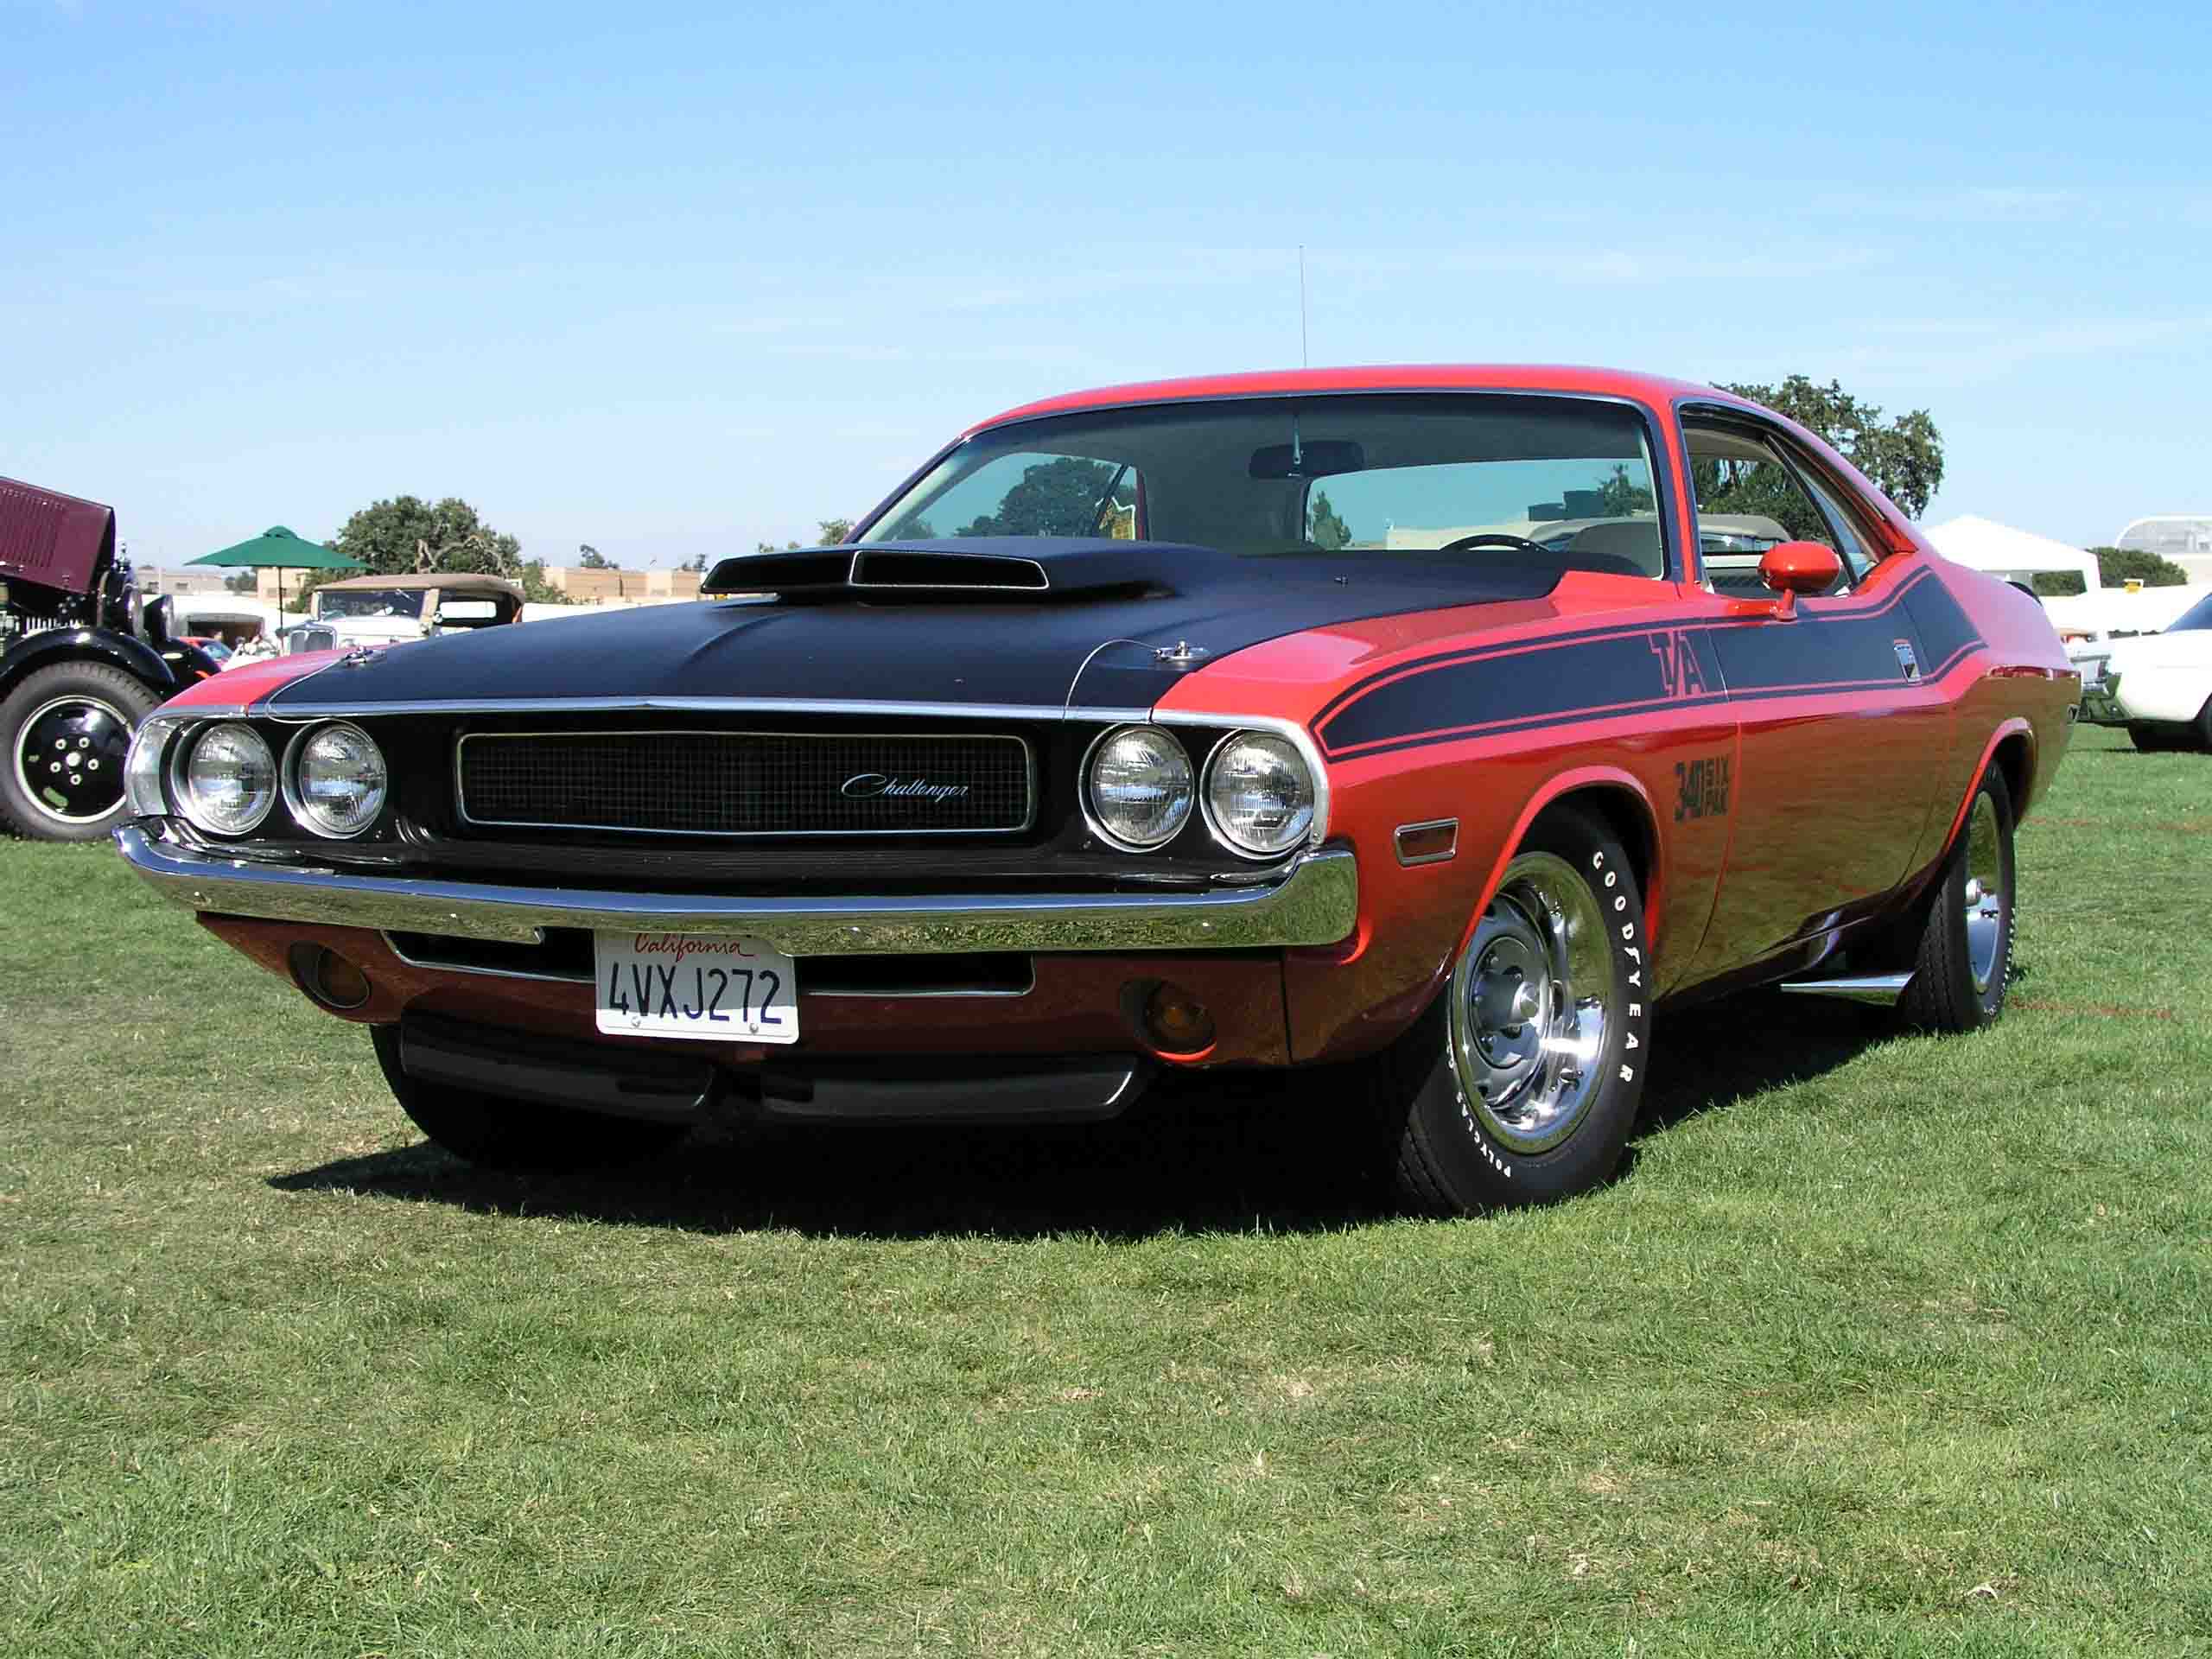
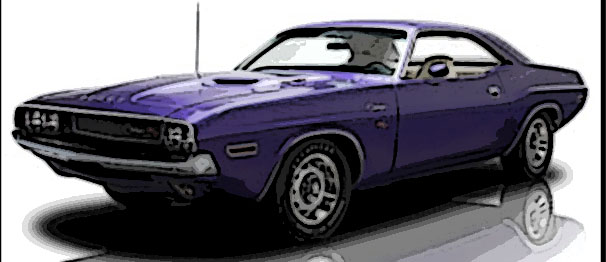
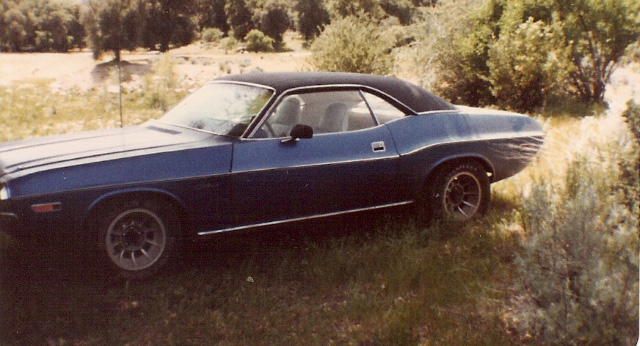
My dad and I checked out a lot of Challengers of all years, but in January of 1978, when I was 15, I finally found a Challenger with a combination I could live with that was under $2000. By this point, my mom was involved and I think she wasn’t interested in me getting a radical fire breathing monster. Funny how mom’s suddenly get involved when that critical moment materializes, as if she’s going to drive it. Buying a Challenger, my first car, becomes a bit of a family affair. We found the Blue Flash in some obscure used car lot in San Jose with about 42,000 miles, previously owned by an old lady. And as far as what you think Challengers are normally, it was a bit of an old lady’s car. It had a floor shift automatic and a 383 two barrel (which still had some awesome torque), single exhaust, no sway bars, dark metallic blue paint with a black vinyl top, power steering with a 5.2 turn box, a salt and pepper interior with a cigarette burn hole in the back seat, air conditioning, and wire rim hubcaps with 70 series “Mohawk” Tires, and a unique trim package I’ve rarely seen since. The price was $1700, or $1900 out the door. It ran great. At the time I had $1250, so my Dad helped me with the rest.

Thanks to my brother Nick Yee, he uncovered this photo with highlights the original condition the 1971 was in before I started tampering with it with my teenage hands. Photo taken about 1978.
Some Random Reminiscing
As with many of the younger persuasion, I slowly began modifying and personalizing my Challenger. I will not go into extensive details here, but suffice it to say that as a young street machine freak, you just do as you feel and that is okay. It was all about whatever you can afford and whatever seems like a cool idea gets the nod of approval. This Challenger turned into my high school ride and also my ride into adulthood. The Challenger was a reliable partner through my high school days: having a really great time cruising with all the motorheads at school, wild burnouts in the back parking lot, road trips, and general partying. We were raising hell on the highways and byways and, fortunately, survived the experience and didn’t hurt others.
Worthy of MoPar note was the quickest car at school owned by Dale Mosher, a hemi-orange 1969 Dart with a 440 six-pack with a black vinyl top and 4.10s in the back. Truly a rad rocket.
The absolute best cruising night was in 1979 when a huge group of us got together to go cruising on a Saturday Night in San Mateo, California. We met in the back parking lot of Palo Alto High School and just about everyone showed up who had the car fever, including the blue Torino Wagon with the yellow dome light pulling unsuspecting motorists over (you know who you are, my friend). I could start naming people but I’m sure I’d miss someone. If you were there, you’d remember those days before the “No Cruising” law. That strip on El Camino Real was absolutely packed.
We were living the mystique that is conjured in ones mind when you think of the “Muscle Car Era” all the while with Van Halen, AC/DC or Lynyrd Skynyrd blaring in the background. Actually it was the Oil Crisis Era, but we did not care. What was cool was my young nephew and niece used to cheer out, “Dukes of Hazard!” to the sounds of the big block Mopar or how some high school girls used to have their talks while sitting ON my car in the back parking lot at school, thinking it was cool place to hang out.
This photo was taken by my Navy bud, Michael Avery. I think we were doing some backroad moto-ing in the National forest east of San Diego in 1981.

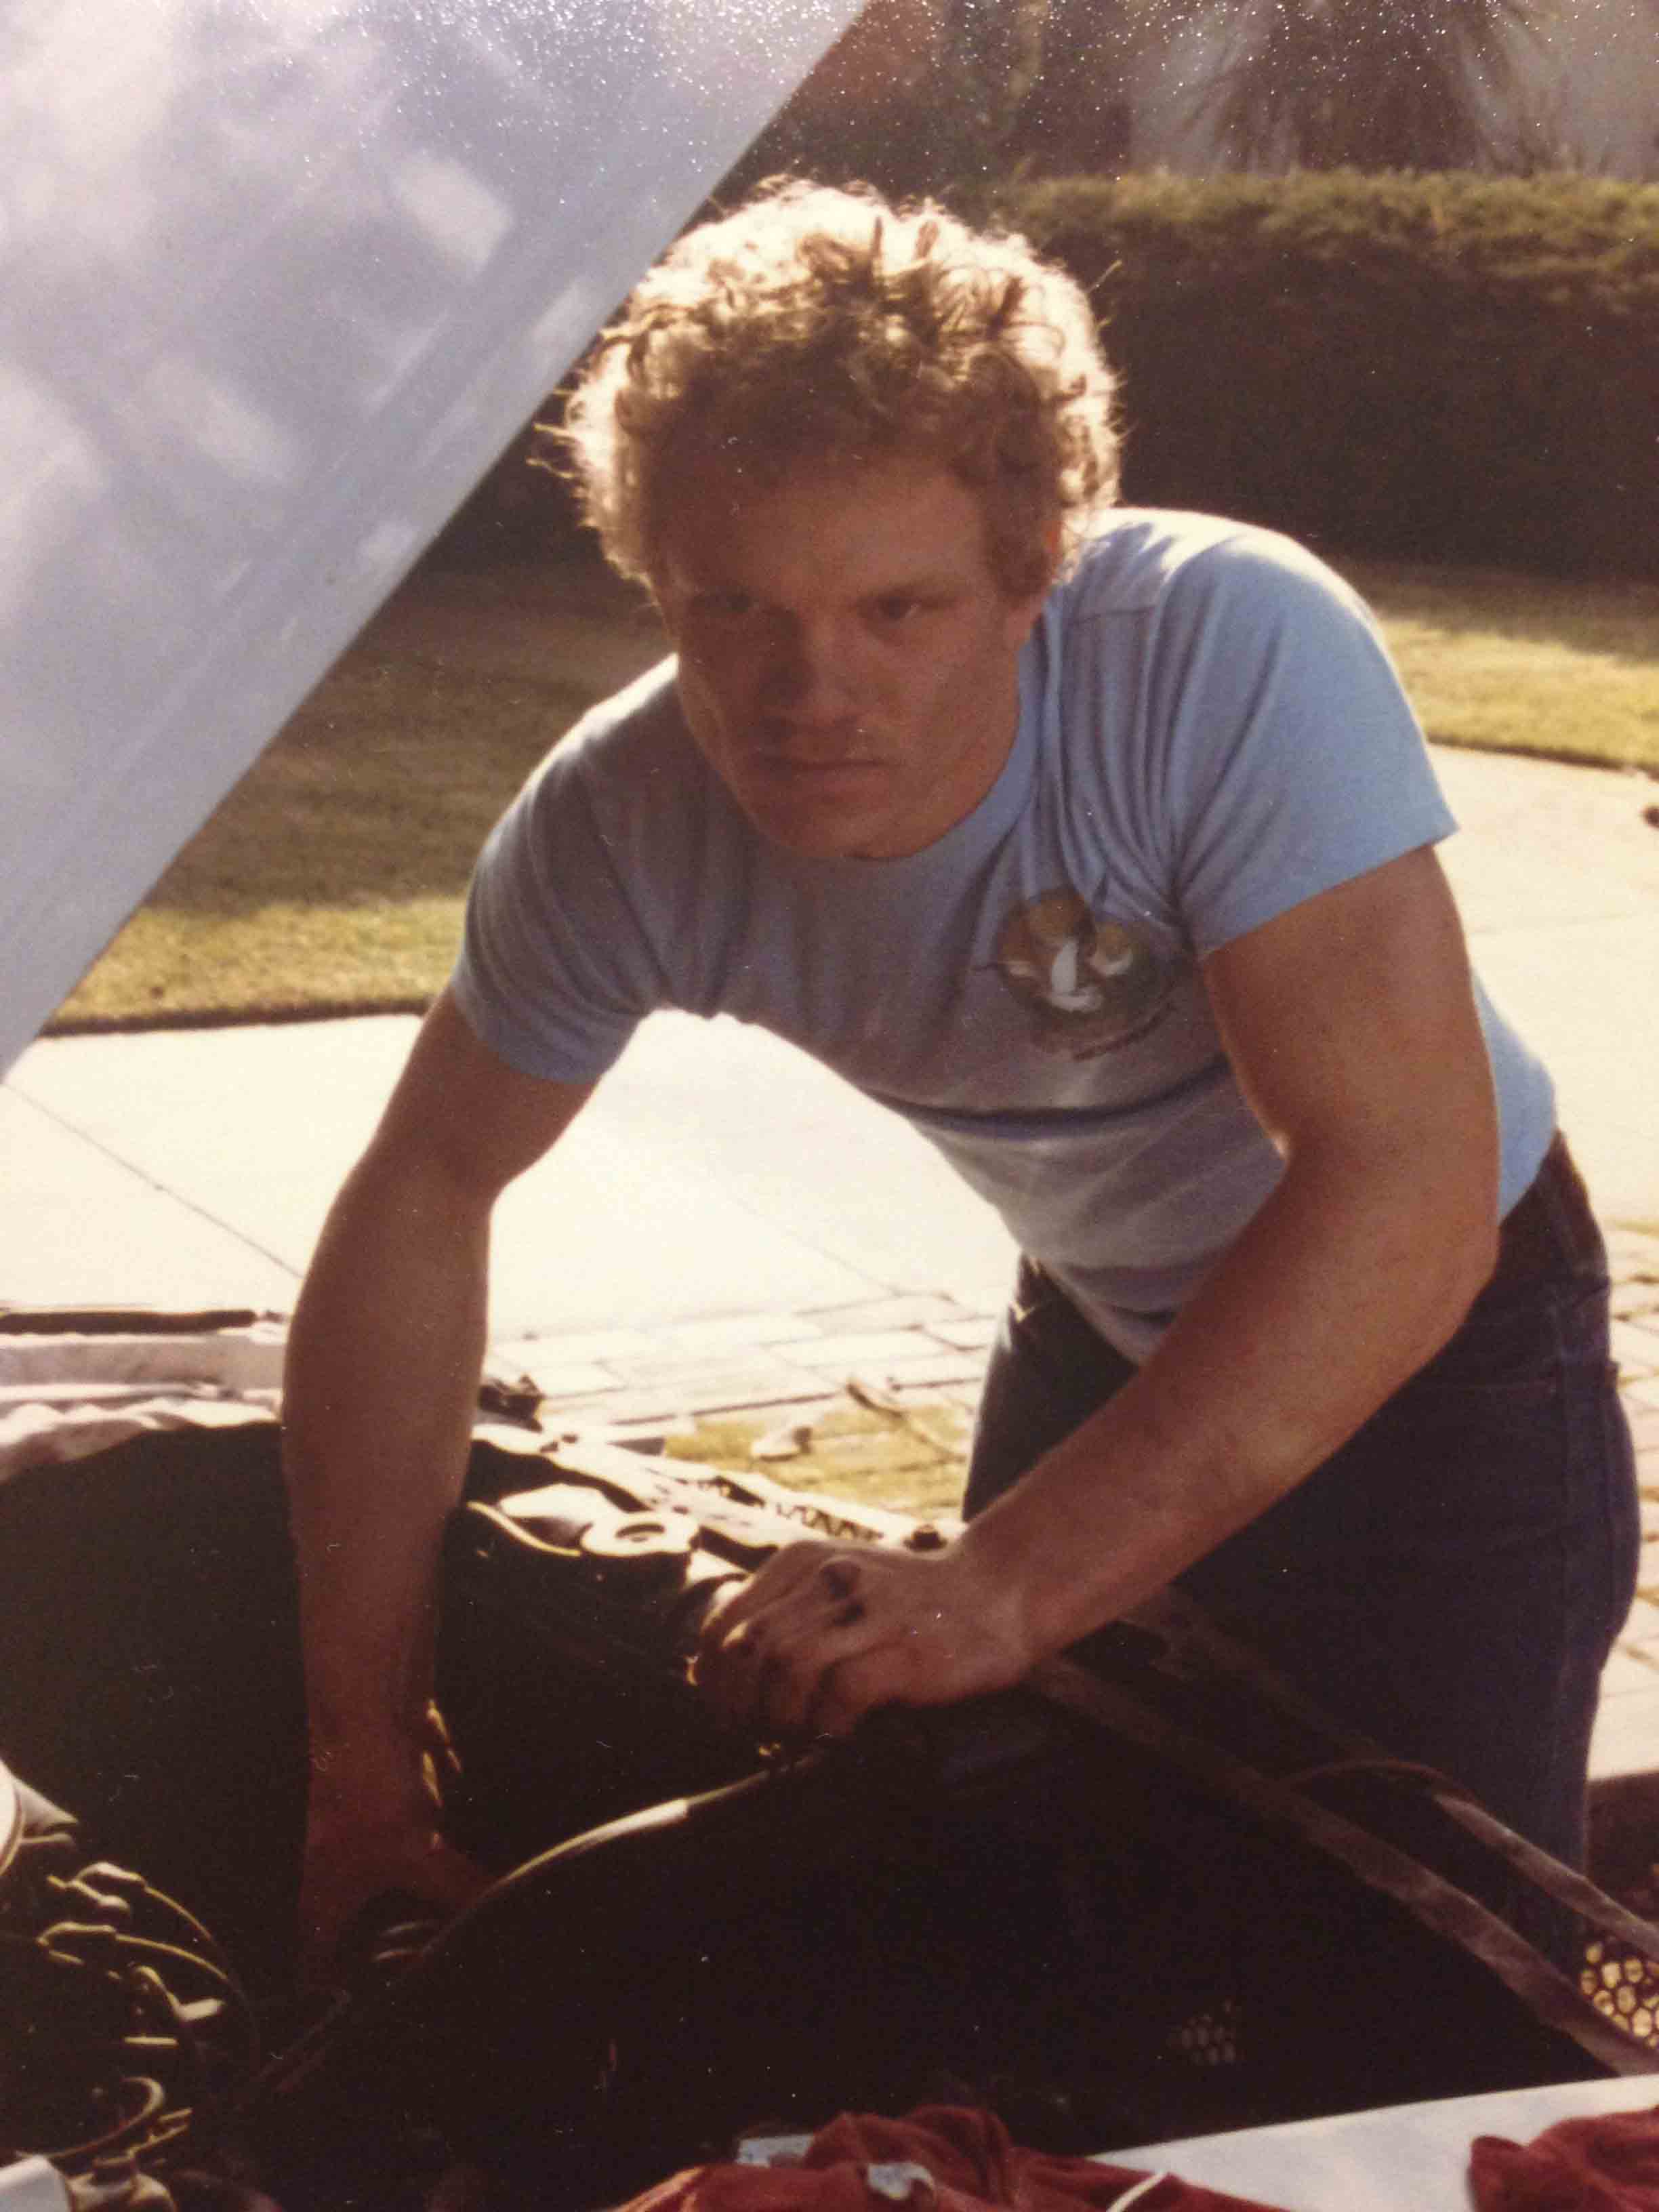
This photo is from my Navy bud, Michael Avery, here I am probably at the Navy gas station or Navy DIY auto shop at Naval Training Center, San Diego in 1981.
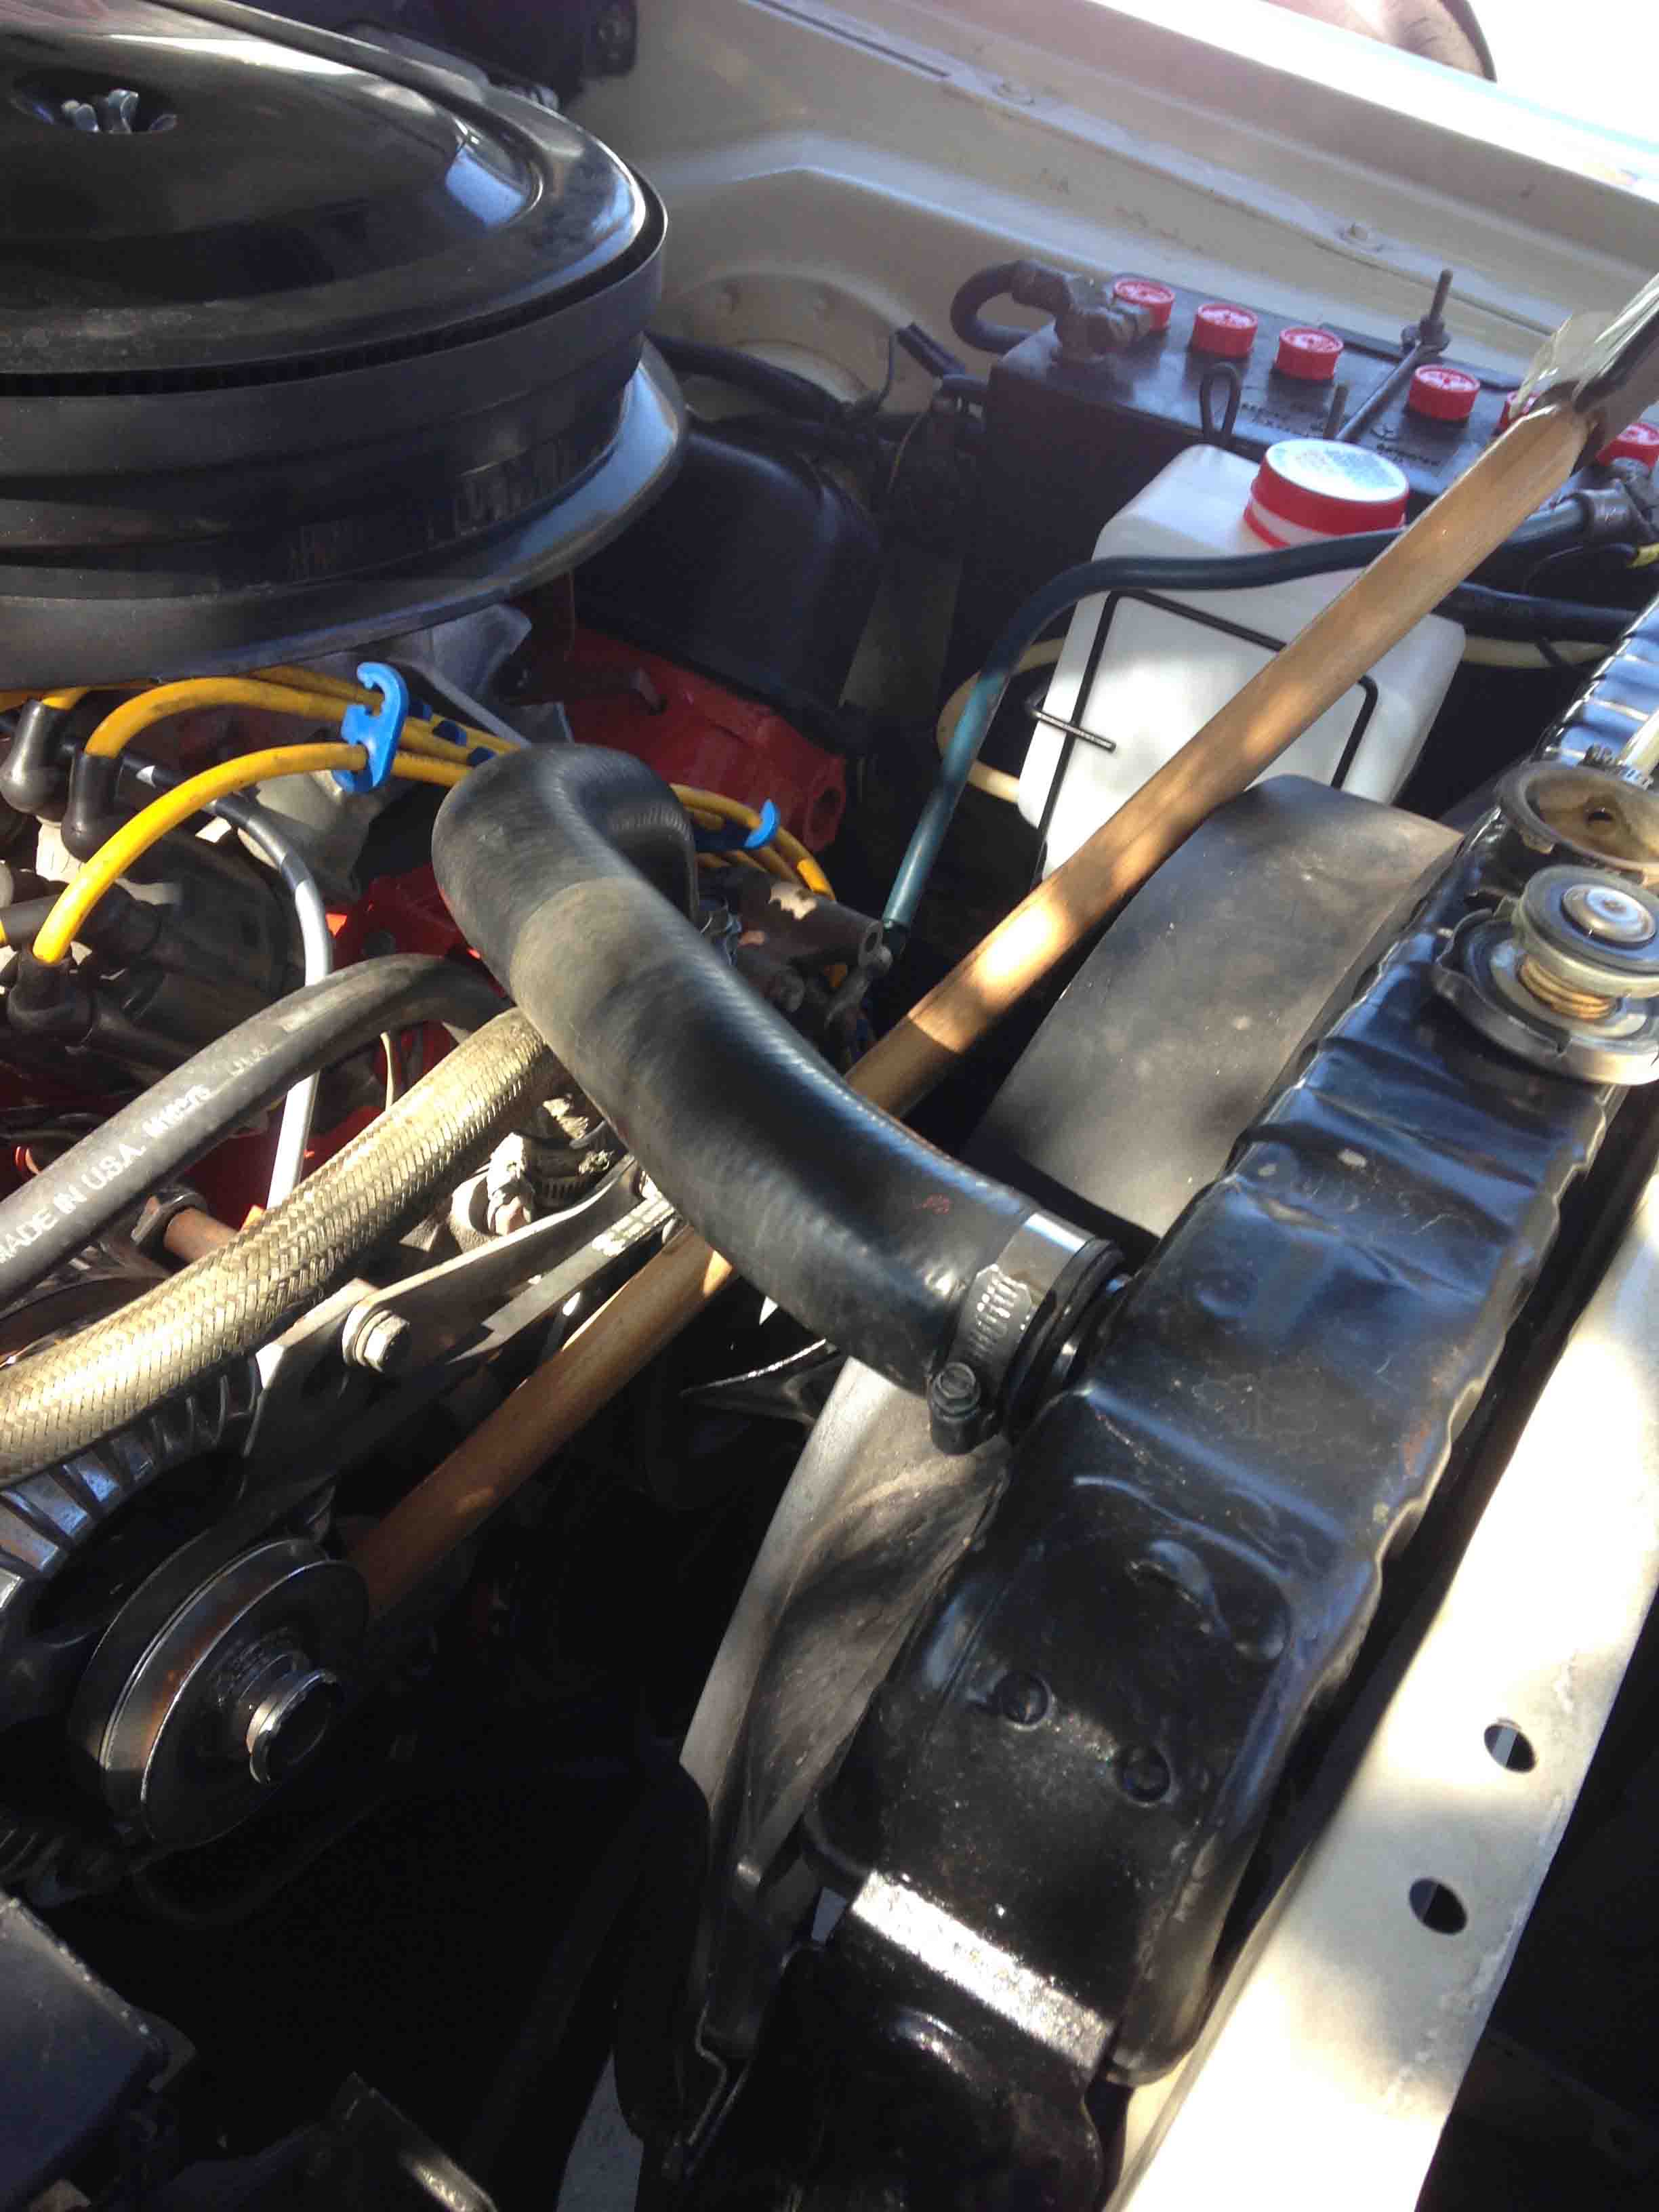
A quick rundown of most of my modifications that occurred over time:
Edelbrock Torker, a Holley 780 CFM with vacuum secondaries, topped off with a Moroso Low Profile Air Cleaner
Eagle Headers and dual exhaust with cross over and Thrush turbo mufflers, tail pipes dumping down over the rear axle
Windage Tray, B&M shift kit, Accel Supercoil, and Mopar Electronic Ignition
American Vector 15×8(?) with Goodyear Polyglas GT G-60 back and F-60’s front (torsion bars needed to raise front end to clear tires)
Addco sway bars front and rear with urethane bushings
KYB Shocks with coils overs in rear (gave me another 1/2″ clearance for my tires)
Stewart Warner under dash mounted Tach
Ducktail T/A type rear spoiler
Sanyo Bi-Amp AM-FM Cassette indash strereo Jensen co-ax rear speakers and some small tweeters in front
Dual racing mirrors from the local Scherba’s Auto Store
In Closing
I could recall a bunch of stuff, but I just want to pitch something out there for you guys to chew on.
Thanks for reading.

First Challenger a 1971 as it was in the area it was stored while I was away serving overseas in the Navy after 1983. Friends said that the Amrican Vectors looked great when I was peeling out. When I find my photos of the car when it was stock, I’ll post them. Originally the car had longitudinal side “door-ding” moulding and the biggest piece of chromed pewter wrapped around front edge of the hood and fenders to give the bumper a wrap around look.

This early 1980’s photo of Scott Douglas, the Ford Expert, part of a triad friendship along with Rick Elliot, the Chevy Expert in the early days at Palo Alto High School. When I had my Mustang, Scott was always ready to help me with whatever I needed.

Just a partial gathering of the PASM Association, the Palo Alto Street Machine Association. Photo taken by yearbook staff (1979) . I was on the yearbook staff that year, so I made sure we got this photo in. Too bad one of my friends decided it was cool to draw over it with his pen. Location, the back parking lot of Palo Alto High School. Ready for exhibition speed at the slightest provocation.
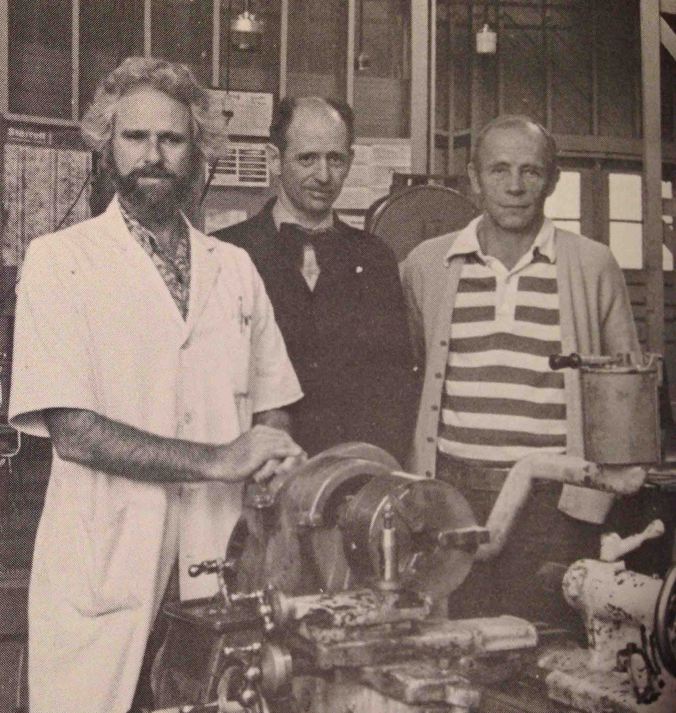
Three of my Industrial Arts teachers at Palo Alto from 1976-1980, from left to right, Bud Jamison (Architecture), O.D. Mitchell (Auto Shop), and Bob Hoskins (Metal/Algebra/Geometry).Missing is Mr. Don Jang, my drafting teacher for 3 years. All of my teachers were great, but Mr.Mitchell was my favorite and mentor through 4 years of Auto Shop. Photo is from my 1979, Junior year, Yearbook. I was class of 1980 but 1979 ROCKS!

I didn’t know the PALY yearbook staff was not print my write up I submitted with my photo. At the discretion of some unknown high schooler in 1980, I will only be remembered as the kid with his Challenger
* If you enjoyed this post, please LIKE SHARE COMMENT

The Dodge Kid in his youth about 1976.
Copyright © 2015 ChallenYee.com. TheDodgeKid.com BestBuckBuck.com All Rights Reserved.