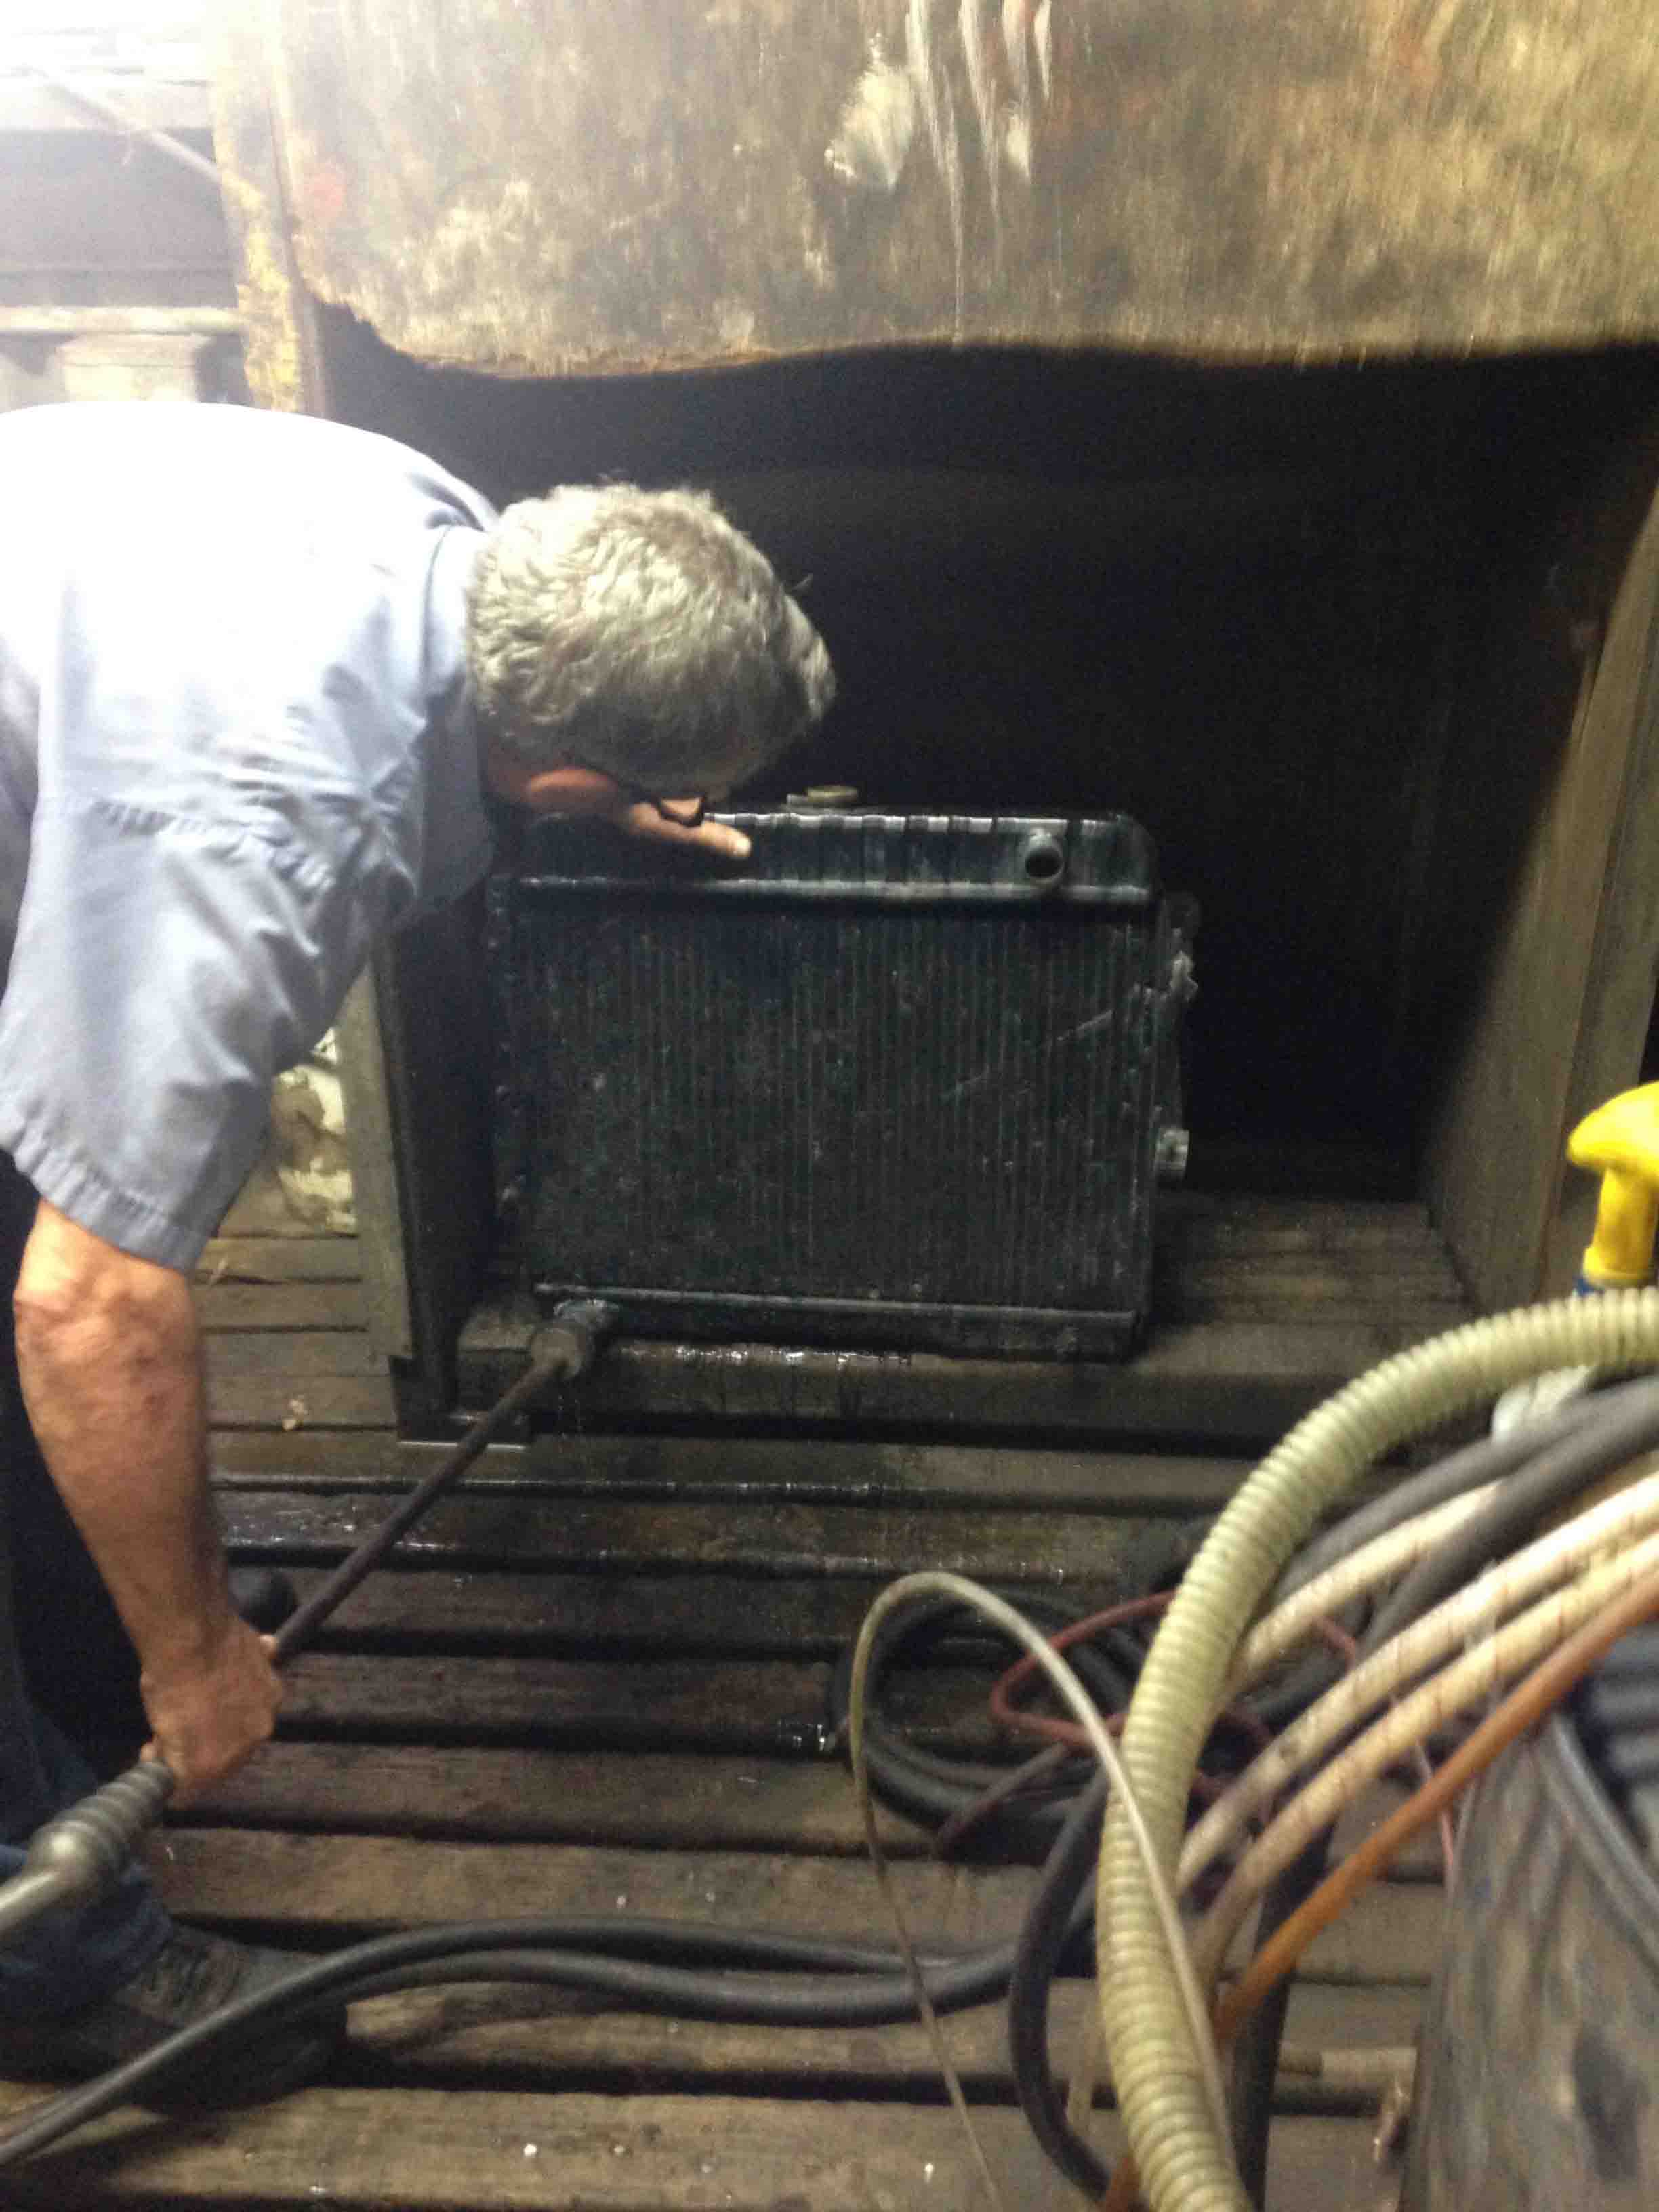
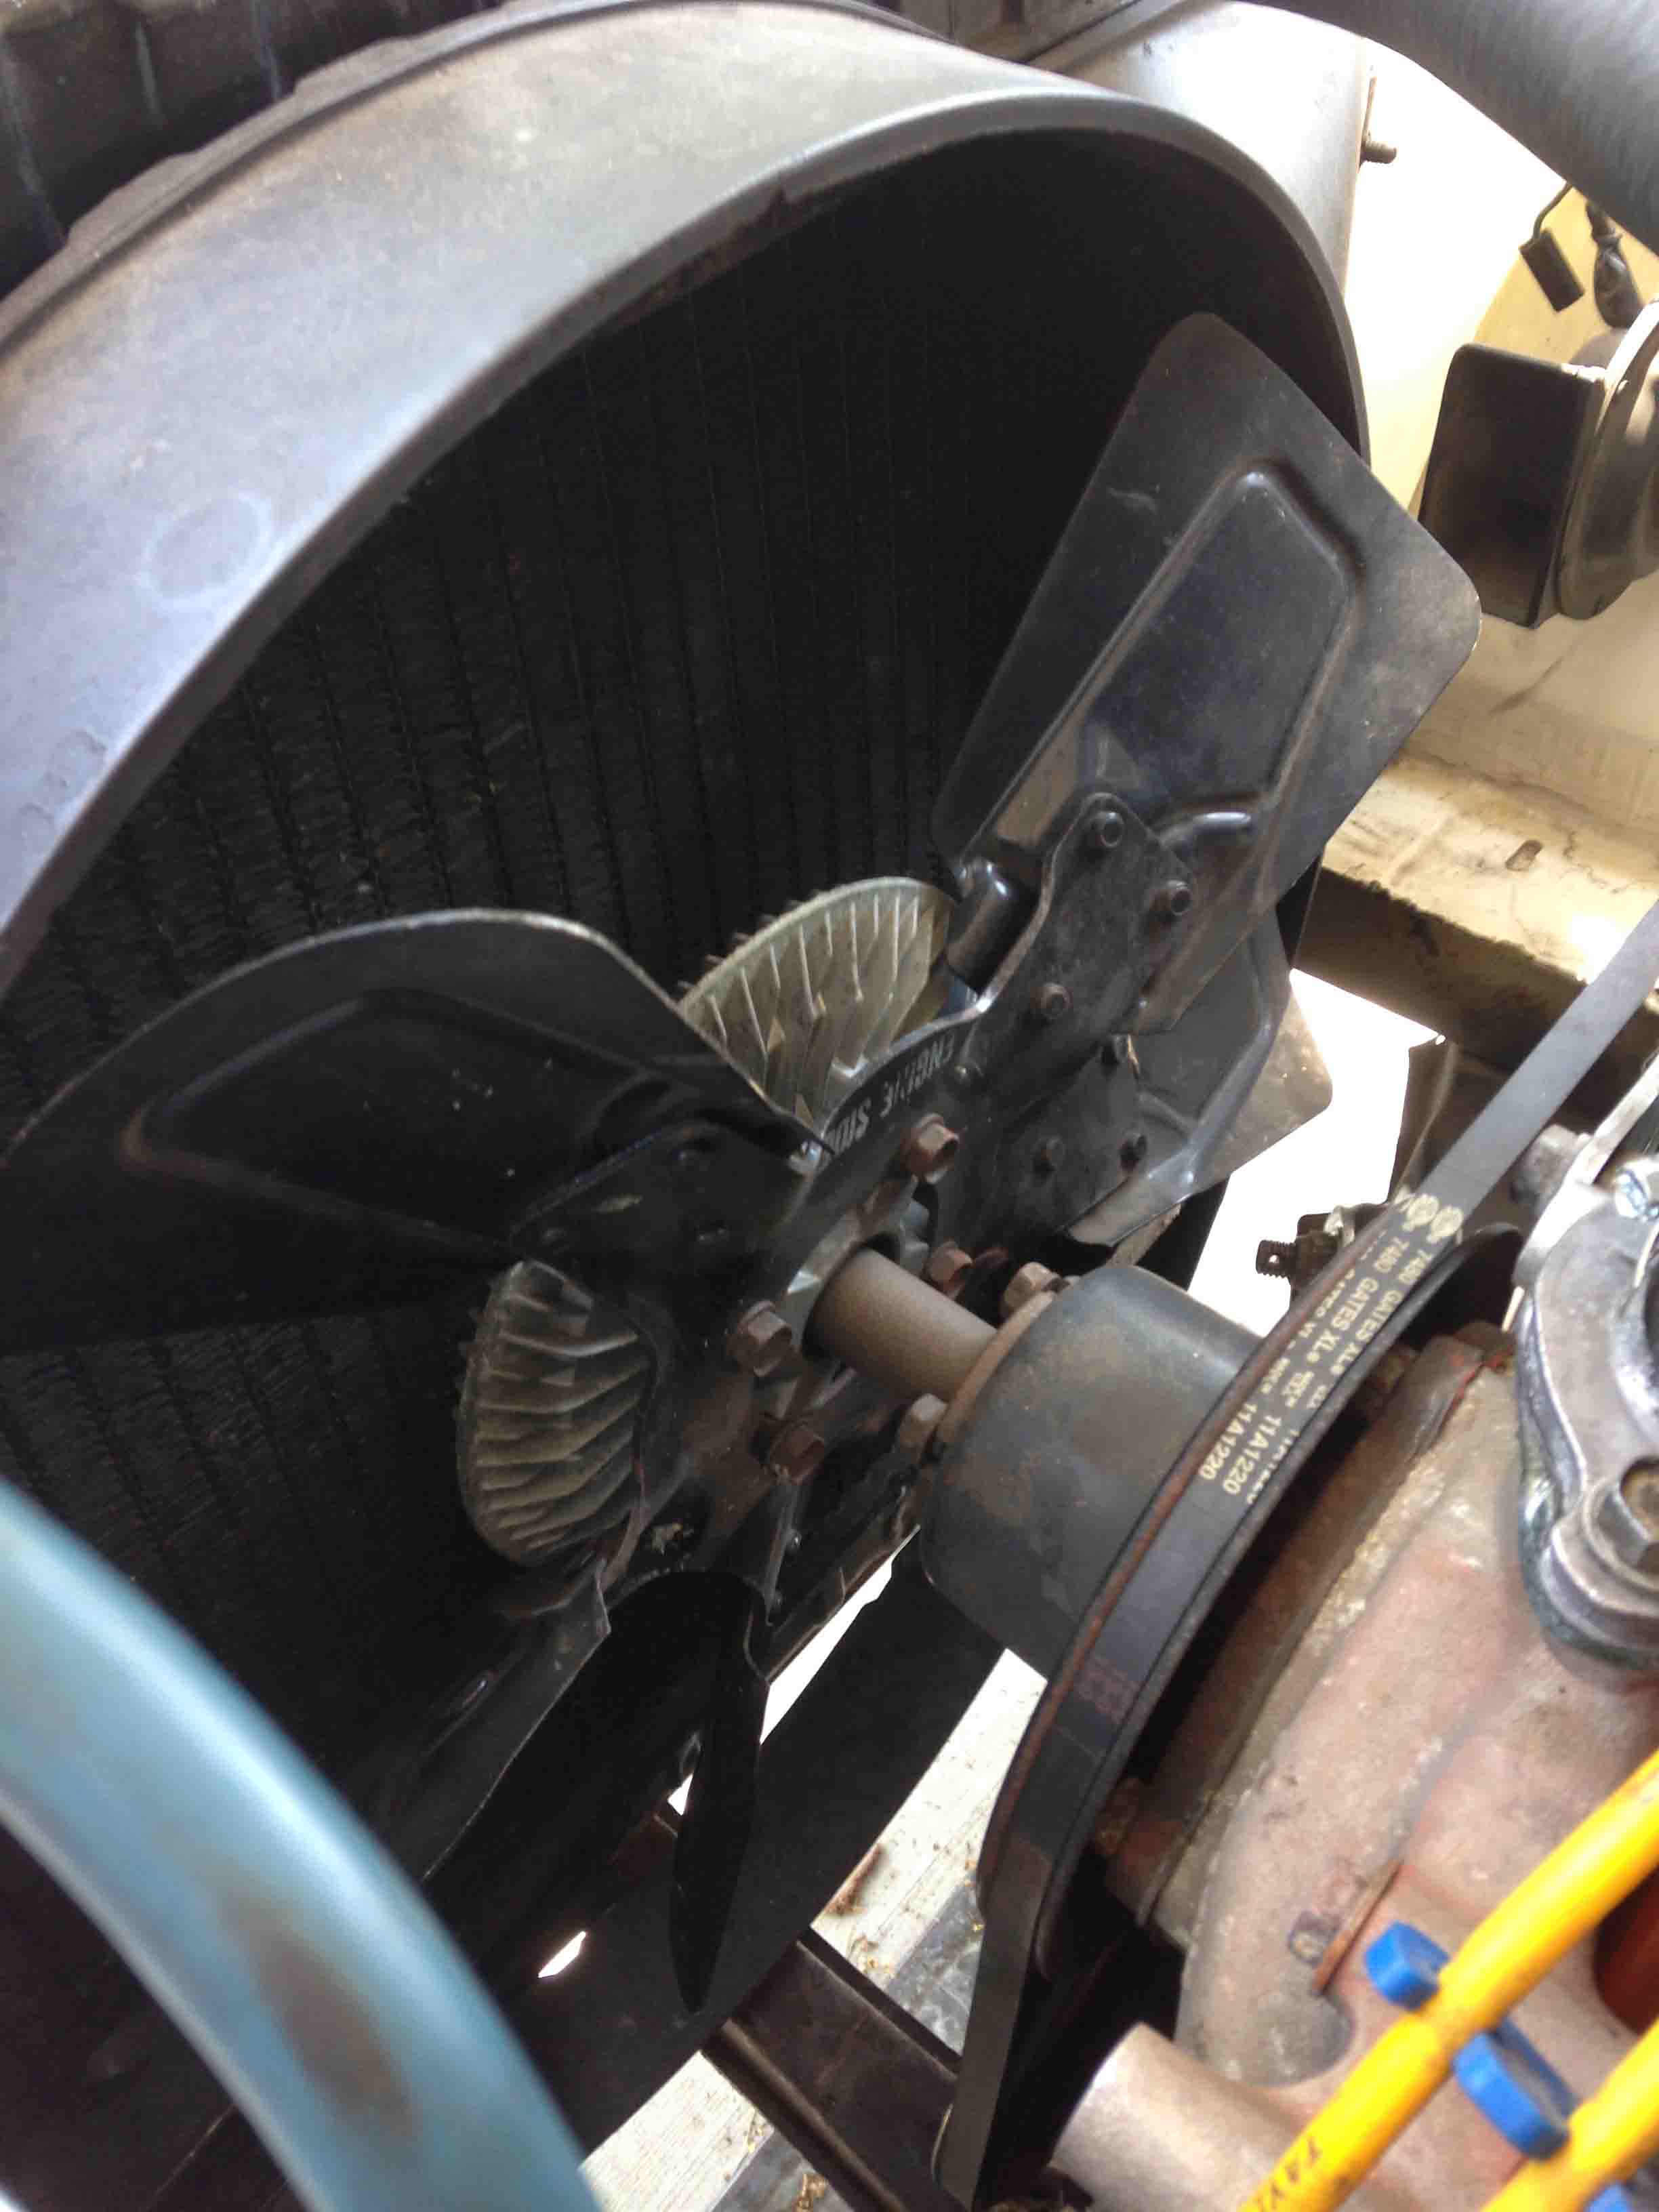
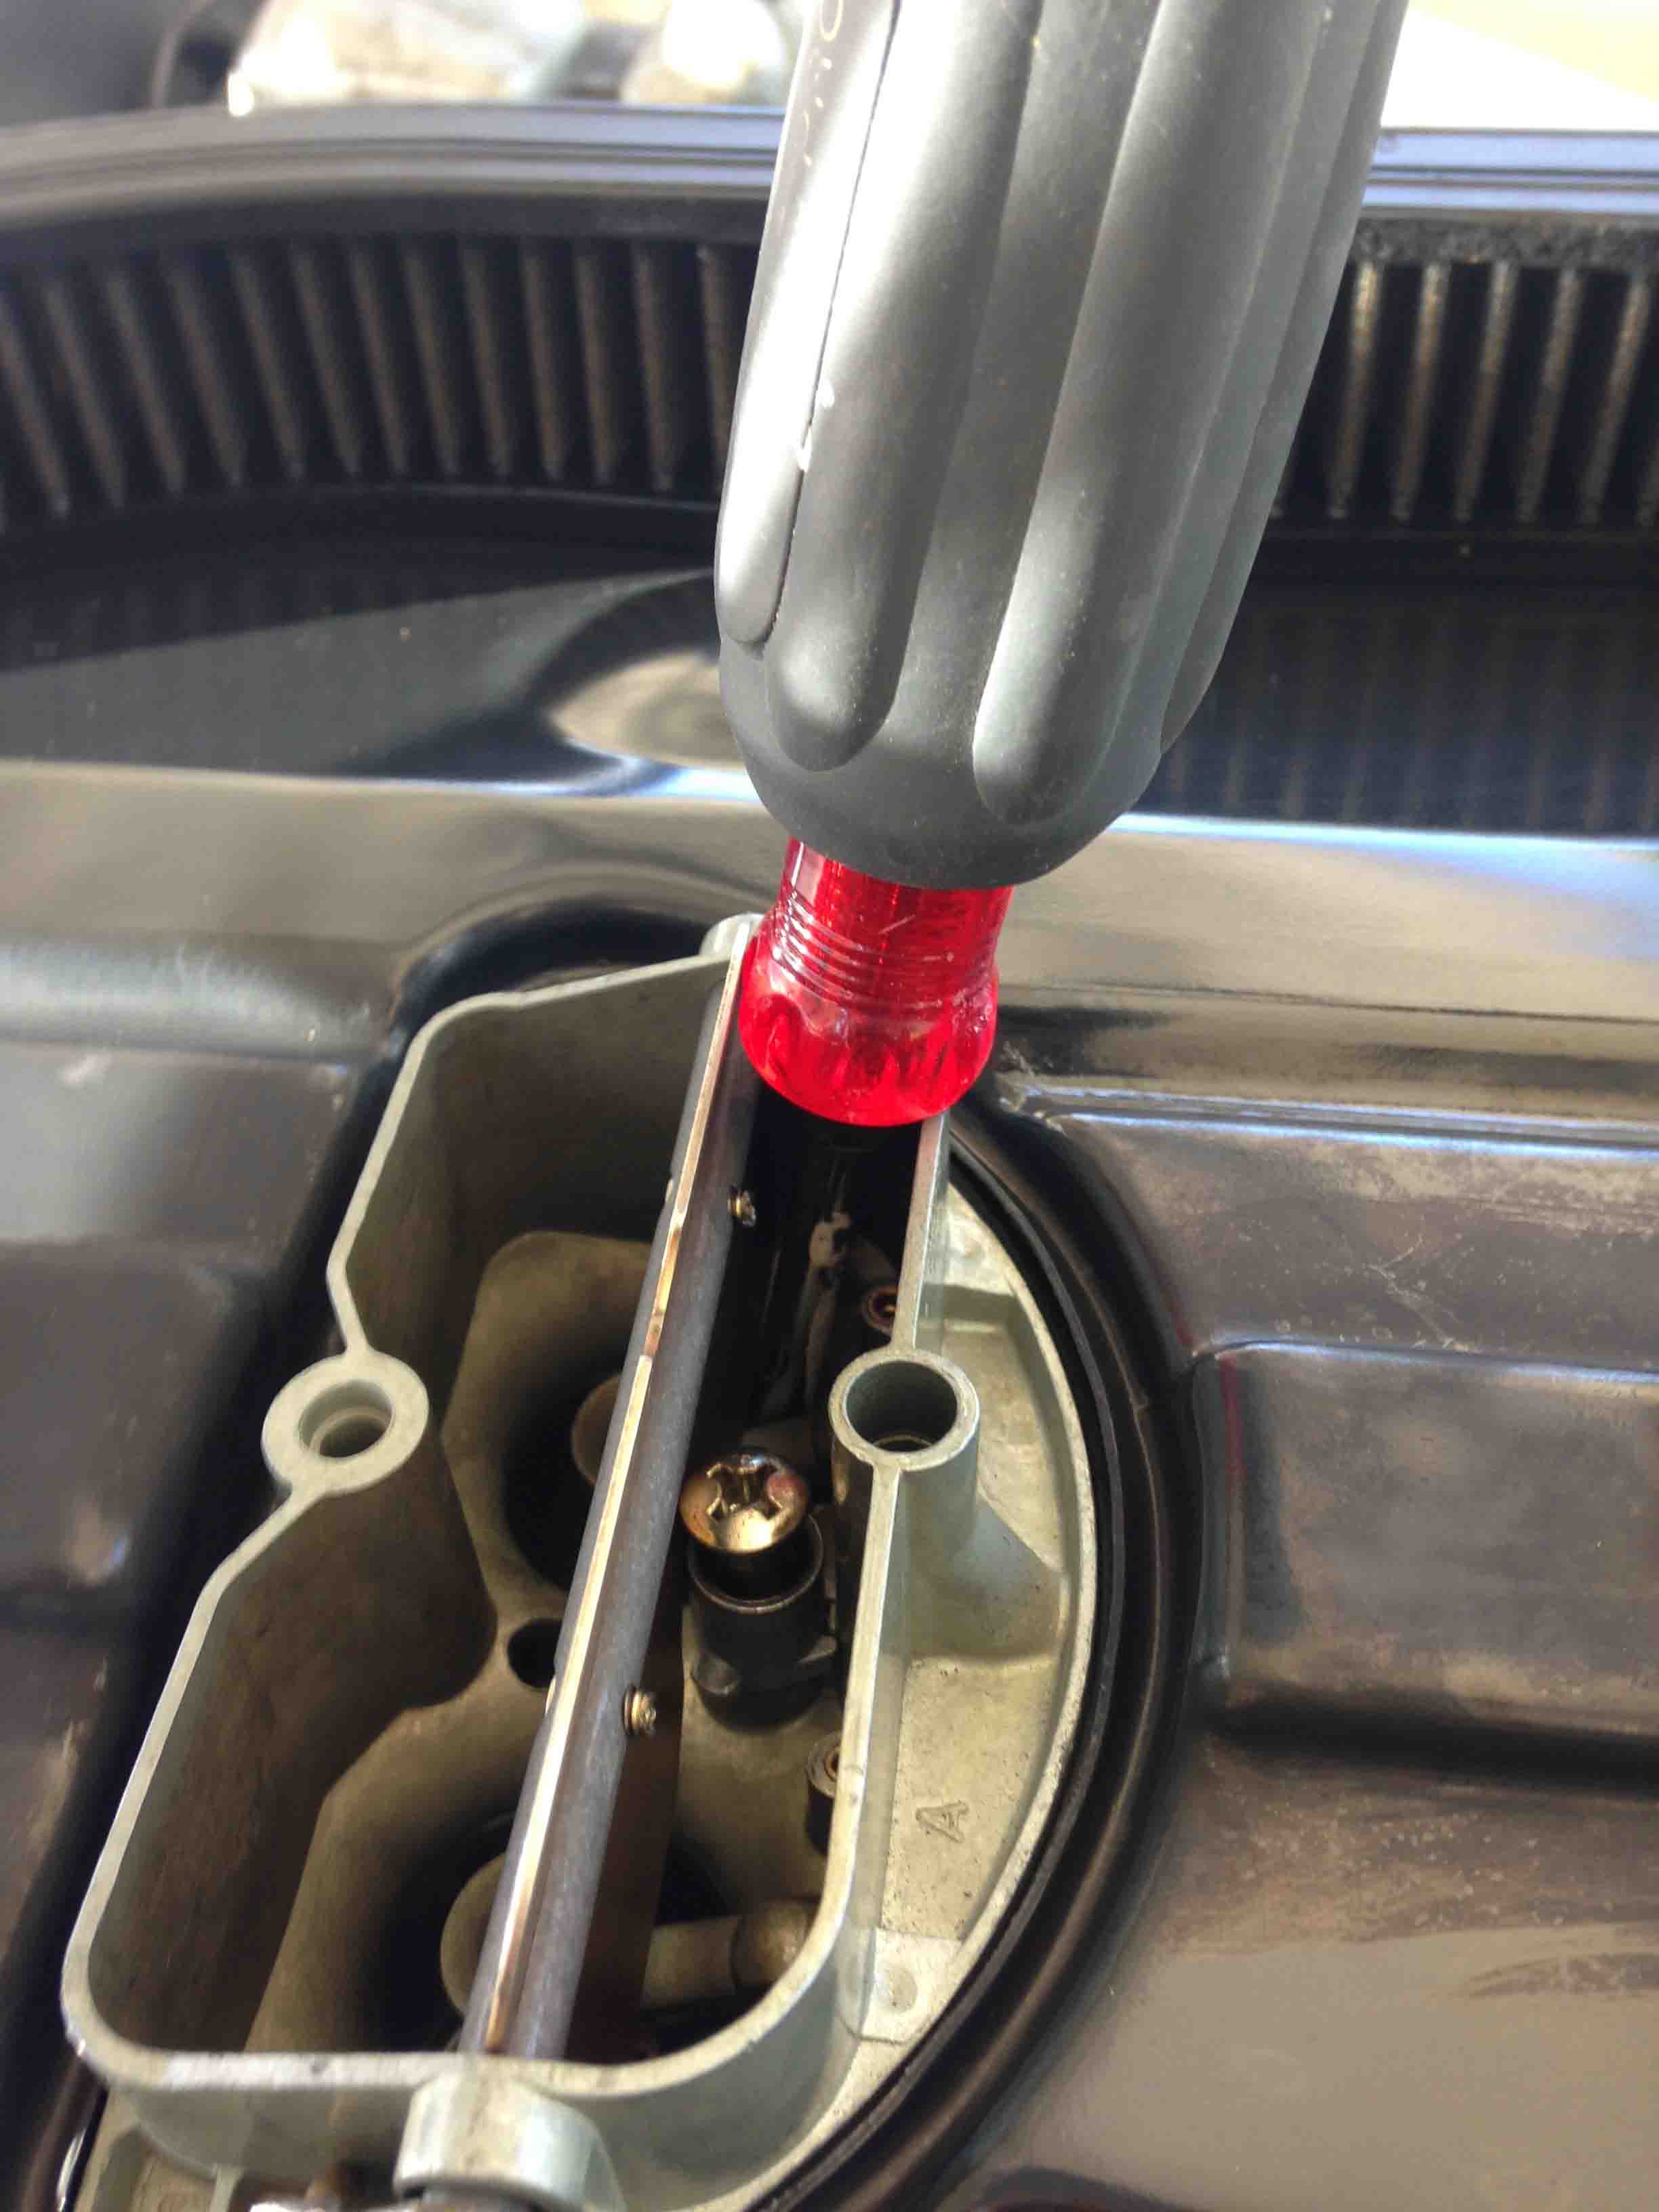
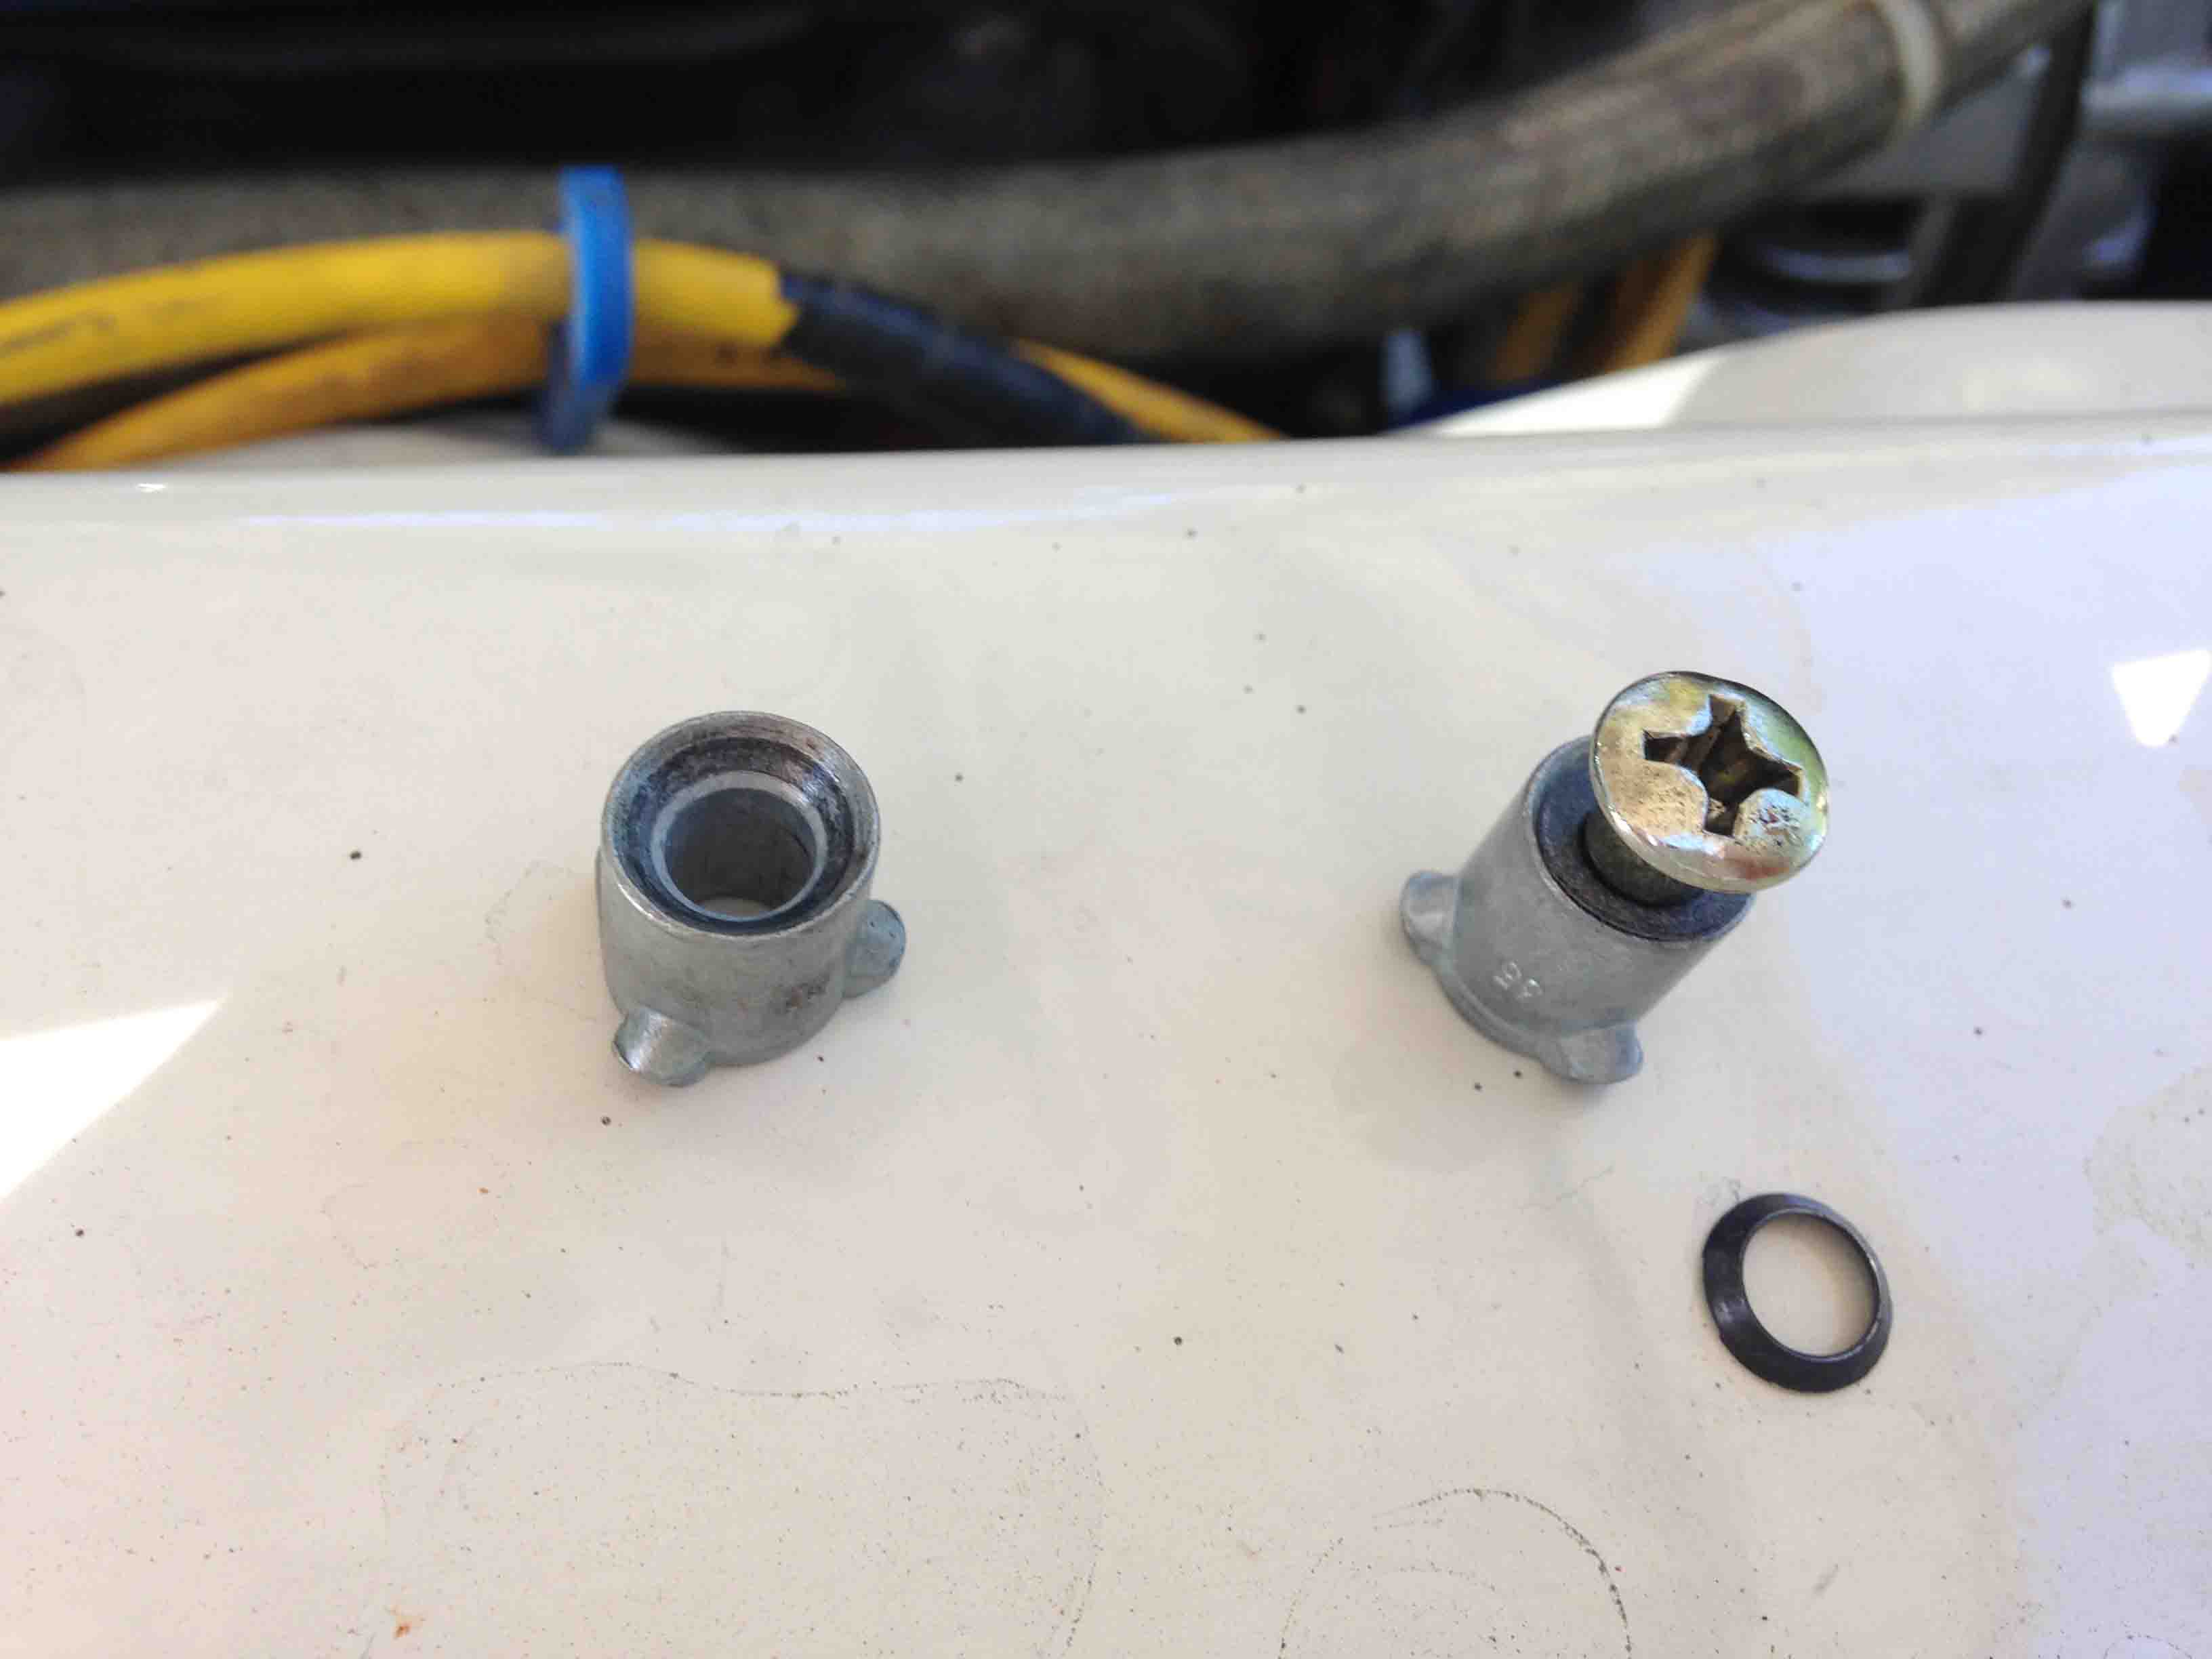
Dealing with the potential roots of my overheating problem Saturday morning I started the relatively simple process of installing my tuned-up radiator but simple as it was, I had plenty of opportunities to slow down and make sure my installation was not going to create more problems. The first thing is to make sure the proper washers are installed to prevent damaging the radiator mounts on the rad and the 22 inch yoke which had been custom drilled for a 26 inch radiator. Once I had the radiator securely in place, my thoughts went to the lower radiator hose.
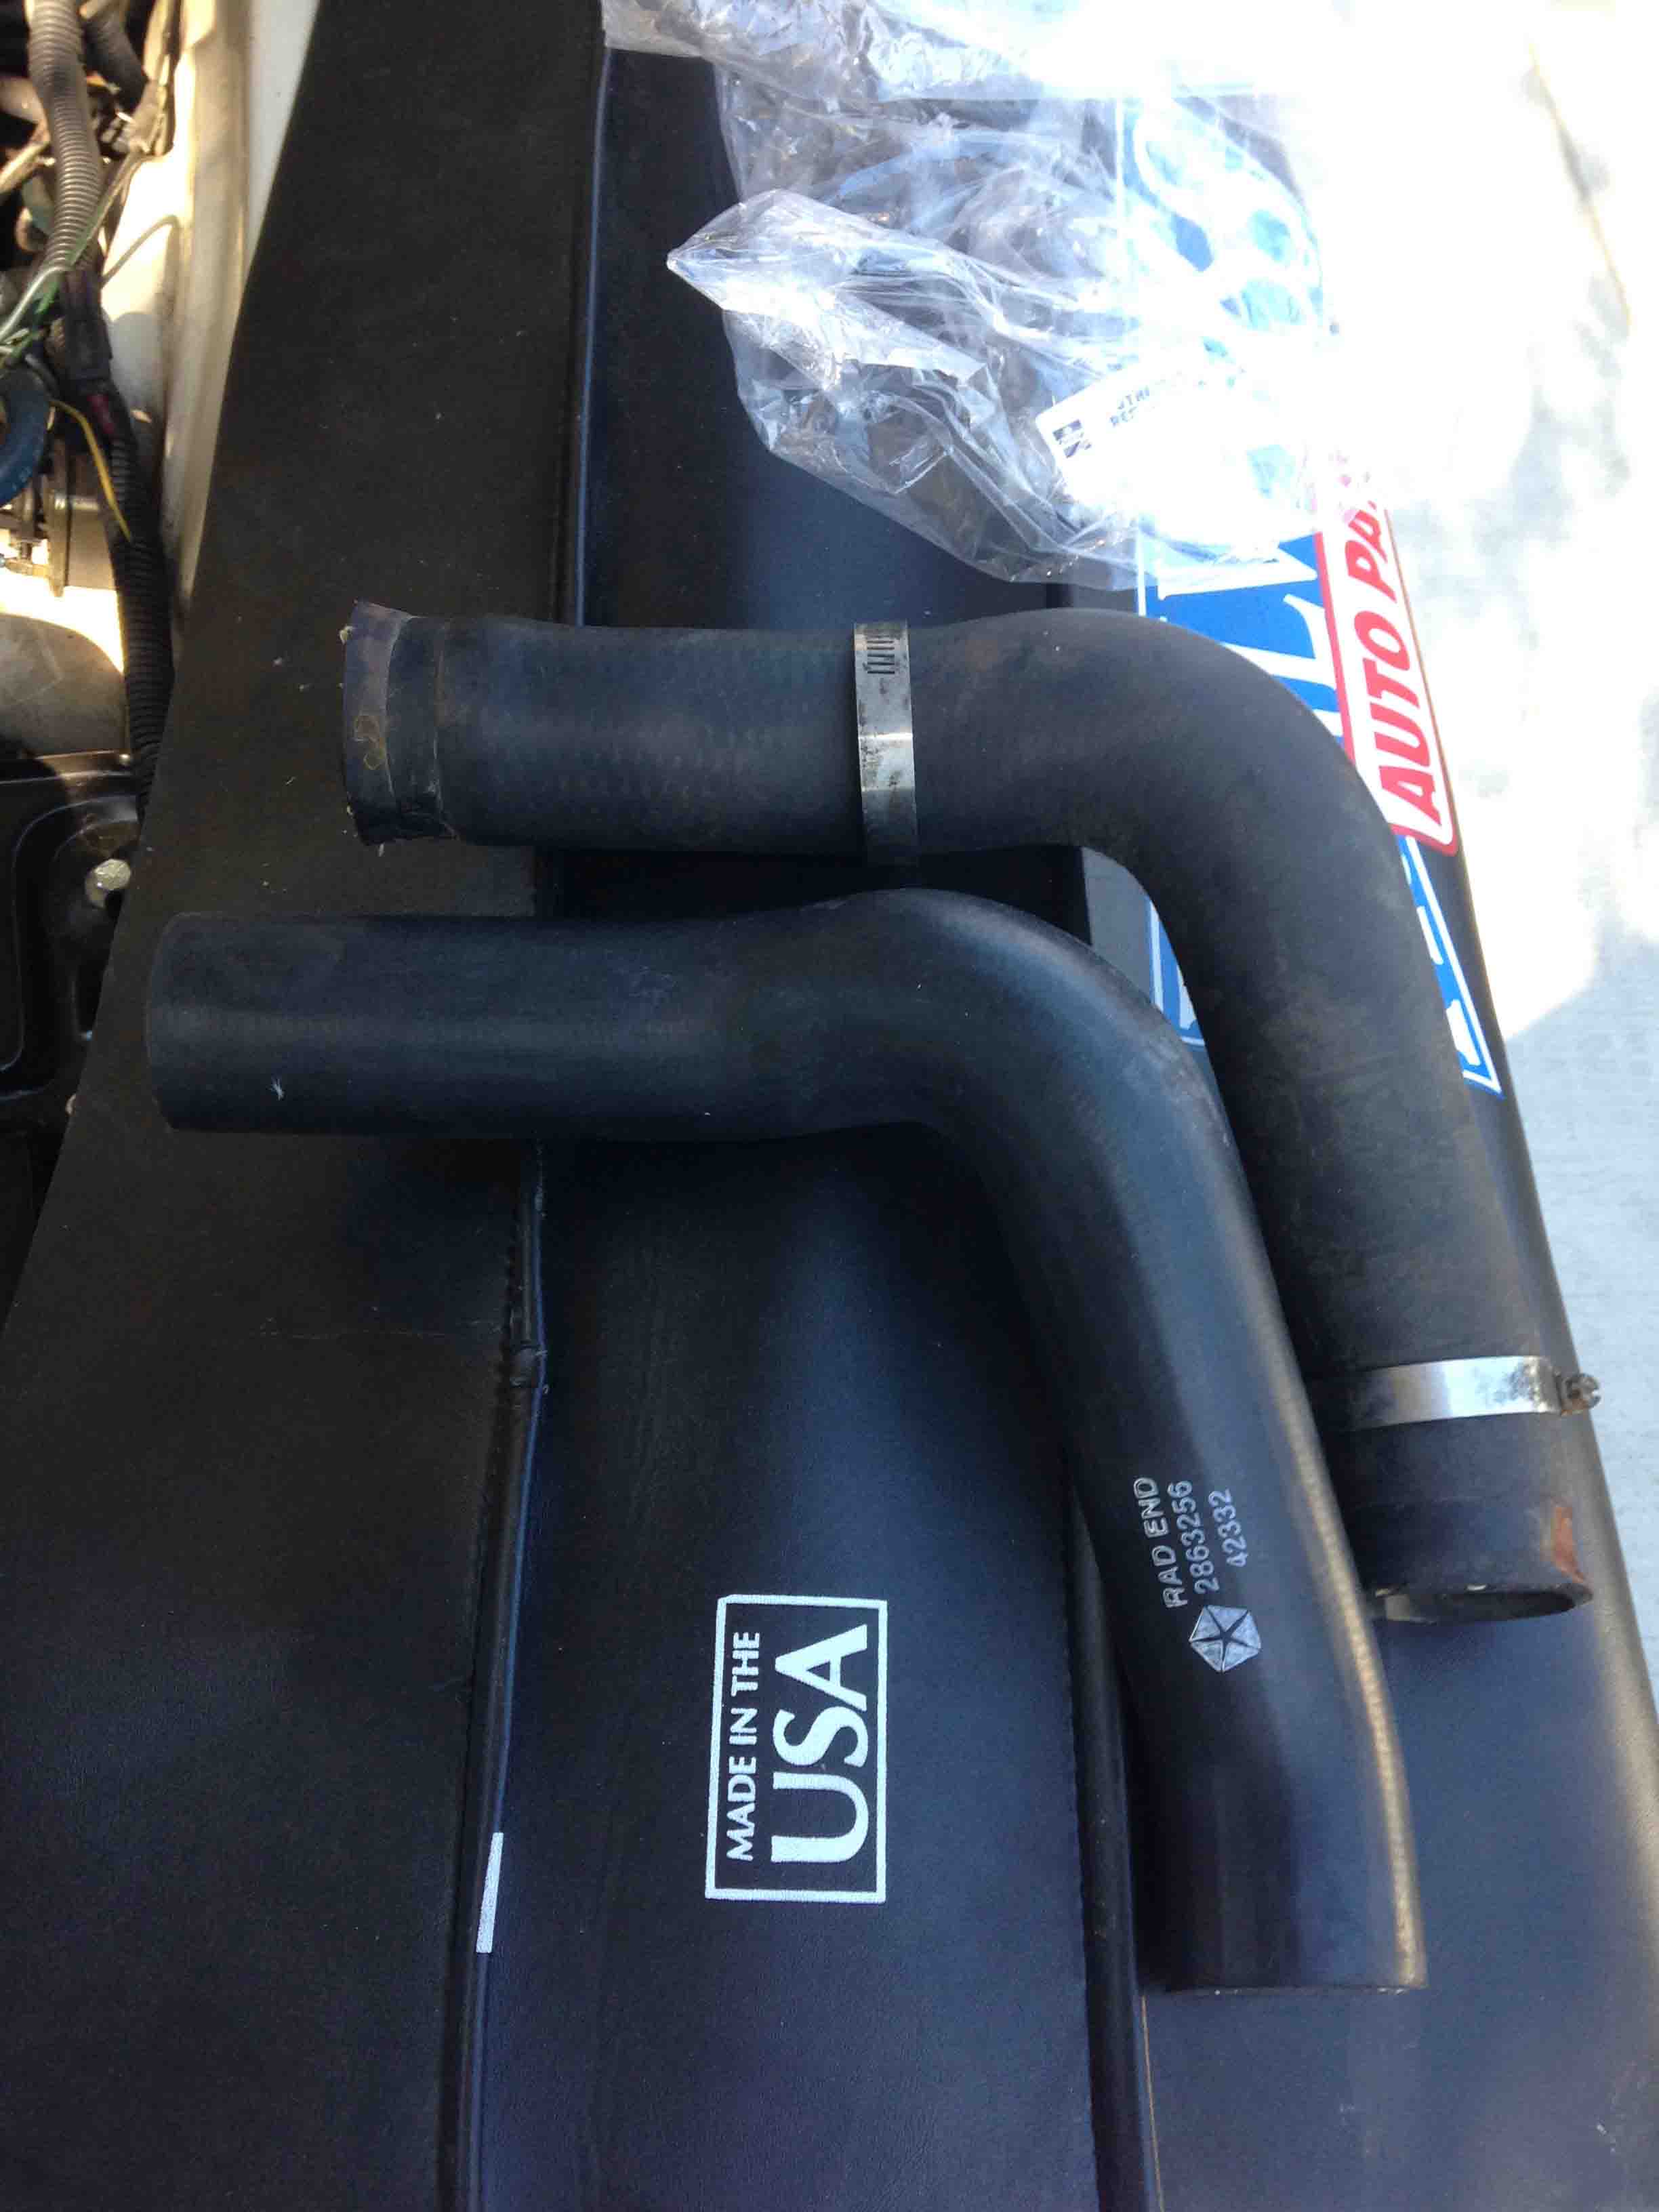
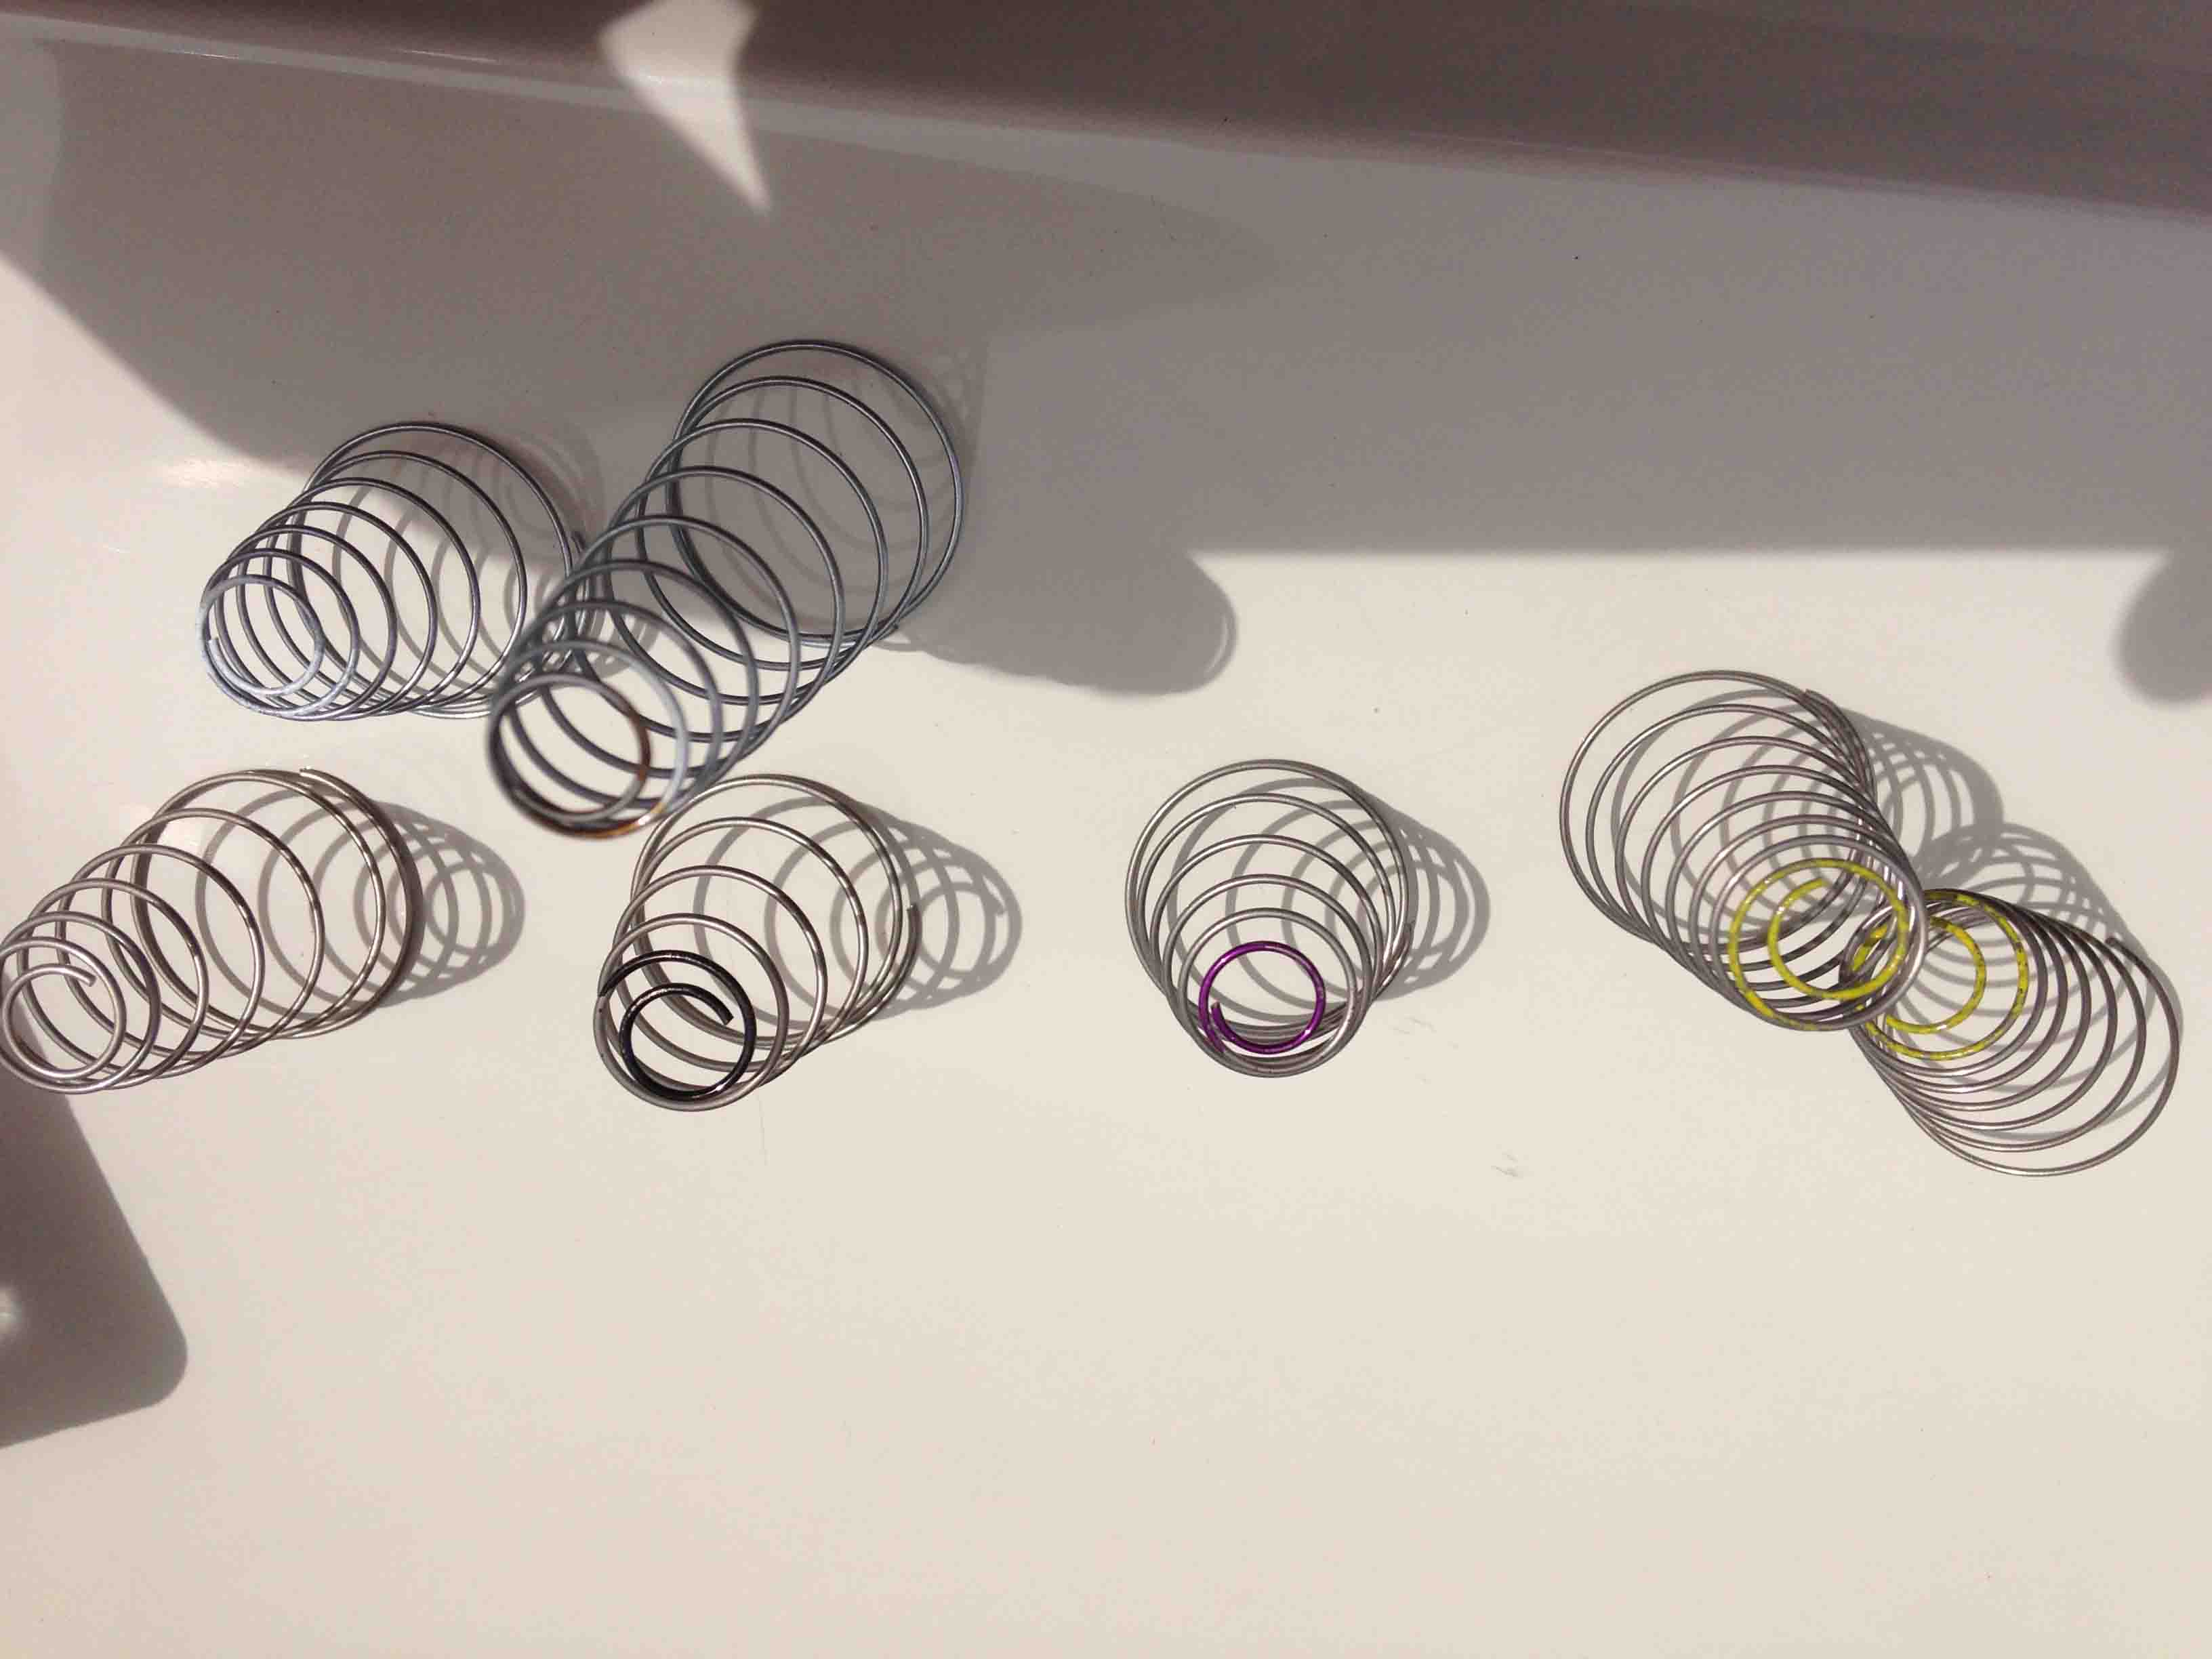
The old and new hose. New one does not have inside coils- which caused me to start thinking.
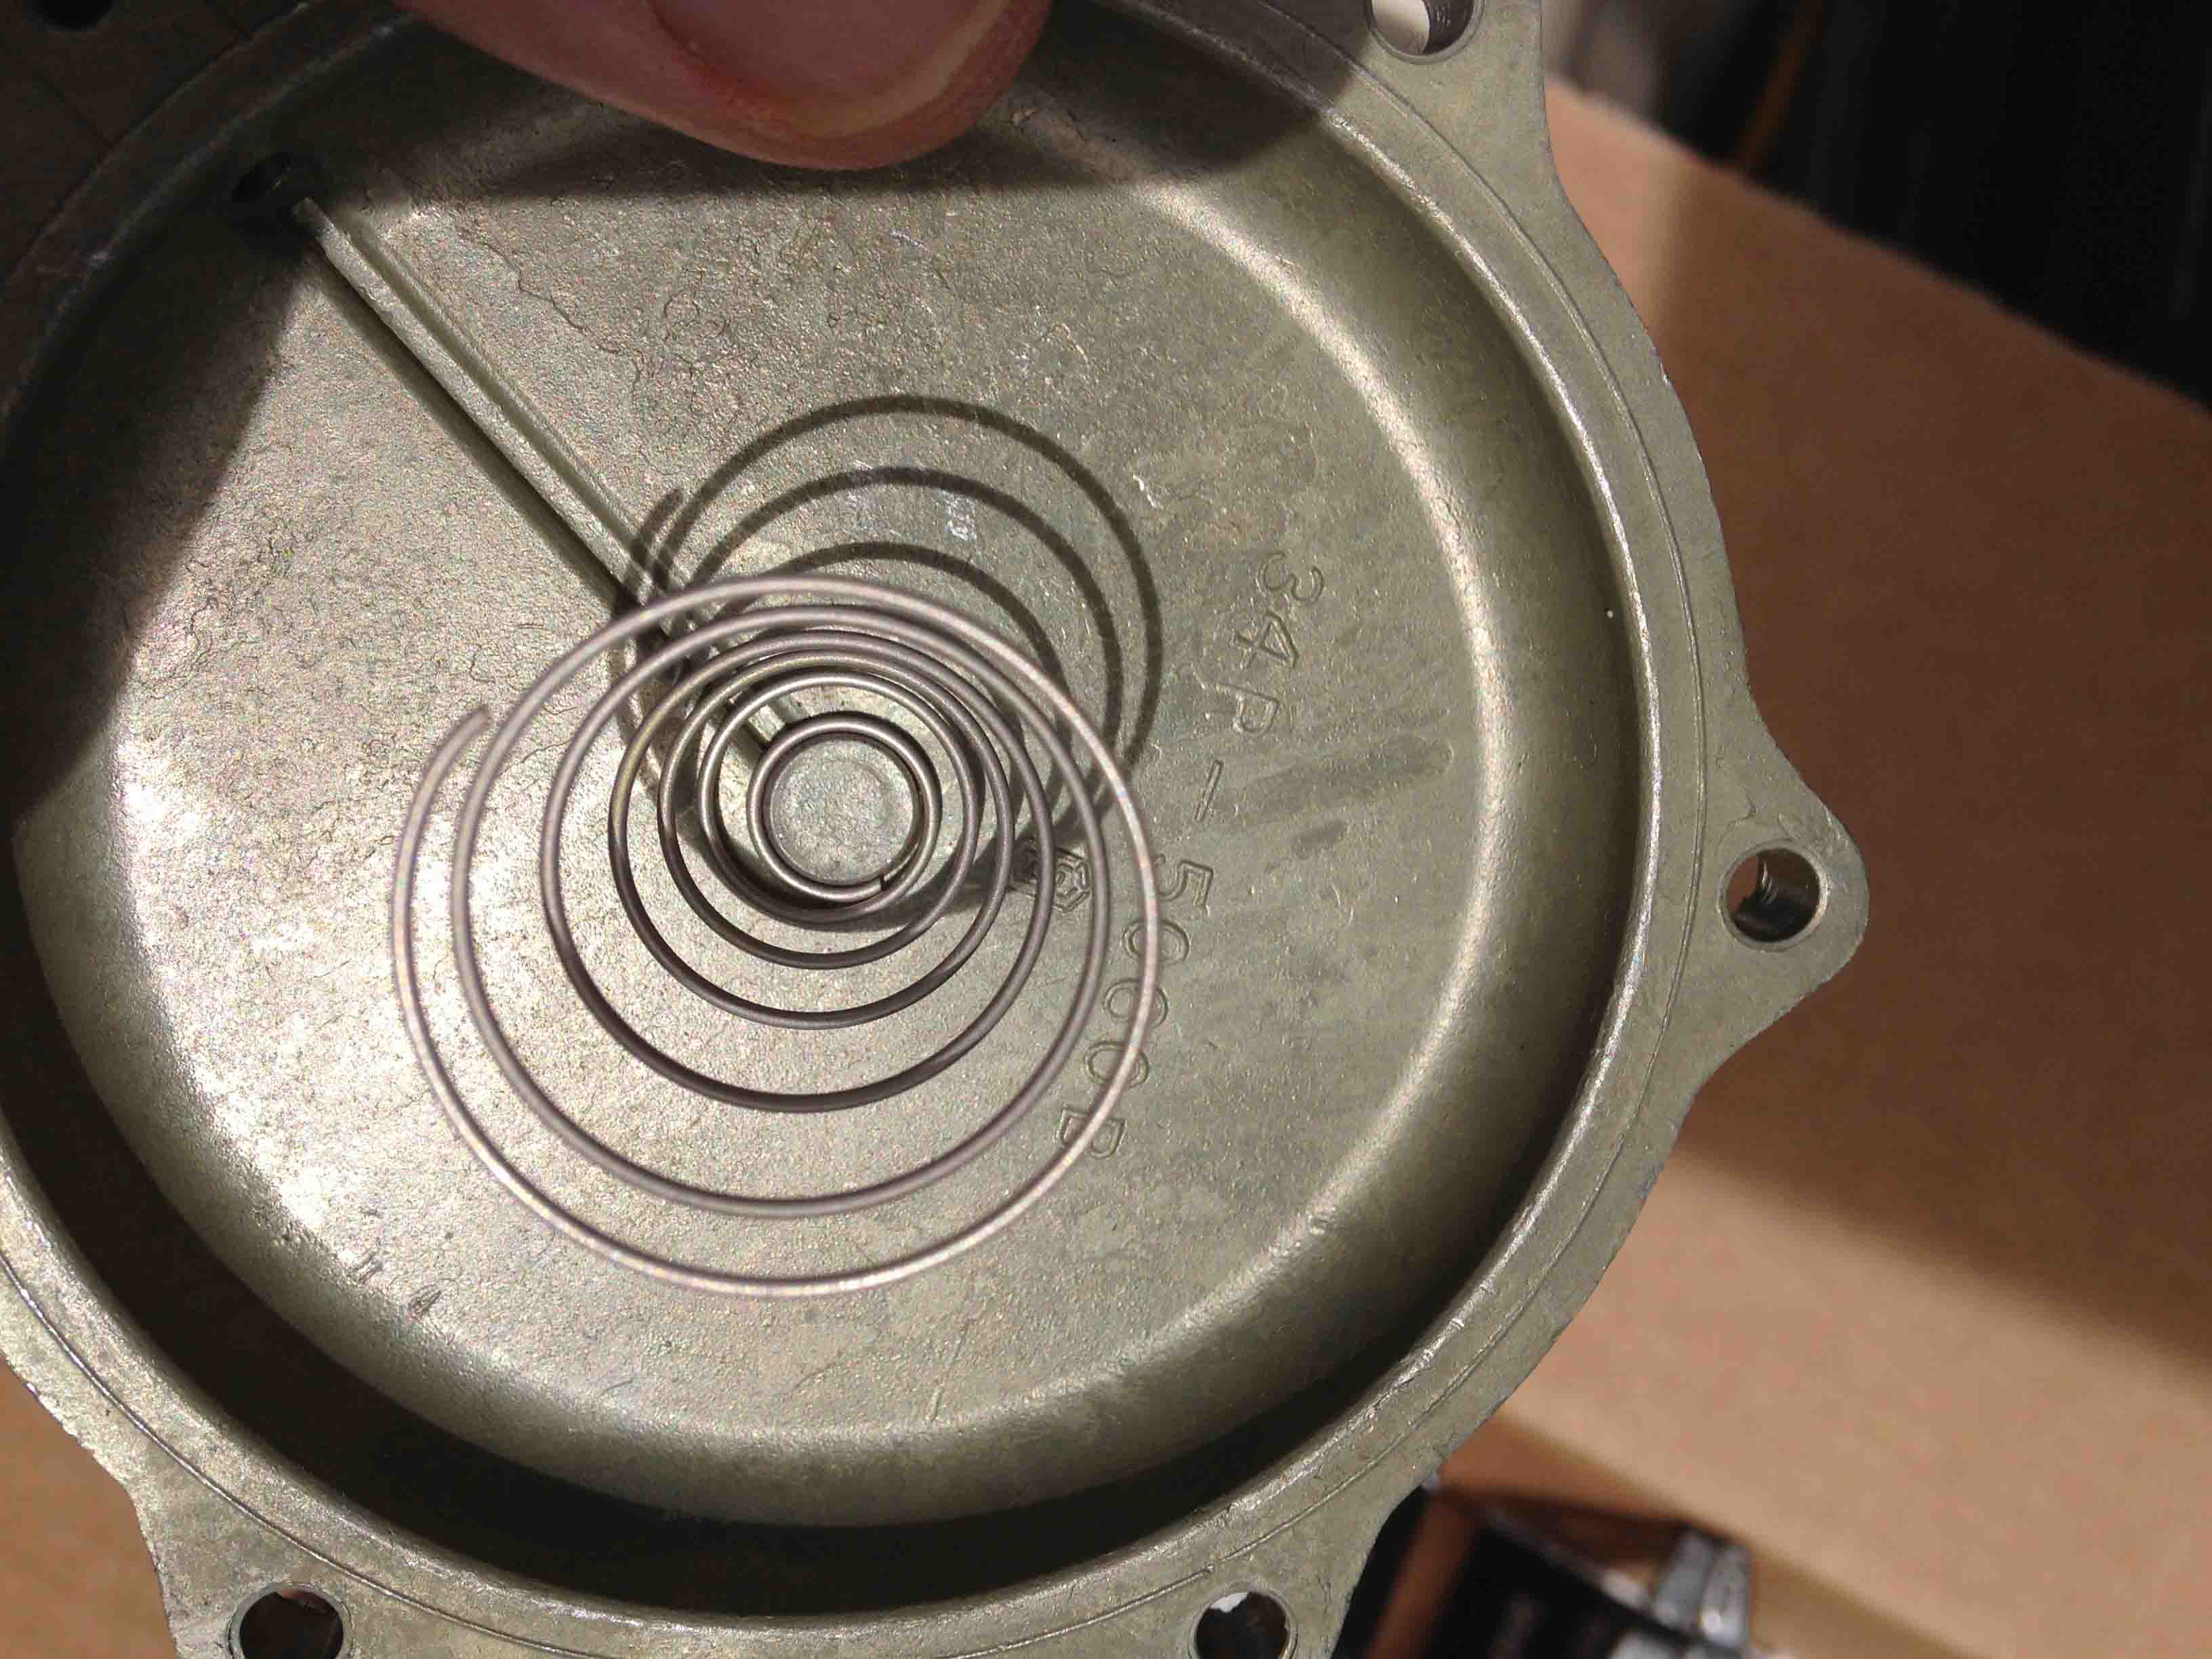
TO SPRING OR NOT TO SPRING? I bought a new hose and it doesn’t come with the spring like the old one. I’ve read many points of view on the lower hose spring and some people swear by it and others understand it was a necessary add in to prevent the hose from collapsing during the factory installation of the coolant which was done with a vacuum device to speed up the assembly process. Let me explain why I DID NOT install the old spring, which by the way had become three section, presumably because it had rotted. What I was confronted with was the amount of corrosion build up on the intake to the water pump.

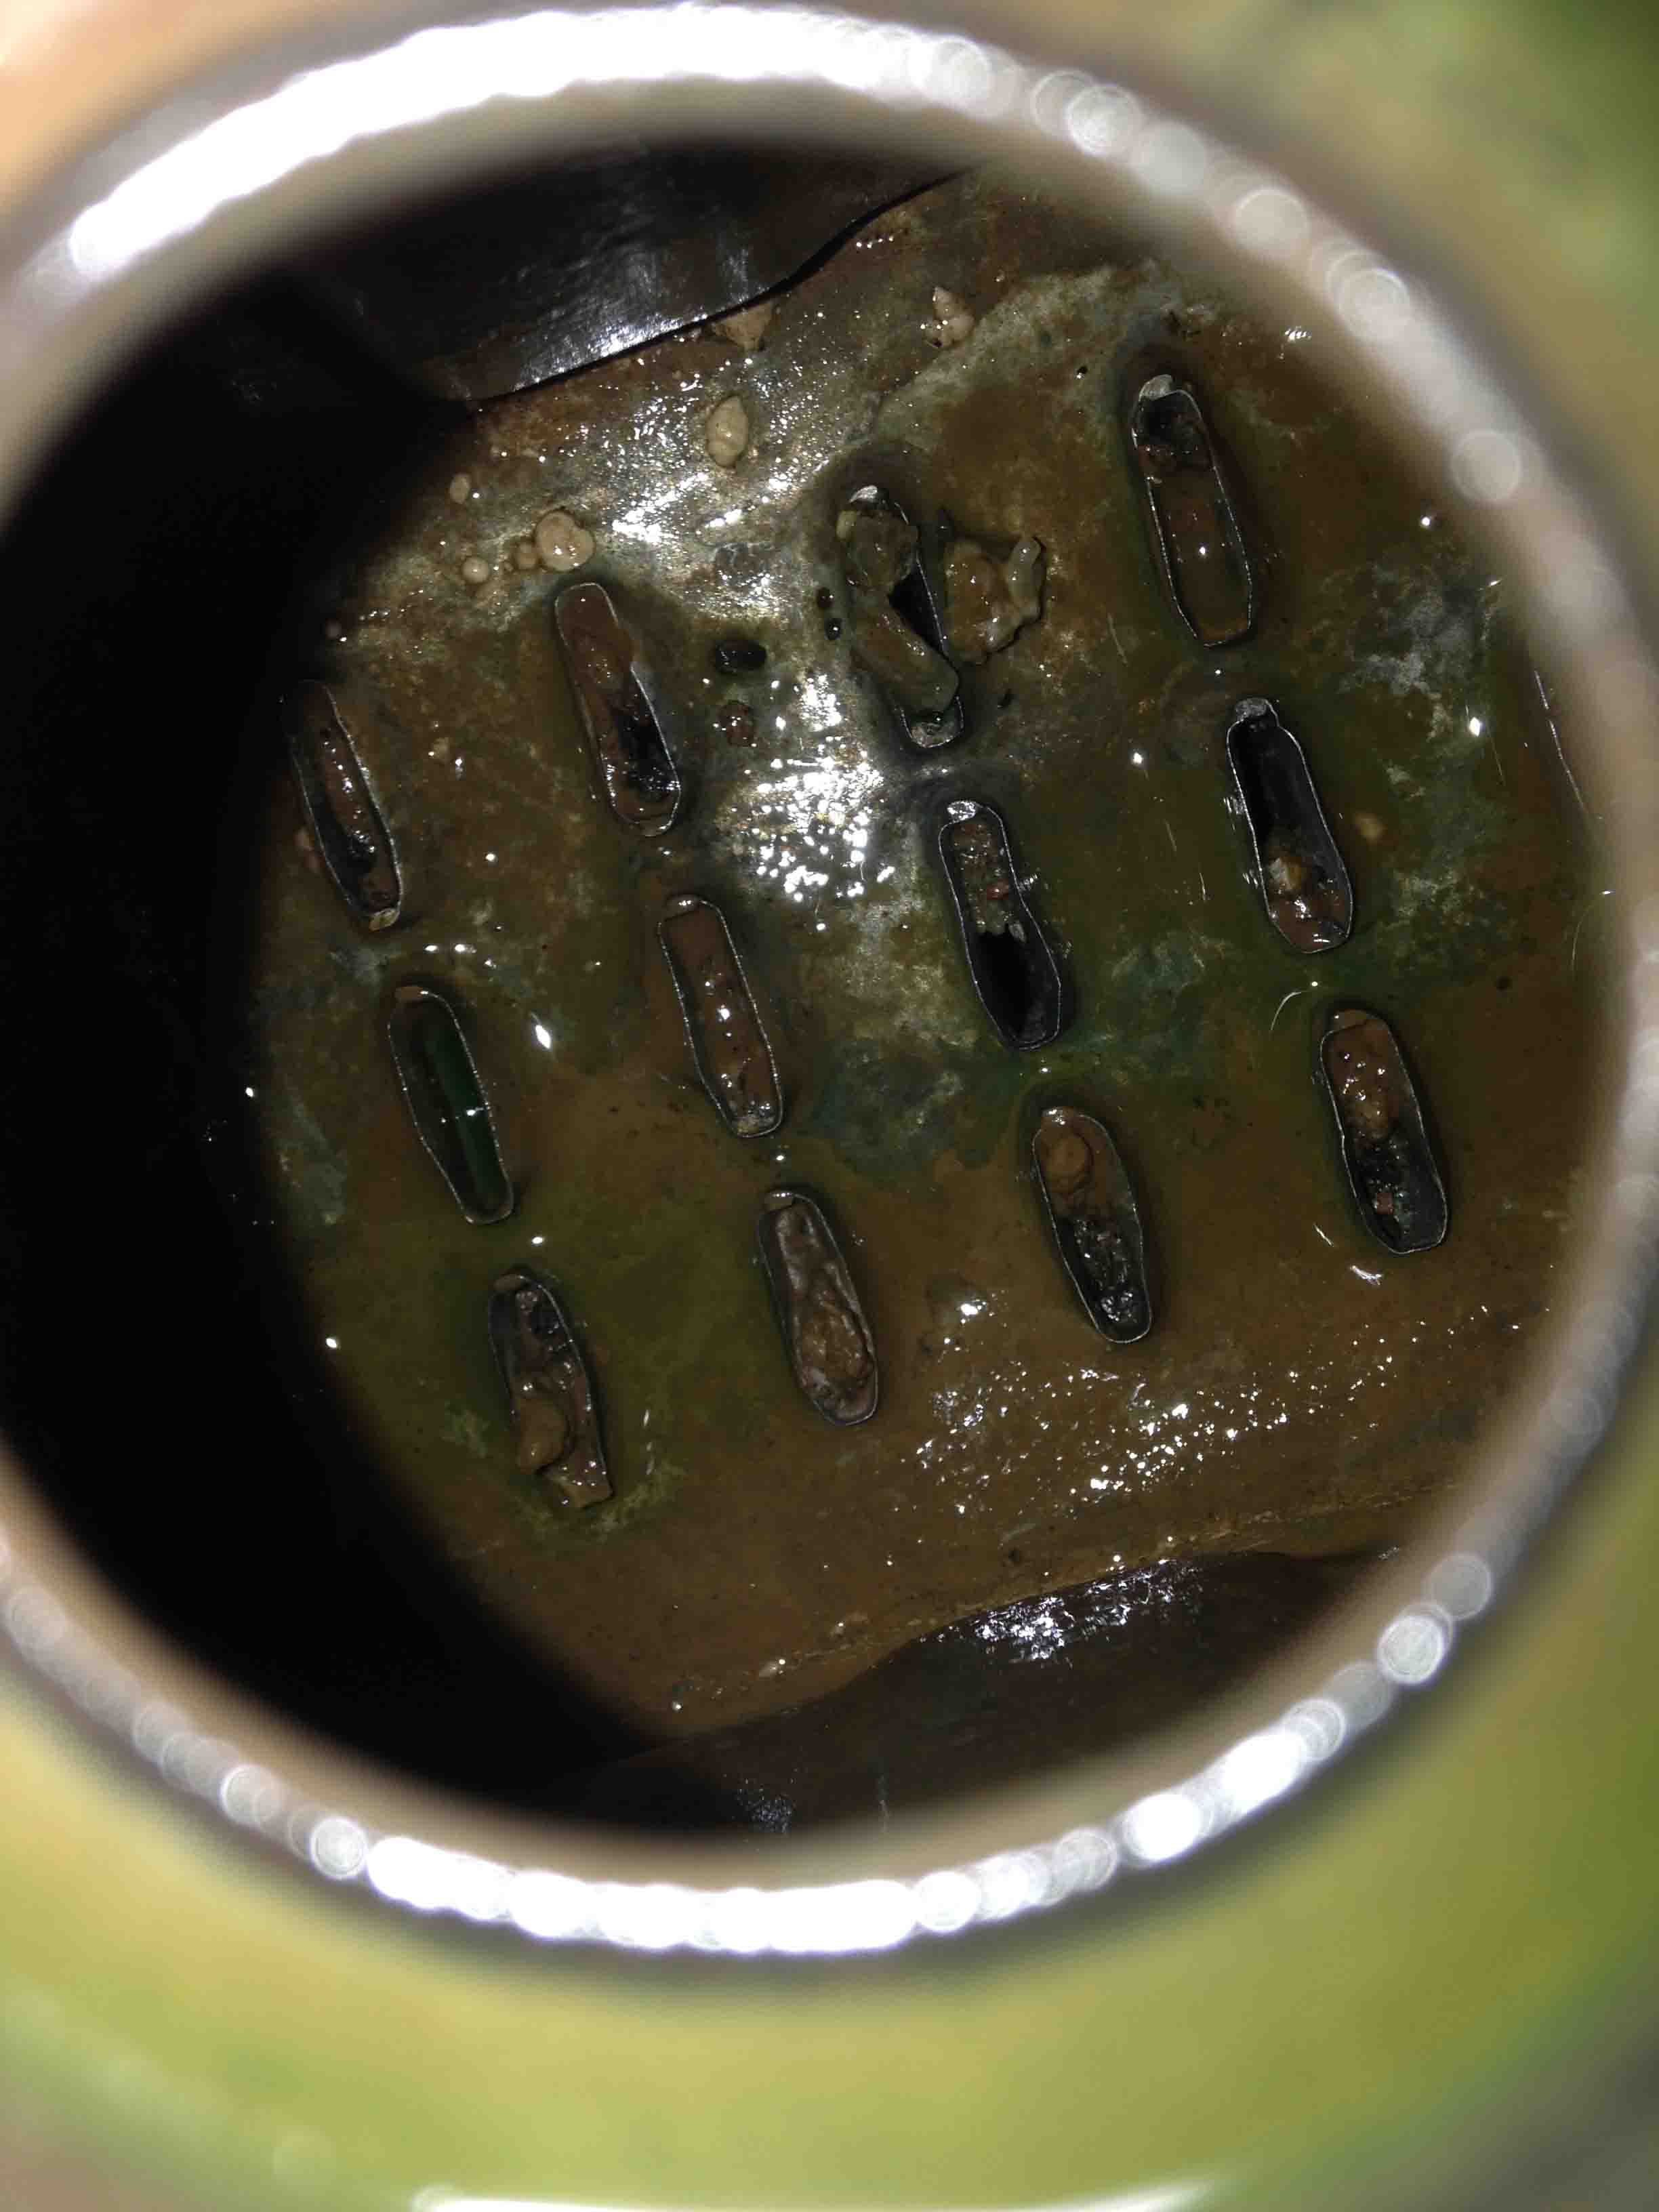
The corrosion residue on the water pump end of the lower hose. The growth is matched on the water pump side. The coils are from the hose, in three pieces.
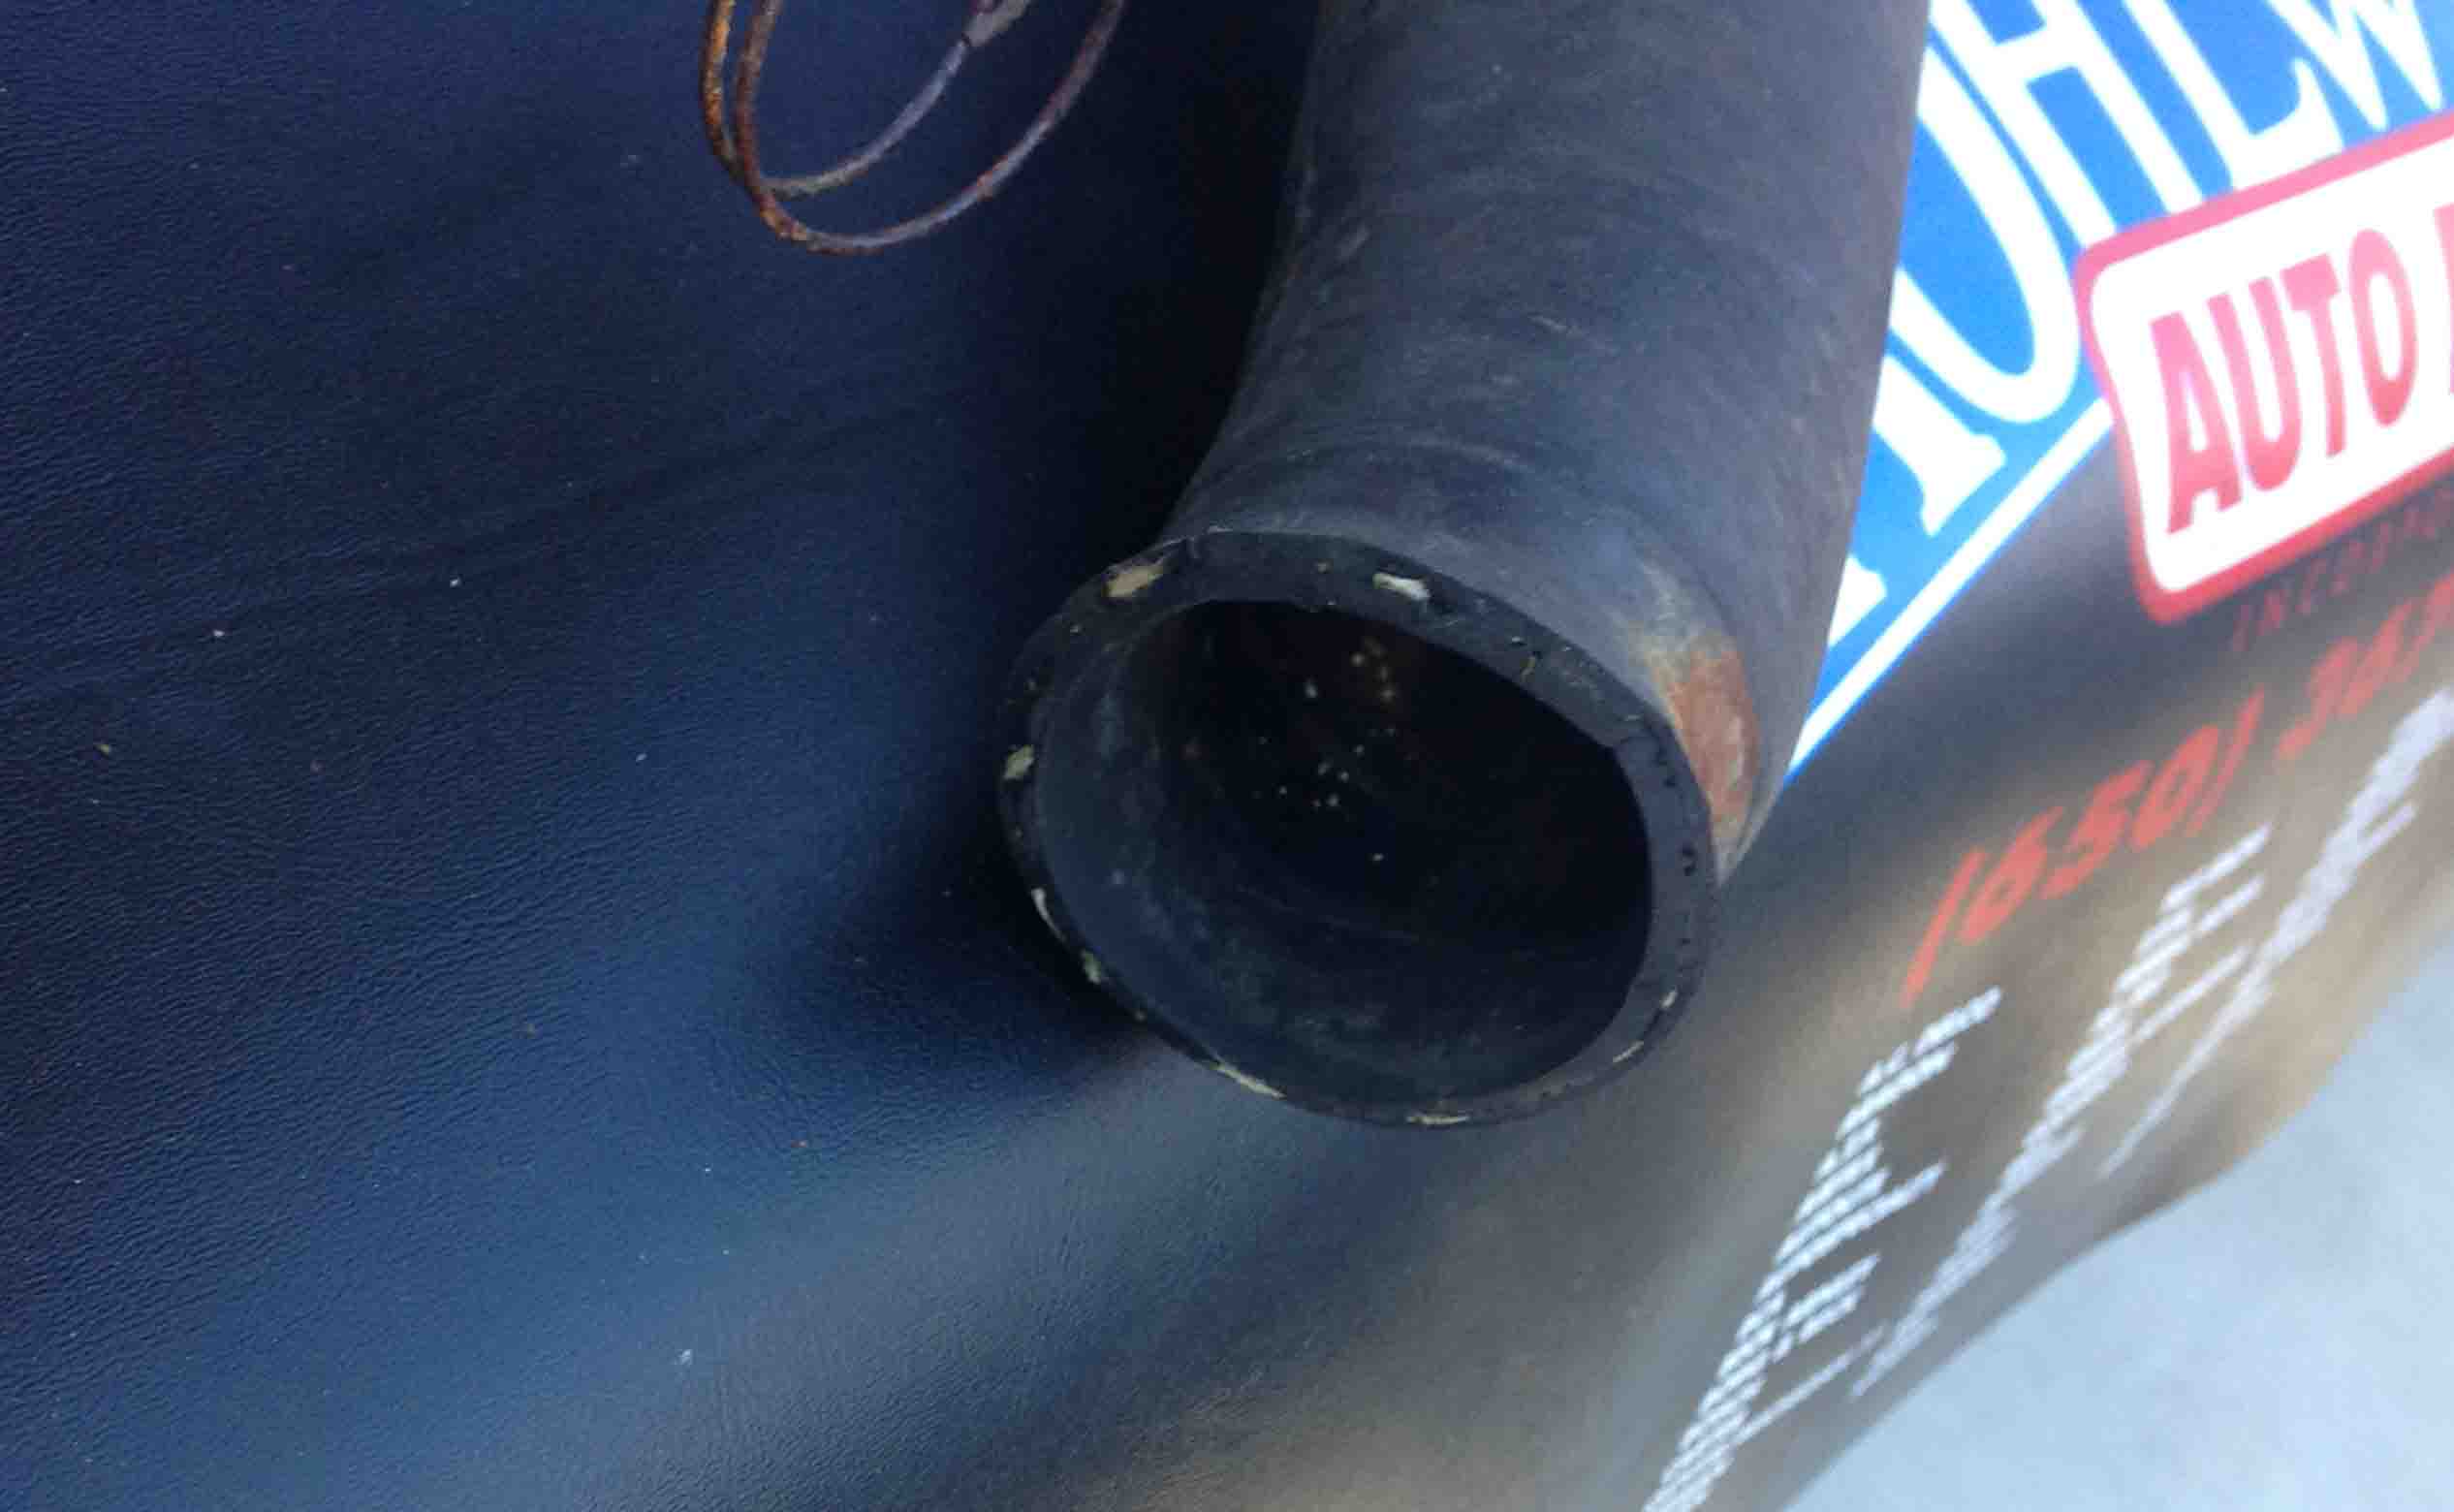
Here’s the same old hose on the rad end. Clean because I suspect there are no electrochemical reactions occurring on this end.
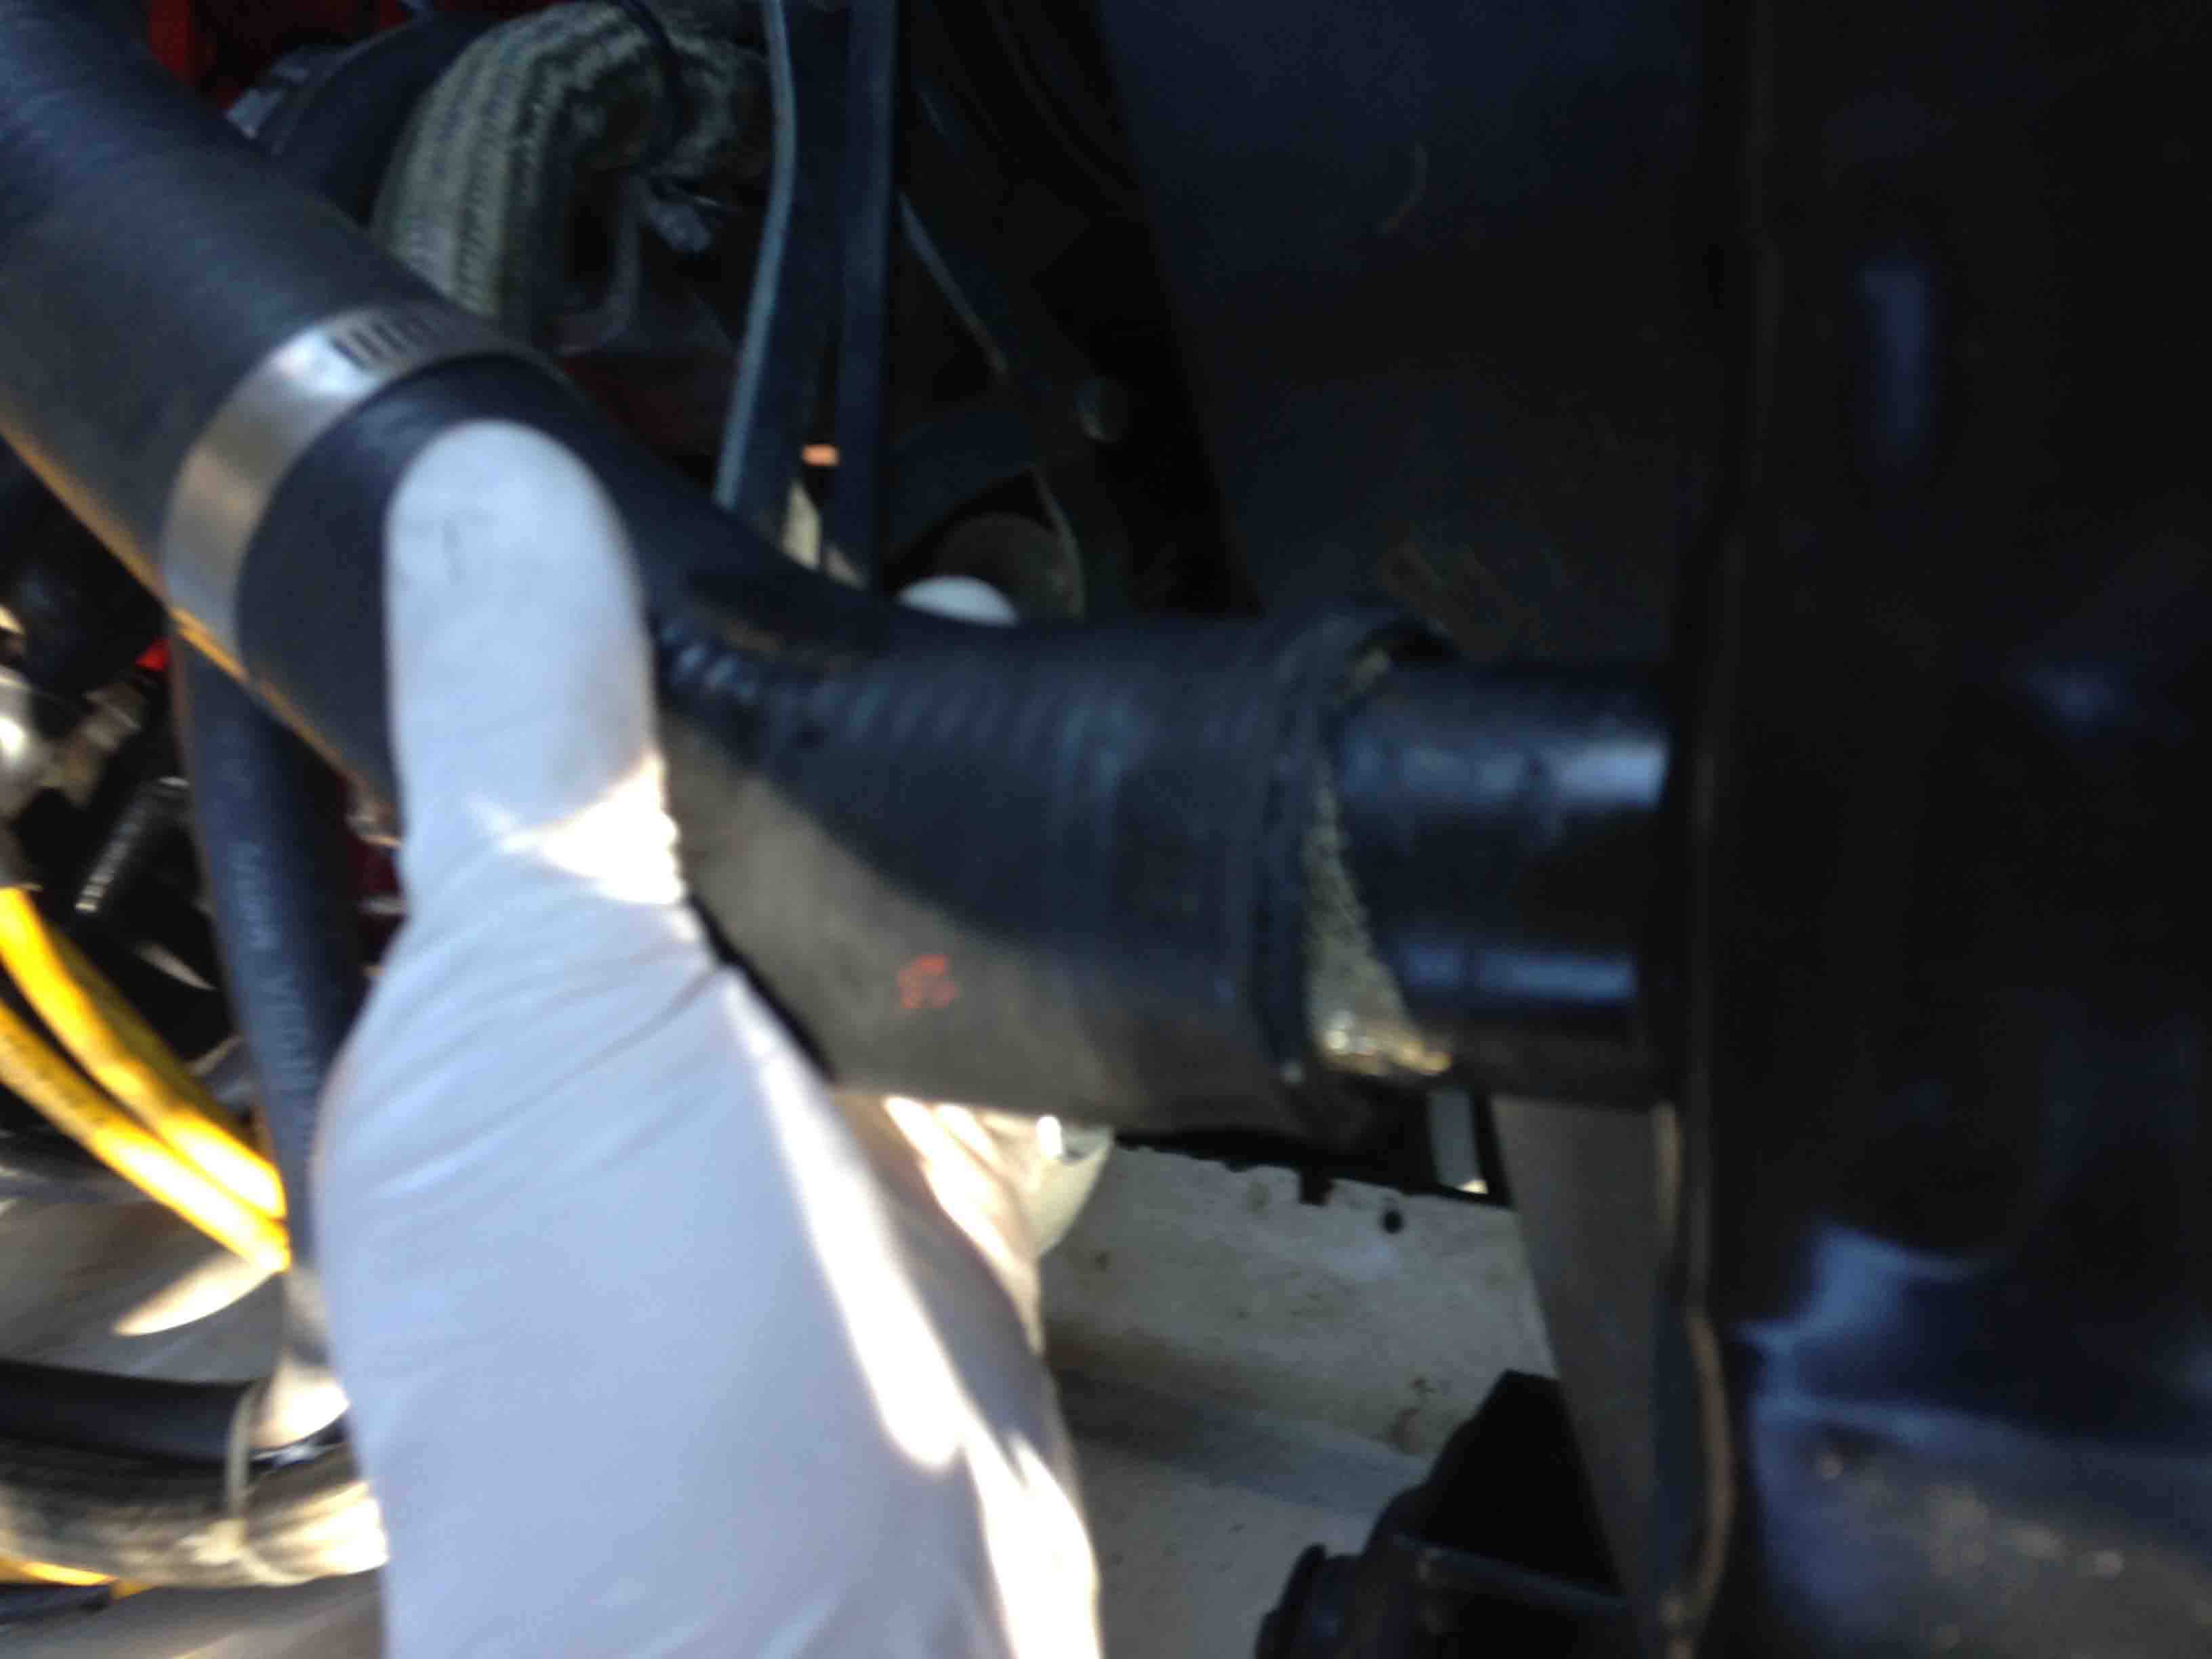
YES, OPPOSITES ATTRACT – THEY ATTRACT CRUD For you plumbers out there, or sexual relationship experts, you know if you put two joints together that are dissimilar electrically, you will end up with a corrosive and ultimately a leaking joint. While my lower hose to water pump connection wasn’t leaking before, I believe the hose coil forced up against the water pump caused some electro-chemical reaction that creates this nasty crud (see the photos). The corrosion build up can be easily cleaned off with a wire brush. When you do this DO NOT BREATHE THIS CRAP as it comes off like dust (I suggest wet it down first to reduce the dust) and wear gloves to protect your hands. It doesn’t take too much imagination that the corrosion from this joint, this little corrosion farm, like atherosclerosis, could have contributed to the crud in my radiator and my entire cooling system. This is basically a reason for your cooling system to have a stroke. So if you are going to use a coil inside your hose, it needs to be electrically neutral and able to handle the hot coolant environment.
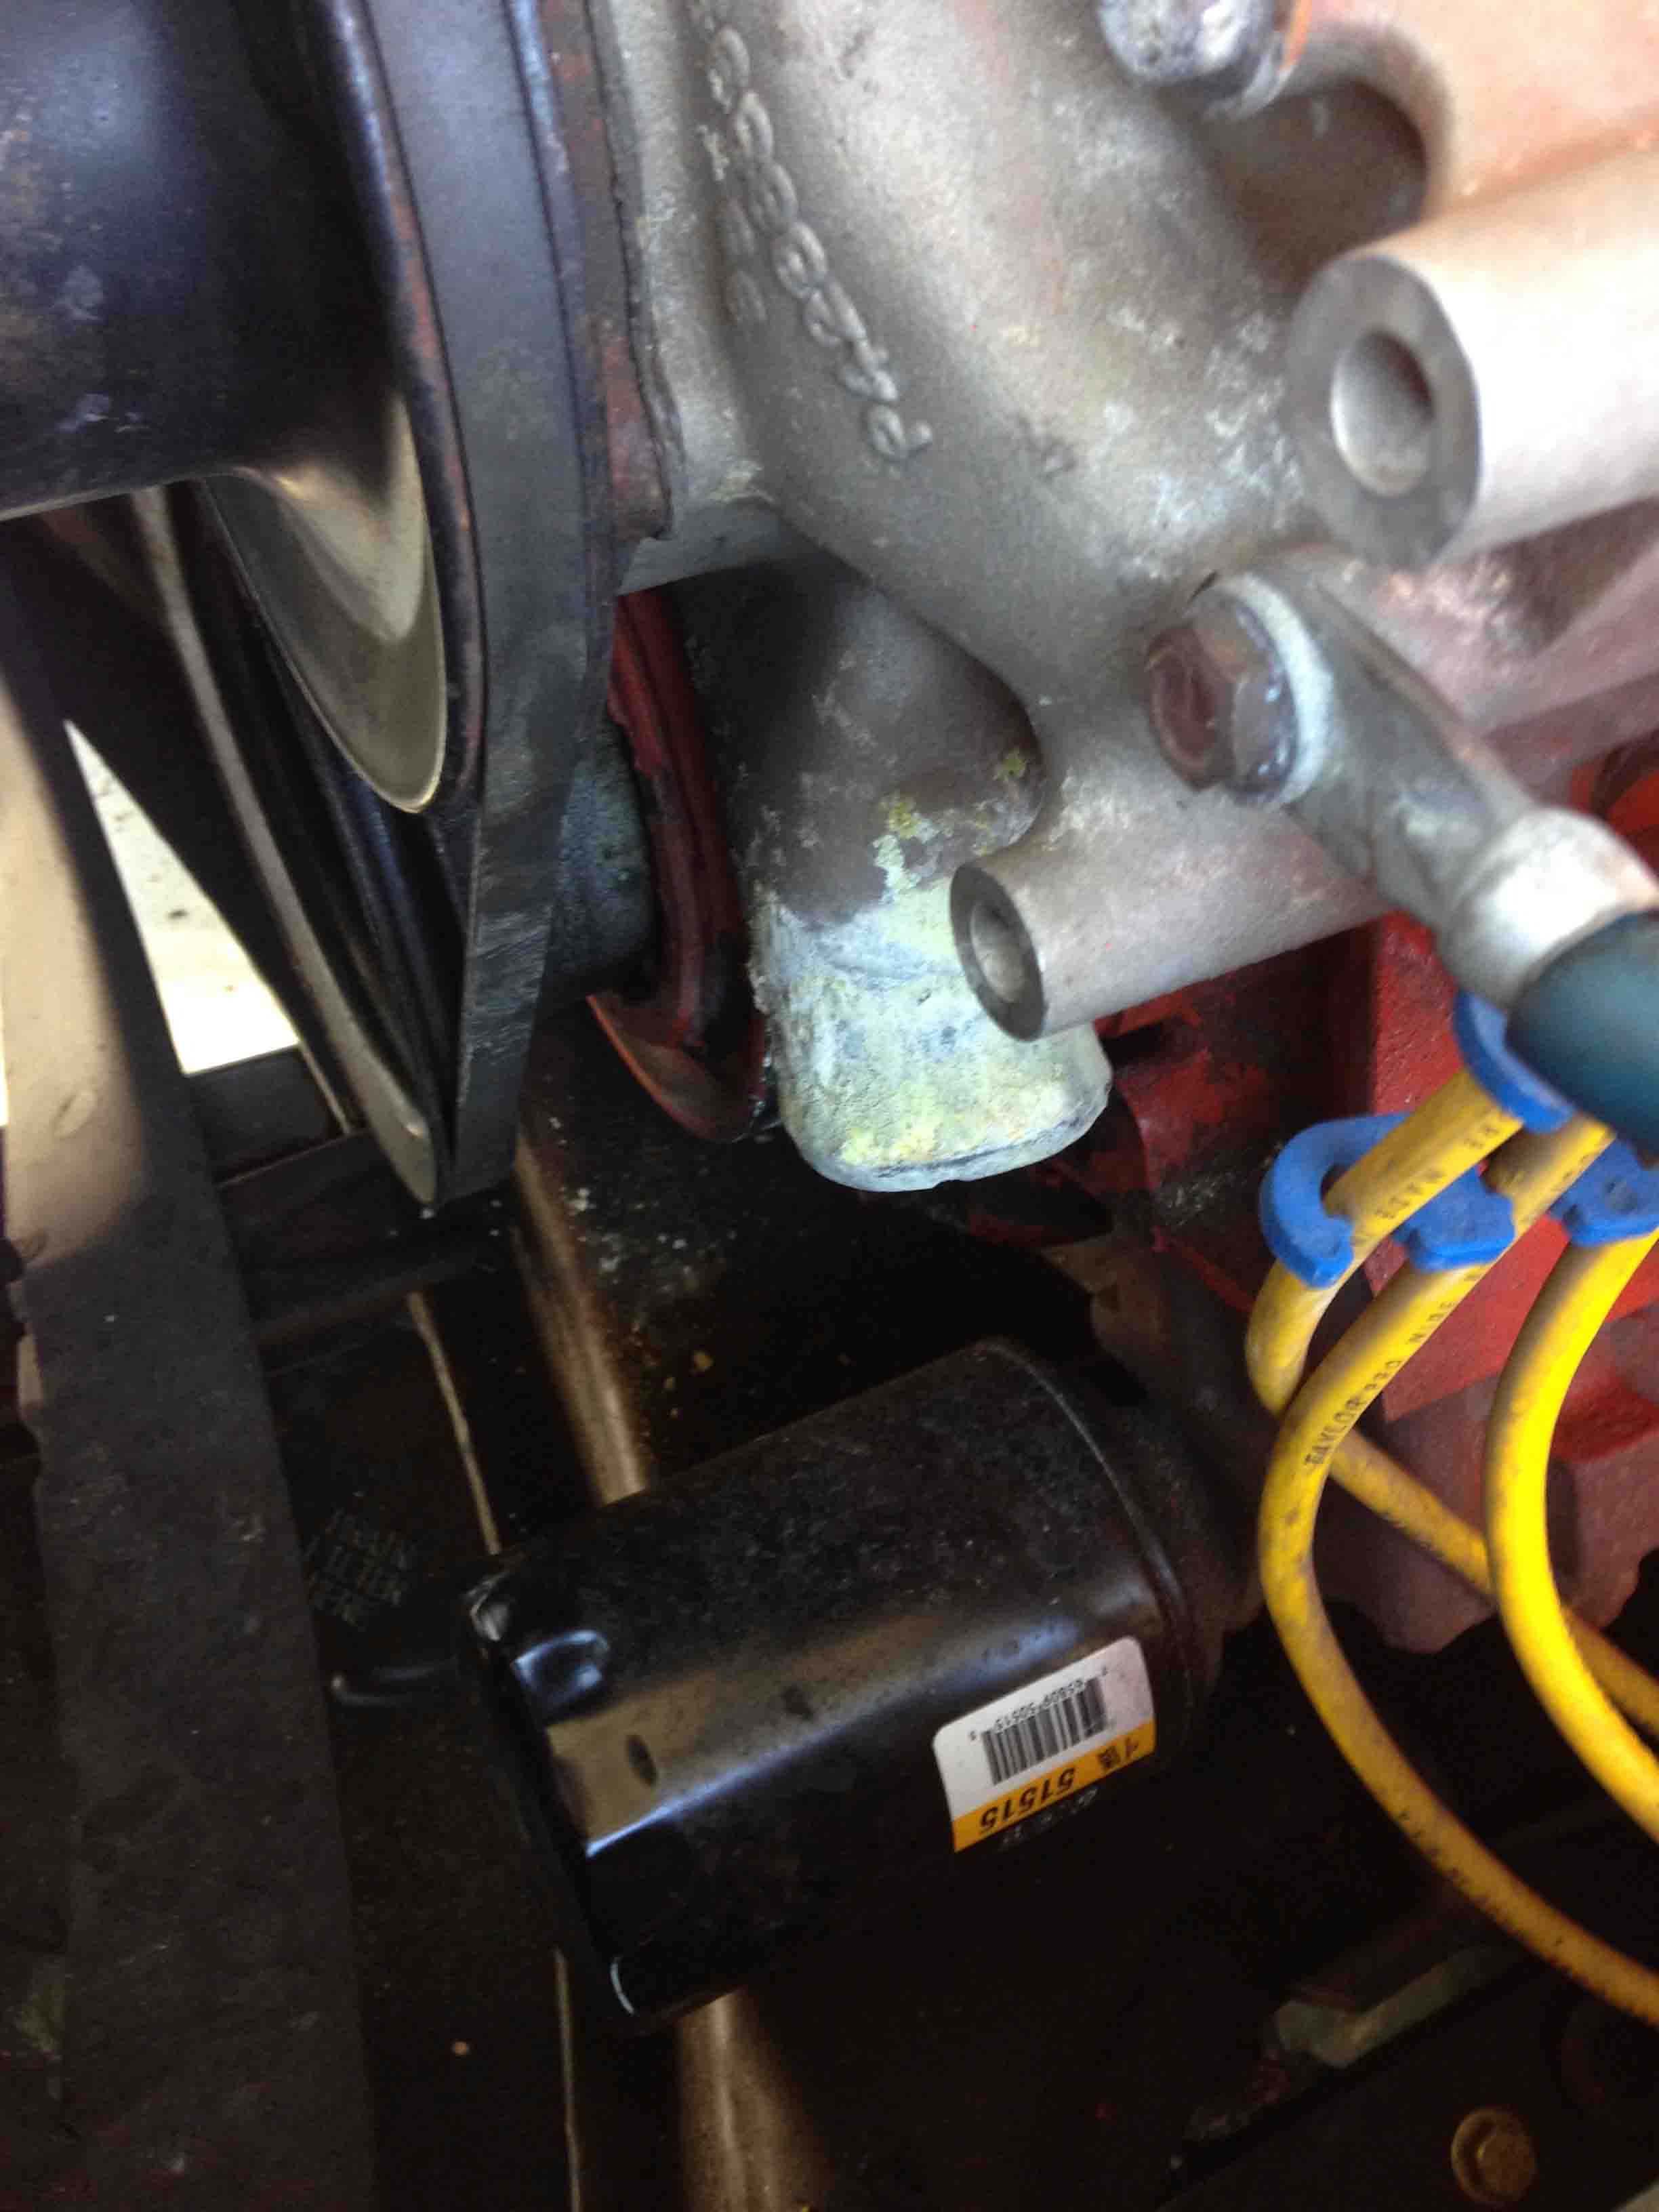
Here’s the nasty crud build up on the water pump inlet. before I wire brushed it.
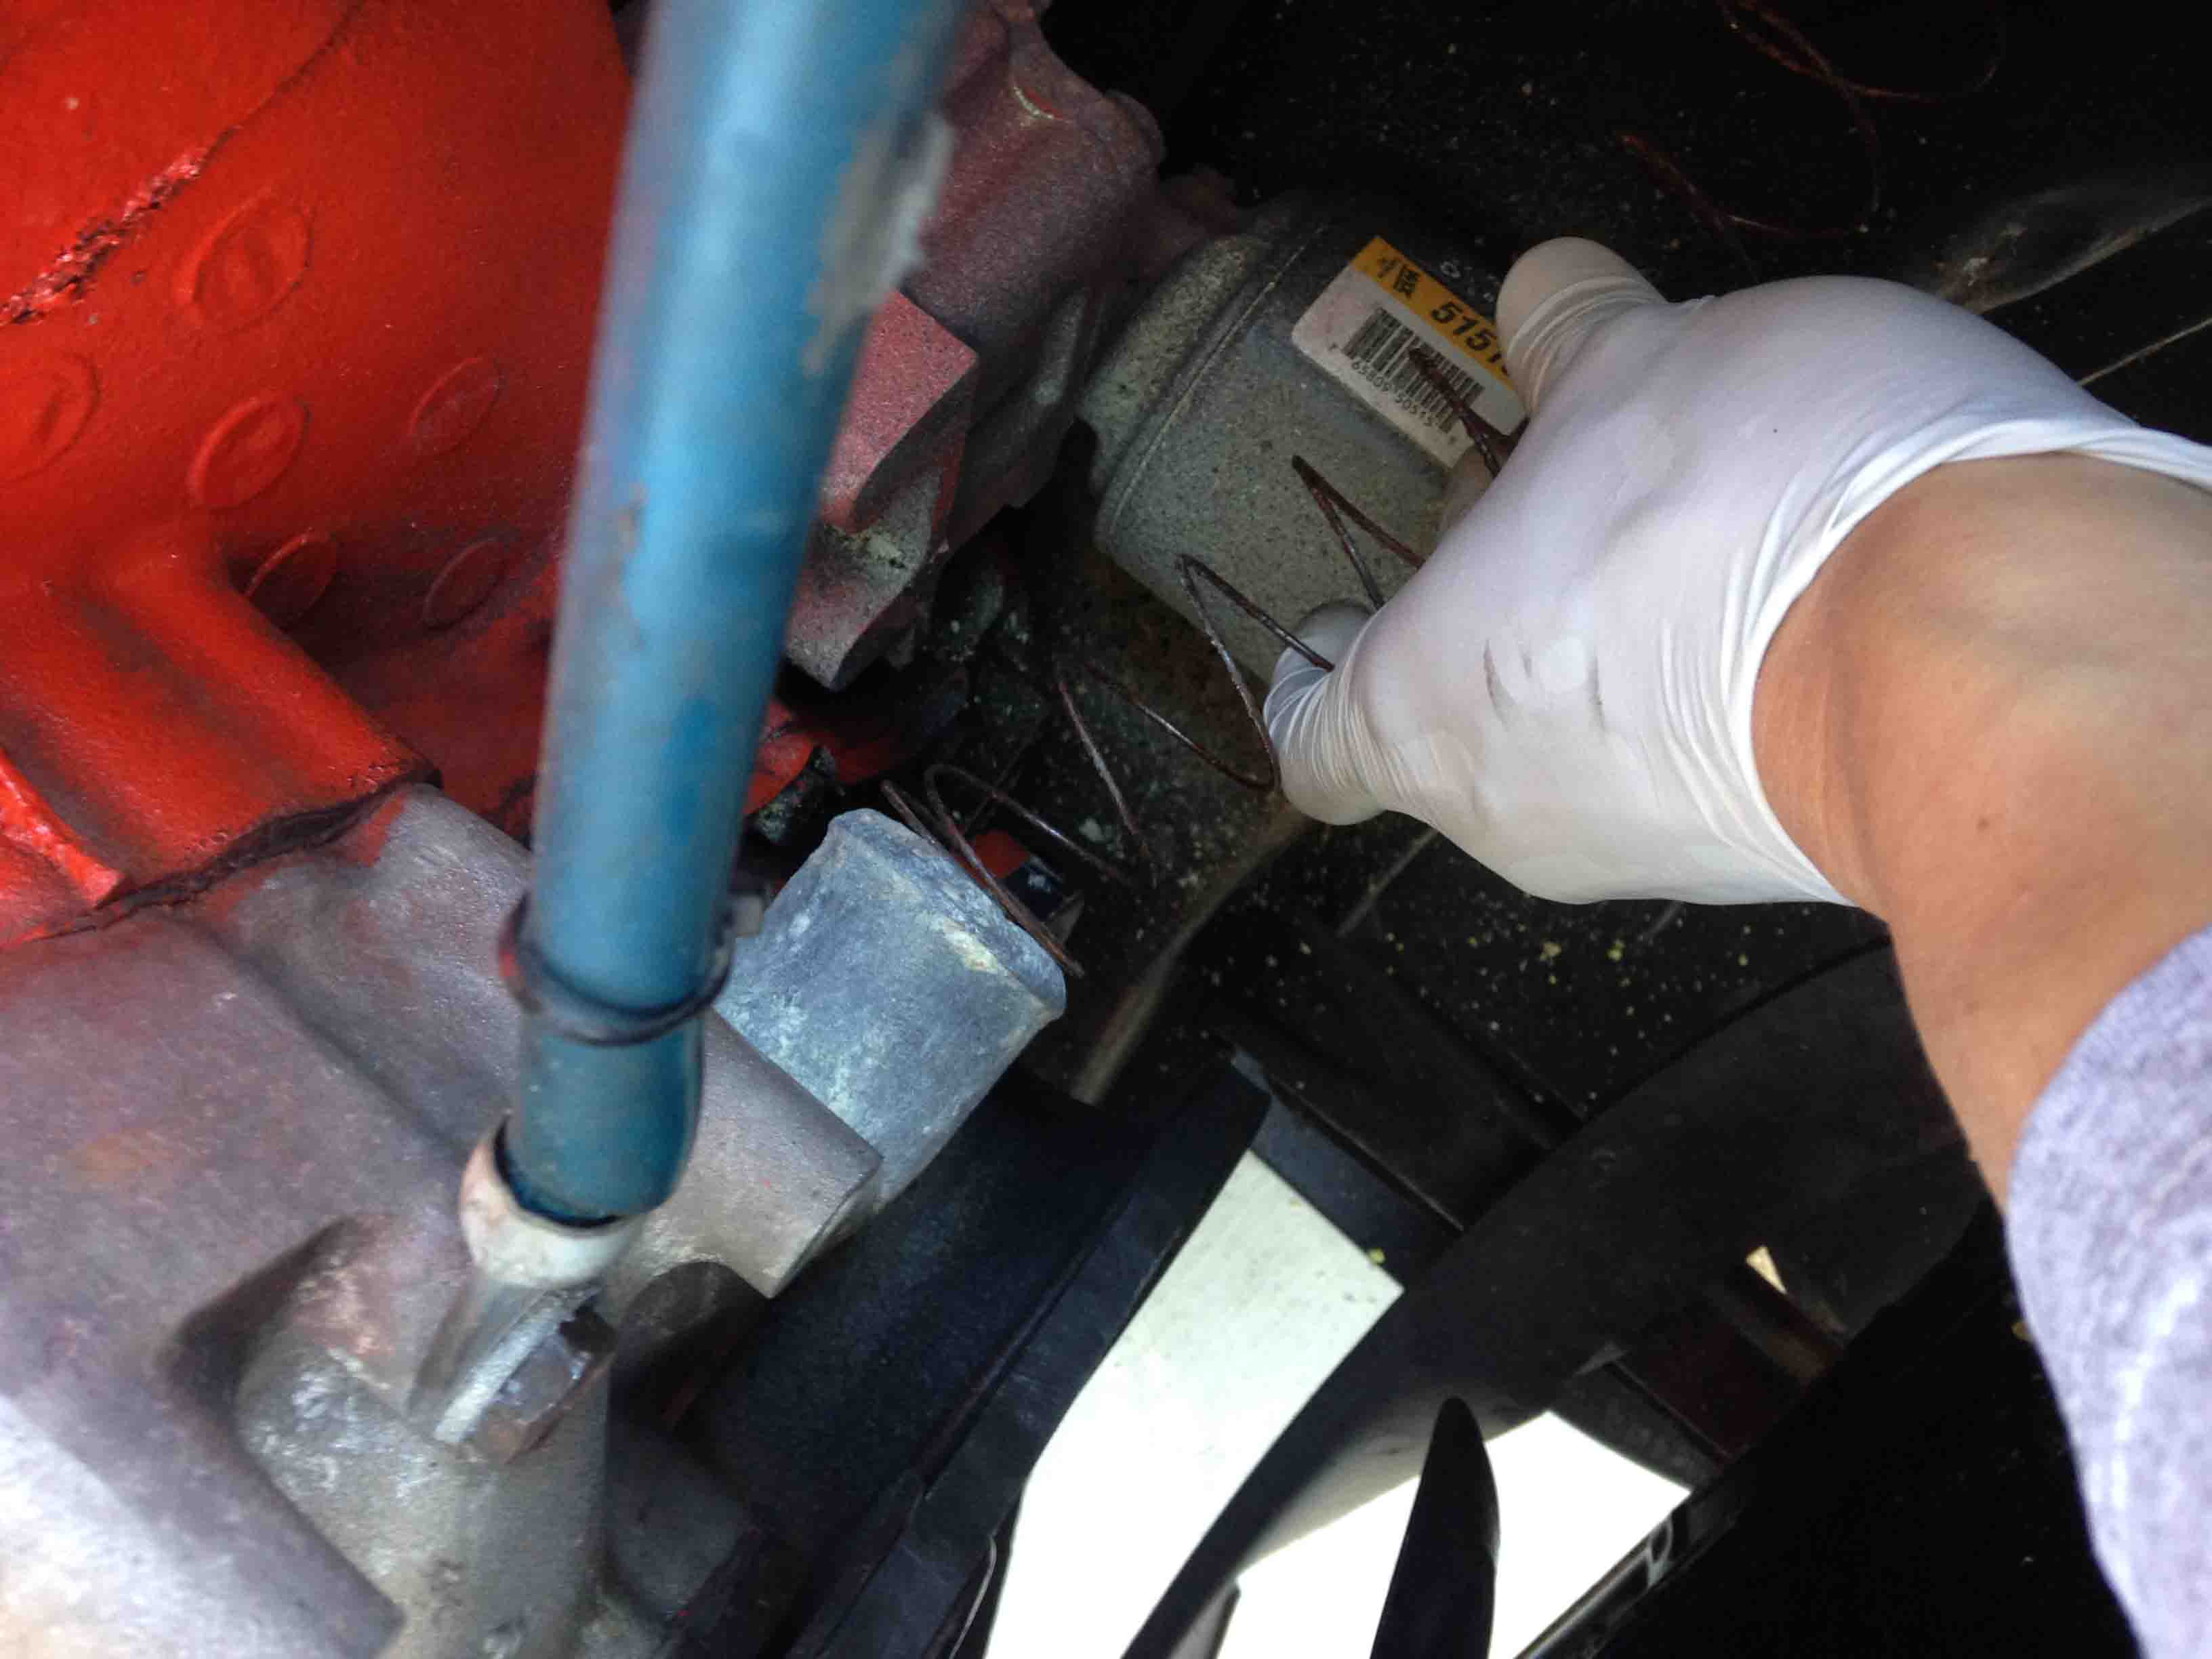
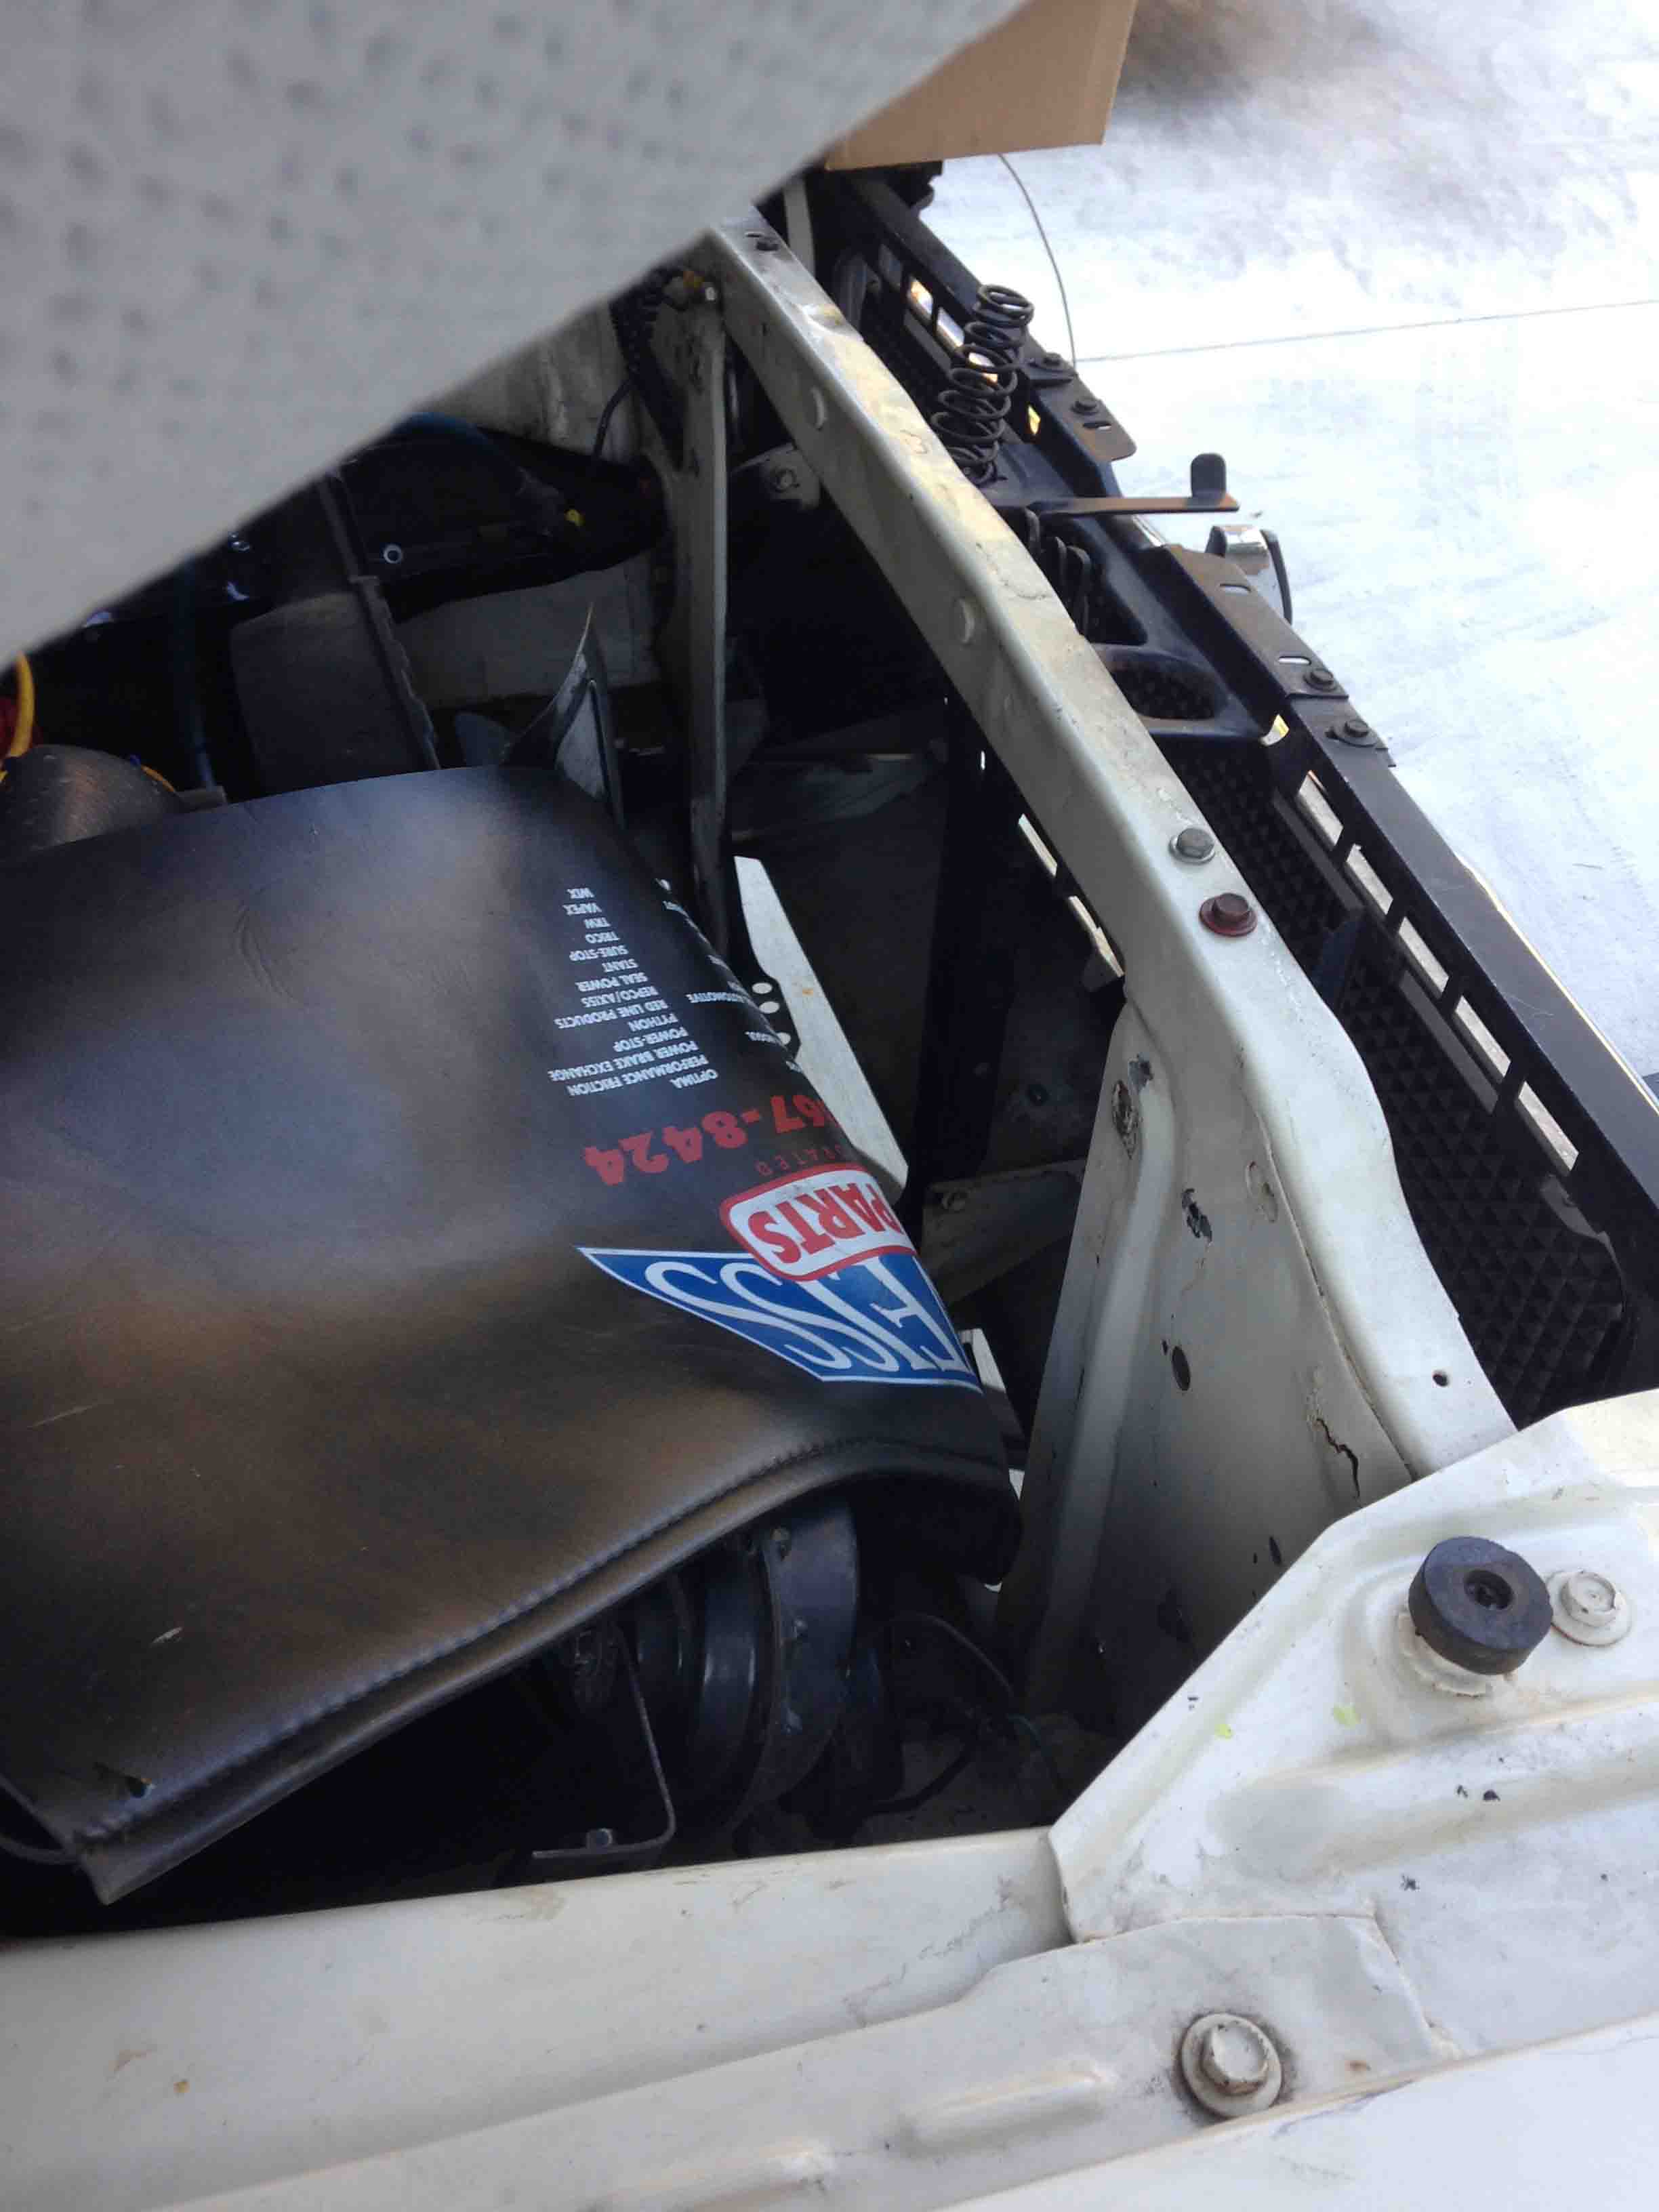
Here’s how the coil and the water pump make contact and produce a prodigious amount of crud. Didn’t think about this until I started the installation process. The new hose, by the way, installed perfectly and was easy to slip on.
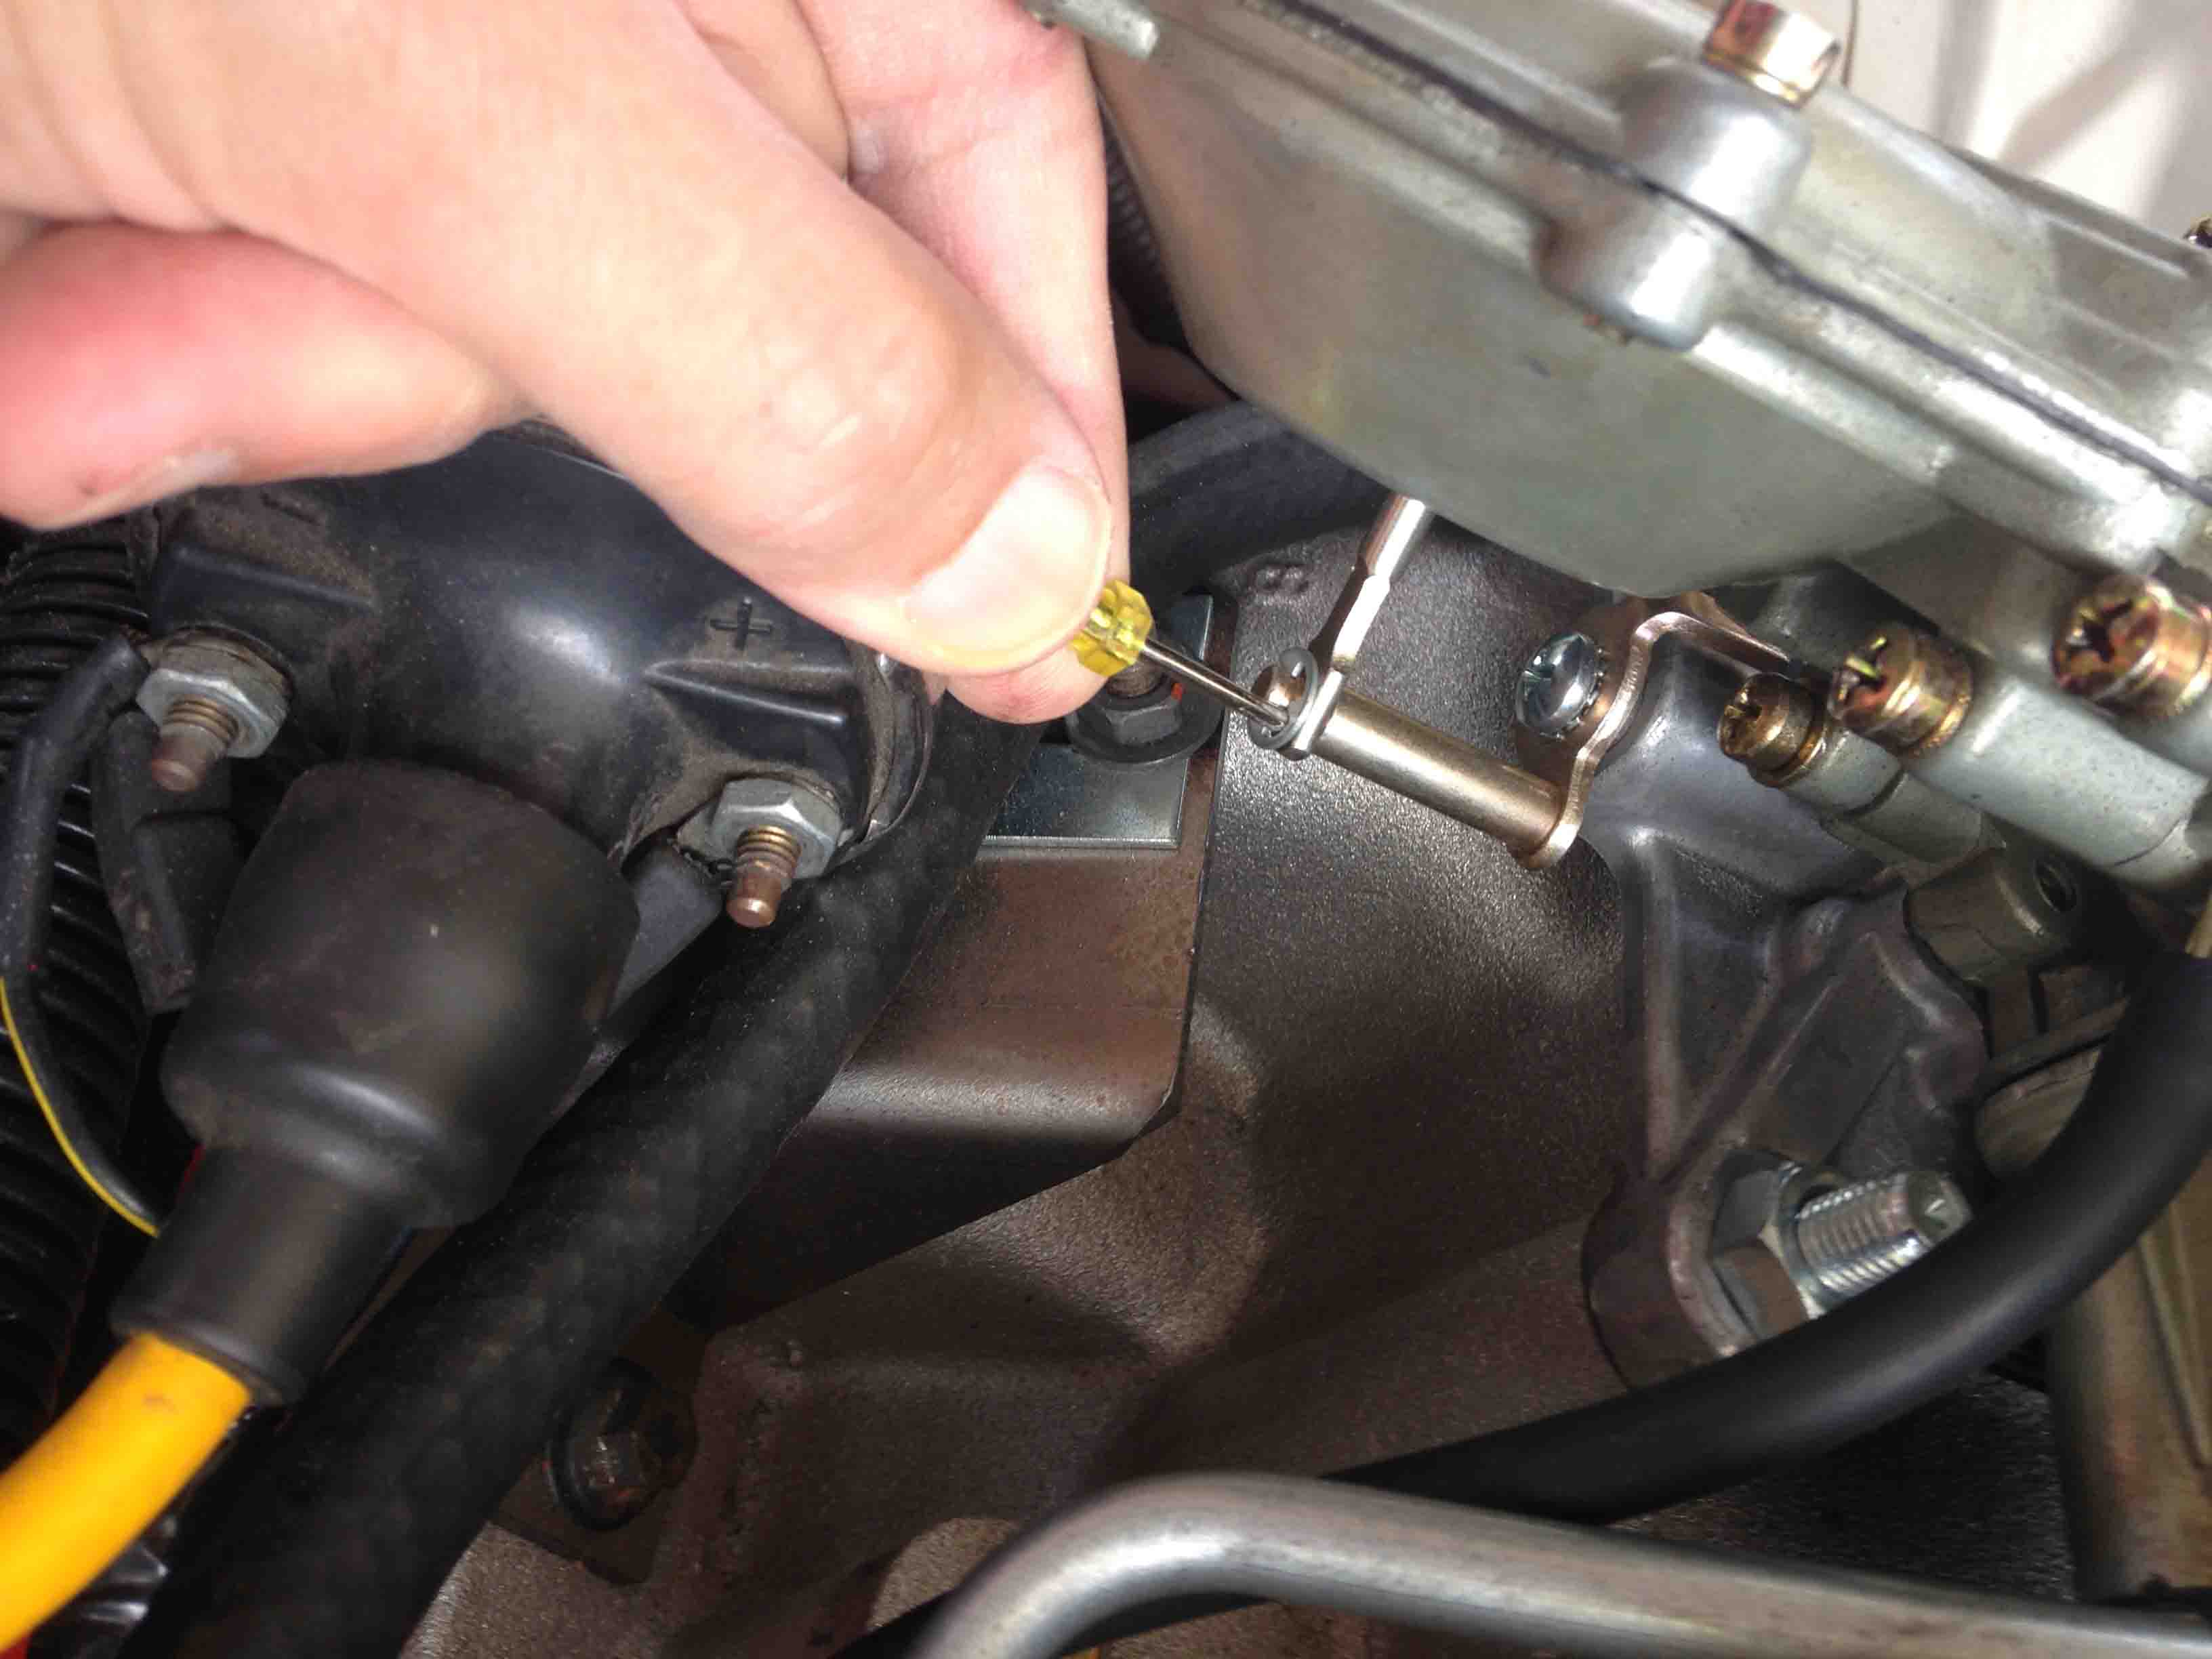
COPPER SCREEN – CRUD CATCHER OTF (on the fly) Instructions The next job was to figure out how to install the copper screen on the upper rad connection. Basically poke the material so it is concave into the input and then use a scissors to trim enough material to fold over the edge of the input pipe so that the hose can hold it in place – but not too much that it interferes with where the clamp cinches down.
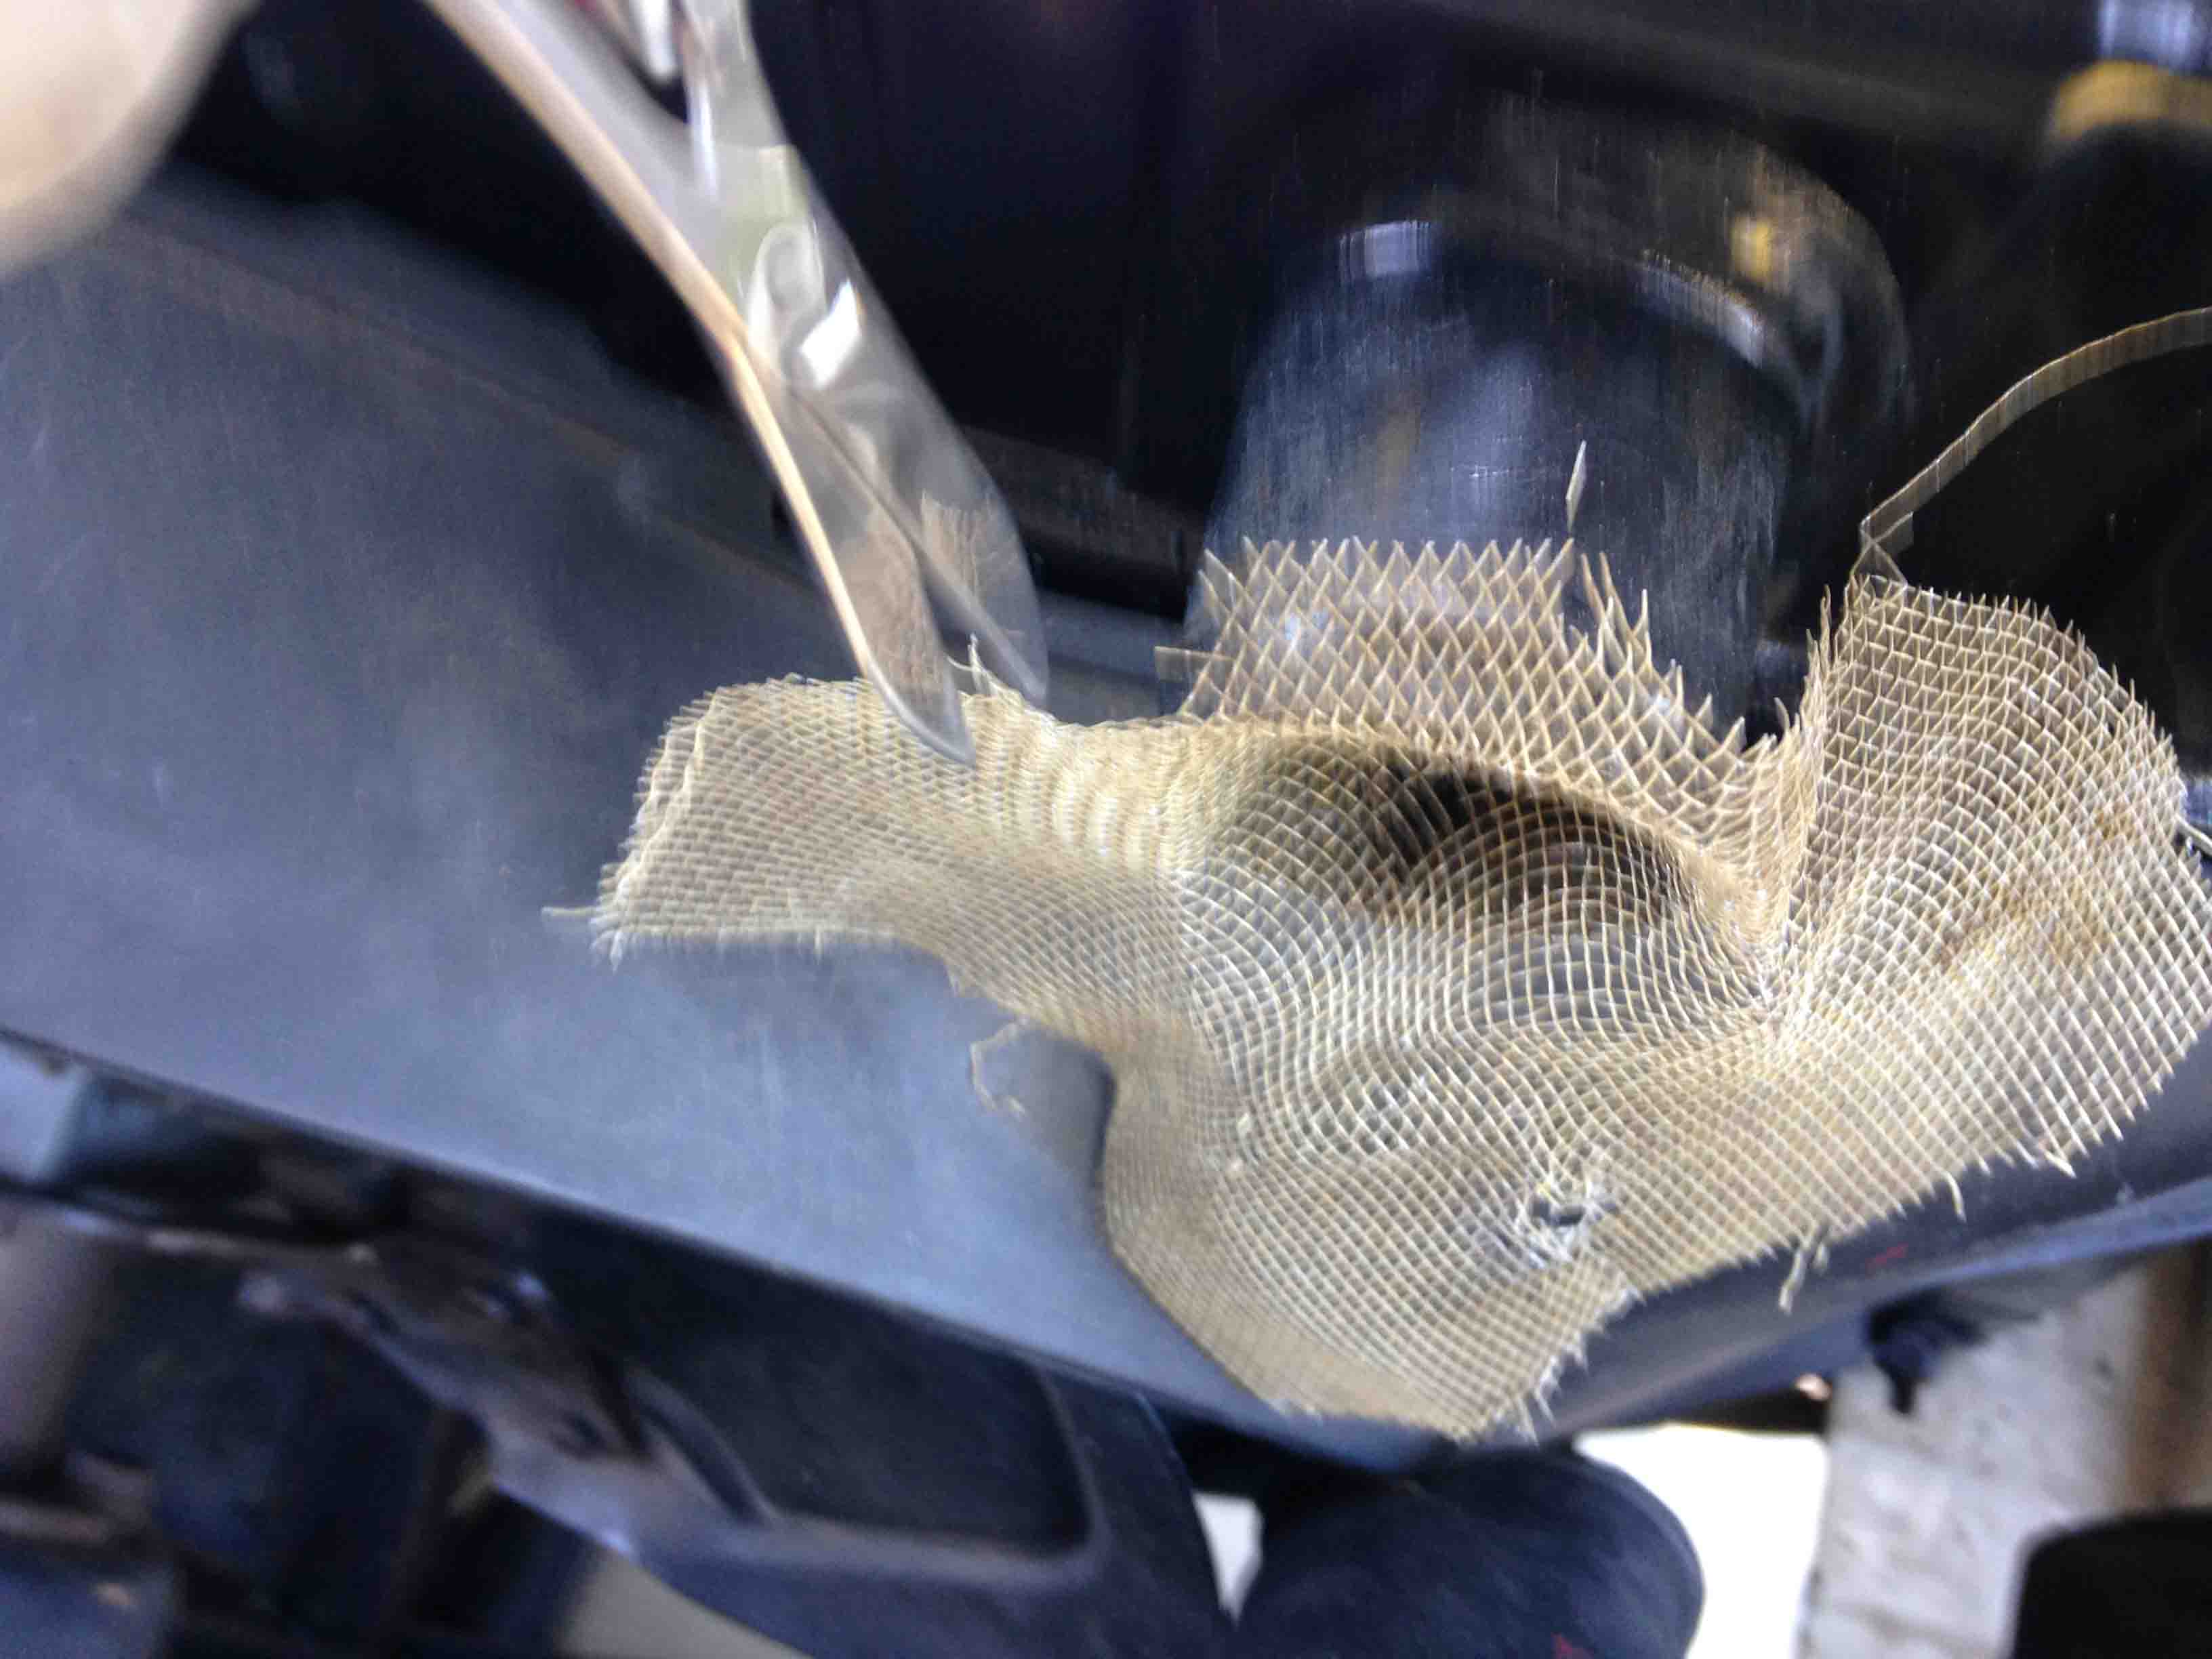
Here’s how I roughly fit some copper screen into and around the lip of the upper rad inflow pipe. Then trim to size with a scissors.
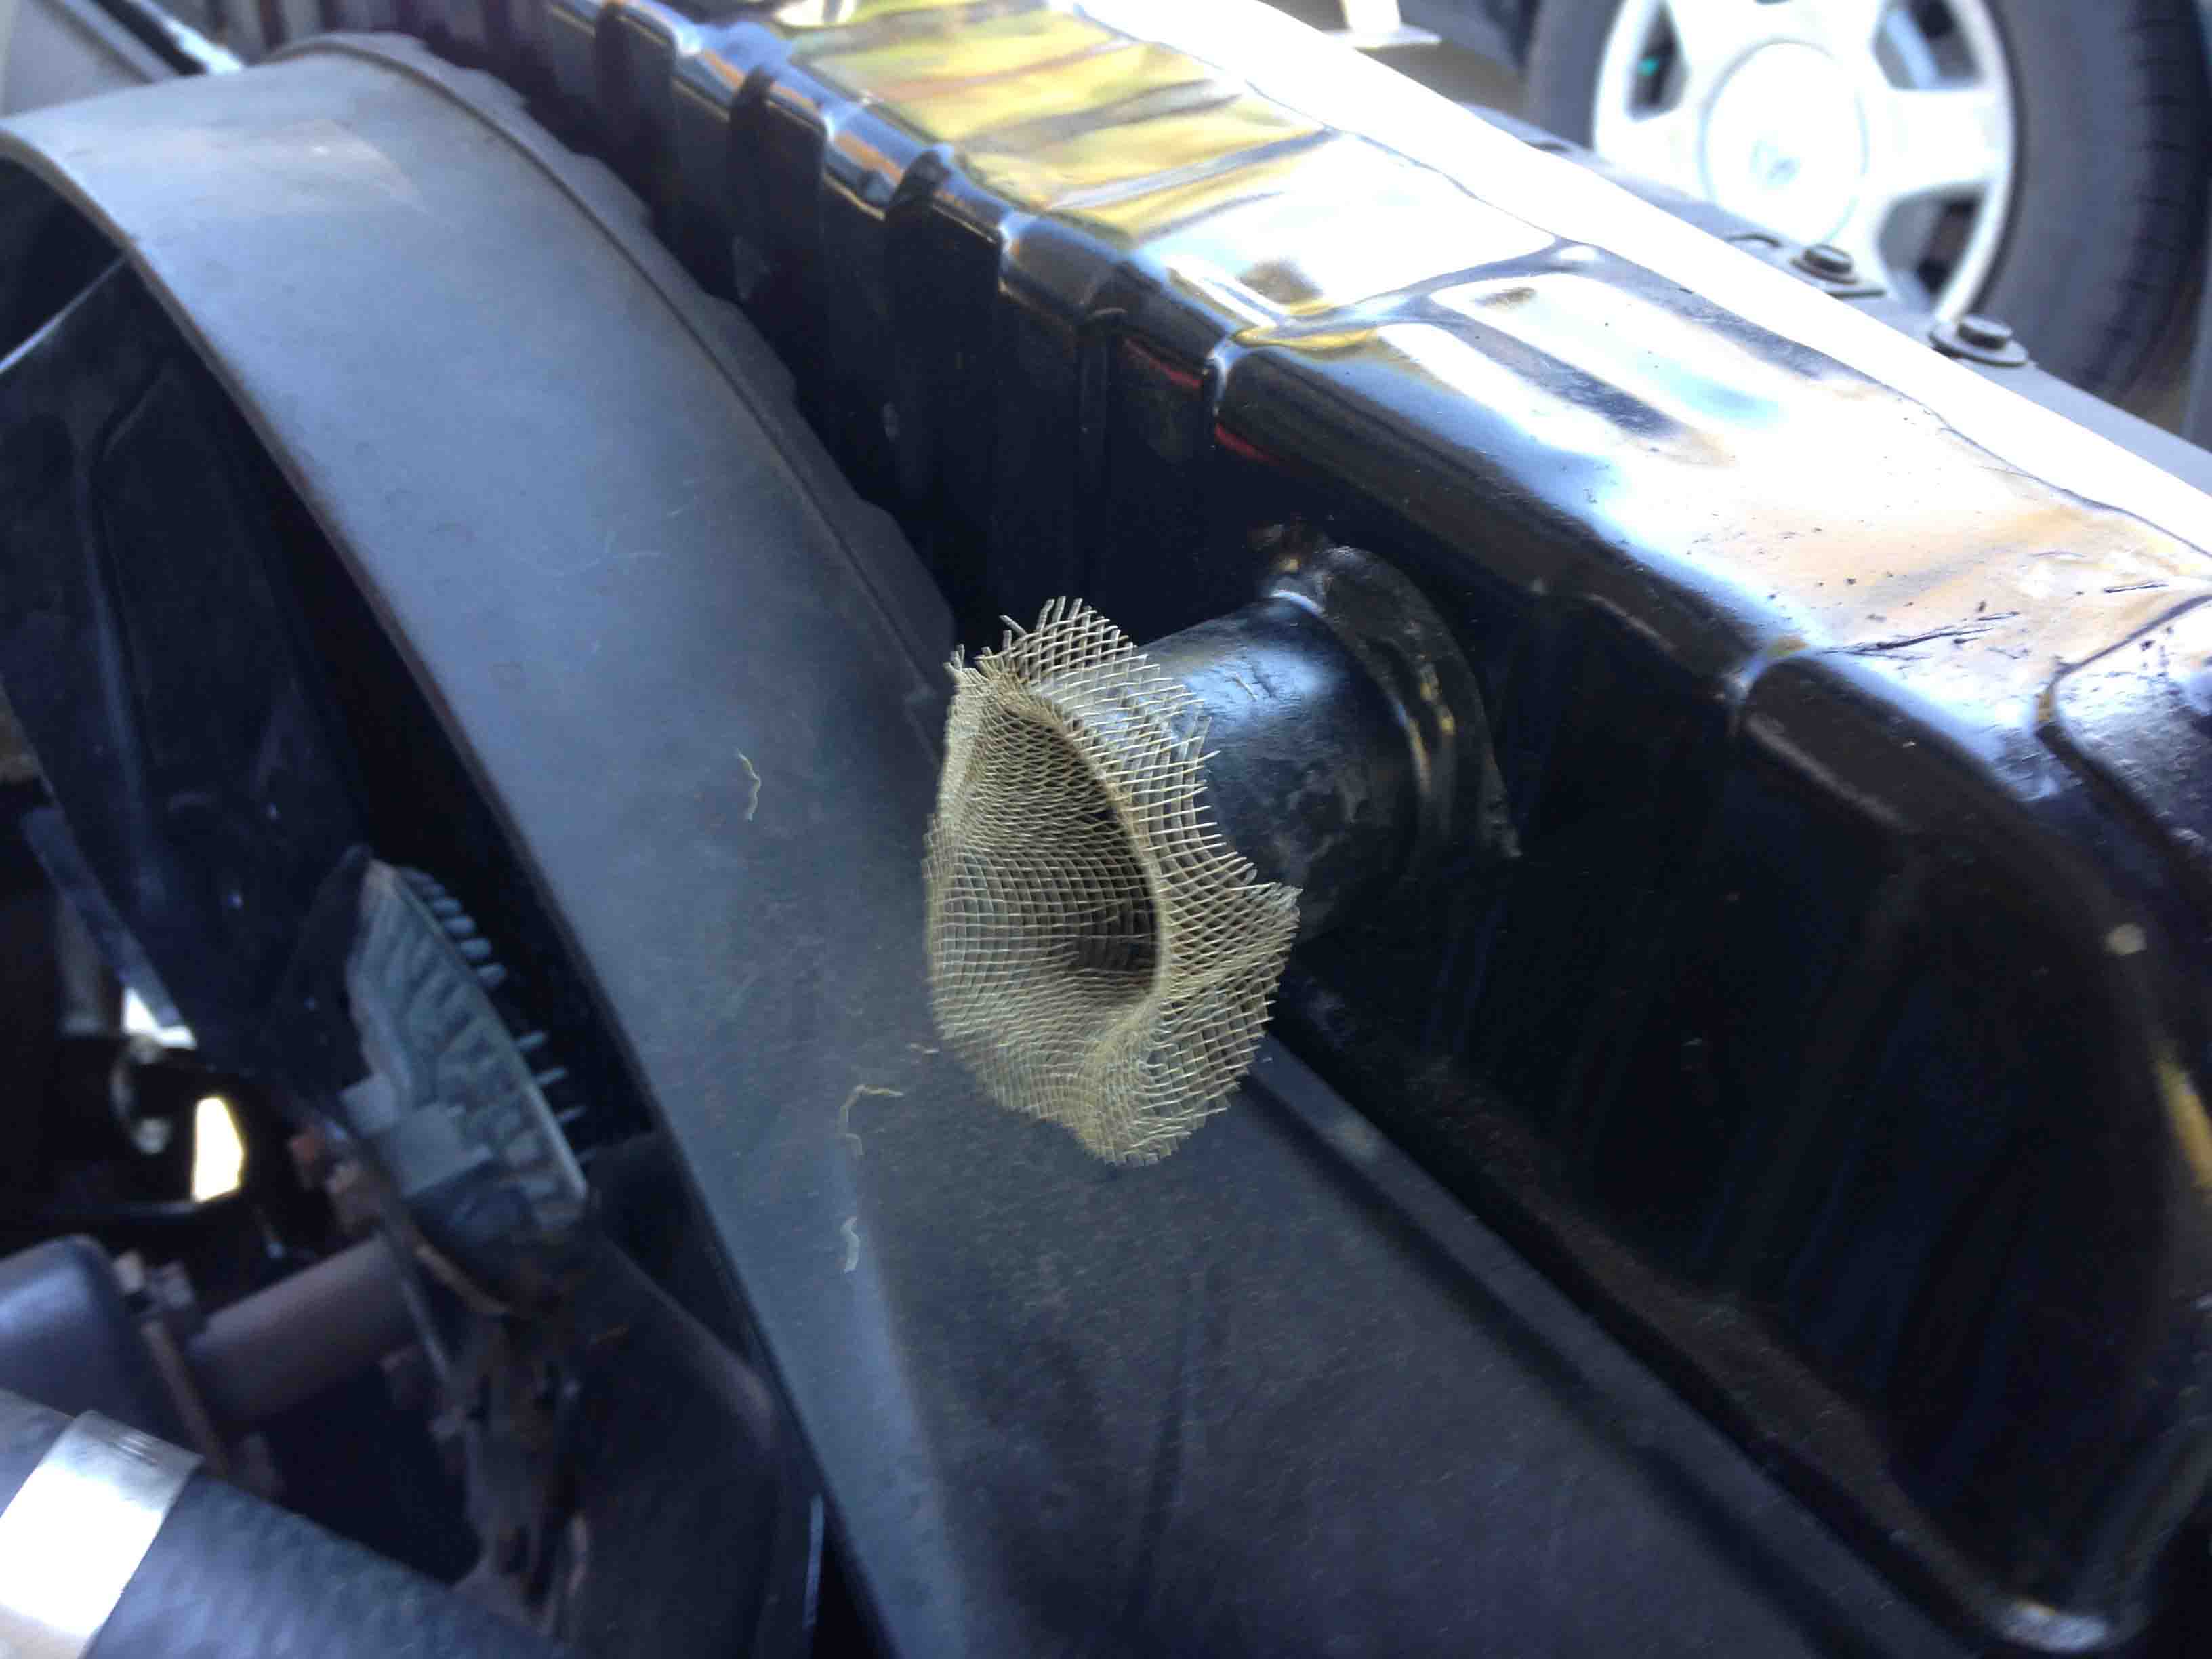
Here is the copper screen fitted to the upper connection.
Sliding the hose on and over the copper screen.

And with the upper connection fully inserted into the upper hose, I am ready to move clamp into position. Copper screen should not interfere with the area involved with clamping to avoid leaks. Ready to catch iron flakes and other debris that can clog the cooling system.

Here’s a view of the upper tubes before I added distilled water into the filler hole. Compare that to my older photo (PART 2).
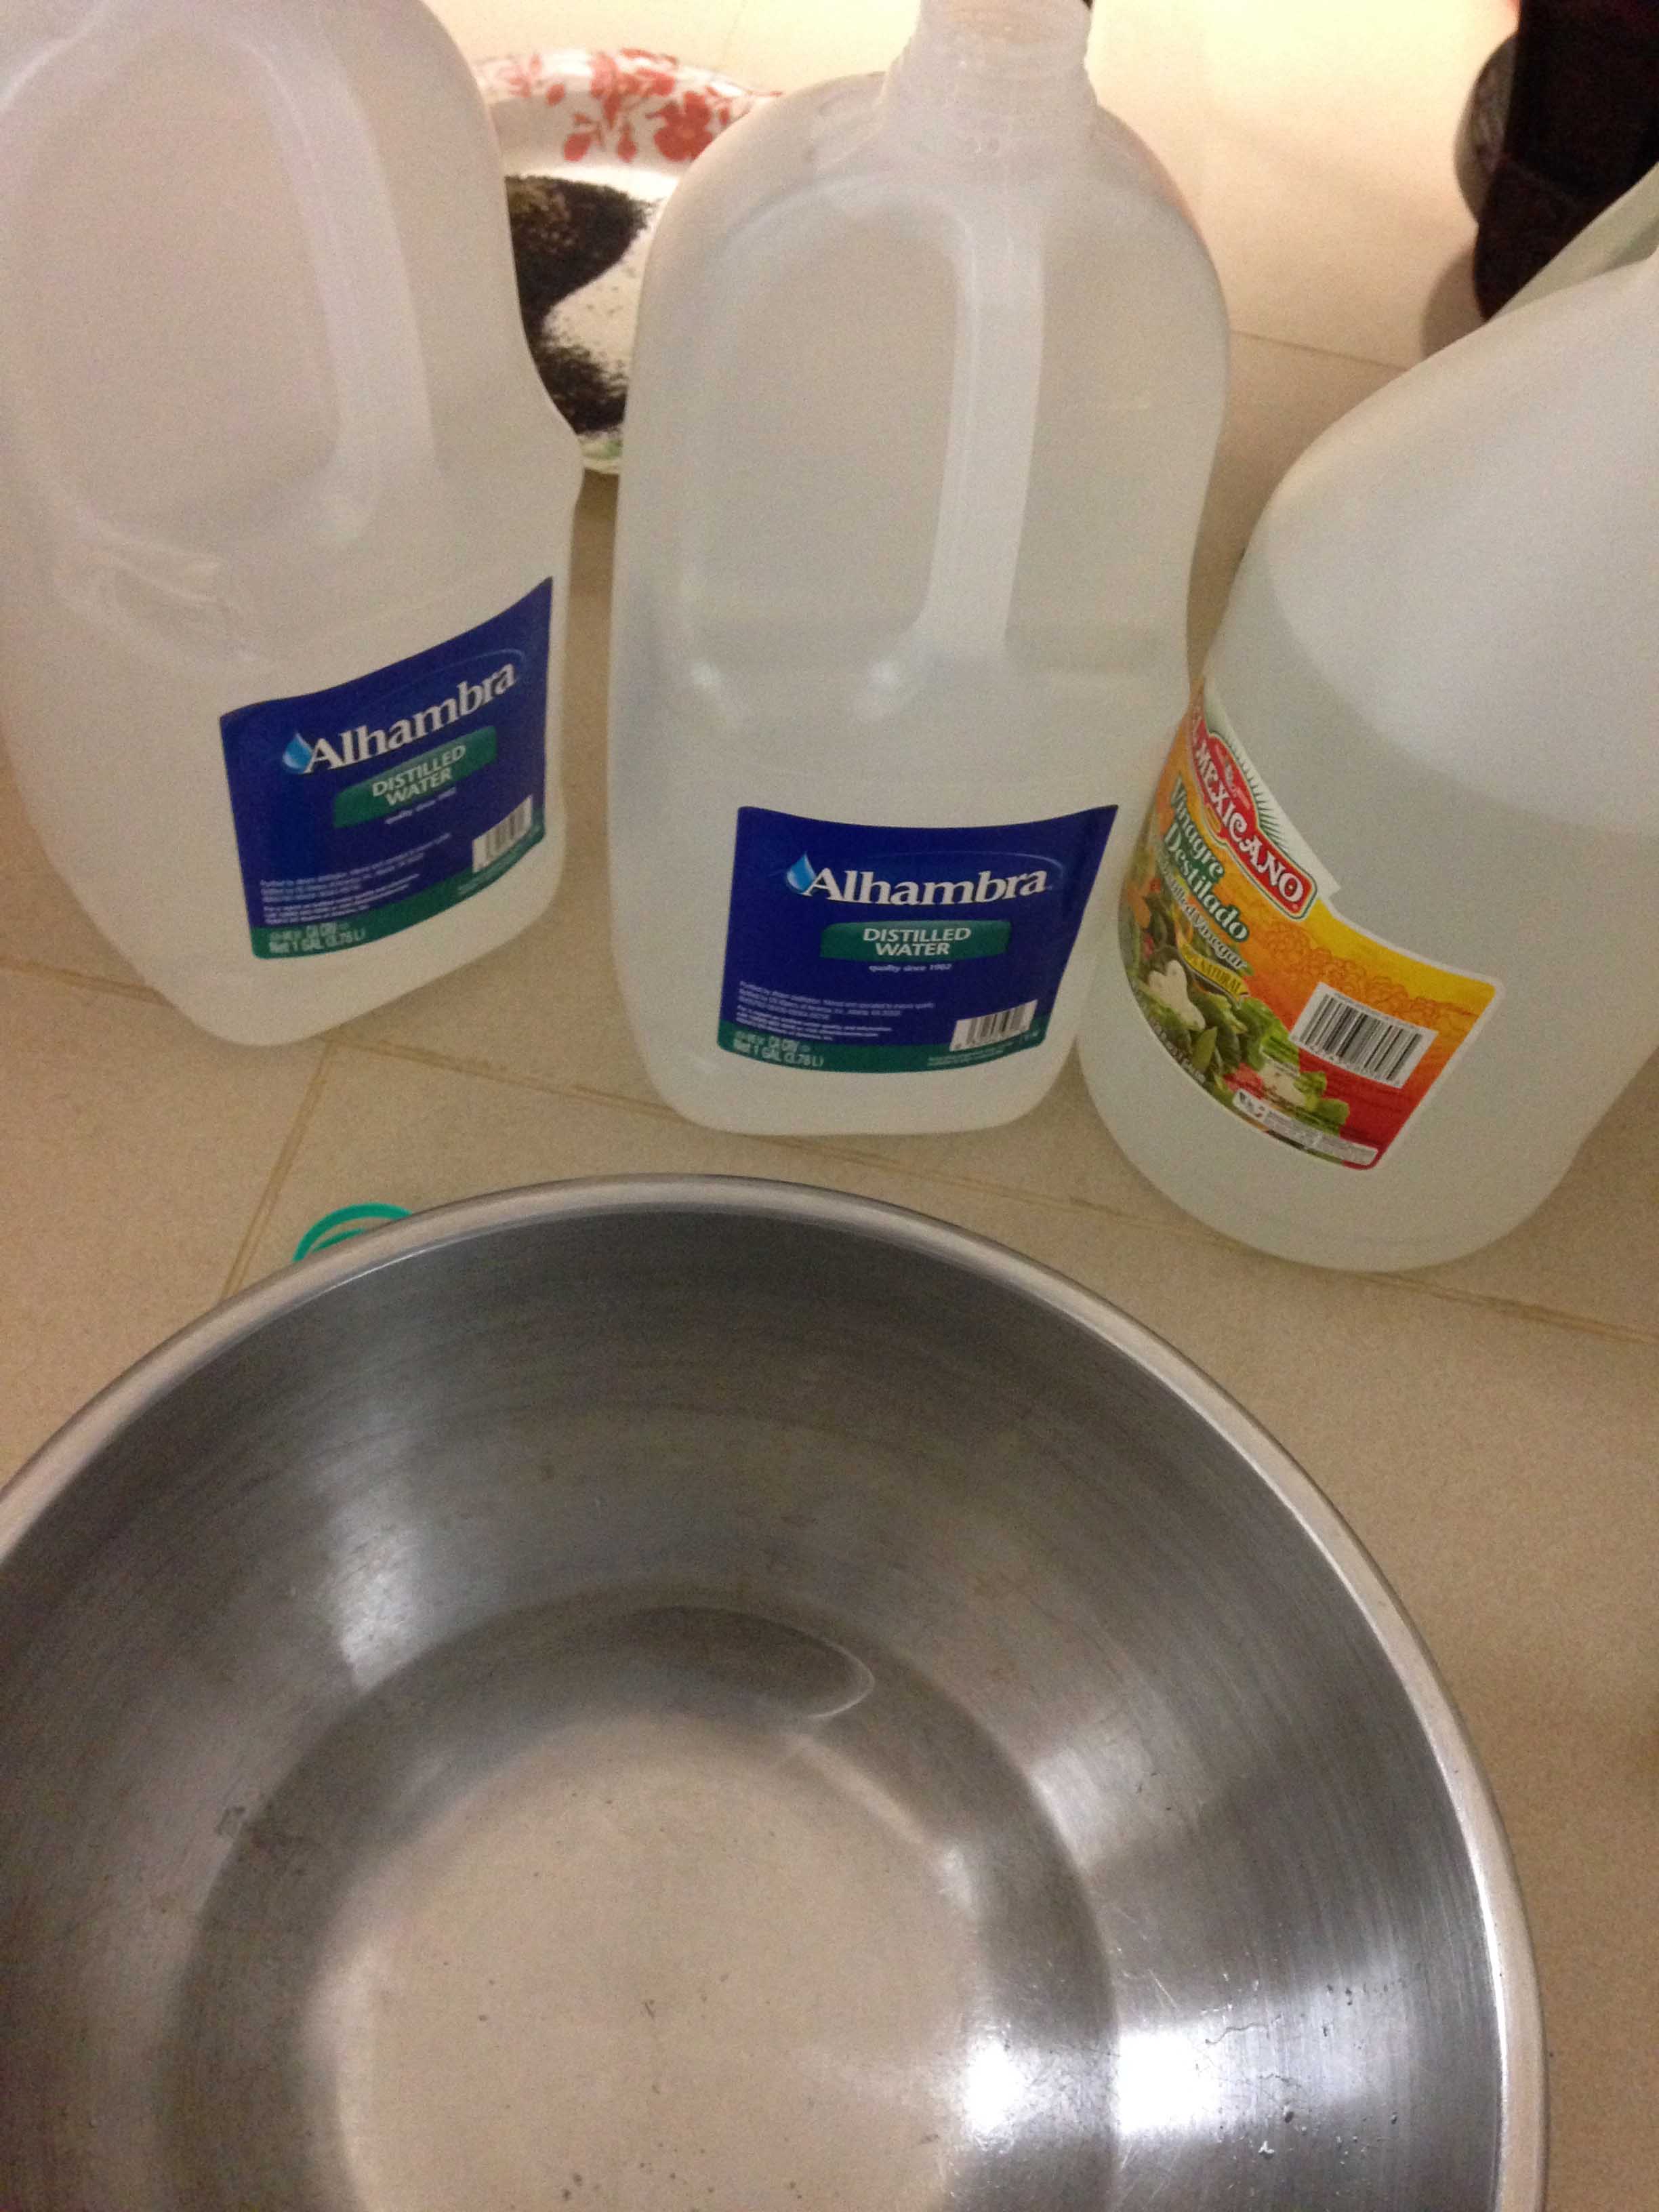
TEST DRIVE Preparing Next comes adding distilled water to fill up the radiator, then starting the engine. Adding more water as the level goes down getting sucked by the pump.. I ran the engine without the cap and waited until the thermostat opened up, and the old green coolant began running through the rad. LET’S ROLL I took the car straight out to the highway and began some high RPM runs. Based on the temperature gauge, the engine was running noticeably cooler with the temperatures rising at a slower pace than before. I have a 5 speed (5th is 1:1) with 2.94 rear gearing so 4th and 3rd gear high speed runs got pretty exciting. The Mopar has a whole different life above 5000 RPM like it can go a lot faster. I still get this weird carb pop, but oddly enough it usually only happens once when I take the car out when I accelerated harder under load, or in a higher gear (depending on car’s the speed)- that’s another problem I need to work on later. Taking the Challenger back home, there were no weird burning smells. I idled the car on the driveway and took some temperature checks with my FLUKE laser thermometer.

After a couple of high RPM stretches on the highway, this is the maximum reading on my rally temp gauge during the test drive and at idle in the driveway on my return. The last shop visit including fixing this gauge which wasn’t working- before fixing (replacing) the gauge, it barely reached the lower normal mark. For the moment, my life centers around what this gauge does.
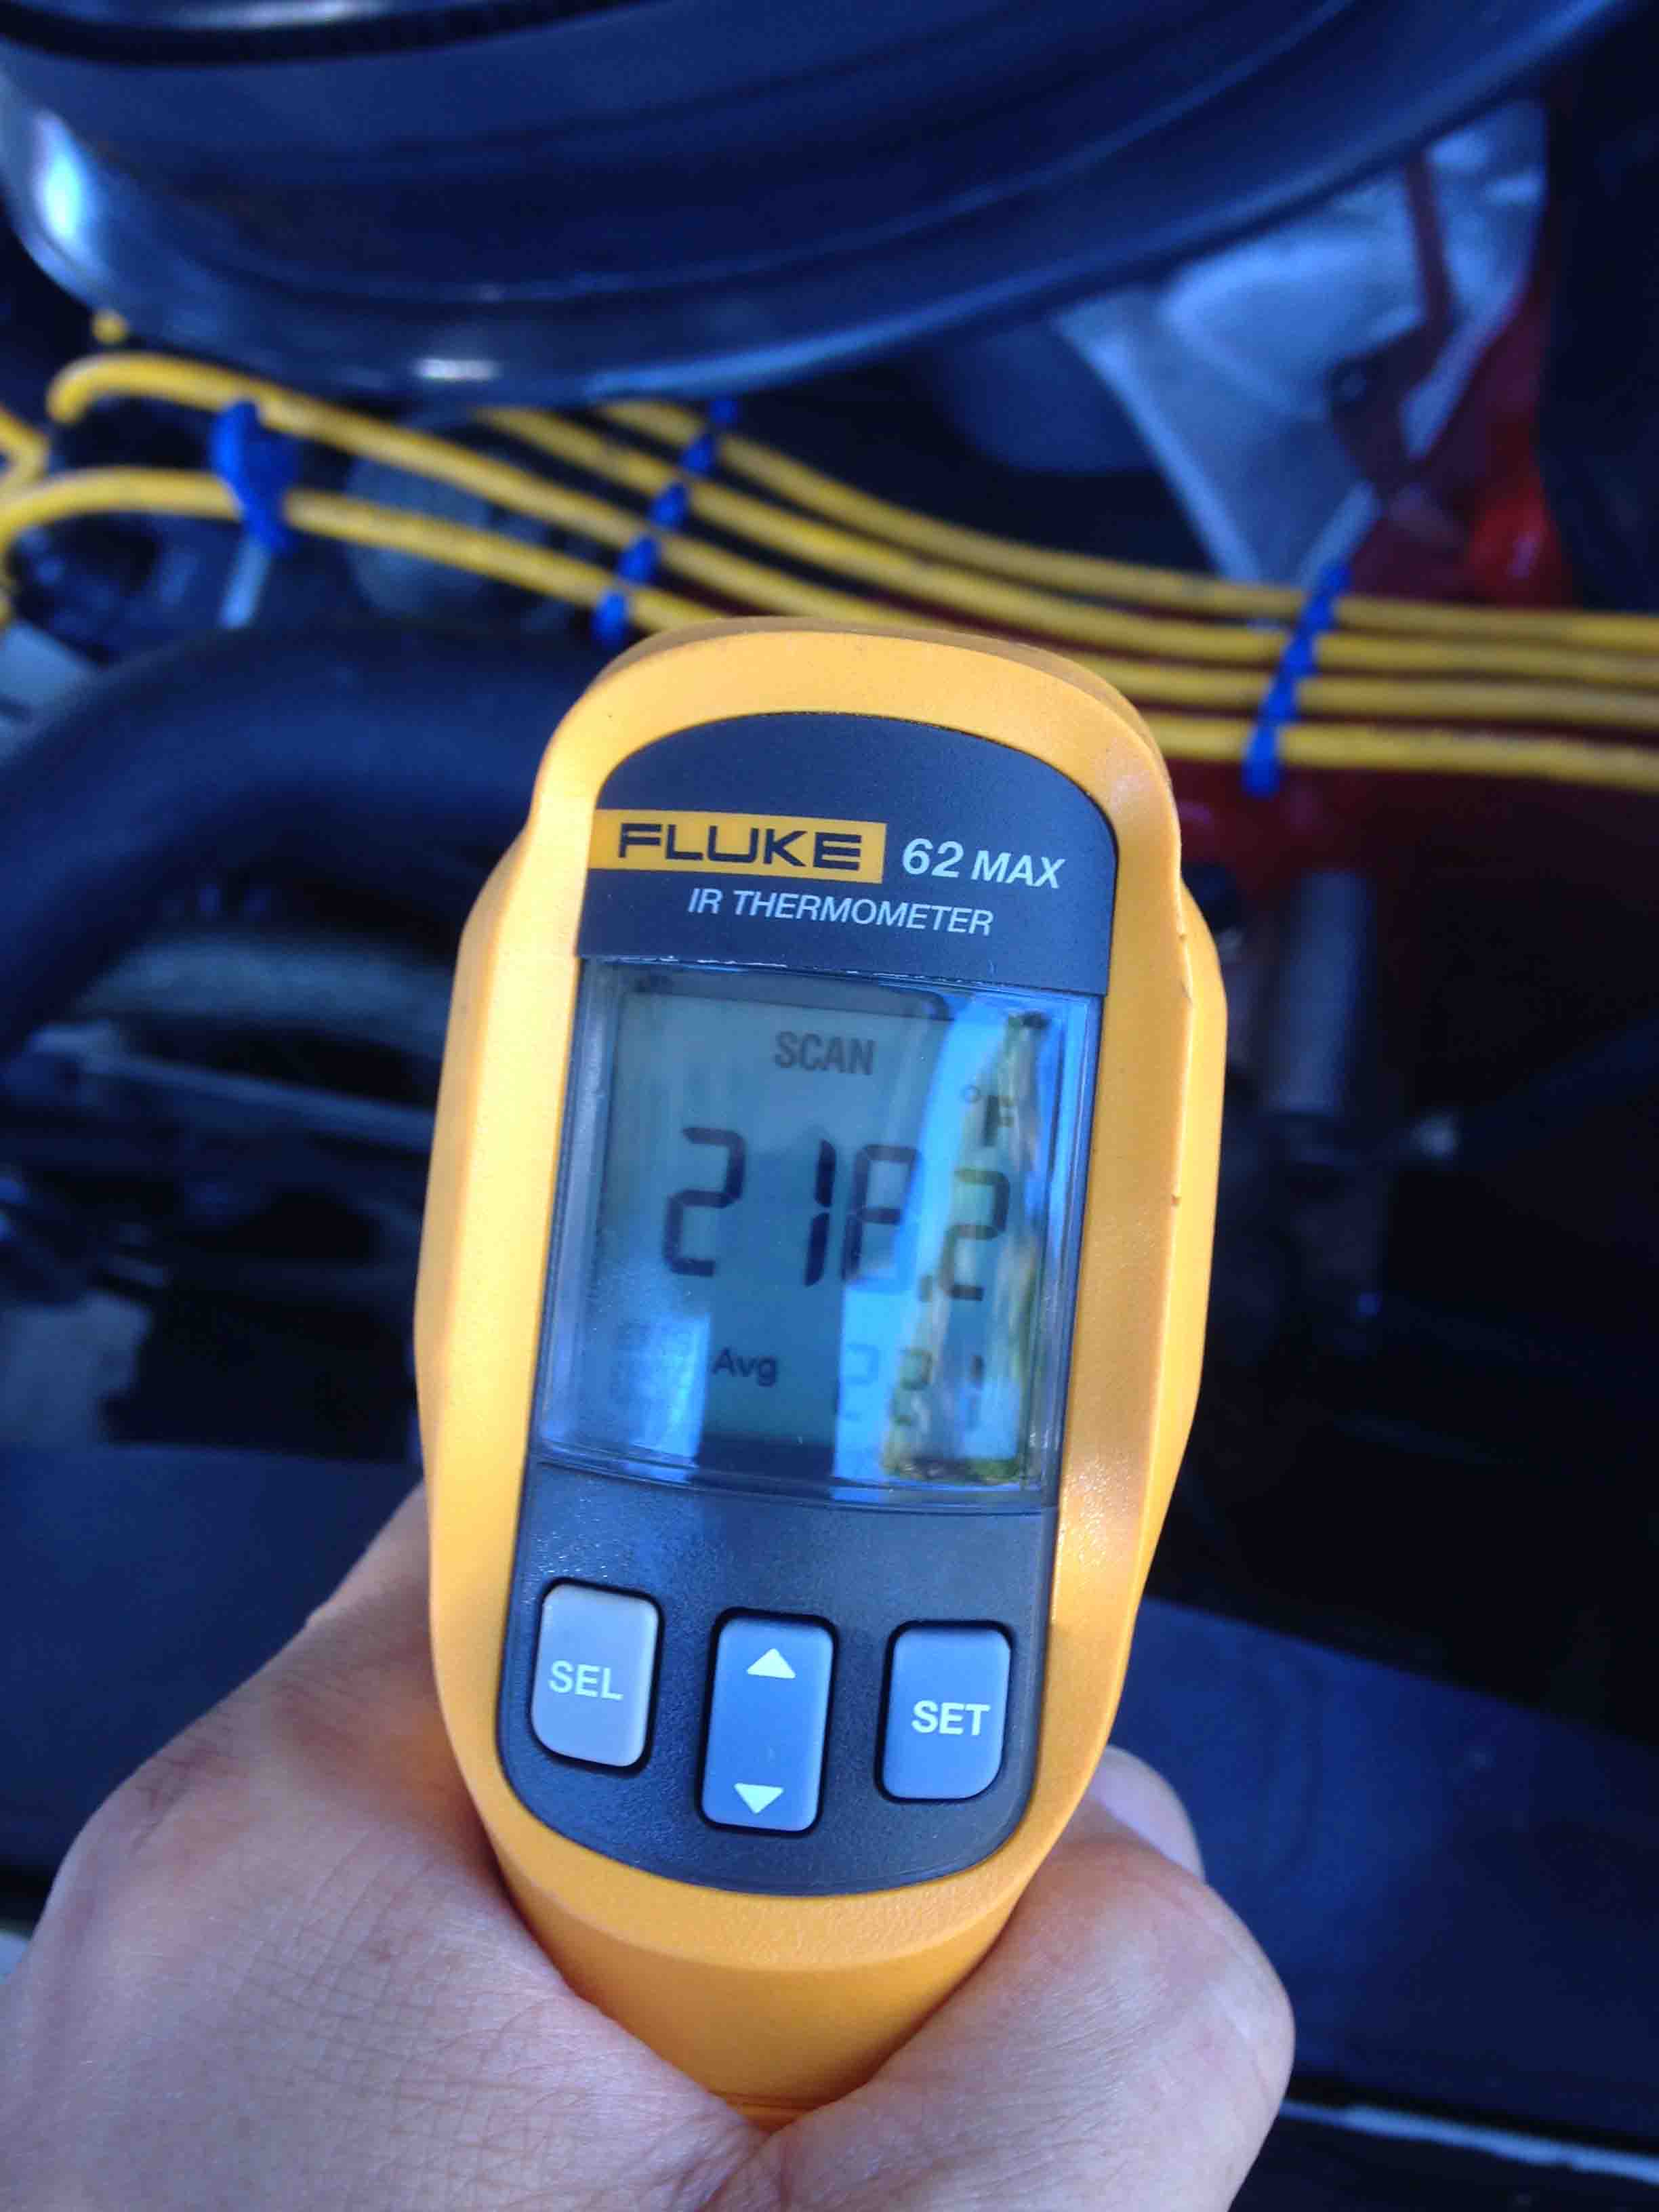
This is the corresponding laser temp readout from around the thermostat housing to the rally temp gauge seen in previous photo. (about 218 F) after several high RPM blasts on the highway.
Corresponding Upper tank temp – about 212F

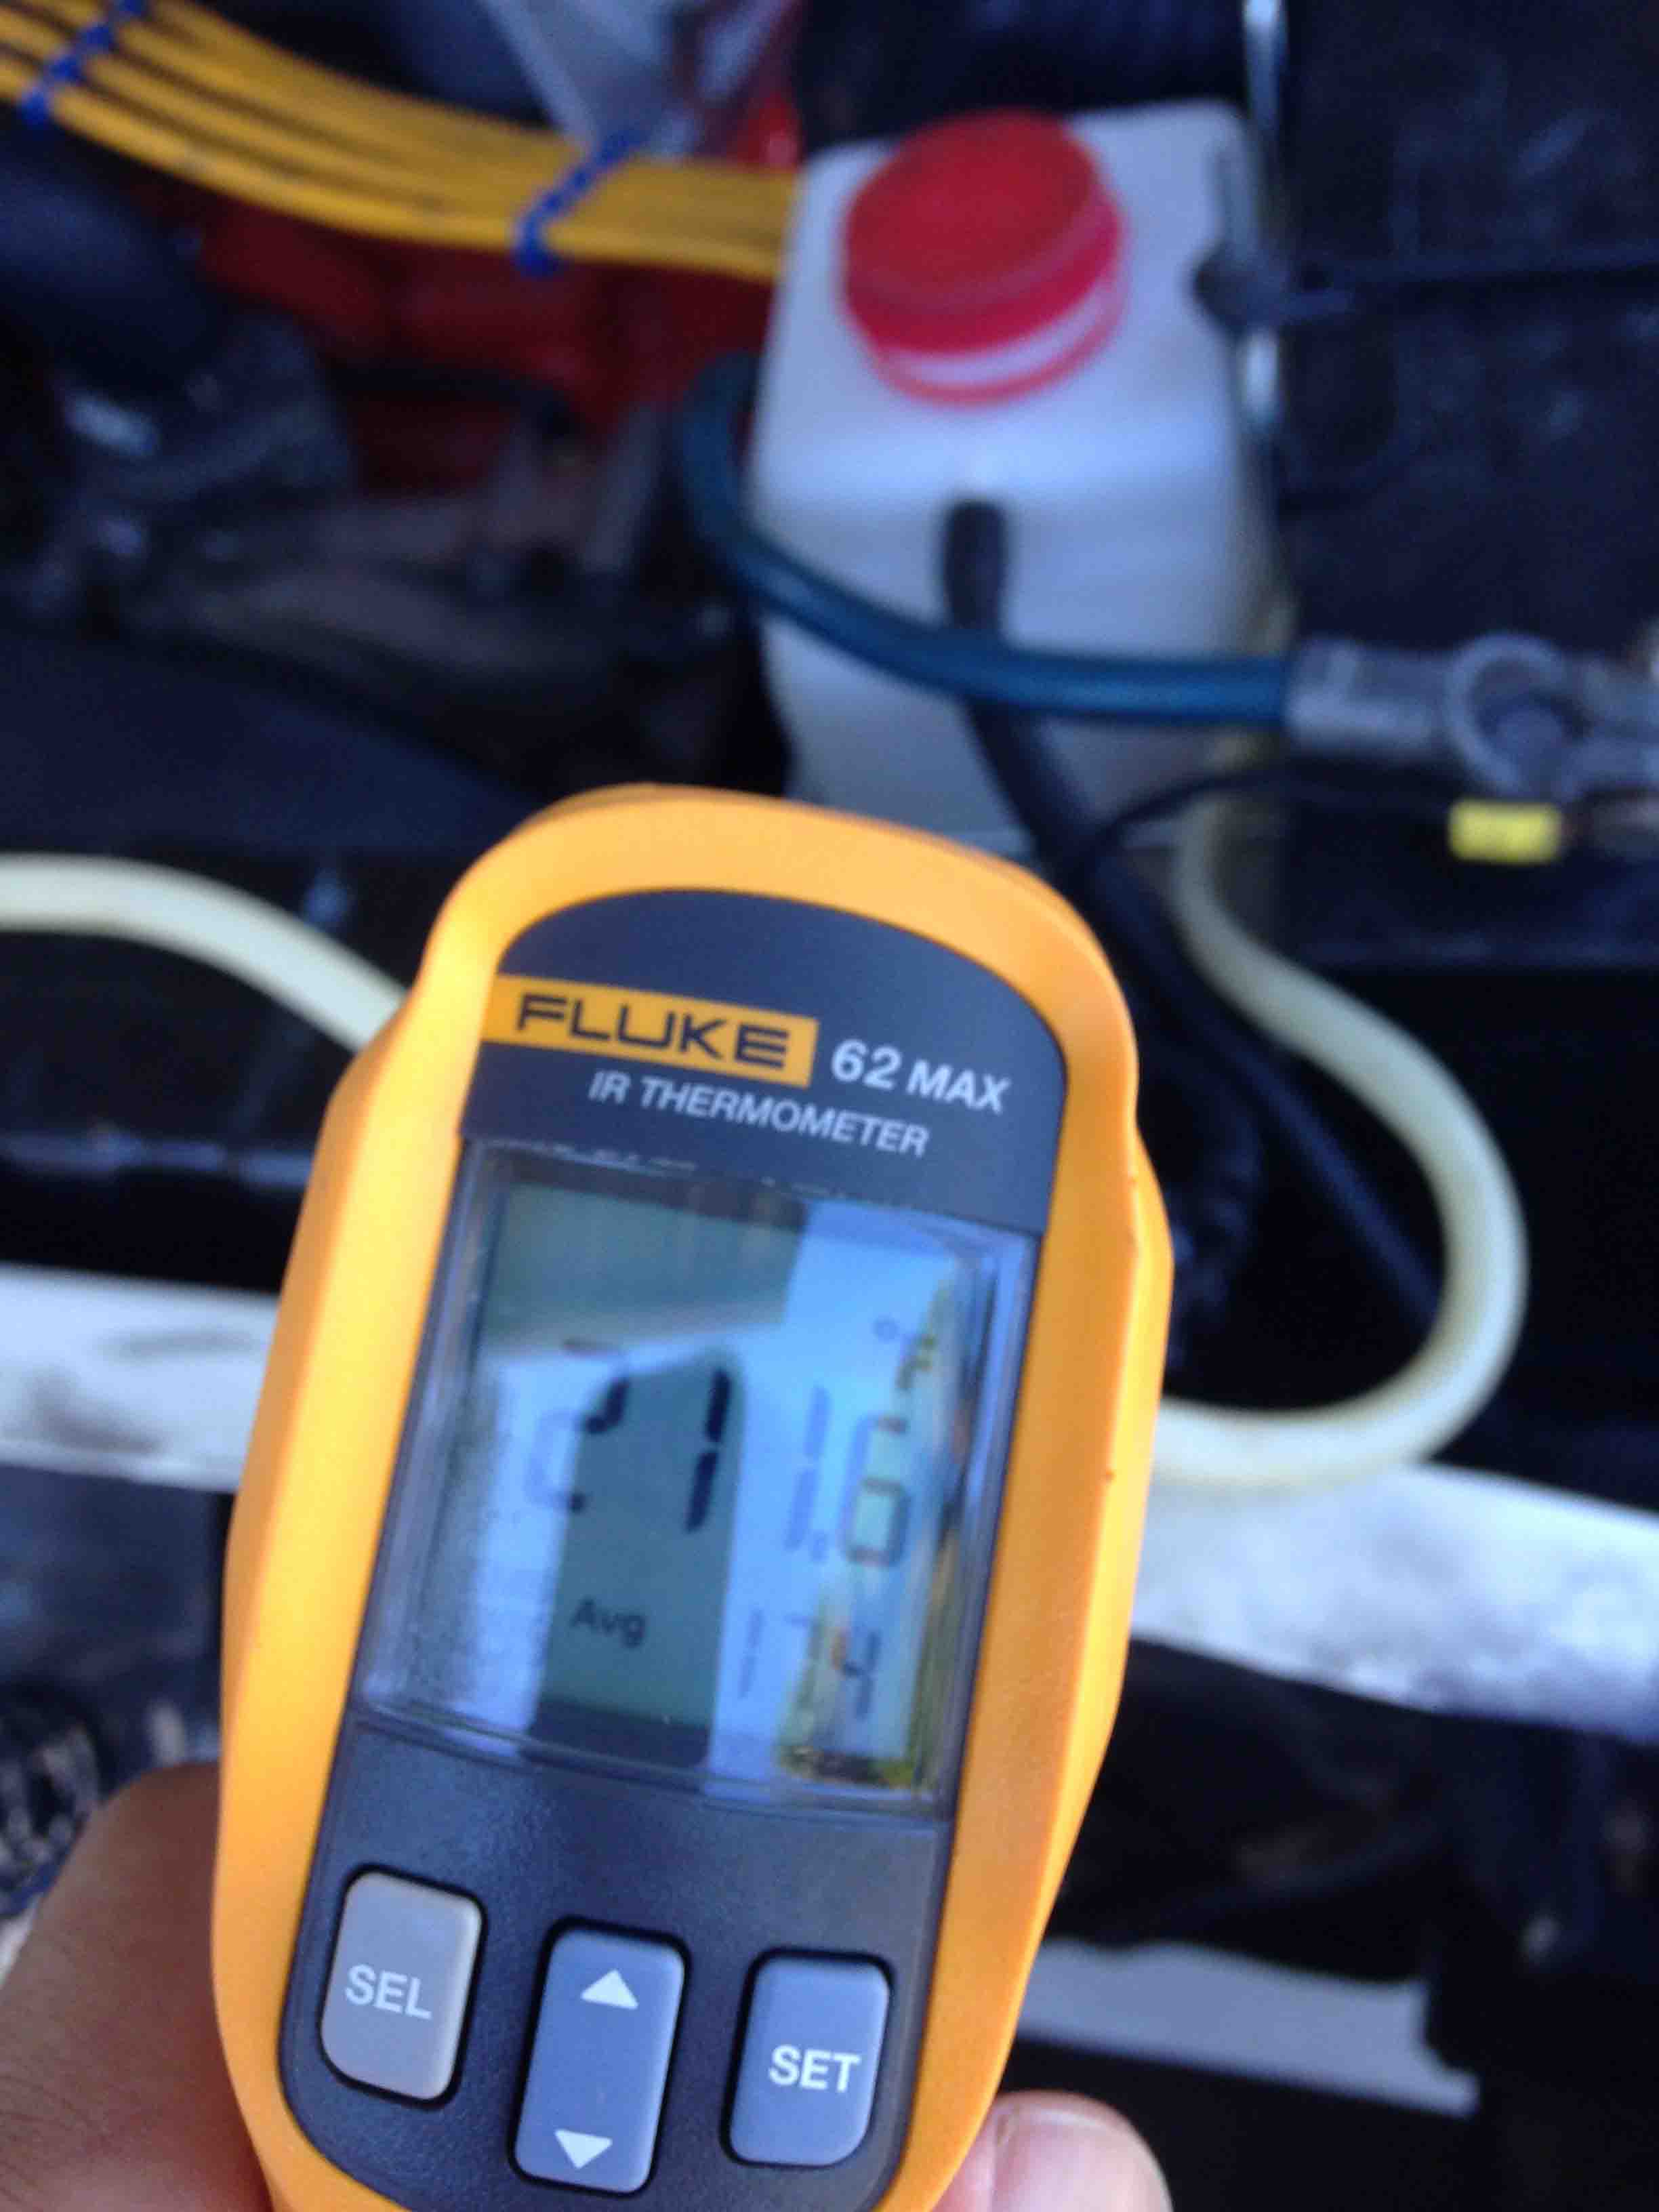
Corresponding lower tank temp, about 165 F (almost 50 degree difference). But the key factor is flow potential which is what is improved by the hot-tanking and back flushing.
THEN the final test….. I turned off the engine. AND I did not the massive full bottle regurgitation to the overflow unit. Before, with the problem, the whole thing would fill up because of the overheating, but no longer! What I plan to do now, is drain out the coolant and then after it cools, pull the thermostat, fill up with distilled water again, run the car again then check the copper screen after the next cool down and draining. * * If you enjoyed this post, please LIKE SHARE COMMENT

The Dodge Kid in his youth about 1976.
Copyright © 2014 ChallenYee.com. TheDodgeKid.com All Rights Reserved.